Page 369 of 473
368 Practical hintsWhat to do if …Left display
Right display
Possible cause/consequence
Possible solution
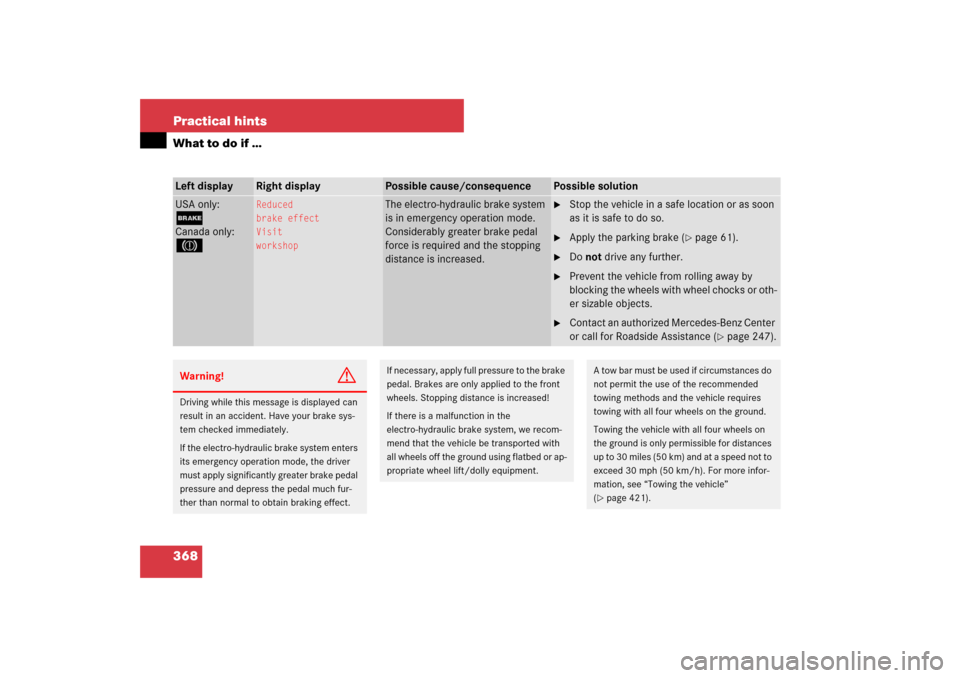
USA only:;Canada only:3
Reduced
brake effect
Visit
workshop
The electro-hydraulic brake system
is in emergency operation mode.
Considerably greater brake pedal
force is required and the stopping
distance is increased.
�
Stop the vehicle in a safe location or as soon
as it is safe to do so.
�
Apply the parking brake (
�page 61).
�
Do not drive any further.
�
Prevent the vehicle from rolling away by
blocking the wheels with wheel chocks or oth-
er sizable objects.
�
Contact an authorized Mercedes-Benz Center
or call for Roadside Assistance (
�page 247).
Warning!
G
Driving while this message is displayed can
result in an accident. Have your brake sys-
tem checked immediately.
If the electro-hydraulic brake system enters
its emergency operation mode, the driver
must apply significantly greater brake pedal
pressure and depress the pedal much fur-
ther than normal to obtain braking effect.
If necessary, apply full pressure to the brake
pedal. Brakes are only applied to the front
wheels. Stopping distance is increased!
If there is a malfunction in the
electro-hydraulic brake system, we recom-
mend that the vehicle be transported with
all wheels off the ground using flatbed or ap-
propriate wheel lift/dolly equipment.
A tow bar must be used if circumstances do
not permit the use of the recommended
towing methods and the vehicle requires
towing with all four wheels on the ground.
Towing the vehicle with all four wheels on
the ground is only permissible for distances
up to 30 miles (50 km) and at a speed not to
exceed 30 mph (50 km/h). For more infor-
mation, see “Towing the vehicle”
(�page 421).
Page 371 of 473
370 Practical hintsWhat to do if …Left display
Right display
Possible cause/consequence
Possible solution
USA only:;Canada only:3
Service brake
Visit
workshop
There are malfunctions, but the
electro-hydraulic brake system is
operating normally.
�
Contact an authorized Mercedes-Benz Center
as soon as possible.
Brakes overheated
Drive on, but with
even greater care
The brake system is overheated due
to an excessive load on the brakes.
�
Relieve the load on the brake system:�
Drive more smoothly and think ahead to
avoid unnecessary braking.
�
When driving down steep grades, shift into
a lower gear to use the engine’s braking
power (
�page 174).
�
Cautiously continue driving so that the air
stream will cool down the brakes.
USA only:;Canada only:!
Release
parking brake
You are driving with the parking
brake set.
�
Release the parking brake (
�page 61).
Page 389 of 473

388 Practical hintsWhere will I find ...?First aid kit
The first aid kit is located in storage com-
partment under the passenger seat.
1Handle
2Lid�
Pull handle 1 up.
�
Fold lid 2 down.
You can now remove the first-aid kit.
Vehicle tool kit, jack, and spare wheel
The vehicle tool kit, jack, and spare wheel
are stored in the space underneath the
trunk floor.
�
Lift up the trunk floor cover.
You can now remove the tools and ac-
cessories.
The vehicle tool kit includes�
One pair of universal pliers
�
Two open-end wrenches
�
One hex-socket wrench
�
One interchangeable slot/Phillips
screwdriver
�
One towing eye bolt
�
One alignment bolt
�
One fuse extractor
�
One fuse chart
�
Spare fuses
i
Check expiration dates and contents for
completeness at least once a year and replace
missing/expired items.
Warning!
G
The jack is designed exclusively for jacking
up the vehicle at the jack tubes built into
both sides of the vehicle. To help avoid per-
sonal injury, use the jack only to lift the ve-
hicle during a wheel change. Never get
beneath the vehicle while it is supported by
the jack. Keep hands and feet away from the
area under the lifted vehicle. Always firmly
set parking brake and block wheels before
raising vehicle with jack.
Do not disengage parking brake while the
vehicle is raised. Be certain that the jack is
always vertical (plumb line) when in use, es-
pecially on hills. Always try to use the jack
on a hard level surface. Be sure that the jack
arm is fully inserted in the jack tube. Always
lower the vehicle onto sufficient capacity
jackstands before working under the vehi-
cle.
Page 398 of 473
397 Practical hints
Replacing bulbs
�Replacing bulbs
Bulbs
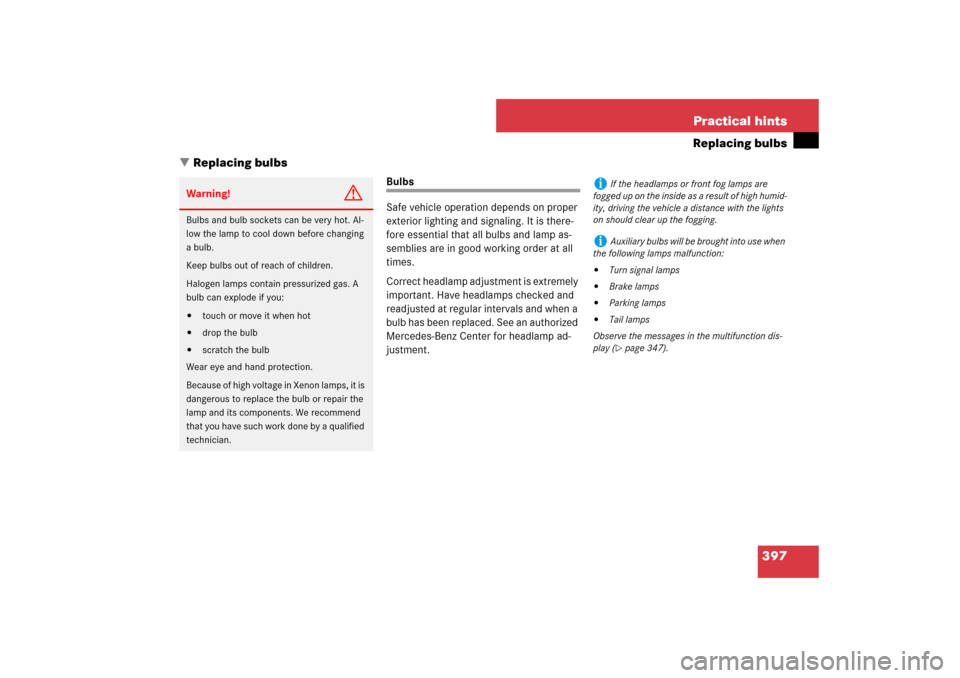
Safe vehicle operation depends on proper
exterior lighting and signaling. It is there-
fore essential that all bulbs and lamp as-
semblies are in good working order at all
times.
Correct headlamp adjustment is extremely
important. Have headlamps checked and
readjusted at regular intervals and when a
bulb has been replaced. See an authorized
Mercedes-Benz Center for headlamp ad-
justment.
Warning!
G
Bulbs and bulb sockets can be very hot. Al-
low the lamp to cool down before changing
a bulb.
Keep bulbs out of reach of children.
Halogen lamps contain pressurized gas. A
bulb can explode if you:�
touch or move it when hot
�
drop the bulb
�
scratch the bulb
Wear eye and hand protection.
Because of high voltage in Xenon lamps, it is
dangerous to replace the bulb or repair the
lamp and its components. We recommend
that you have such work done by a qualified
technician.
i
If the headlamps or front fog lamps are
fogged up on the inside as a result of high humid-
ity, driving the vehicle a distance with the lights
on should clear up the fogging.
i
Auxiliary bulbs will be brought into use when
the following lamps malfunction:
�
Turn signal lamps
�
Brake lamps
�
Parking lamps
�
Tail lamps
Observe the messages in the multifunction dis-
play (�page 347).
Page 399 of 473
398 Practical hintsReplacing bulbsFront lamps Rear lamps
Lamp
Type
1
Additional turn signal
LED
2
Turn signal lamp
1156 NA
3
Low beam
1
1Vehicles with Xenon or Bi-Xenon* headlamps:
Low beam and high beam use the same D2S-35W
lamp. Do not replace the Xenon and Bi-Xenon*
bulbs yourself. Contact an authorized
Mercedes-Benz Center.
D2S-35 W
4
Xenon headlamp:
High beam, high beam
flasher
H7 (55 W)
Bi-Xenon headlamp*:
High beam flasher
H7 (55 W)
Parking and standing
lamp
W 5 W
5
Front fog lamp, Cor-
ner-illuminating front
fog lamp
H11 (55 W)
6
Side marker lamp
W 5 W
Lamp
Type
7
Rear fog lamp
(driver’s side only)
P 21 W
8
High mounted brake
lamp
LED
9
Backup lamp
P 21 W
a
Tail, parking and
standing lamp, side
marker lamp
LED
b
Brake lamp
LED
c
License plate lamp
C 5 W
d
Turn signal lamp
PY 21 W
Page 400 of 473
399 Practical hints
Replacing bulbs
Notes on bulb replacement�
Only use 12-volt bulbs of the same type
and with the specified watt rating.
�
Switch the lights off before changing a
bulb to prevent short circuits.
�
Always use a clean lint-free cloth when
handling bulbs.
�
Your hands should be dry and free of oil
and grease.
�
If the newly installed bulb does not
come on, visit an authorized
Mercedes-Benz Center.Have the LEDs and bulbs for the following
lamps replaced by an authorized
Mercedes-Benz Center:
�
the additional turn signals in the exteri-
or rear view mirrors
�
the high mounted brake lamp
�
the brake lamps
�
the parking lamps and the side marker
lamps in the tail lamp unit
�
the rear fog lamps
�
the low beam (Xenon or Bi-Xenon*)
lamps
�
the front fog lamps
�
the front side marker lamps
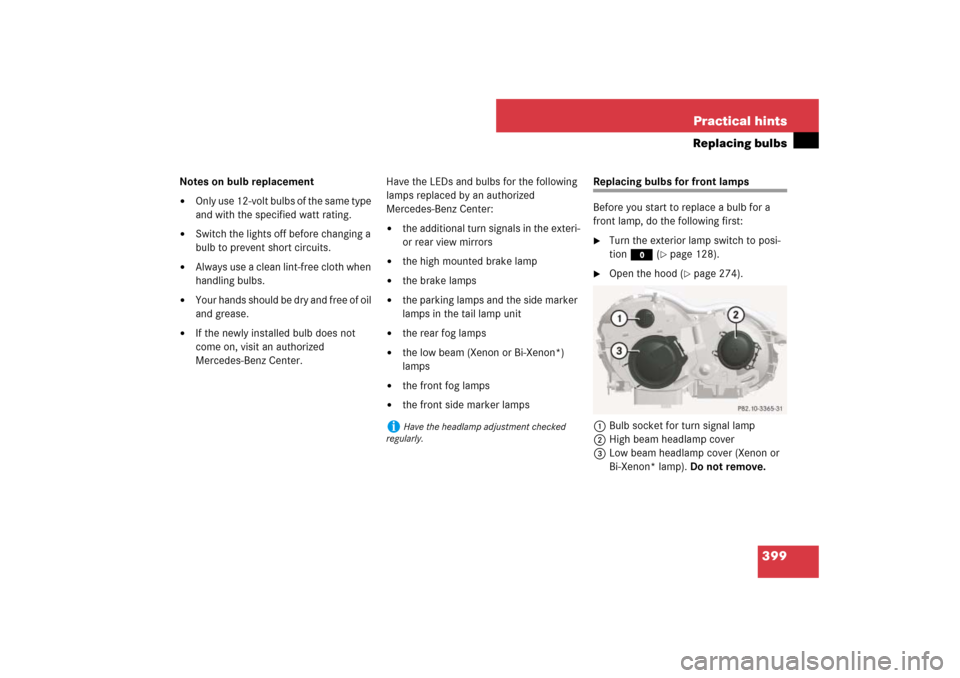
Replacing bulbs for front lamps
Before you start to replace a bulb for a
front lamp, do the following first:�
Turn the exterior lamp switch to posi-
tion M (
�page 128).
�
Open the hood (
�page 274).
1Bulb socket for turn signal lamp
2High beam headlamp cover
3Low beam headlamp cover (Xenon or
Bi-Xenon* lamp). Do not remove.
i
Have the headlamp adjustment checked
regularly.
Page 406 of 473
405 Practical hints
Flat tire
�Flat tire
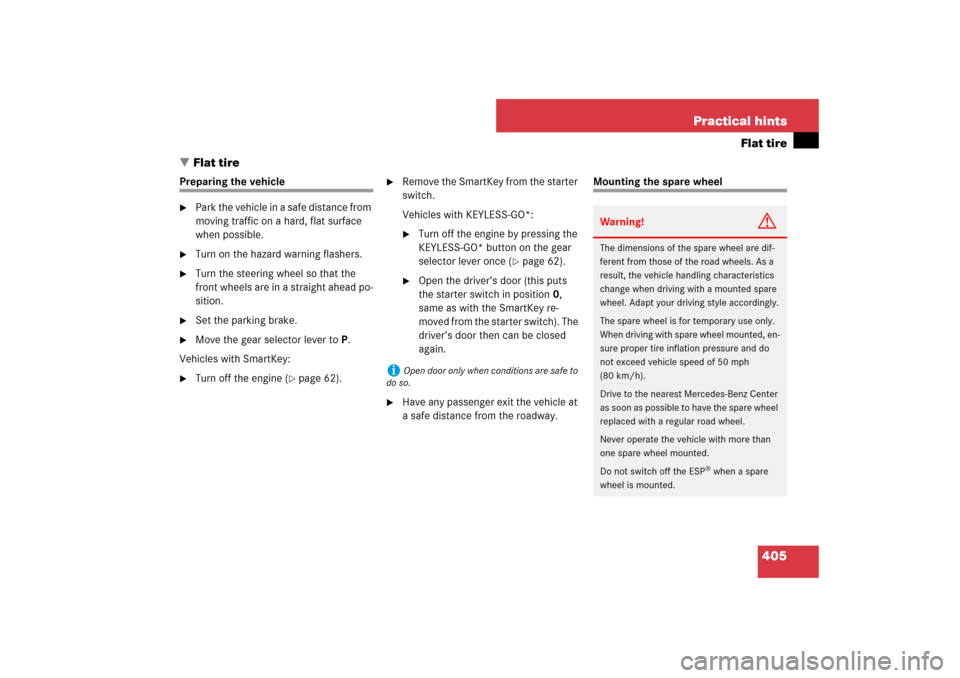
Preparing the vehicle�
Park the vehicle in a safe distance from
moving traffic on a hard, flat surface
when possible.
�
Turn on the hazard warning flashers.
�
Turn the steering wheel so that the
front wheels are in a straight ahead po-
sition.
�
Set the parking brake.
�
Move the gear selector lever to P.
Vehicles with SmartKey:
�
Turn off the engine (
�page 62).
�
Remove the SmartKey from the starter
switch.
Vehicles with KEYLESS-GO*:�
Turn off the engine by pressing the
KEYLESS-GO* button on the gear
selector lever once (
�page 62).
�
Open the driver’s door (this puts
the starter switch in position 0,
same as with the SmartKey re-
moved from the starter switch). The
driver’s door then can be closed
again.
�
Have any passenger exit the vehicle at
a safe distance from the roadway.
Mounting the spare wheel
i
Open door only when conditions are safe to
do so.
Warning!
G
The dimensions of the spare wheel are dif-
ferent from those of the road wheels. As a
result, the vehicle handling characteristics
change when driving with a mounted spare
wheel. Adapt your driving style accordingly.
The spare wheel is for temporary use only.
When driving with spare wheel mounted, en-
sure proper tire inflation pressure and do
not exceed vehicle speed of 50 mph
(80 km/h).
Drive to the nearest Mercedes-Benz Center
as soon as possible to have the spare wheel
replaced with a regular road wheel.
Never operate the vehicle with more than
one spare wheel mounted.
Do not switch off the ESP
® when a spare
wheel is mounted.
Page 408 of 473
407 Practical hints
Flat tire
�
Take the vehicle tool kit and the jack
out of the storage compartment under
the trunk floor (
�page 388).
�
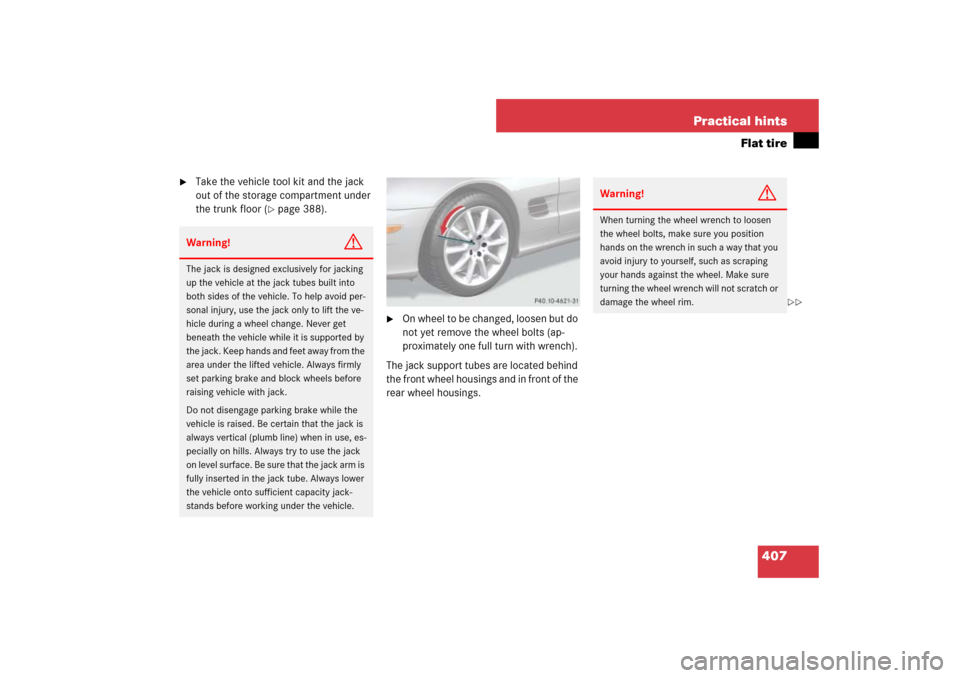
On wheel to be changed, loosen but do
not yet remove the wheel bolts (ap-
proximately one full turn with wrench).
The jack support tubes are located behind
the front wheel housings and in front of the
rear wheel housings.
Warning!
G
The jack is designed exclusively for jacking
up the vehicle at the jack tubes built into
both sides of the vehicle. To help avoid per-
sonal injury, use the jack only to lift the ve-
hicle during a wheel change. Never get
beneath the vehicle while it is supported by
the jack. Keep hands and feet away from the
area under the lifted vehicle. Always firmly
set parking brake and block wheels before
raising vehicle with jack.
Do not disengage parking brake while the
vehicle is raised. Be certain that the jack is
always vertical (plumb line) when in use, es-
pecially on hills. Always try to use the jack
on level surface. Be sure that the jack arm is
fully inserted in the jack tube. Always lower
the vehicle onto sufficient capacity jack-
stands before working under the vehicle.
Warning!
G
When turning the wheel wrench to loosen
the wheel bolts, make sure you position
hands on the wrench in such a way that you
avoid injury to yourself, such as scraping
your hands against the wheel. Make sure
turning the wheel wrench will not scratch or
damage the wheel rim.
��