Page 474 of 595
473 Practical hints
What to do if …
Display symbolDisplay messagesPossible cause/consequencePossible solution
Ï Coolant level
Stop car, switch engine offThe coolant is too hot.
Among other possible causes
(the cooling fan could be
malfunctioning), the poly-V-belt
could be broken.�Stop the vehicle in safe location or as
soon as it safe to do so.
�Apply the parking brake (�page 68).
�Turn off the engine.
�Check the poly-V-belt.
If it is broken:
�Do not continue to drive. Otherwise, the
engine will overheat due to an inoperative
water pump which may result in damage
to the engine. Contact an authorized
Mercedes-Benz Light Truck Center.
If it is intact:
�Do not continue to drive the vehicle with
this message displayed. Doing so could
result in serious engine damage that is
not covered by the Mercedes-Benz Limit-
ed Warranty.
(Continued on next page)
Page 482 of 595
481 Practical hints
What to do if …
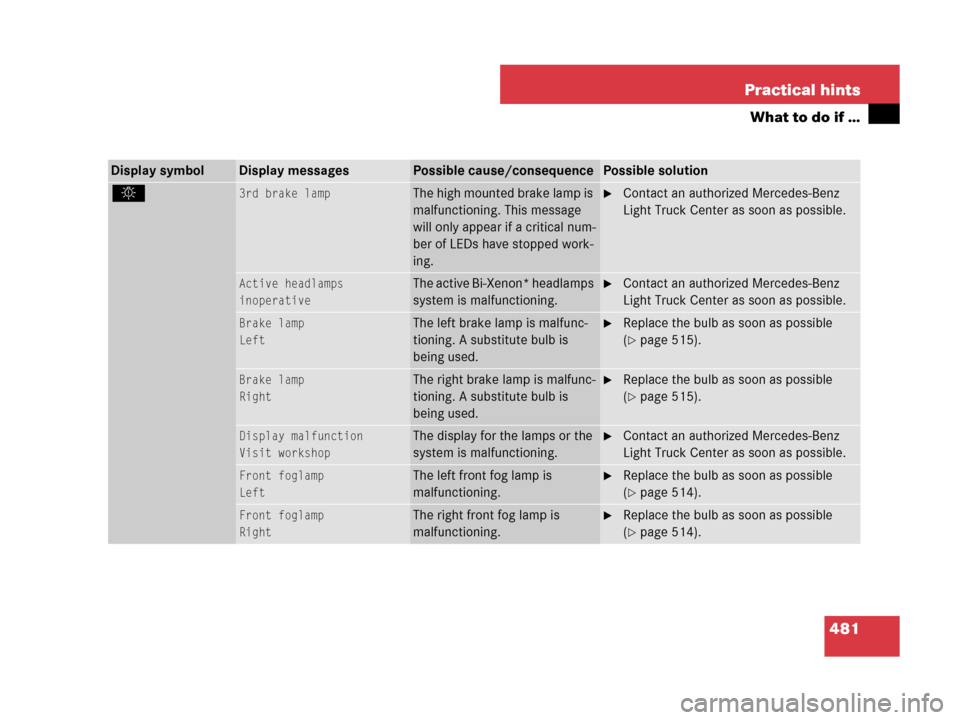
Display symbolDisplay messagesPossible cause/consequencePossible solution
. 3rd brake lampThe high mounted brake lamp is
malfunctioning. This message
will only appear if a critical num-
ber of LEDs have stopped work-
ing.�Contact an authorized Mercedes-Benz
Light Truck Center as soon as possible.
Active headlamps
inoperativeThe active Bi-Xenon* headlamps
system is malfunctioning.�Contact an authorized Mercedes-Benz
Light Truck Center as soon as possible.
Brake lamp
LeftThe left brake lamp is malfunc-
tioning. A substitute bulb is
being used.�Replace the bulb as soon as possible
(
�page 515).
Brake lamp
RightThe right brake lamp is malfunc-
tioning. A substitute bulb is
being used.�Replace the bulb as soon as possible
(
�page 515).
Display malfunction
Visit workshopThe display for the lamps or the
system is malfunctioning.�Contact an authorized Mercedes-Benz
Light Truck Center as soon as possible.
Front foglamp
LeftThe left front fog lamp is
malfunctioning.�Replace the bulb as soon as possible
(
�page 514).
Front foglamp
RightThe right front fog lamp is
malfunctioning.�Replace the bulb as soon as possible
(
�page 514).
Page 494 of 595
493 Practical hints
What to do if …
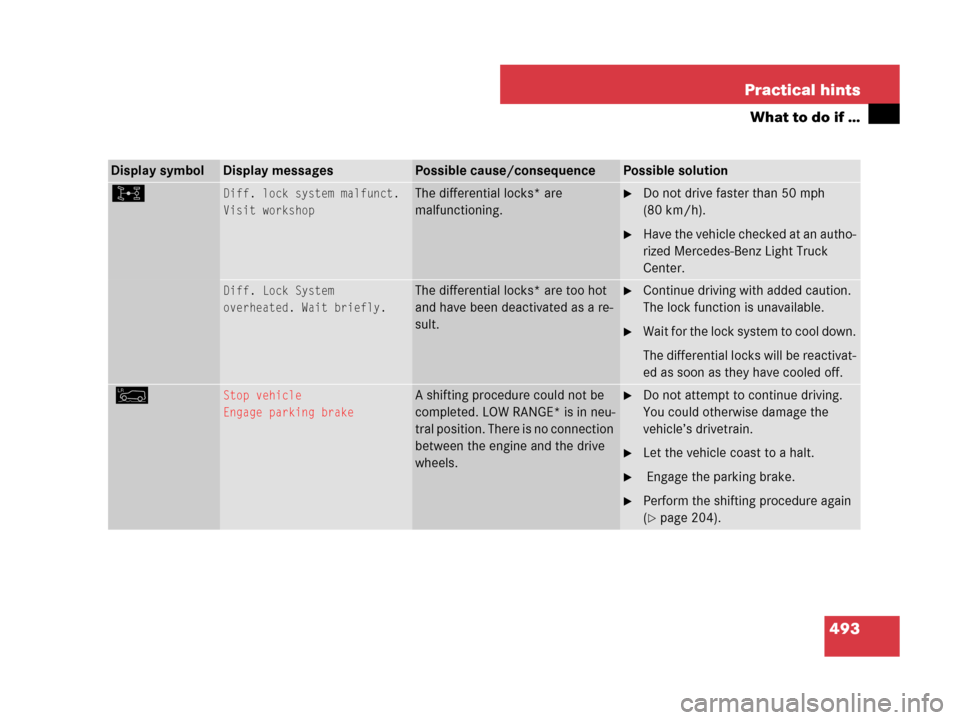
Display symbolDisplay messagesPossible cause/consequencePossible solution
kDiff. lock system malfunct.
Visit workshopThe differential locks* are
malfunctioning.�Do not drive faster than 50 mph
(80 km/h).
�Have the vehicle checked at an autho-
rized Mercedes-Benz Light Truck
Center.
Diff. Lock System
overheated. Wait briefly.The differential locks* are too hot
and have been deactivated as a re-
sult.�Continue driving with added caution.
The lock function is unavailable.
�Wait for the lock system to cool down.
The differential locks will be reactivat-
ed as soon as they have cooled off.
mStop vehicle
Engage parking brakeA shifting procedure could not be
completed. LOW RANGE* is in neu-
tral position. There is no connection
between the engine and the drive
wheels.�Do not attempt to continue driving.
You could otherwise damage the
vehicle’s drivetrain.
�Let the vehicle coast to a halt.
� Engage the parking brake.
�Perform the shifting procedure again
(
�page 204).
Page 495 of 595
494 Practical hints
What to do if …
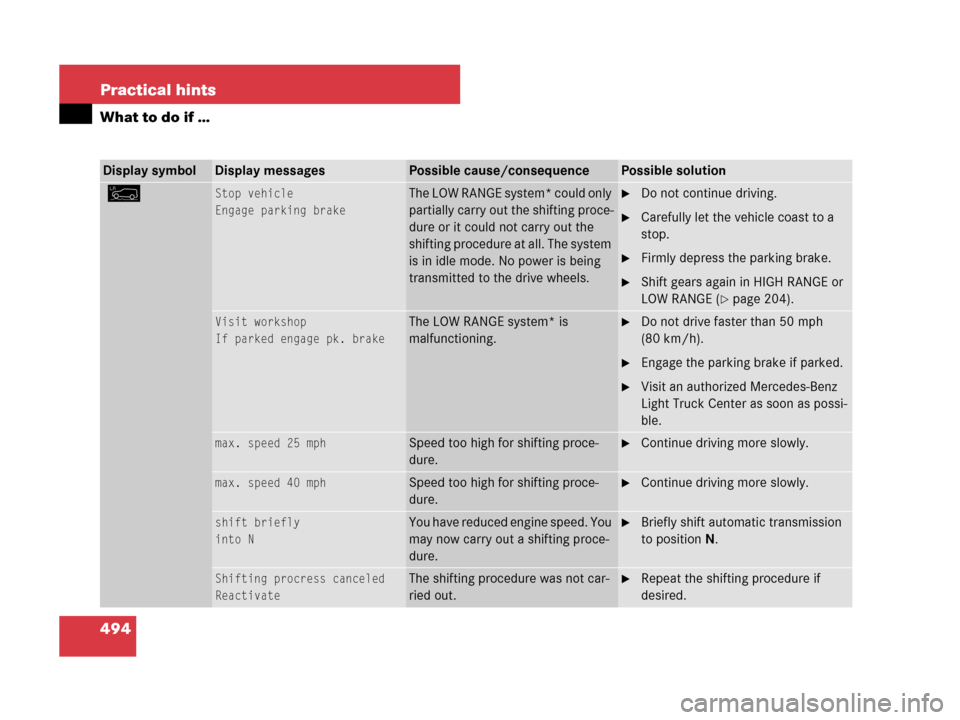
Display symbolDisplay messagesPossible cause/consequencePossible solution
mStop vehicle
Engage parking brakeThe LOW RANGE system* could only
partially carry out the shifting proce-
dure or it could not carry out the
shifting procedure at all. The system
is in idle mode. No power is being
transmitted to the drive wheels.�Do not continue driving.
�Carefully let the vehicle coast to a
stop.
�Firmly depress the parking brake.
�Shift gears again in HIGH RANGE or
LOW RANGE (
�page 204).
Visit workshop
If parked engage pk. brakeThe LOW RANGE system* is
malfunctioning.�Do not drive faster than 50 mph
(80 km/h).
�Engage the parking brake if parked.
�Visit an authorized Mercedes-Benz
Light Truck Center as soon as possi-
ble.
max. speed 25 mphSpeed too high for shifting proce-
dure.�Continue driving more slowly.
max. speed 40 mphSpeed too high for shifting proce-
dure.�Continue driving more slowly.
shift briefly
into NYou have reduced engine speed. You
may now carry out a shifting proce-
dure.�Briefly shift automatic transmission
to positionN.
Shifting procress canceled
ReactivateThe shifting procedure was not car-
ried out.�Repeat the shifting procedure if
desired.
Page 509 of 595
508 Practical hints
Replacing bulbs
Bulbs
Safe vehicle operation depends on proper
exterior lighting and signaling. It is there-
fore essential that all bulbs and lamp as-
semblies are in good working order at all
times.
Correct headlamp adjustment is extremely
important. Have headlamps checked and
readjusted at regular intervals and when a
bulb has been replaced. See an authorized
Mercedes-Benz Light Truck Center for
headlamp adjustment.iIf the headlamps or front fog lamps are
fogged up on the inside as a result of high humid-
ity, driving the vehicle a distance with the lights
on should clear up the fogging.iSubstitute bulbs will be brought into use
when the following lamps malfunction:
�Turn signal lamps
�Brake lamps
�Parking lamps
�Tail lamps
Read and observe the messages in the multi-
function display (
�page 481).
Page 510 of 595
509 Practical hints
Replacing bulbs
Front lamps
Rear lamps
LampType
1Parking and standing
lampW5W
2Headlamps:
High beam/high beam
flasher
H7 (55 W)
Bi-Xenon headlamps*:
High beam/high beam
flasher spot lamp
H7 (55 W)
3Headlamps:
Low beam
H7 (55 W)
Bi-Xenon headlamps*:
Low beam1
1Vehicles with Bi-Xenon* headlamps: Do not re-
place the Bi-Xenon bulbs yourself. Contact an
authorized Mercedes-Benz Light Truck Center.
D2S-35 W
4Additional turn signal
lampLED
5Side marker lampWY 5 W
LampType
6Turn signal lamp3457 AK
S-8
(30/2.2 cp
bulb)
7Front fog lampH11 (55 W)
Corner-illuminating
front fog lamp*
H11 (55 W)
LampType
8High mounted brake
lamp
LED
9Backup lampP21W
aTail, brake, parking,
standing, side marker
lampP21/4W
bTurn signal lampPY 21 W
cRear fog lamp (driver’s
side only)P21/4W
dLicense plate lampsC5W
Page 511 of 595
510 Practical hints
Replacing bulbs
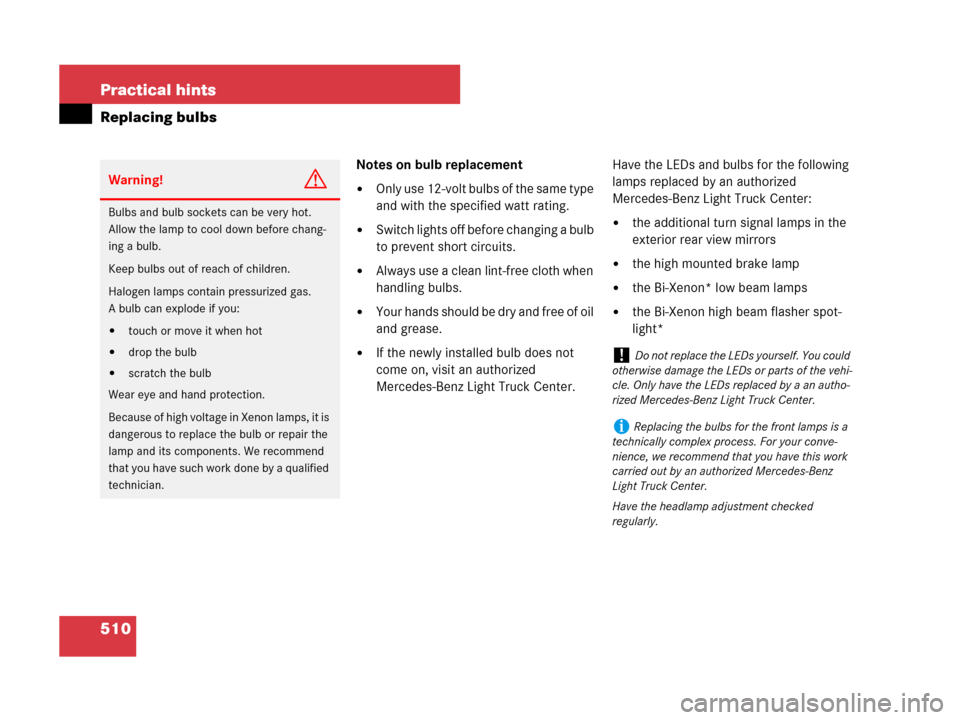
Notes on bulb replacement
�Only use 12-volt bulbs of the same type
and with the specified watt rating.
�Switch lights off before changing a bulb
to prevent short circuits.
�Always use a clean lint-free cloth when
handling bulbs.
�Your hands should be dry and free of oil
and grease.
�If the newly installed bulb does not
come on, visit an authorized
Mercedes-Benz Light Truck Center.Have the LEDs and bulbs for the following
lamps replaced by an authorized
Mercedes-Benz Light Truck Center:
�the additional turn signal lamps in the
exterior rear view mirrors
�the high mounted brake lamp
�the Bi-Xenon* low beam lamps
�the Bi-Xenon high beam flasher spot-
light*
Warning!G
Bulbs and bulb sockets can be very hot.
Allow the lamp to cool down before chang-
ing a bulb.
Keep bulbs out of reach of children.
Halogen lamps contain pressurized gas.
A bulb can explode if you:
�touch or move it when hot
�drop the bulb
�scratch the bulb
Wear eye and hand protection.
Because of high voltage in Xenon lamps, it is
dangerous to replace the bulb or repair the
lamp and its components. We recommend
that you have such work done by a qualified
technician.
!Do not replace the LEDs yourself. You could
otherwise damage the LEDs or parts of the vehi-
cle. Only have the LEDs replaced by a an autho-
rized Mercedes-Benz Light Truck Center.
iReplacing the bulbs for the front lamps is a
technically complex process. For your conve-
nience, we recommend that you have this work
carried out by an authorized Mercedes-Benz
Light Truck Center.
Have the headlamp adjustment checked
regularly.
Page 524 of 595
523 Practical hints
Flat tire
�Flat tire
Preparing the vehicle
�Park the vehicle in a safe distance from
moving traffic on a hard, flat surface
when possible.
�Turn on the hazard warning flasher
(
�page 151).
�Turn the steering wheel so that the
front wheels are in a straight-ahead
position.
�Set the parking brake (�page 60).
�Set the automatic transmission to park
positionP (
�page 194).
�Turn off the engine (�page 41).
�Remove the SmartKey from the starter
switch.
Vehicles with KEYLESS-GO*:
�Turn off the engine by pressing the
KEYLESS-GO* button once
(
�page 70).
�Open the driver’s door (this puts
the starter switch in position0,
same as with the SmartKey re-
moved from the starter switch). The
driver’s door then can be closed
again.
�Remove the KEYLESS-GO*
start/stop button from the starter
switch (
�page 43).
�Have any passenger exit the vehicle at
a safe distance from the roadway.
Warning!G
The dimensions of the Minispare wheel are
different from those of the road wheels. As
a result, the vehicle handling characteristics
change when driving with a Minispare wheel
mounted. Adapt your driving style accord-
ingly.
The Minispare wheel is for temporary use
only. When driving with a Minispare wheel
mounted, ensure proper tire pressure and
do not exceed a vehicle speed of
50 mph (80 km/h).
Drive to the nearest Mercedes-Benz Light
Truck Center as soon as possible to have the
Minispare wheel replaced with a regular
road wheel.
Never operate the vehicle with more than
one spare wheel mounted.
Do not switch off the ESP
® when a
Minispare wheel is mounted.
Warning!G
Your vehicle is equipped with air suspen-
sion. Do not open or close any doors or the
tailgate while mounting a spare wheel. The
vehicle could rise or lower to a previously se-
lected level. You or others could be injured
as a result.
iOpen door only when conditions are safe to
do so.