Page 406 of 514

405 Practical hints
What to do if …
Display message
Possible cause/consequence
Possible solution
P
Gear selector lever
in Park position
You have tried to start the engine with the
KEYLESS-GO* start/stop button with the
gear selector lever not in positionP.
�
Place the gear selector lever in positionP.
You have tried to turn off the engine with the
KEYLESS-GO* start/stop button with the
gear selector lever not in positionP.
P/N
Shift gear select. lever
to Neutral or Park
You have tried to start the engine with the
KEYLESS-GO* start/stop button while the
gear selector lever was in positionR orD.
�
Place the gear selector lever in positionP
orN. Make sure the brake pedal is de-
pressed.
PRE-SAFE
inoperative
See Operator’s Man.
PRE-SAFE
® itself has failed. All other occu-
pant safety systems, such as the air bags,
are still available.
�
Visit an authorized Mercedes-Benz Center
as soon as possible.
If ESP
® and PRE-SAFE
® malfunction messag-
es are displayed simultaneously, PRE-SAFE
®
has been deactivated as a result of these
malfunctions. All other occupant safety sys-
tems, such as the air bags are still available.
Page 411 of 514

410 Practical hintsWhat to do if …Display symbol
Display message
Possible cause/consequence
Possible solution
#
Battery/Alternator
Stop vehicle
The battery is malfunctioning.
The brake system requires electrical en-
ergy and therefore has only limited oper-
ation. Considerably greater brake pedal
force is required and the stopping dis-
tance is increased.
�
Stop the vehicle in a safe location as
soon as it is safe to do so. Adjust driv-
ing to be consistent with reduced
braking responsiveness.
�
Notify an authorized Mercedes-Benz
Center.
Low voltage
Start engine
The battery has insufficient voltage.
�
Start the engine (
�page 52).
(
Right rear backrest
not locked
The rear seat backrest is not engaged.
�
Adjust the rear seat backrest until it is
fully engaged in position.
Left rear backrest
not locked
The rear seat backrest is not engaged.
�
Adjust the rear seat backrest until it is
fully engaged in position.
2
Brakepad wear
The brake pads have reached their wear
limit.
�
Have the brake pads replaced as soon
as possible.
!
Brake pad thickness must be visually in-
spected by a qualified technician at the intervals
specified in the Maintenance Booklet.
Page 414 of 514
.
Display symbol
Display message
Poss")
413 Practical hints
What to do if …
During severe operation conditions and
stop-and-go city traffic, the coolant tem-
perature may rise close to 248°F (120°C).
Display symbol
Display message
Possible cause/consequence
Possible solution
•
Coolant
Stop, turn engine off
The coolant is too hot.
�
Stop the vehicle in a safe location or as
soon as it is safe to do so and immediately
turn off the engine.
�
Only start the engine again after the mes-
sage disappears. You could otherwise dam-
age the engine.
�
Apply the parking brake (
�page 62).
�
Observe the coolant temperature indicator
in the instrument cluster (
�page 27).
If the temperature rises again:
�
Contact an authorized Mercedes-Benz
Center immediately.
Warning!
G
Driving when your engine is overheated can
cause some fluids which may have leaked
into the engine compartment to catch fire.
You could be seriously burned.
Steam from an overheated engine can cause
serious burns which can occur just by
opening the engine hood. Stay away from
the engine if you see or hear steam coming
from it.
Stop the vehicle in a safe location away from
other traffic. Turn off the engine, get out of
the vehicle and do not stand near the vehicle
until the engine has cooled down.
!
The engine should not be operated with the
coolant temperature above 248°F (120°C). Do-
ing so may cause serious damage which is not
covered by the Mercedes-Benz Limited
Warranty.
Page 420 of 514
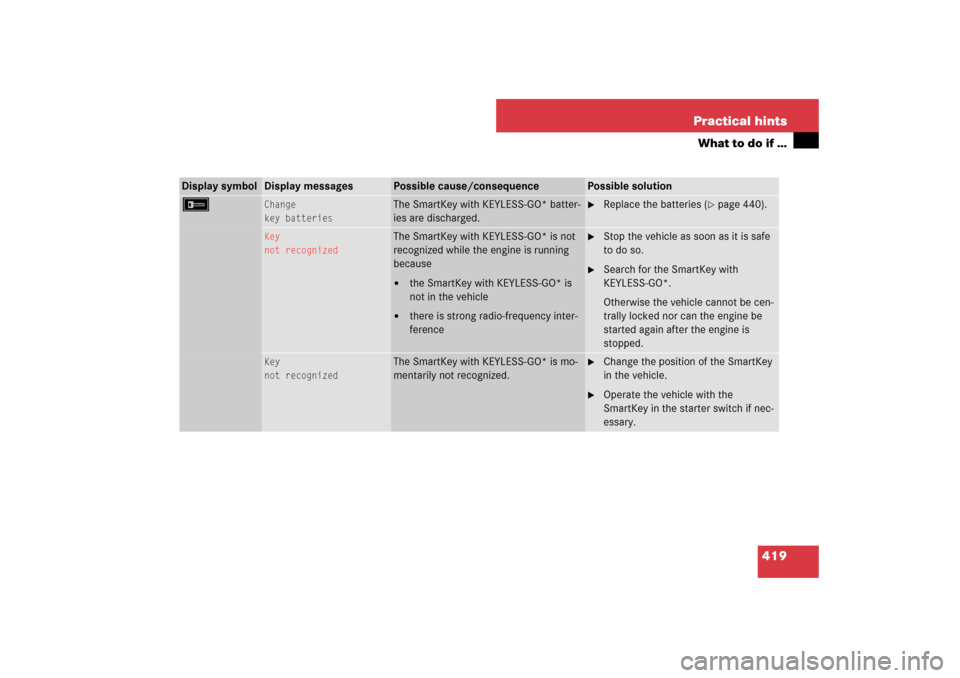
419 Practical hints
What to do if …
Display symbol
Display messages
Possible cause/consequence
Possible solution
F
Change
key batteries
The SmartKey with KEYLESS-GO* batter-
ies are discharged.
�
Replace the batteries (
�page 440).
Key
not recognized
The SmartKey with KEYLESS-GO* is not
recognized while the engine is running
because�
the SmartKey with KEYLESS-GO* is
not in the vehicle
�
there is strong radio-frequency inter-
ference
�
Stop the vehicle as soon as it is safe
to do so.
�
Search for the SmartKey with
KEYLESS-GO*.
Otherwise the vehicle cannot be cen-
trally locked nor can the engine be
started again after the engine is
stopped.
Key
not recognized
The SmartKey with KEYLESS-GO* is mo-
mentarily not recognized.
�
Change the position of the SmartKey
in the vehicle.
�
Operate the vehicle with the
SmartKey in the starter switch if nec-
essary.
Page 425 of 514

424 Practical hintsWhat to do if …Display symbol
Display messages
Possible cause/consequence
Possible solution
.
Rear left turn signal
The left rear turn signal lamp is malfunc-
tioning.
�
Contact an authorized Mercedes-Benz
Center as soon as possible.
Rear right turn signal
The right rear turn signal lamp is malfunc-
tioning.
�
Contact an authorized Mercedes-Benz
Center as soon as possible.
Front left turn signal
The left front turn signal lamp is malfunc-
tioning.
�
Replace the bulb as soon as possible.
Front right turn signal
The right front turn signal lamp is mal-
functioning.
�
Replace the bulb as soon as possible.
Left mirror
turn signal
The turn signal in the left exterior rear
view mirror is malfunctioning.
This message will only appear if a critical
number of LEDs have stopped working.
�
Contact an authorized Mercedes-Benz
Center as soon as possible.
Right mirror
turn signal
The turn signal in the right exterior rear
view mirror is malfunctioning.
This message will only appear if a critical
number of LEDs have stopped working.
�
Contact an authorized Mercedes-Benz
Center as soon as possible.
Switch off lights
or
remove key
The exterior lamp switch is set toU
and you have forgotten to take out the
SmartKey. The parking lamps remain
switched on.
�
Switch off the headlamps.
or
�
Remove the SmartKey from the starter
switch.
Page 436 of 514
435 Practical hints
Unlocking/locking in an emergency
�Unlocking/locking in an emergency
Unlocking the vehicle
If you cannot unlock the vehicle with the
SmartKey or SmartKey with
KEYLESS-GO*, open the driver’s door us-
ing the mechanical key. Removing the mechanical key
1Mechanical key locking tab
2Mechanical key
�
Move locking tab1 in direction of ar-
row.
�
Slide mechanical key2 out of the
housing.Unlocking the driver’s door
�
Insert the mechanical key2 into the
driver’s door lock until it stops.
�
Turn mechanical key2 counterclock-
wise to position1 until the locking
knobs move up.
The driver’s door is unlocked.
�
Pull door handle to open the driver’s
door.
i
Unlocking your vehicle with the mechanical
key and opening the driver’s door or the cargo
compartment will trigger the anti-theft alarm sys-
tem.
To cancel the alarm, Insert the SmartKey or
SmartKey with KEYLESS-GO* in the starter
switch.
1
Unlocking
2
Mechanical key
Page 452 of 514

451 Practical hints
Flat tire
�Flat tire
Preparing the vehicle�
Park the vehicle in a safe distance from
moving traffic on a hard, flat surface
when possible.
�
Turn on the hazard warning flasher
(�page 148).
�
Turn the steering wheel so that the
front wheels are in a straight ahead po-
sition.
�
Set the parking brake (
�page 62).
�
Move the gear selector lever toP.
Vehicles with SmartKey:
�
Turn off the engine (
�page 63).
�
Remove the SmartKey from the starter
switch.Vehicles with SmartKey with
KEYLESS-GO*:
�
Turn off the engine by pressing the
KEYLESS-GO* start/stop button on the
gear selector lever once (
�page 64).
�
Open the driver’s door (this puts the ig-
nition in position0, same as with the
SmartKey removed from the starter
switch). The driver’s door then can be
closed again.
�
Have any passenger exit the vehicle at
a safe distance from the roadway.
Sealing tires with TIREFIT
E 63 AMG vehicles with foldable third row
seat are equipped with TIREFIT.
Small tire punctures, particularly those in
the tread, can be sealed with TIREFIT.
TIREFIT can be used in ambient tempera-
tures down to -4°F (-20°C).
i
Open door only when conditions are safe to
do so.
Warning!
G
Keep TIREFIT away from sparks, open flame
or heat source.
Do not smoke.
Page 454 of 514

453 Practical hints
Flat tire
�
Stick TIREFIT container1 upside
down into notch3 of the electric air
pump.
7Tire valve
8Electric air pump switch
9Air hose with pressure gauge and vent
screw
aFiller hose
�
Unscrew the valve cap from tire
valve7.
�
Screw filler hosea onto tire valve7.
�
Insert electrical plug4 into the vehi-
cle cigarette lighter socket
(�page 286).
�
Turn the SmartKey in the starter switch
to position1 (
�page 37).
or
�
Press the KEYLESS-GO* start/stop
button (
�page 39) on the gear selec-
tor lever once. Do not depress brake
pedal.
�
PressI on electric air pump switch8.
The electric air pump should now
switch on and inflate the tire.After 5 minutes, the pressure gauge must
display at least 26 psi (1.8 bar). The air
hose can become hot during inflation.
Please exercise appropriate caution.
�
If this tire inflation pressure is not at-
tained, turn off the electric air pump,
detach the filler hose from the tire
valve, and drive vehicle back and forth
very slowly approximately 30 ft (10 m).
This serves to better distribute the
TIREFIT sealant material inside the tire.
�
Unscrew the air pump’s air hose5
from flange6 of the TIREFIT contain-
er.
�
Screw air hose5onto tire valve7.
�
Inflate the tire again.
Warning!
G
Observe safety instructions on air pump la-
bel.
!
Do not operate the electric air pump longer
than 8 minutes without interruption. Otherwise it
may overheat.
You may operate the air pump again after it has
cooled off.
��