Page 215 of 426
197
3-2. Using the audio system
3
Interior features
Using the CD player
Insert a CD or press with a CD inserted.
Vo l u m ePo w e r
CD eject
CD slot
Searching playback
Displaying text message
CD load
Track selection
Random playback
Repeat play
Playback
Fa st for wa rd
Rewind
Select CD
Page 216 of 426
198
3-2. Using the audio system
Loading a CD■ Loading a single CD
Press .
“WAIT” appears on the display.
Insert a CD when the indicator on the slot turns from amber to
green.
The display changes from “WAIT” to “LOAD”.
■Loading multiple CDs
Press and hold until you hear a beep.
“WAIT” appears the display.
Insert a CD when the indicator on the slot turns from amber to
green.
The display changes from “WAIT” to “LOAD”.
The indicator on the slot turns to amber when the CD is inserted.
Insert the next CD when the indicator on the slot turns from
amber to green again.
Repeat the procedure for the remaining CDs.
To cancel the operation, press th e or button. If you do not
insert a CD within 15 seconds, loading will be canceled automatically.
STEP1
STEP2
STEP1
STEP2
STEP3
Page 217 of 426
199
3-2. Using the audio system
3
Interior features
Ejecting CDs■ Ejecting a CD
To select the CD to be ejected, press ( ) or ( ).
The number of the CD selected is shown on the display.
Press and remove the CD.
■ Ejecting all CDs
Press and hold until you hear a beep, then remove the CDs.
Selecting, fast forwarding and scanning tracks
■ Selecting a track
Press to move up to move down using until the desired
track number appears on the display.
To fast forward or rewind, press and hold ( ) or ( ).
■ Scanning a CD
Press .
“SCAN” appears on the display.
The first 10 seconds of each track will be played.
Press once again when the desired track is reached.
STEP1
STEP2
STEP1
STEP2
Page 218 of 426
200
3-2. Using the audio system
Selecting a CD■ To select a CD to play
Press ( ) or ( ) until the desired CD number appears on the
display.
■ To scan loaded CDs
Press and hold until you hear a beep.
The first 10 seconds of the first track on each CD will be played.
Press once again when the desired CD is reached.
Random playback
■ Current CD
Touch (RAND).
Tracks are played in random order until the button is pressed once again.
■All CDs
Press and hold (RAND) until you hear a beep.
Tracks on all loaded CDs are played in random order until the button is
pressed once again.
Repeating a track or a disc
■ Repeating a track
Press (RPT).
■ Repeating a disc
Press and hold (RPT) until you hear a beep.
STEP1
STEP2
Page 219 of 426

201
3-2. Using the audio system
3
Interior features
Switching the displayPress .
Each time the button is pressed, the display changes in the order of Track no./
Elapsed time CD title Track name.
■Canceling random, repeat and scan playback
Press (RAND), (RPT), or once again.
■ When LOAD, ERROR or WAIT is shown on the display
LOAD: This indicates that the CD player has completed loading the CD.
ERROR: This indicates is a trouble either in the CD or inside the player.
The CD may be dirty, damaged, or inserted up-side down.
WAIT: Operation is stopped due to a high temperature inside the player. Wait for a while and then press . Contact your Lexus
dealer if the CD still cannot be played back.
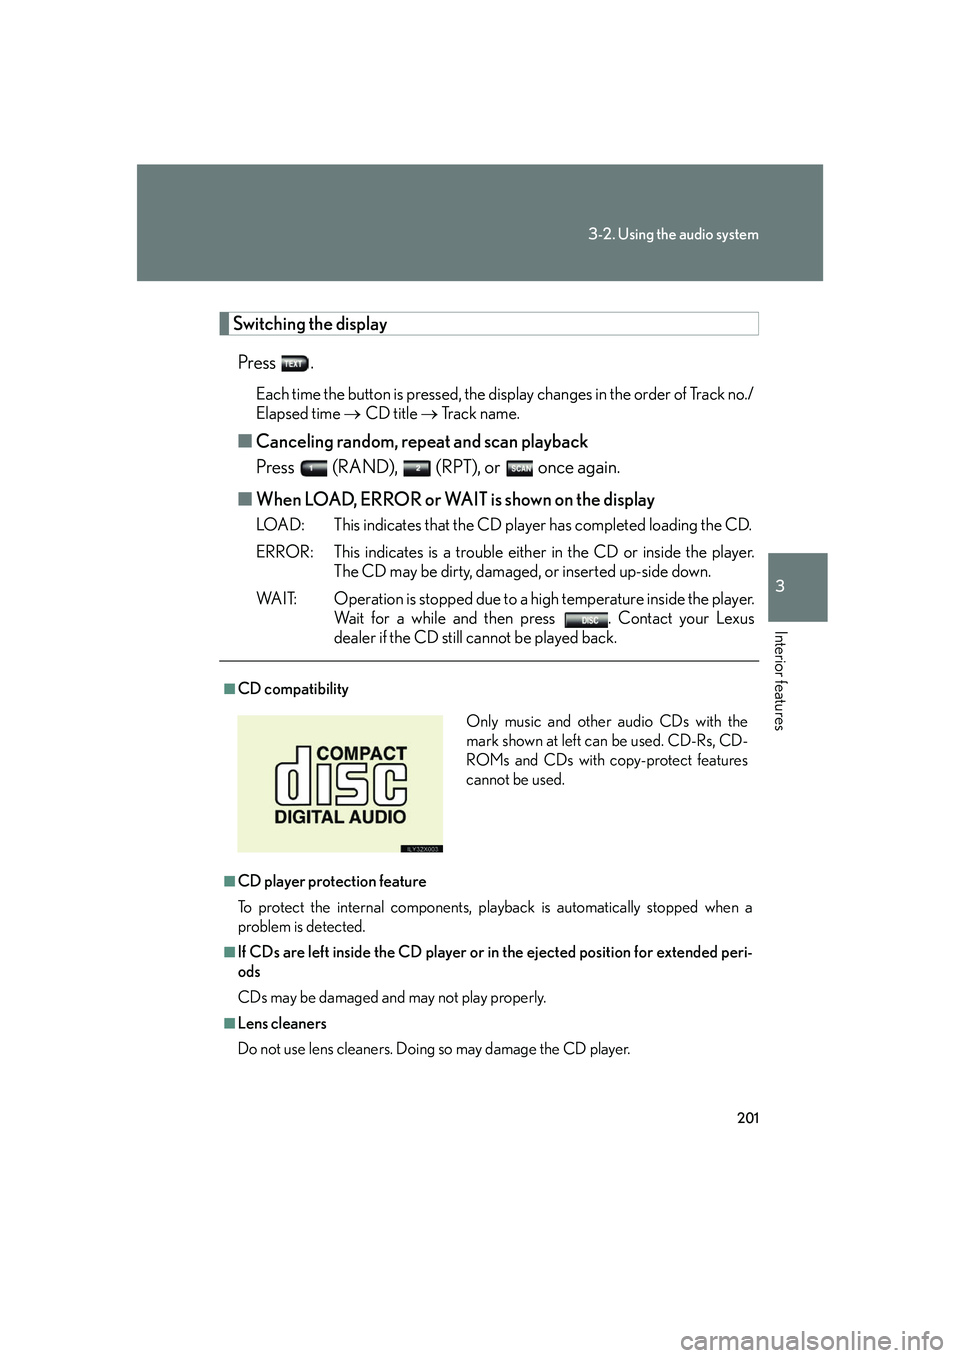
■CD compatibility
■CD player protection feature
To protect the internal components, play back is automatically stopped when a
problem is detected.
■If CDs are left inside the CD player or in the ejected position for extended peri-
ods
CDs may be damaged and may not play properly.
■Lens cleaners
Do not use lens cleaners. Doing so may damage the CD player.
Only music and other audio CDs with the
mark shown at left can be used. CD-Rs, CD-
ROMs and CDs with copy-protect features
cannot be used.
Page 222 of 426
204
3-2. Using the audio system
Optimal use of the audio system
Using the ADUDIO CONTROL function■ Changing modes
Pressing selects the mode to be change in the following order.
BAS MID TRE FA D BAL ASL
Displays the current mode.
Changes the following set-
tings.
• Sound quality and volume balance.
The sound quality and balance
setting can be changed to pro-
duce the best sound.
• Automatic Sound LevelizerON/OFF
Page 223 of 426
205
3-2. Using the audio system
3
Interior features
■Adjusting sound quality
Turning adjusts the level.
*: The sound quality level is adjusted indi vidually in each radio, cassette tape or
CD mode.
■ Adjusting the Automatic Sound Levelizer (ASL)
Turning to the right turns ON the ASL, and turning to
the left turns OFF the ASL.
ASL automatically adjusts the volume and tone quality according to the
noise level as you drive your vehicle.
Sound quality
modeMode
displayedLevelTurn to the leftTurn to the right
Low-pitched tones*BAS-5 to 5
LowHighMid-pitchedtones*MID-5 to 5
High pitched tones*TRE-5 to 5
Front/rear
volume balanceFA DF7 to R7Shifts to rearShifts to front
Left/right volume balanceBALL7 to R7Shifts to leftShifts to right
Page 241 of 426
223
3-5. Other interior features
3
Interior features
Clock
■The clock is displayed when
The ignition key is in the “ACC” or “ON” position.
■When the battery is disconnected
The time display will automatically be set to 1:00.
■Adjust clock
Adjust hours.
Adjust minutes.
Round the nearest hour.*
*: e.g. 1:00 to 1:291:00
1:30 to 1:59 2:00