Page 6 of 72
164AUDIO/VIDEO SYSTEM
ES350_Navi_U (L/O 0603)
The buttons for radio, cassette tape player,
CD changer and DVD changer operation
are displayed on the function button dis-
play screen when the audio control mode
is selected.
Touch them lightly and directly on the
screen.
The selected button is highlighted.
Page 13 of 72

171
ES350_Navi_U (L/O 0603)
AUDIO/VIDEO SYSTEM
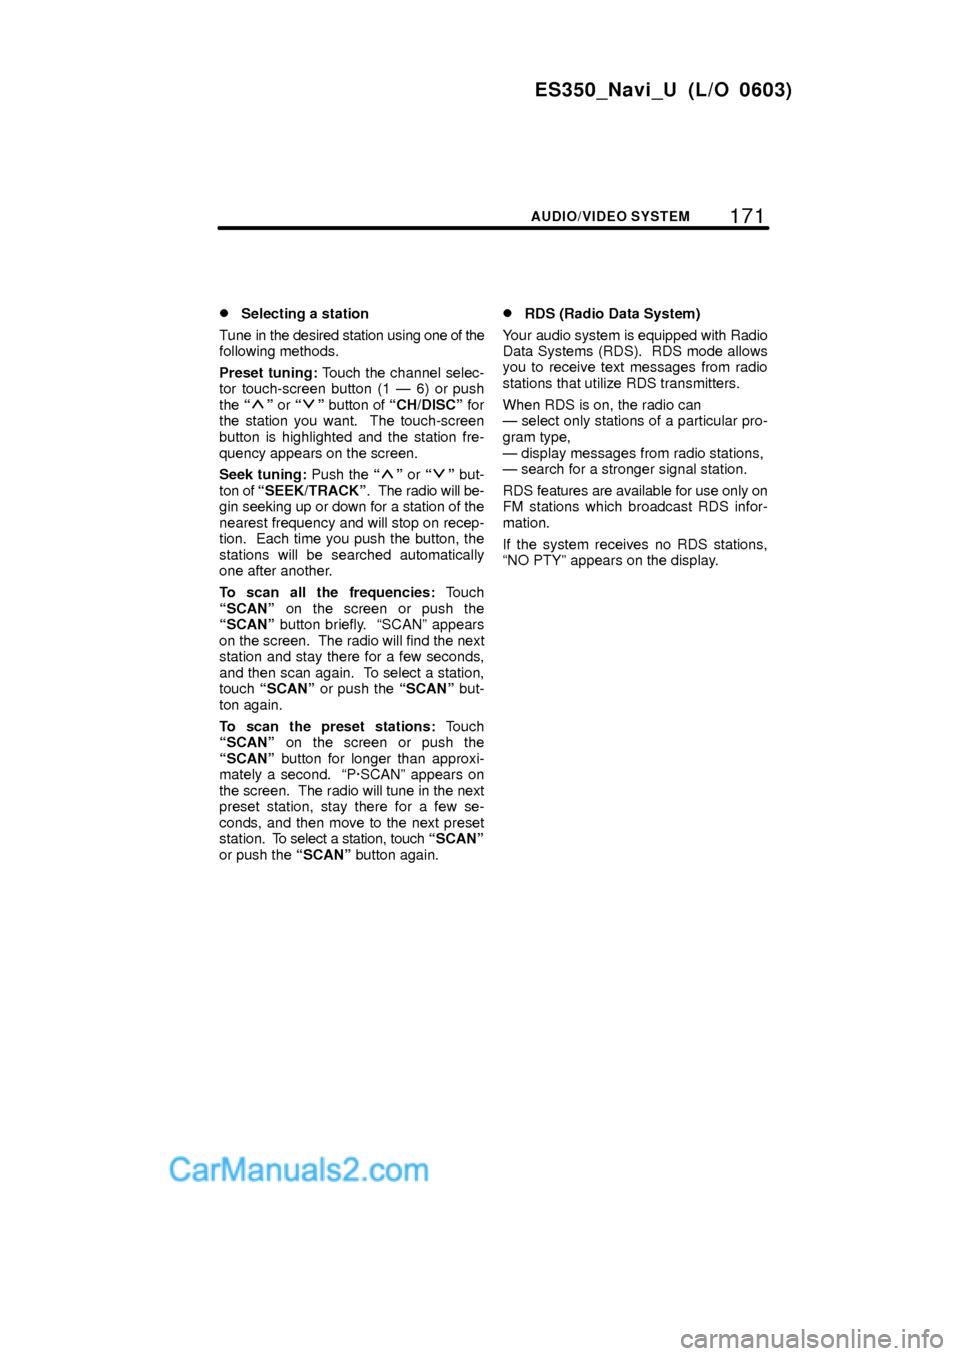
�Selecting a station
Tune in the desired station using one of the
following methods.
Preset tuning: Touch the channel selec-
tor touch-screen button (1 Ð 6) or push
the
º or º button of CH/DISCº for
the station you want. The touch-screen
button is highlighted and the station fre-
quency appears on the screen.
Seek tuning: Push the
º or º but-
ton of SEEK/TRACKº. The radio will be-
gin seeking up or down for a station of the
nearest frequency and will stop on recep-
tion. Each time you push the button, the
stations will be searched automatically
one after another.
To scan all the frequencies: Touch
SCANº on the screen or push the
SCANº button briefly. SCANº appears
on the screen. The radio will find the next
station and stay there for a few seconds,
and then scan again. To select a station,
touch SCANº or push the SCANº but-
ton again.
To scan the preset stations: Touch
SCANº on the screen or push the
SCANº button for longer than approxi-
mately a second. P´SCANº appears on
the screen. The radio will tune in the next
preset station, stay there for a few se-
conds, and then move to the next preset
station. To select a station, touch SCANº
or push the SCANº button again.
�RDS (Radio Data System)
Your audio system is equipped with Radio
Data Systems (RDS). RDS mode allows
you to receive text messages from radio
stations that utilize RDS transmitters.
When RDS is on, the radio can
Ð select only stations of a particular pro-
gram type,
Ð display messages from radio stations,
Ð search for a stronger signal station.
RDS features are available for use only on
FM stations which broadcast RDS infor-
mation.
If the system receives no RDS stations,
NO PTYº appears on the display.
Page 19 of 72

177
ES350_Navi_U (L/O 0603)
AUDIO/VIDEO SYSTEM
�Selecting a channel
Tune in the desired channel using one of
the following methods.
Preset tuning: Touch the channel selec-
tor touch-screen button (1 Ð 6) for the
channel you want. The touch-screen but-
ton (1 Ð 6) is highlighted and channel
number appears on the display.
To select channel within the current
category: Push the
º or º button of
SEEK/TRACKº.To scan the currently selected channel
category: Touch TYPE SCANº or push
the SCANº button briefly. SCANº ap-
pears on the display. The radio will find the
next channel in the same channel catego-
ry, stay there for a few seconds, and then
scan again. To select a channel, touch
TYPE SCANº or push the SCANº but-
ton a second time.
To scan the preset channels: Push the
SCANº button and hold it until you hear
a beep. P.SCANº appears on the display.
The radio will find the next preset channel,
stay there for a few seconds, and then
move to the next preset channel. To select
a channel, push the SCANº button a sec-
ond time.
Page 23 of 72

181
ES350_Navi_U (L/O 0603)
AUDIO/VIDEO SYSTEM
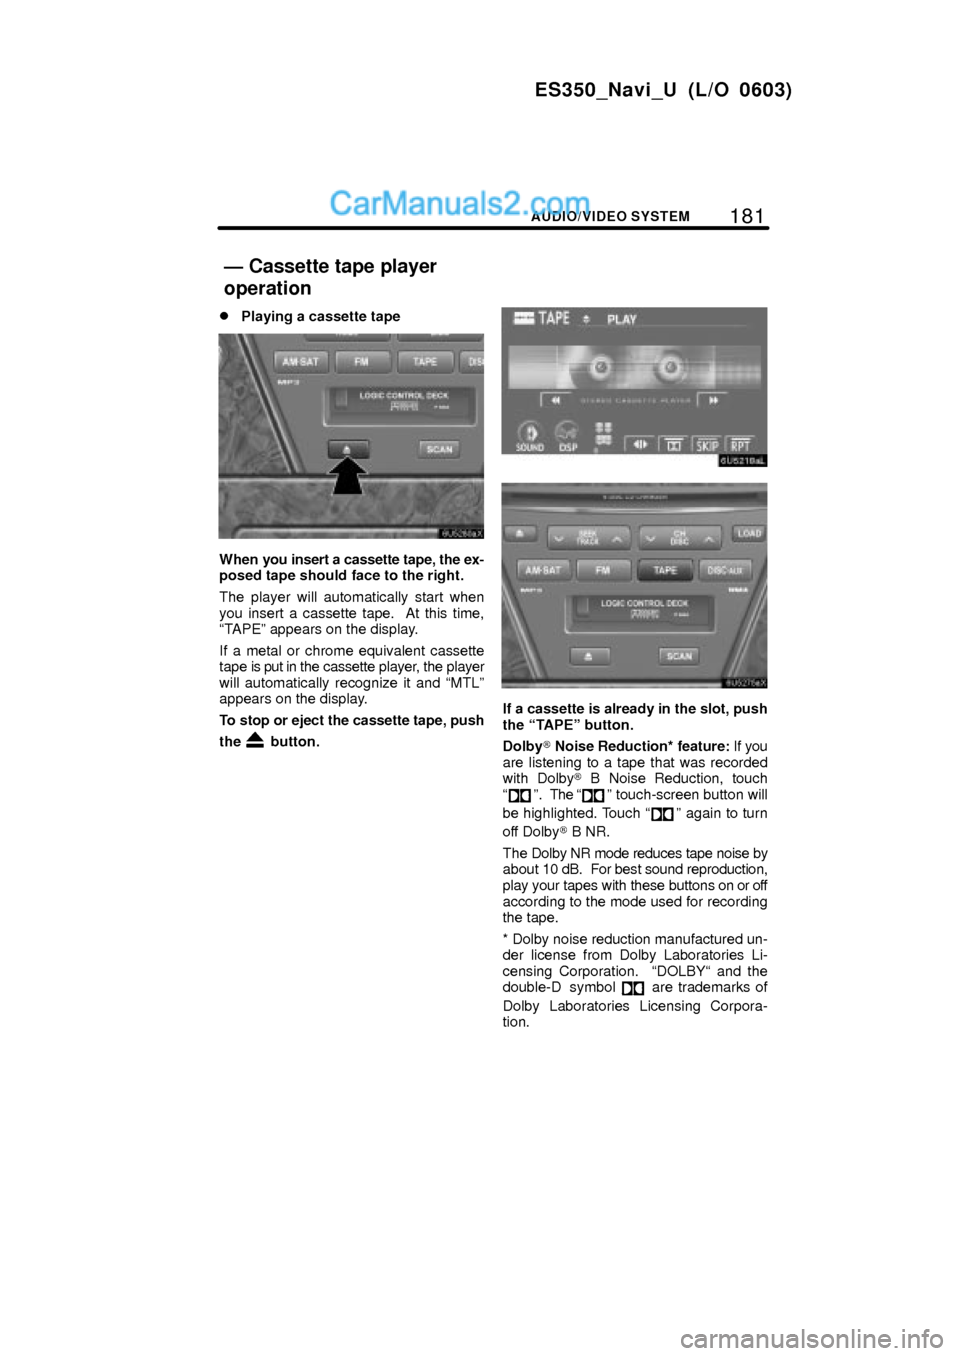
�Playing a cassette tape
When you insert a cassette tape, the ex-
posed tape should face to the right.
The player will automatically start when
you insert a cassette tape. At this time,
TAPEº appears on the display.
If a metal or chrome equivalent cassette
tape is put in the cassette player, the player
will automatically recognize it and MTLº
appears on the display.
To stop or eject the cassette tape, push
the
button.
If a cassette is already in the slot, push
the TAPEº button.
Dolby� Noise Reduction* feature: If you
are listening to a tape that was recorded
with Dolby� B Noise Reduction, touch
º. The º touch-screen button will
be highlighted. Touch
º again to turn
off Dolby� B NR.
The Dolby NR mode reduces tape noise by
about 10 dB. For best sound reproduction,
play your tapes with these buttons on or off
according to the mode used for recording
the tape.
* Dolby noise reduction manufactured un-
der license from Dolby Laboratories Li-
censing Corporation. DOLBY and the
double-D symbol
are trademarks of
Dolby Laboratories Licensing Corpora-
tion.
Ð Cassette tape player
operation
Page 28 of 72
186AUDIO/VIDEO SYSTEM
ES350_Navi_U (L/O 0603)
3. Insert the next disc after the amber
indicators change to green and stay on
and the CD changer door opens.
4. Repeat this procedure until you in-
sert all the discs.
To cancel the operation, push the LOADº
or DISC´AUXº button.
If you do not insert the discs within 15 sec-
onds after pushing the LOADº button, the
beep will sound and the operation will be
canceled automatically.
NOTICE
Do not insert one disc stacked on top
of another one or feed them in contin-
uously, to prevent discs from getting
stuck in the changer.
�Ejecting a single alone:
1. Push the º or º button of CH/
DISCº or touch the disc number button
on the screen to highlight the disc num-
ber you want to eject.
2. Push the button for the disc
briefly.
At this time, the amber indicators of the slot
start blinking and the disc is ejected.
3. After the blinking indicators stay on,
remove the disc.
Page 30 of 72

188AUDIO/VIDEO SYSTEM
ES350_Navi_U (L/O 0603)
(b) Playing a disc
Push the DISC´AUXº button if the disc
are already loaded in the CD changer.
The CD CHANGERº screen will be dis-
played.
The discs set in the CD changer are played
continuously, starting with the last disc you
inserted. The disc number of the disc cur-
rently being played, the track or title and
chapter number and the time from the be-
ginning of the program are shown on the
display.
When play of one disc ends, the first track
of the following disc starts. When play of
the final disc ends, play of the first disc
starts again.
The changer will skip any empty disc trays.(c) Selecting a desired disc
On the screen:
Touch the desired disc number.
The selected disc number is highlighted.
The changer will start playing the selected
disc from the first track.
On the audio panel:
Push the
º or º button of CH/
DISCº.
When you release the button, the changer
will start playing the selected disc from the
first track.
Page 42 of 72
200AUDIO/VIDEO SYSTEM
ES350_Navi_U (L/O 0603)
3. Insert the next disc after the amber
indicators change to green and stay on
and the DVD changer door opens.
4. Repeat this procedure until you in-
sert all the discs.
To cancel the operation, push the LOADº
or DISC´AUXº button.
If you do not insert the discs within 15 sec-
onds after pushing the LOADº button, the
beep will sound and the operation will be
canceled automatically.
NOTICE
Do not insert one disc stacked on top
of another one or feed them in contin-
uously, to prevent discs from getting
stuck in the changer.
�Ejecting a single alone:
1. Push the º or º button of CH/
DISCº or touch the disc number button
on the screen to highlight the disc num-
ber you want to eject.
2. Push the button for the disc
briefly.
At this time, the amber indicators of the slot
start blinking and the disc is ejected.
3. After the blinking indicators stay on,
remove the disc.
Page 44 of 72

202AUDIO/VIDEO SYSTEM
ES350_Navi_U (L/O 0603)
(c) Selecting a desired disc
On the screen:
Touch the desired disc number.
The selected disc number is highlighted.
The changer will start playing the selected
disc from the first track.
On the audio panel:
Push the
º or º button of CH/
DISCº.
When you release the button, the changer
will start playing the selected disc from the
first track.(d) Operating a DVD disc
NOTE: The playback condition of some
DVD discs may be determined by a DVD
software producer. This DVD changer
plays a disc as the software producer in-
tended. So some functions may not work
properly. Be sure to read the instruction
manual for the DVD disc separately pro-
vided. For the detailed information about
DVD video discs, see (g) DVD player and
DVD video disc informationº on page 217.
�Precautions on DVD video disc
When recording with a DVD video, DVD
audio or video CD, audio tracks may not
record in some cases while the menu is
displayed. As audio will not play in this
case, verify that the video tracks are play-
ing and then activate playback.
When playback of a disc is completed:
�If an audio CD or MP3/WMA disc is
playing, the first track or file starts.
�If a DVD video, DVD audio or video CD
is playing, playback will stop or the
menu screen will be displayed.
The title/chapter number and playback
time display may not appear while playing
back certain DVD video discs.
CAUTION
Conversational speech on some
DVDs is recorded at a low volume to
emphasize the impact of sound ef-
fects. If you adjust the volume as-
suming that the conversations repre-
sent the maximum volume level that
the DVD will play, you may be startled
by louder sound effects or when you
change to a different audio source.
The louder sounds may have a signif-
icant impact on the human body or
pose a driving hazard. Keep this in
mind when you adjust the volume.