2007 KIA Sportage key battery
[x] Cancel search: key batteryPage 12 of 350

33
Knowing your vehicle
1
2
3
4
5
6
7
8
9
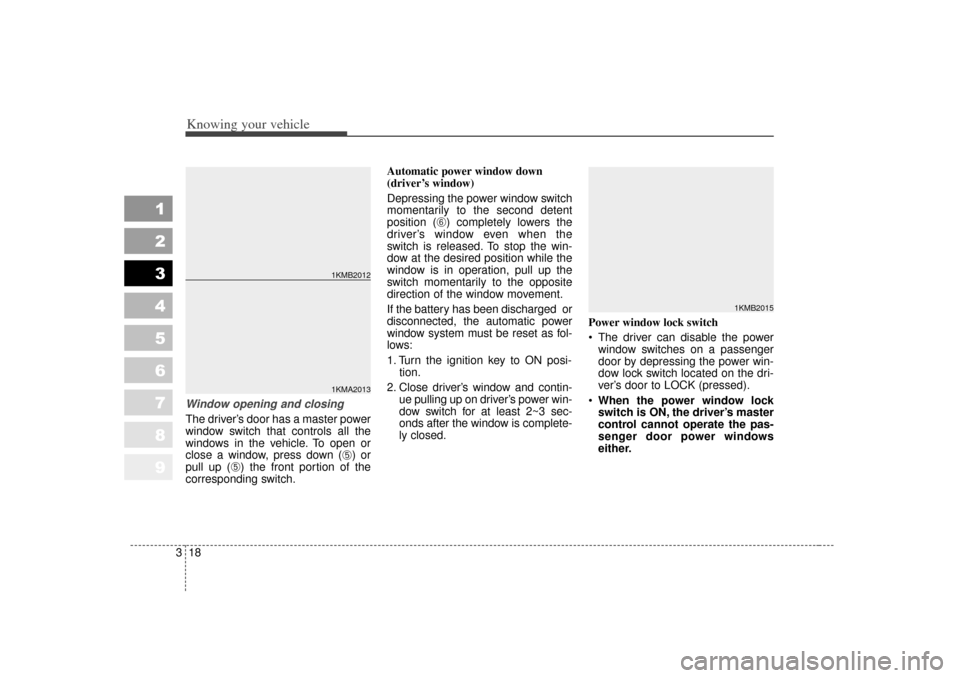
➀
Lock button
➁
Unlock button
➂
Panic button
➀
Lock ( )All doors are locked if the lock but-
ton is pressed.
➁
Unlock ( ) Driver’s door is unlocked if the
unlock button is pressed once. All
doors are unlocked if the unlock
button is pressed twice within 4
seconds.
After pressing this button, the
doors will be locked automati-
cally unless you open them
within 30 seconds.
➂
Panic ( )
The horn sounds and hazard
warning lights will flash for about
30 seconds if this button is
pressed. To stop the horn and
lights, press any button on the
transmitter.
✽ ✽ NOTICEThe transmitter will not work if any
of following occur:
• The ignition key is in ignition
switch.
• You exceed the operating distance limit (about 10 m [30 feet]).
• The battery in the transmitter is weak.
• Other vehicles or objects may be blocking the signal.
• The weather is extremely cold.
• The transmitter is close to a radio transmitter such as a radio station
or an airport which can interfere
with normal operation of the
transmitter.
When the transmitter does not work
correctly, open and close the door
with the ignition key. If you have a
problem with the transmitter, con-
tact an authorized Kia Dealer.
REMOTE KEYLESS ENTRY (IF EQUIPPED)
1KMA2002/1KMN2002
➀
➁
➂
Page 13 of 350

Knowing your vehicle43
1
2
3
4
5
6
7
8
9
✽ ✽NOTICEKeep the transmitter away from
water or any liquid. If the keyless
entry system is inoperative due to
exposure to water or liquids, it will
not be covered by your manufactur-
er vehicle warranty. Operational distance may vary
depending upon the area the trans-
mitter is used in. For example, if the
vehicle is parked near police sta-
tions, government and public offices,
broadcasting stations, military instal-
lations, airports, or transmitting tow-
ers, etc. This device complies with
Industry Canada Standard RSS-
210.
Operation is subject to the fol-
lowing two conditions:
1. This device may not cause inter- ference, and
2. This device must accept any inter- ference, including interference that
may cause undesired operation of
the device.
Battery replacementTransmitter uses a 3 volt lithium bat-
tery which will normally last for sev-
eral years. When replacement is
necessary, use the following proce-
dure.
1. Insert a slim tool into the slot andgently pry open the transmitter
center cover (
➀).
2. Replace the battery with new one. When replacing the battery, make
sure the battery positive “+” sym-
bol faces up as indicated in the
illustration.
3. Install the battery in the reverse order of removal.
1KMA2003
➀
WARNING
Changes or modifications not
expressly approved by the party
responsible for compliance
could void the user's authority
to operate the equipment.
Page 14 of 350

35
Knowing your vehicle
1
2
3
4
5
6
7
8
9
✽ ✽NOTICEThe keyless entry system transmit-
ter is designed to give you years of
troublefree use, however it can mal-
function if exposed to moisture or
static electricity. If you are unsure
how to use your transmitter or
replace the battery, contact an
authorized Kia dealer. For replacement transmitters, see an
Authorized Kia Dealer for reprogram-
ming.✽ ✽NOTICE• Using the wrong battery can cause
the transmitter to malfunction. Be
sure to use the correct battery.
• To avoid damaging the transmit- ter, don't drop it, get it wet, or
expose it to heat or sunlight.
This system is designed to provide
protection from unauthorized entry
into the car. This system is operated
in three stages: the first is the
"Armed" stage, the second is the
"Alarm" stage, and the third is the
"Disarmed" stage. If triggered, the
system provides an audible alarm
with blinking of the hazard warning
lights.
Armed stagePark the car and stop the engine.
Arm the system as described below.
1. Remove the ignition key from the
ignition switch.
2. Make sure that the engine hood and rear hatch/window are closed
and latched.
3. Lock the doors using the transmit- ter of the keyless entry system.
After completion of the steps above,
the hazard warning lights will blink
once to indicate that the system is
armed.
THEFT-ALARM SYSTEM (IF EQUIPPED)
HMR.082
Page 27 of 350

Knowing your vehicle18
3
1
2
3
4
5
6
7
8
9
Window opening and closingThe driver’s door has a master power
window switch that controls all the
windows in the vehicle. To open or
close a window, press down (
➄) or
pull up (
➄) the front portion of the
corresponding switch. Automatic power window down
(driver’s window)
Depressing the power window switch
momentarily to the second detent
position (
\b) completely lowers the
driver’s window even when the
switch is released. To stop the win-
dow at the desired position while the
window is in operation, pull up the
switch momentarily to the opposite
direction of the window movement.
If the battery has been discharged or
disconnected, the automatic power
window system must be reset as fol-
lows:
1. Turn the ignition key to ON posi- tion.
2. Close driver’s window and contin- ue pulling up on driver’s power win-
dow switch for at least 2~3 sec-
onds after the window is complete-
ly closed. Power window lock switch
The driver can disable the power
window switches on a passenger
door by depressing the power win-
dow lock switch located on the dri-
ver’s door to LOCK (pressed).
When the power window lock
switch is ON, the driver’s master
control cannot operate the pas-
senger door power windows
either.
1KMA20131KMB2012
1KMB2015
Page 112 of 350

3 103
1
2
3
4
5
6
7
8
9
Knowing your vehicle
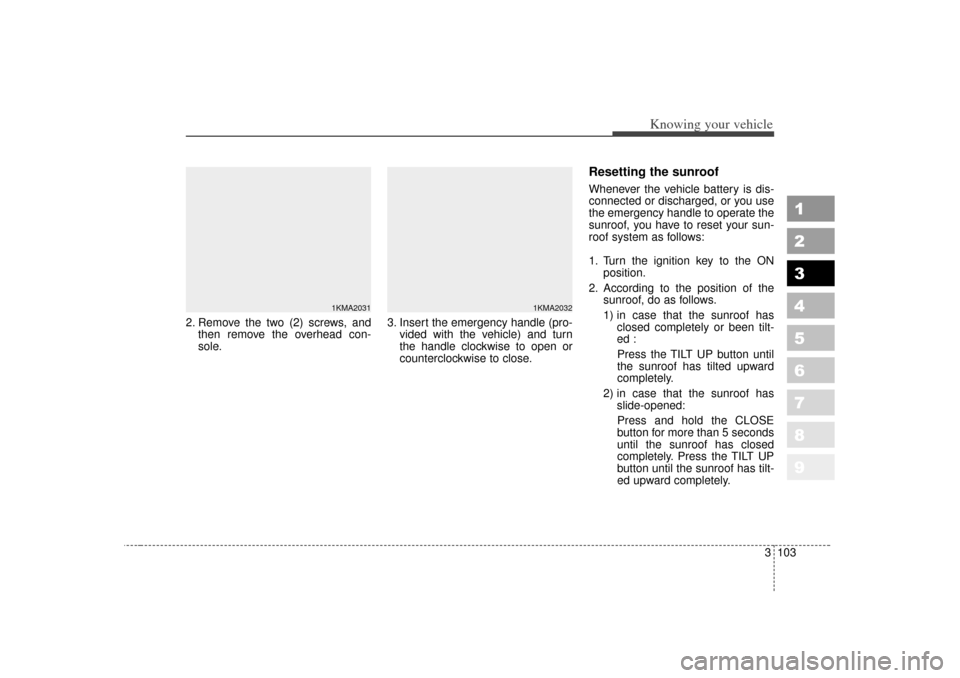
2. Remove the two (2) screws, andthen remove the overhead con-
sole. 3. Insert the emergency handle (pro-
vided with the vehicle) and turn
the handle clockwise to open or
counterclockwise to close.
Resetting the sunroofWhenever the vehicle battery is dis-
connected or discharged, or you use
the emergency handle to operate the
sunroof, you have to reset your sun-
roof system as follows:
1. Turn the ignition key to the ON position.
2. According to the position of the sunroof, do as follows.
1) in case that the sunroof hasclosed completely or been tilt-
ed :
Press the TILT UP button until
the sunroof has tilted upward
completely.
2) in case that the sunroof has slide-opened:
Press and hold the CLOSE
button for more than 5 seconds
until the sunroof has closed
completely. Press the TILT UP
button until the sunroof has tilt-
ed upward completely.
1KMA2031
1KMA2032
Page 120 of 350

Driving your vehicle24
1
2
3
4
5
6
7
8
9
Illuminated ignition switch
(if equipped)Whenever a door is opened, the igni-
tion switch will be illuminated for your
convenience, provided the ignition
switch is not in the ON position. The
light will go off approximately 10 sec-
onds after closing the door or when
the ignition switch is turned on.
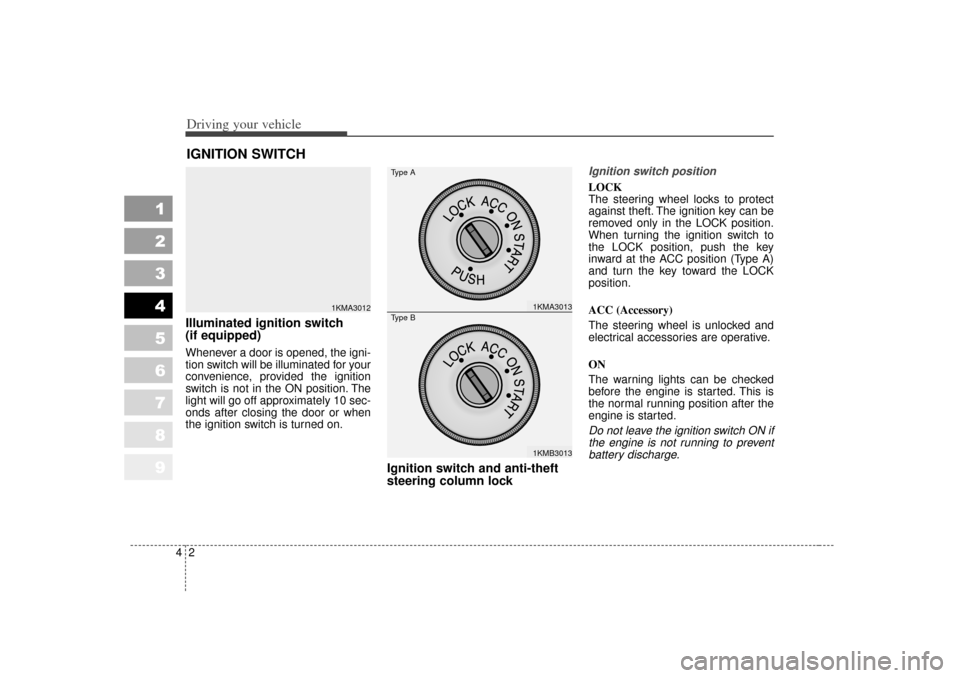
Ignition switch and anti-theft
steering column lock
Ignition switch positionLOCK
The steering wheel locks to protect
against theft. The ignition key can be
removed only in the LOCK position.
When turning the ignition switch to
the LOCK position, push the key
inward at the ACC position (Type A)
and turn the key toward the LOCK
position.
ACC (Accessory)
The steering wheel is unlocked and
electrical accessories are operative.
ON
The warning lights can be checked
before the engine is started. This is
the normal running position after the
engine is started.Do not leave the ignition switch ON ifthe engine is not running to preventbattery discharge.
IGNITION SWITCH
1KMA3012
1KMA30131KMB3013
Type AType B
Page 175 of 350

457
Driving your vehicle
1
2
3
4
5
6
7
8
9
Battery saver function The purpose of this feature is toprevent the battery from being dis-
charged. The system automatically
turns off the headlights and park-
ing lights when the driver removes
the ignition key and opens the dri-
ver- side door.
With this feature, the parklight will be turned off automatically if the
driver parks on the side of road at
night.
If necessary, to keep the lights on
when the ignition key is removed,
perform the following :
1) Open the driver-side door.
2) Turn the parklights OFF and ON again using the light switch on the
steering column.
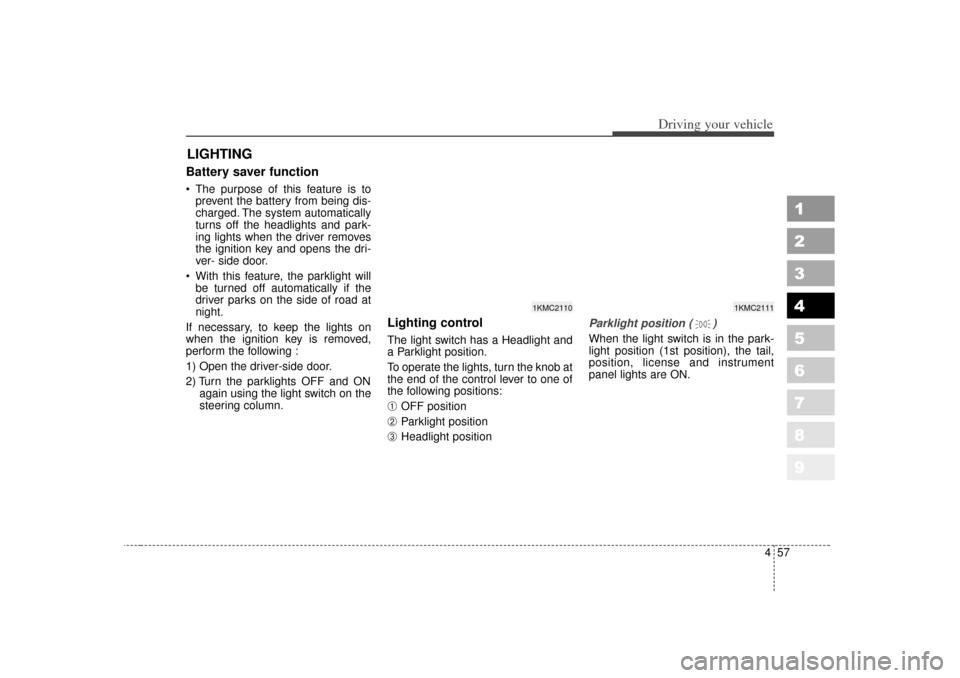
Lighting control The light switch has a Headlight and
a Parklight position.
To operate the lights, turn the knob at
the end of the control lever to one of
the following positions:➀
OFF position
➁
Parklight position
➂
Headlight position
Parklight position ( )When the light switch is in the park-
light position (1st position), the tail,
position, license and instrument
panel lights are ON.
LIGHTING
1KMC2111
1KMC2110