Page 157 of 350
439
Driving your vehicle
1
2
3
4
5
6
7
8
9
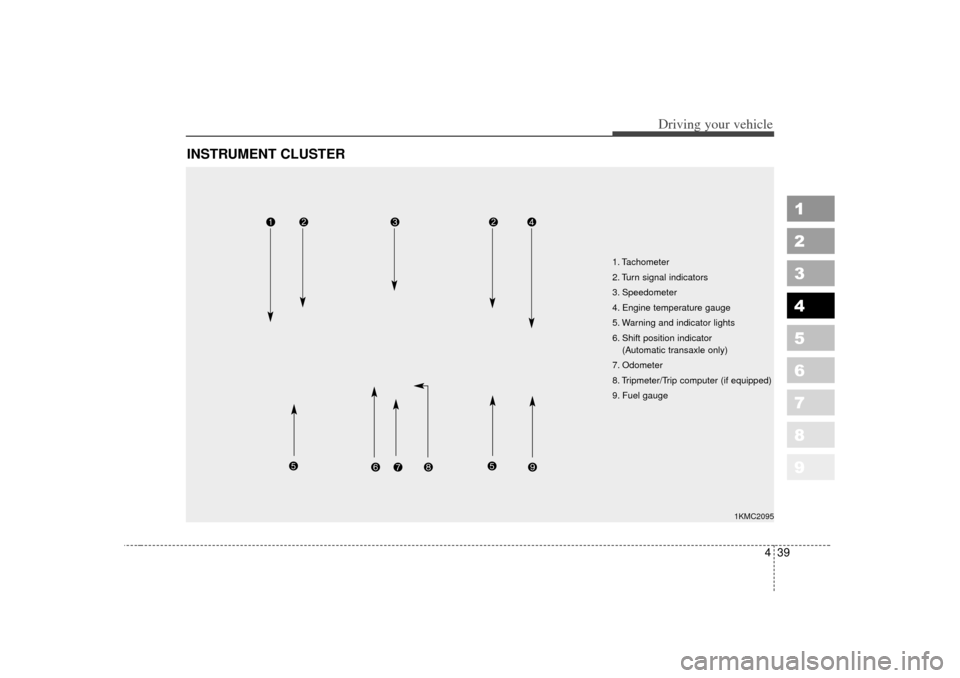
INSTRUMENT CLUSTER
1. Tachometer
2. Turn signal indicators
3. Speedometer
4. Engine temperature gauge
5. Warning and indicator lights
6. Shift position indicator (Automatic transaxle only)
7. Odometer
8. Tripmeter/Trip computer (if equipped)
9. Fuel gauge
1KMC2095
Page 166 of 350
Driving your vehicle48
4
1
2
3
4
5
6
7
8
9
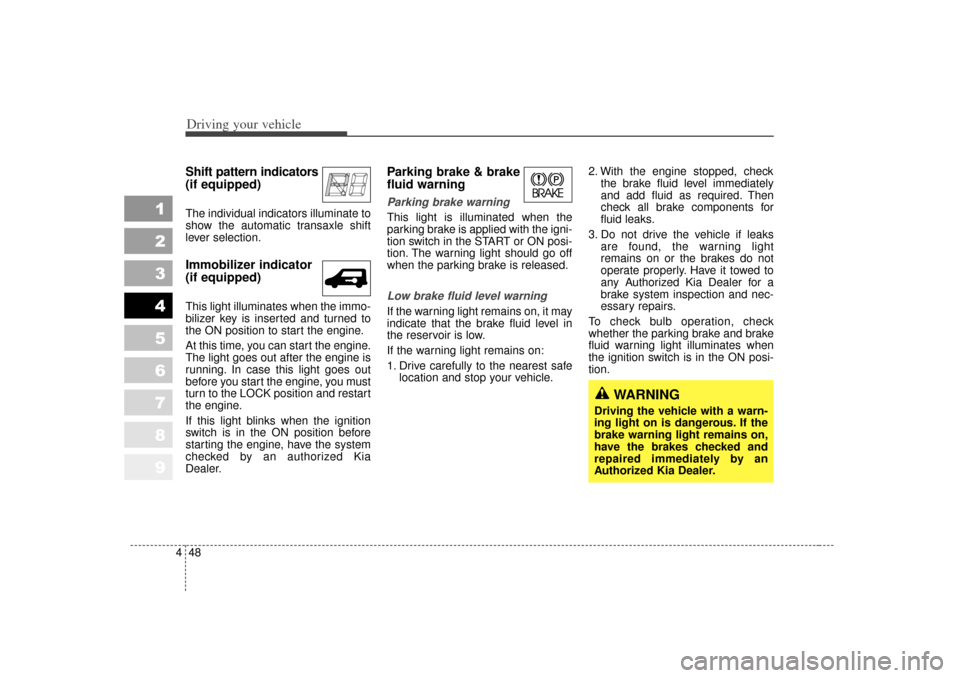
Shift pattern indicators
(if equipped)The individual indicators illuminate to
show the automatic transaxle shift
lever selection.Immobilizer indicator
(if equipped)This light illuminates when the immo-
bilizer key is inserted and turned to
the ON position to start the engine.
At this time, you can start the engine.
The light goes out after the engine is
running. In case this light goes out
before you start the engine, you must
turn to the LOCK position and restart
the engine.
If this light blinks when the ignition
switch is in the ON position before
starting the engine, have the system
checked by an authorized Kia
Dealer.
Parking brake & brake
fluid warning Parking brake warning This light is illuminated when the
parking brake is applied with the igni-
tion switch in the START or ON posi-
tion. The warning light should go off
when the parking brake is released.Low brake fluid level warningIf the warning light remains on, it may
indicate that the brake fluid level in
the reservoir is low.
If the warning light remains on:
1. Drive carefully to the nearest safe
location and stop your vehicle. 2. With the engine stopped, check
the brake fluid level immediately
and add fluid as required. Then
check all brake components for
fluid leaks.
3. Do not drive the vehicle if leaks are found, the warning light
remains on or the brakes do not
operate properly. Have it towed to
any Authorized Kia Dealer for a
brake system inspection and nec-
essary repairs.
To check bulb operation, check
whether the parking brake and brake
fluid warning light illuminates when
the ignition switch is in the ON posi-
tion.
WARNING
Driving the vehicle with a warn-
ing light on is dangerous. If the
brake warning light remains on,
have the brakes checked and
repaired immediately by an
Authorized Kia Dealer.
Page 172 of 350
Driving your vehicle54
4
1
2
3
4
5
6
7
8
9
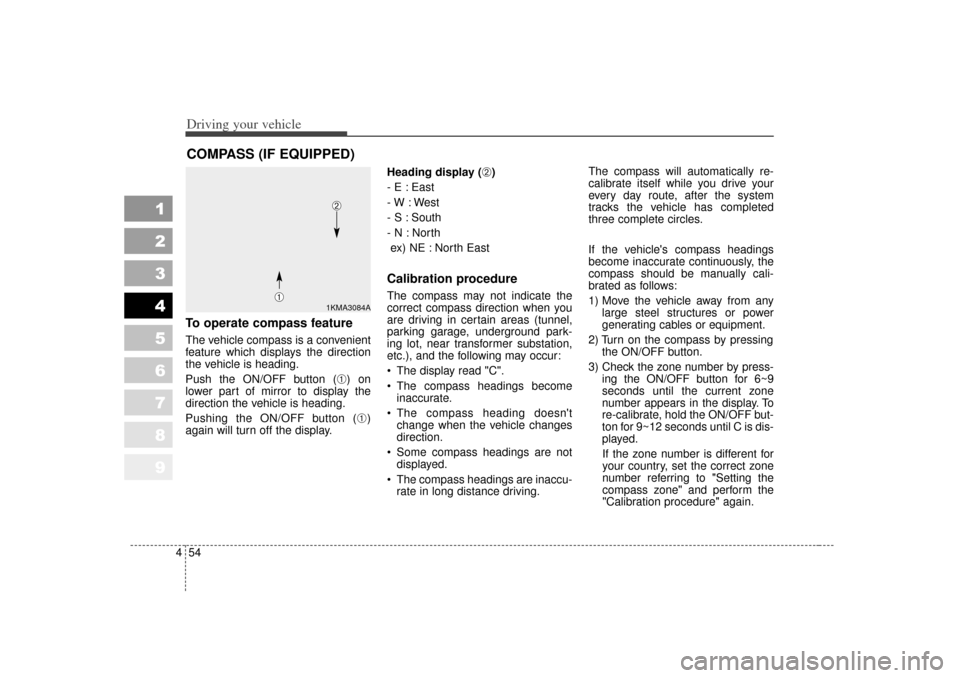
To operate compass featureThe vehicle compass is a convenient
feature which displays the direction
the vehicle is heading.
Push the ON/OFF button (
➀) on
lower part of mirror to display the
direction the vehicle is heading.
Pushing the ON/OFF button (➀)
again will turn off the display. Heading display (
➁)
- E : East
- W : West
- S : South
- N : North ex) NE : North East
Calibration procedureThe compass may not indicate the
correct compass direction when you
are driving in certain areas (tunnel,
parking garage, underground park-
ing lot, near transformer substation,
etc.), and the following may occur:
The display read "C".
The compass headings become inaccurate.
The compass heading doesn't change when the vehicle changes
direction.
Some compass headings are not displayed.
The compass headings are inaccu- rate in long distance driving. The compass will automatically re-
calibrate itself while you drive your
every day route, after the system
tracks the vehicle has completed
three complete circles.
If the vehicle's compass headings
become inaccurate continuously, the
compass should be manually cali-
brated as follows:
1) Move the vehicle away from any
large steel structures or power
generating cables or equipment.
2) Turn on the compass by pressing the ON/OFF button.
3) Check the zone number by press- ing the ON/OFF button for 6~9
seconds until the current zone
number appears in the display. To
re-calibrate, hold the ON/OFF but-
ton for 9~12 seconds until C is dis-
played.
If the zone number is different for
your country, set the correct zone
number referring to "Setting the
compass zone" and perform the
"Calibration procedure" again.
COMPASS (IF EQUIPPED)
1KMA3084A
➀
➁
Page 175 of 350
457
Driving your vehicle
1
2
3
4
5
6
7
8
9
Battery saver function The purpose of this feature is toprevent the battery from being dis-
charged. The system automatically
turns off the headlights and park-
ing lights when the driver removes
the ignition key and opens the dri-
ver- side door.
With this feature, the parklight will be turned off automatically if the
driver parks on the side of road at
night.
If necessary, to keep the lights on
when the ignition key is removed,
perform the following :
1) Open the driver-side door.
2) Turn the parklights OFF and ON again using the light switch on the
steering column.
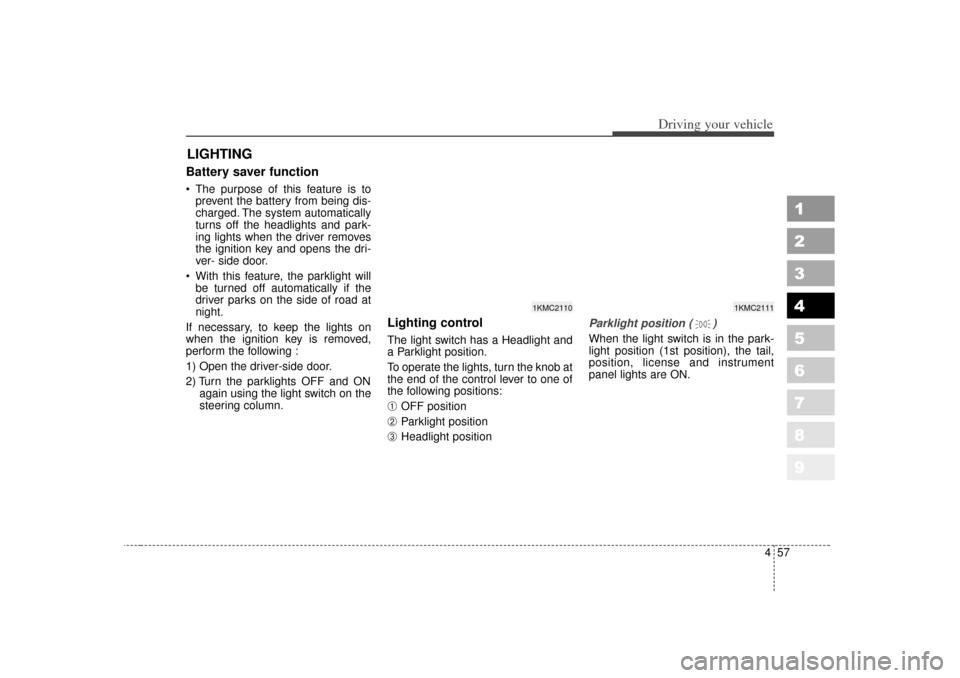
Lighting control The light switch has a Headlight and
a Parklight position.
To operate the lights, turn the knob at
the end of the control lever to one of
the following positions:➀
OFF position
➁
Parklight position
➂
Headlight position
Parklight position ( )When the light switch is in the park-
light position (1st position), the tail,
position, license and instrument
panel lights are ON.
LIGHTING
1KMC2111
1KMC2110
Page 182 of 350
Driving your vehicle64
4
1
2
3
4
5
6
7
8
9
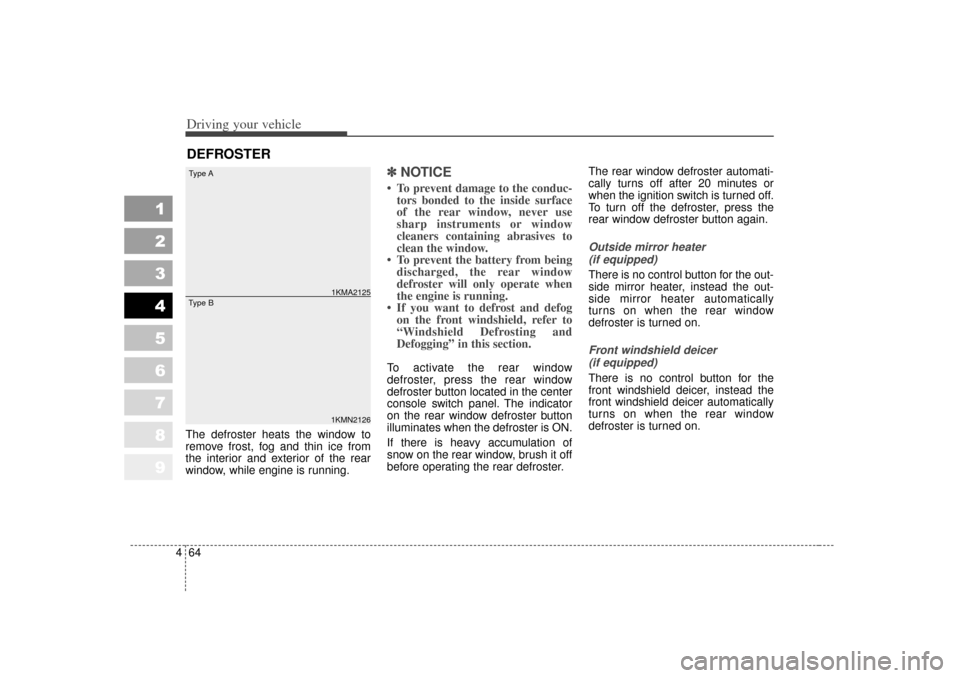
The defroster heats the window to
remove frost, fog and thin ice from
the interior and exterior of the rear
window, while engine is running.
✽ ✽
NOTICE• To prevent damage to the conduc-
tors bonded to the inside surface
of the rear window, never use
sharp instruments or window
cleaners containing abrasives to
clean the window.
• To prevent the battery from being discharged, the rear window
defroster will only operate when
the engine is running.
• If you want to defrost and defog on the front windshield, refer to
“Windshield Defrosting and
Defogging” in this section. To activate the rear window
defroster, press the rear window
defroster button located in the center
console switch panel. The indicator
on the rear window defroster button
illuminates when the defroster is ON.
If there is heavy accumulation of
snow on the rear window, brush it off
before operating the rear defroster. The rear window defroster automati-
cally turns off after 20 minutes or
when the ignition switch is turned off.
To turn off the defroster, press the
rear window defroster button again.
Outside mirror heater
(if equipped)There is no control button for the out-
side mirror heater, instead the out-
side mirror heater automatically
turns on when the rear window
defroster is turned on.Front windshield deicer(if equipped)There is no control button for the
front windshield deicer, instead the
front windshield deicer automatically
turns on when the rear window
defroster is turned on.
DEFROSTER
1KMN21261KMA2125
Type AType B
Page 186 of 350
Driving your vehicle68
4
1
2
3
4
5
6
7
8
9
MAX/ A/C position
When you select the MAX
A/C mode while the fan
speed is on, the following
system settings will be
made automatically;
the air conditioning sys-
tem will be turned on.
the recirculated air posi- tion will be selected.
the face mode will be selected.
If you select MAX A/C mode, you will not be able
to cancel the A/C system
operation, or change the
recirculated air mode posi-
tion.
Set the fan speed control knob to the desired speed
and rotate the tempera-
ture control knob to the
extreme left position for
maximum cooling.
(outlet port: , )
1KMB2134
B
E
MAX
A/C
Page 191 of 350
473
Driving your vehicle
1
2
3
4
5
6
7
8
9
When maximum cooling is desired,set the temperature control to the
extreme left position, set the air
intake control to the recirculated air
position, then set the fan speed
control to the highest speed.✽ ✽ NOTICE• When using the air conditioning
system, monitor the temperature
gauge closely while driving up
hills or in heavy traffic when out-
side temperatures are high. Air
conditioning system operation
may cause engine overheating.
Continue to use the blower fan but
turn the air conditioning system
off if the temperature gauge indi-
cates engine overheating.
• When opening the windows in humid weather air conditioning
may create water droplets inside
the vehicle. Since excessive water
droplets may cause damage to
electrical equipment, air condi-
tioning should only be run with
the windows closed.
Air conditioning system oper-
ation tips If the vehicle has been parked in
direct sunlight during hot weather,
open the windows for a short time
to let the hot air inside the vehicle
escape.
To help reduce moisture inside of windows on rainy humid days,
decrease the humidity inside the
vehicle by operating the air condi-
tioning system.
During air conditioning system operation, you may occasionally
notice a slight change in engine
speed at idle as the air condition-
ing compressor cycles on. This is a
normal system operation charac-
teristics.
Use the air conditioning system every month if only for a few min-
utes to ensure maximum system
performance.
When using the air conditioning system, you may notice clear water
dripping (or even pudding) on the
ground under the passenger side
of the vehicle. This is a normal sys-
tem operation characteristics. The air conditioning system
includes a function that automati-
cally turns the air conditioning
compressor off if engine coolant
temperature approaches an over
heating level. The air conditioning
compressor operation will resume
once engine coolant temperature
returns to the normal range. Also,
the air conditioning compressor is
automatically turned off for a few
seconds when the accelerator is
fully depressed (wide open throt-
tle).
When operating the air condition- ing system use the outside (fresh)
air position.
Operating the air conditioning sys- tem in the recirculated air position
does provide maximum cooling,
however, continual operation in this
mode may cause the air inside the
vehicle to become stale.
Page 193 of 350
475
Driving your vehicle
1
2
3
4
5
6
7
8
9
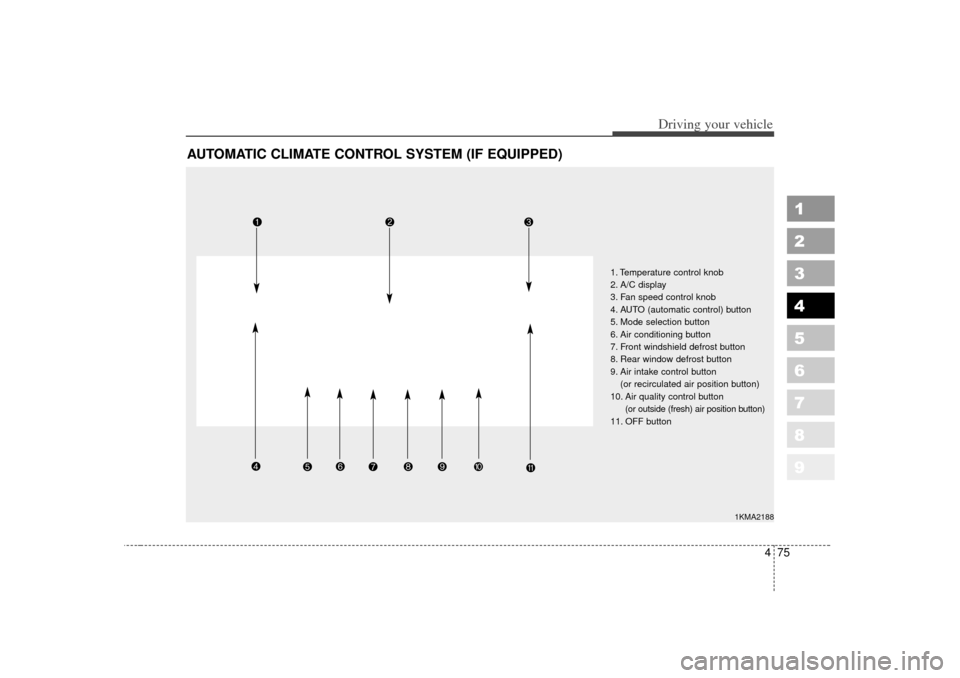
AUTOMATIC CLIMATE CONTROL SYSTEM (IF EQUIPPED)
1KMA2188
1. Temperature control knob
2. A/C display
3. Fan speed control knob
4. AUTO (automatic control) button
5. Mode selection button
6. Air conditioning button
7. Front windshield defrost button
8. Rear window defrost button
9. Air intake control button (or recirculated air position button)
10. Air quality control button
(or outside (fresh) air position button)
11. OFF button