Page 66 of 350
357
1
2
3
4
5
6
7
8
9
Knowing your vehicle
Airbag system components The main components of your SRS
are:
To indicate that your vehicle isequipped with airbags, the corre-
sponding airbag covers are
marked with “SRS AIRBAG”.
- Driver’s airbag (see page 3- 59)
- Passenger’s airbag (see page 3- 60)
- Side airbag (if equipped, see page 3- 67)
- Curtain airbag (if equipped, see page 3- 67)
A diagnostic system that continual- ly monitors the system operation.
Airbag warning light to warn you of a possible problem with the sys-
tem.
Emergency power backup in case your car’s electrical system is dis-
connected in a crash. The SRS uses a collection of sen-
sors to gather information about the
driver’s and front passenger’s seat
position, the driver’s and front pas-
senger’s safety belt usage and
impact severity.
The driver's and front passenger's
seat position sensors, which are
installed on the seat track let the
airbag control module know where
the seats are positioned. Similarly,
the safety belt usage sensors mea-
sure if the driver and front passen-
ger’s safety belts are fastened. These
sensors provide the ability to control
the SRS deployment based on how
close the driver’s seat is to the steer-
ing wheel, how close the passen-
ger’s seat is to the instrument panel,
whether or not the safety belts are
fastened, and the severity of the
impact.
(Continued)
If your vehicle has been sub-
jected to flood conditions (e.g.
soaked carpeting/standing
water on the floor of the vehi-
cle, etc.) or if your vehicle has
become flood damaged in any
way, do not attempt to start
the vehicle or put the key in
the ignition. Have the vehicle
towed to an authorized Kia
dealer for inspection and nec-
essary repairs.
Disregarding this precaution
may cause an unexpected
airbag deployment, which
could result in serious per-
sonal injury or death.
Page 67 of 350
Knowing your vehicle58
3
1
2
3
4
5
6
7
8
9
The advanced SRS offers the ability
to control the airbag inflation with two
levels. A first stage level is provided
for moderate-severity impacts. A sec-
ond stage level is provided for more
severe impacts.
According to the impact severity,
seating position and safety belt
usage, the SRS Control Module con-
trols the airbag inflation.
Additionally, your SRS is equipped
with an occupant classification sys-
tem in the front passenger’s seat.
The occupant classification system
detects the presence of a passenger
in the front passenger’s seat and will
turn off the front passenger’s airbag
under certain conditions in order to
protect smaller front passenger seat
occupants. For more detail, see
“Occupant Classification System”
later in this section.
WARNING
- Seating sen-
sors malfunction
If the seat position sensor is not
working properly, the airbag
warning light ( ) on the instru-
ment panel will illuminate
because the airbag warning
light is connected with the seat
position sensor. If the airbag
warning light does not illumi-
nate when the ignition key is
turned to the "ON" position, if it
remains illuminated after illumi-
nating for approximately 6 sec-
onds, or if it illuminates while
the vehicle is being driven, have
an authorized Kia dealer inspect
your vehicle as soon as possi-
ble.
AIR
BAG
WARNING
- Seat usage
Modification to the seat struc- ture can damage the seat
position sensor and cause the
airbag to deploy at a different
level than should be provided.
Do not place any objects underneath the front seats
since they could damage the
seat position sensor or inter-
fere with the occupant classi-
fication system.
Do not place any objects that may cause magnetic fields
near the front seat. These may
cause a malfunction of the
seat position sensor.
(Continued)
Page 72 of 350
363
1
2
3
4
5
6
7
8
9
Knowing your vehicle
CAUTION
If the occupant classificationsystem is not working properly,the airbag warning light ( ) onthe instrument panel will illumi-nate because the passenger’sairbag is connected with theoccupant classification system.If there is a malfunction of theoccupant classification system,the "PASSENGER AIR BAGOFF" indicator will illuminateand the front passenger'sairbag will not deploy in frontalcrashes even if there is adultoccupant in the front passen-ger's seat.
(Continued)
AIR
BAG
(Continued)
Have an authorized Kia dealerinspect the occupant classifica-tion system with the SRS airbagsystem as soon as possible ifany of following occur;
The SRS airbag warning light does not illuminate when theignition key is turned to "ON"position.
The SRS airbag warning light remains illuminated after illu-minating for approximately 6seconds.
The SRS airbag warning light illuminates while the vehicle isbeing driven.
WARNING
The occupant classification system can function only
when the ignition key is in the
"ON" position.
For very small person, the occupant classification sys-
tem may or may not turn off
the right front passenger's
frontal airbag, depending
upon the person's seating
posture and body build.
Everyone in your vehicle
should wear a safety belt
properly -- whether or not
there is an air bag for that per-
son.
(Continued)
WARNING
If the front passenger seat
should be modified for persons
with disabilities that may affect
the operation of the occupant
classification system, contact
an authorized Kia dealer.
Page 83 of 350
Knowing your vehicle74
3
1
2
3
4
5
6
7
8
9
How does the airbag system
operate Airbags only operate when the
ignition switch is turned to the ON
or START positions.
Airbags inflate instantly in the event of serious frontal or side col-
lision in order to help protect the
occupants from physical injury.
The airbag Electronic Control Unit
(ECU) is a small computer which
calculates the immediate impact
information and sends out a
deployment signal based on the
ECU's calculation of the likely
severity of the developing collision.
There is no single vehicle speed at which the airbags will inflate. Airbag deployment depends on a
number of factors including vehicle
speed, angles of impact and the
density and stiffness of the vehi-
cles or objects which your vehicle
hits in the collision. However, fac-
tors are not limited to those men-
tioned above.
The front airbags will completely inflate and deflate in an instant.
It is impossible for you to see the
airbags inflate during an accident.
It is much more likely that you will
simply see the deflated airbags
hanging out of their storage com-
partments after the collision. In order to help provide protection
in a severe collision, the airbags
must inflate rapidly. The speed of
airbag inflation has been deter-
mined by the Canadian Motor
Vehicle Safety Standard (CMVSS)
to reduce the likelihood of serious
or life-threatening injuries and is
thus a mandatory part of the airbag
design.
However, airbag inflation can also
cause injuries which normally can
include facial abrasions, bruises
and broken bones, and sometimes
more serious injuries because that
inflation speed also causes the
airbags to expand with a great deal
force.
There are even circumstances under which contact with the
steering wheel airbag can cause
fatal injuries, especially if the
occupant is positioned exces-
sively close to the steering
wheel.
Page 86 of 350
377
1
2
3
4
5
6
7
8
9
Knowing your vehicle
When the ignition switch is turned
ON, the indicator light should illumi-
nate for approximately 6 seconds,
then go off.
Have the system checked if:
The light does not turn on brieflywhen you turn the ignition ON.
The light stays on after the engine starts.
The light comes on while the vehi- cle is in motion.
Airbag (Supplemental
Restraint System) service Your Supplemental Restraint System
is virtually maintenance-free. There
are no parts which you can service.
You must have the system serviced
under the following circumstances:
If an airbag ever inflates, the airbagmust be replaced. Do not try to
remove or discard the airbag by
yourself. This must be done by an
authorized Kia dealer.
If the airbag warning indicator light alerts you to a problem, have the
airbag system checked as soon as
possible. Otherwise, your airbag
system may be ineffective.
WARNING
- No modifica-
tions
Do not modify any part of the
airbag system modification
could make the airbag system
ineffective.
Page 107 of 350
Knowing your vehicle98
3
1
2
3
4
5
6
7
8
9
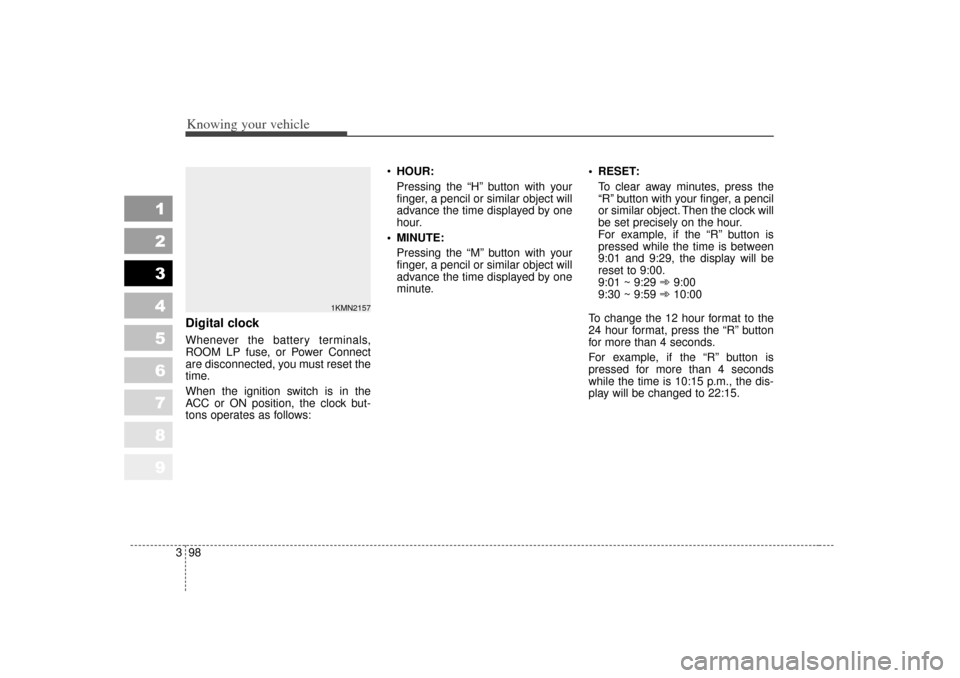
Digital clockWhenever the battery terminals,
ROOM LP fuse, or Power Connect
are disconnected, you must reset the
time.
When the ignition switch is in the
ACC or ON position, the clock but-
tons operates as follows:
HOUR:
Pressing the “H” button with your
finger, a pencil or similar object will
advance the time displayed by one
hour.
MINUTE: Pressing the “M” button with your
finger, a pencil or similar object will
advance the time displayed by one
minute. RESET:
To clear away minutes, press the
“R” button with your finger, a pencil
or similar object. Then the clock will
be set precisely on the hour.
For example, if the “R” button is
pressed while the time is between
9:01 and 9:29, the display will be
reset to 9:00.
9:01 ~ 9:29 ➾ 9:00
9:30 ~ 9:59 ➾ 10:00
To change the 12 hour format to the
24 hour format, press the “R” button
for more than 4 seconds.
For example, if the “R” button is
pressed for more than 4 seconds
while the time is 10:15 p.m., the dis-
play will be changed to 22:15.
1KMN2157
Page 109 of 350
Knowing your vehicle100
3
1
2
3
4
5
6
7
8
9
If your vehicle is equipped with this
feature, you can slide or tilt your sun-
roof with the sunroof control buttons
located on the overhead console.
The sunroof can only be opened,
closed, or tilted when the ignition
switch is in the ON position.➀\f
SLIDE OPEN (slide) button
➁\f
TILT UP (tilt) button
➂\f
CLOSE (close) button
✽ ✽
NOTICEDo not continue to press the sunroof
control button(s) after the sunroof is
in the fully open, closed, or tilt posi-
tion(s). Damage to the motor or sys-
tem components could occur.
Sliding the sunroof
SUNROOF (IF EQUIPPED)
1KMA2024
➀➁➂
1KMA20261KMA2025
Page 112 of 350
3 103
1
2
3
4
5
6
7
8
9
Knowing your vehicle
2. Remove the two (2) screws, andthen remove the overhead con-
sole. 3. Insert the emergency handle (pro-
vided with the vehicle) and turn
the handle clockwise to open or
counterclockwise to close.
Resetting the sunroofWhenever the vehicle battery is dis-
connected or discharged, or you use
the emergency handle to operate the
sunroof, you have to reset your sun-
roof system as follows:
1. Turn the ignition key to the ON position.
2. According to the position of the sunroof, do as follows.
1) in case that the sunroof hasclosed completely or been tilt-
ed :
Press the TILT UP button until
the sunroof has tilted upward
completely.
2) in case that the sunroof has slide-opened:
Press and hold the CLOSE
button for more than 5 seconds
until the sunroof has closed
completely. Press the TILT UP
button until the sunroof has tilt-
ed upward completely.
1KMA2031
1KMA2032