2007 KIA Sportage turn signal
[x] Cancel search: turn signalPage 9 of 350
23
1
2
3
4
5
6
7
8
9
Your vehicle at a glance
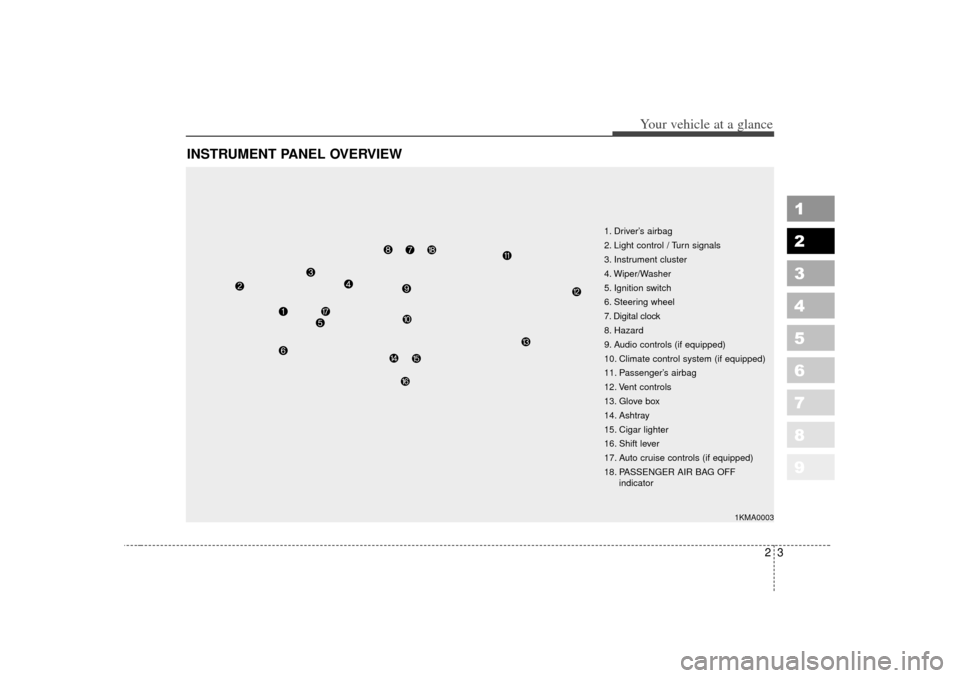
INSTRUMENT PANEL OVERVIEW
1. Driver’s airbag
2. Light control / Turn signals
3. Instrument cluster
4. Wiper/Washer
5. Ignition switch
6. Steering wheel
7. Digital clock
8. Hazard
9. Audio controls (if equipped)
10. Climate control system (if equipped)
11. Passenger’s airbag
12. Vent controls
13. Glove box
14. Ashtray
15. Cigar lighter
16. Shift lever
17. Auto cruise controls (if equipped)
18. PASSENGER AIR BAG OFF indicator
1KMA0003
Page 16 of 350
37
Knowing your vehicle
1
2
3
4
5
6
7
8
9
Your vehicle is equipped with an
electronic engine immobilizer system
to reduce the risk of unauthorized
vehicle use.
Your immobilizer system is com-
prised of a small transponder in the
ignition key, and antenna coil in the
key cylinder and Immobilizer Control
Unit (or Smartra Unit).
With this system, whenever you
insert your ignition key into the igni-
tion switch and turn it to ON, the
antenna coil in the ignition switch
receives a signal from the transpon-
der in the ignition key and then sends
the signal to the ECU (Engine
Control Unit).
The ECU checks the signal whether
the ignition key is valid.
If the key is determined to be valid,
the engine will start.
If the key is determined to be invalid,
the engine will not start.To deactivate the immobilizer sys-
tem:
Insert the ignition key into the key
cylinder and turn it to the ON posi-
tion.
To activate the immobilizer sys-
tem:
Turn the ignition key to the OFF posi-
tion. The immobilizer system acti-
vates automatically. Without a valid
ignition key for your vehicle, the
engine will not start.
✽ ✽
NOTICEWhen starting the engine, do not use
the key with other immobilizer keys
around. Otherwise the engine may
not start or may stop soon after it
starts. Keep each key separately not
to have any malfunction after you
receive your new vehicle.
Limp home (override) proce-
dureWhen you turn the ignition key to the
ON position, if the IMMO indicator
goes off after blinking 5 times, your
transponder equipped in the ignition
key is out of order. You cannot start
the engine without the lime home pro-
cedure. To start the engine, you have
to input your password by using the
ignition switch.
The following procedure is how to
input your password of “2345” as an
example.
1. Turn the ignition key to the ON posi-
tion. The IMMO indicator ( ) will
blink 5 times and go off indicating
the beginning of the limp home pro-
cedure.
2. Turn the ignition key to the ACC position.
3. To enter the first digit (in this example “2”), turn the ignition key
to the ON and ACC position twice.
Perform the same procedure for
the next digits between 3 seconds
and 10 seconds (for example, for
“3”, turn the ignition ON and ACC
3 times).
IMMOBILIZER SYSTEM (IF EQUIPPED)
Page 83 of 350
Knowing your vehicle74
3
1
2
3
4
5
6
7
8
9
How does the airbag system
operate Airbags only operate when the
ignition switch is turned to the ON
or START positions.
Airbags inflate instantly in the event of serious frontal or side col-
lision in order to help protect the
occupants from physical injury.
The airbag Electronic Control Unit
(ECU) is a small computer which
calculates the immediate impact
information and sends out a
deployment signal based on the
ECU's calculation of the likely
severity of the developing collision.
There is no single vehicle speed at which the airbags will inflate. Airbag deployment depends on a
number of factors including vehicle
speed, angles of impact and the
density and stiffness of the vehi-
cles or objects which your vehicle
hits in the collision. However, fac-
tors are not limited to those men-
tioned above.
The front airbags will completely inflate and deflate in an instant.
It is impossible for you to see the
airbags inflate during an accident.
It is much more likely that you will
simply see the deflated airbags
hanging out of their storage com-
partments after the collision. In order to help provide protection
in a severe collision, the airbags
must inflate rapidly. The speed of
airbag inflation has been deter-
mined by the Canadian Motor
Vehicle Safety Standard (CMVSS)
to reduce the likelihood of serious
or life-threatening injuries and is
thus a mandatory part of the airbag
design.
However, airbag inflation can also
cause injuries which normally can
include facial abrasions, bruises
and broken bones, and sometimes
more serious injuries because that
inflation speed also causes the
airbags to expand with a great deal
force.
There are even circumstances under which contact with the
steering wheel airbag can cause
fatal injuries, especially if the
occupant is positioned exces-
sively close to the steering
wheel.
Page 157 of 350
439
Driving your vehicle
1
2
3
4
5
6
7
8
9
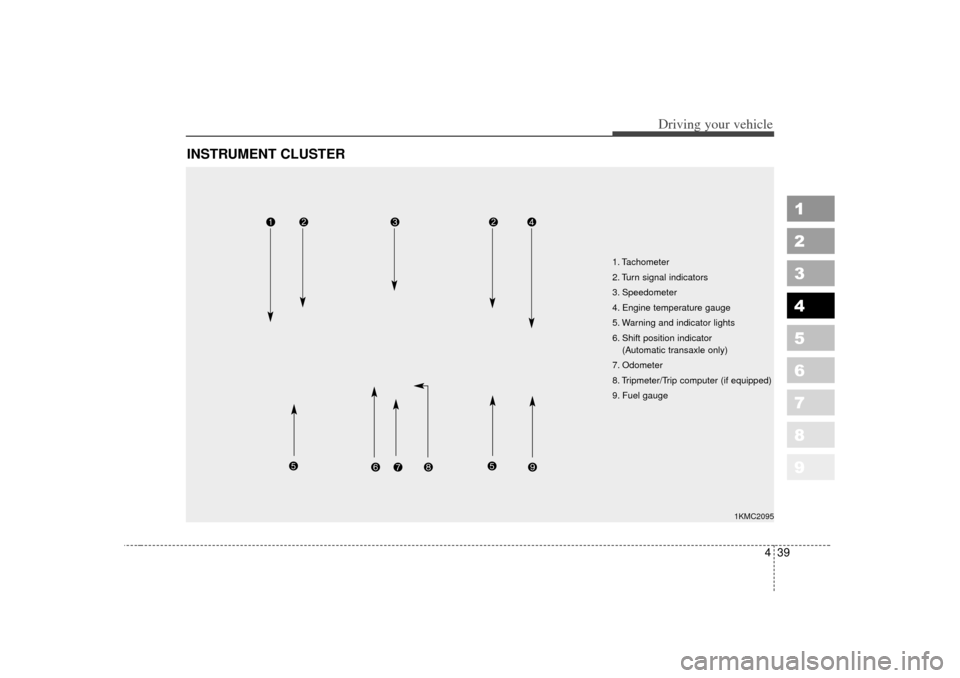
INSTRUMENT CLUSTER
1. Tachometer
2. Turn signal indicators
3. Speedometer
4. Engine temperature gauge
5. Warning and indicator lights
6. Shift position indicator (Automatic transaxle only)
7. Odometer
8. Tripmeter/Trip computer (if equipped)
9. Fuel gauge
1KMC2095
Page 177 of 350
459
Driving your vehicle
1
2
3
4
5
6
7
8
9
Turn signals ( )The ignition switch must be on for the
turn signals to function. To turn on
the turn signals, move the lever up or
down. Green arrow indicators on the
instrument panel indicate which turn
signal is operating. They will self-
cancel after a turn is completed. If
the indicator continues to flash after
a turn, manually return the lever to
the OFF position.
Lane change signals ( )To signal a lane change, move the
turn signal lever slightly and hold it in
position. The lever will return to the
OFF position when released.
If an indicator stays on and does not
flash or if it flashes abnormally, one
of the turn signal bulbs may be
burned out and will require replace-
ment.✽ ✽
NOTICEIf an indicator flash is abnormally
quick or slow, bulb may be burned
out or have a poor electrical con-
nection in the circuit. Front fog light (if equipped)
Fog lights are used to provide
improved visibility and avoid acci-
dents when visibility is poor due to
fog, rain or snow etc. The fog lights
will turn on when fog light switch (
➀)
is turned to ON after the headlight is
turned on.
To turn off the fog lights, turn the
switch to OFF.
1KMC2116
A
1KMC2124
B
Page 229 of 350
519
Driving tips
1
2
3
4
5
6
7
8
9
Scanning the terrain
Off-road driving can take you over
many different kinds of terrain. You
need to be familiar with the terrain
and its many different features. Here
are some things to consider.Surface conditionsOff-roading can take you over hard-
packed dirt, gravel, rocks, grass,
sand, mud, snow or ice. Each of
these surfaces affects the steering,
acceleration, and braking of your
vehicle in different ways.
Depending upon the kind of surface
you are on, you may experience slip-
ping, sliding, wheel spinning,
delayed acceleration, poor traction,
and longer braking distances.
Surface obstaclesUnseen or hidden obstacles can be
hazardous. A rock, log, hole, rut, or
bump can startle you if you’re not
prepared. Often these obstacles are
hidden by grass, bushes, snow or
even the rise and fall of the terrain
itself. Here are some things to con-
stantly evaluate:
Is the path ahead clear?
Will the surface texture changeahead?
Does the path take you uphill or downhill?
Might you have to stop suddenly or change direction quickly?
When you drive over obstacles or
rough terrain, it is critical that you
keep a firm grip on the steering
wheel. Ruts, troughs, or other sur-
face features can force the wheel out
of your hands if you’re not prepared. When you drive over bumps, rocks,
or other obstacles, your wheels can
leave the ground. If this happens,
even with one or two wheels, you
can’t control the vehicle as well or
perhaps at all. Because you will be
on an unpaved surface, it’s especial-
ly important to avoid sudden acceler-
ation, sudden turns, or sudden brak-
ing. Any of these actions could cause
the center of gravity of the vehicle to
shift and destabilize the vehicle,
leading to a collision or rollover acci-
dent.
Off-road driving requires a different
kind of alertness from driving on
paved roads and highways. There
are no road signs, posted speed lim-
its or signal lights. You have to use
your own judgment about what is
safe and what isn’t. Bad judgment in
this uncontrolled environment can be
fatal.
Page 247 of 350
537
Driving tips
1
2
3
4
5
6
7
8
9
Following distance Stay at least twice as far behind the
vehicle ahead as you would when
driving your vehicle without a trailer.
This can help you avoid situations
that require heavy braking and sud-
den turns.Passing You’ll need more passing distance
up ahead when you’re towing a trail-
er. And, because you’re a good deal
longer, you’ll need to go much farther
beyond the passed vehicle before
you can return to your lane.
Backing up Hold the bottom of the steering
wheel with one hand. Then, to move
the trailer to the left, just move your
hand to the left. To move the trailer to
the right, move your hand to the
right. Always back up slowly and, if
possible, have someone guide you.Making turns When you’re turning with a trailer,
make wider turns than normal. Do
this so your trailer won’t strike soft
shoulders, curbs, road signs, trees,
or other objects. Avoid jerky or sud-
den maneuvers. Signal well in
advance.
Turn signals when towing a trailer When you tow a trailer, your vehicle
has to have a different turn signal
flasher and extra wiring. The green
arrows on your instrument panel will
flash whenever you signal a turn or
lane change. Properly connected,
the trailer lights will also flash to alert
other drivers you’re about to turn,
change lanes, or stop.
When towing a trailer, the green
arrows on your instrument panel will
flash for turns even if the bulbs on
the trailer are burned out. Thus, you
may think drivers behind you are
seeing your signals when, in fact,
they are not. It’s important to check
occasionally to be sure the trailer
bulbs are still working. You must also
check the lights every time you dis-
connect and then reconnect the
wires.
Page 258 of 350
Driving tips48
5
1
2
3
4
5
6
7
8
9
6. Return to the vehicle and firmly
press and release the pro-
grammed HomeLink button up to
three times. The rolling code
equipped device should now rec-
ognize the HomeLink signal and
activate when the HomeLink but-
ton is pressed. The remaining two
buttons may now be programmed
if this has not previously been
done. Refer to the “Programming”
portion of this text.
Operating HomeLink To operate, simply press the pro-
grammed HomeLink button.
Activation will now occur for the
trained product (garage door, securi-
ty system, entry door lock, estate
gate, or home or office lighting). For
convenience, the hand-held trans-
mitter of the device may also be used
at any time. The HomeLink Wireless
Controls System (once programmed)
or the original hand-held transmitter
may be used to activate the device
(e.g. garage door, entry door lock,
etc.). In the event that there are still
programming difficulties, contact
HomeLink at 1-800-355-3515 or on
the internet at www.homelink.com.
Erasing programmed
HomeLink buttonsTo erase the three programmed but-
tons (individual buttons cannot be
erased):
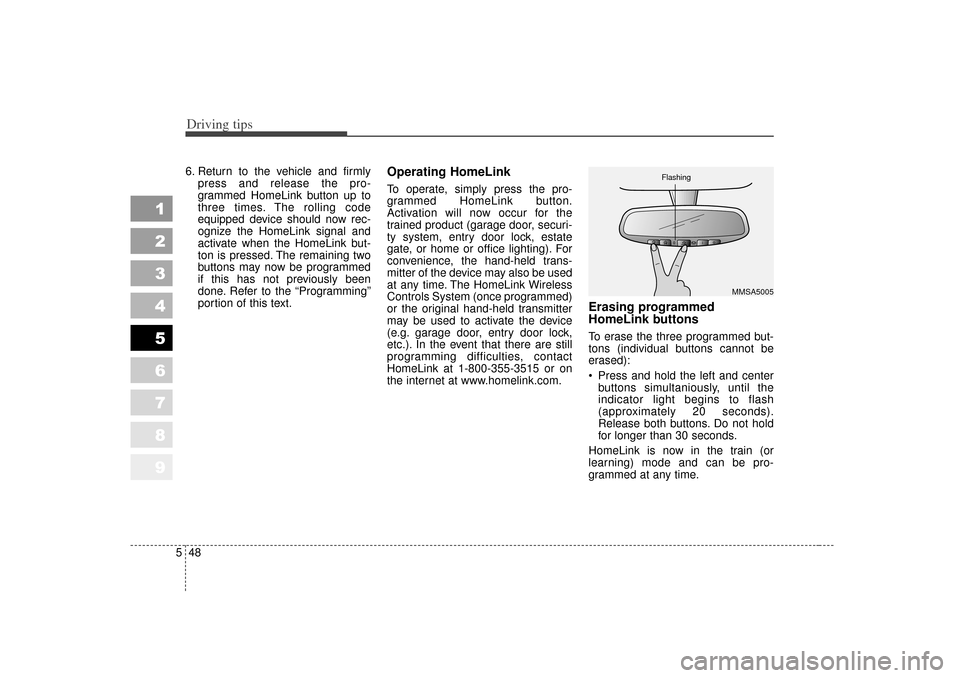
Press and hold the left and center
buttons simultaniously, until the
indicator light begins to flash
(approximately 20 seconds).
Release both buttons. Do not hold
for longer than 30 seconds.
HomeLink is now in the train (or
learning) mode and can be pro-
grammed at any time.
MMSA5005
Flashing