Page 280 of 329
715
Maintenance
1 23456789
OLD056002
1. Power steering fluid reservoir
2. Engine oil filler cap
3. Brake fluid reservoir
4. Air cleaner
5. Fuse box
6. Negative battery terminal
7. Positive battery terminal
8. Auto transaxle oil dipstick
(if equipped)
9. Radiator cap
10. Engine oil dipstick
11. Engine coolant reservoir
12. Windshield washer fluid reservoir
■■ 2.0L Gasoline Engine
Page 281 of 329
Maintenance
16
7
1 23456789
OLD056003
1. Power steering fluid reservoir
2. Radiator cap
3. Engine oil filler cap
4. Brake fluid reservoir
5. Fuel filter
6. Air cleaner
7. Fuse box
8. Negative battery terminal
9. Positive battery terminal
10. Engine oil dipstick
11. Engine coolant reservoir
12. Windshield washer fluid reservoir
■■
1.6L Diesel Engine
Page 286 of 329
721
Maintenance
1 23456789
BRAKES AND CLUTCH (IF EQUIPPED)
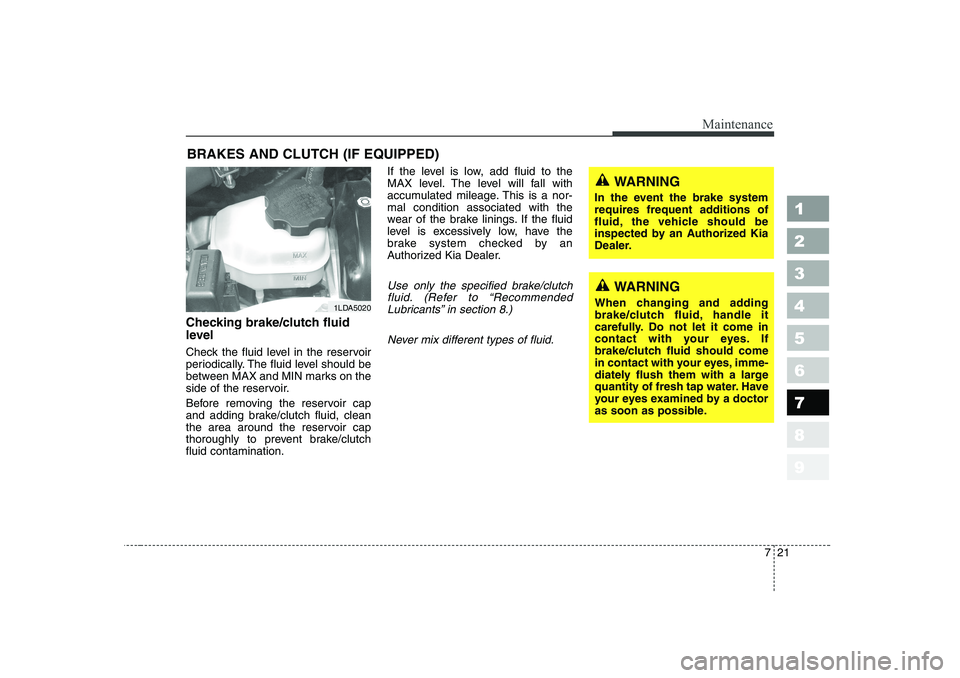
Checking brake/clutch fluid
level
Check the fluid level in the reservoir
periodically. The fluid level should be
between MAX and MIN marks on the
side of the reservoir.
Before removing the reservoir cap
and adding brake/clutch fluid, clean
the area around the reservoir cap
thoroughly to prevent brake/clutchfluid contamination. If the level is low, add fluid to the
MAX level. The level will fall with
accumulated mileage. This is a nor-mal condition associated with the
wear of the brake linings. If the fluid
level is excessively low, have the
brake system checked by an
Authorized Kia Dealer.
Use only the specified brake/clutch
fluid. (Refer to “Recommended Lubricants” in section 8.)
Never mix different types of fluid.WARNING
When changing and adding
brake/clutch fluid, handle it
carefully. Do not let it come in
contact with your eyes. If
brake/clutch fluid should come
in contact with your eyes, imme-
diately flush them with a large
quantity of fresh tap water. Have
your eyes examined by a doctor
as soon as possible.
WARNING
In the event the brake system
requires frequent additions of
fluid, the vehicle should be
inspected by an Authorized Kia
Dealer.
1LDA5020
Page 287 of 329
Maintenance
22
7
1 23456789
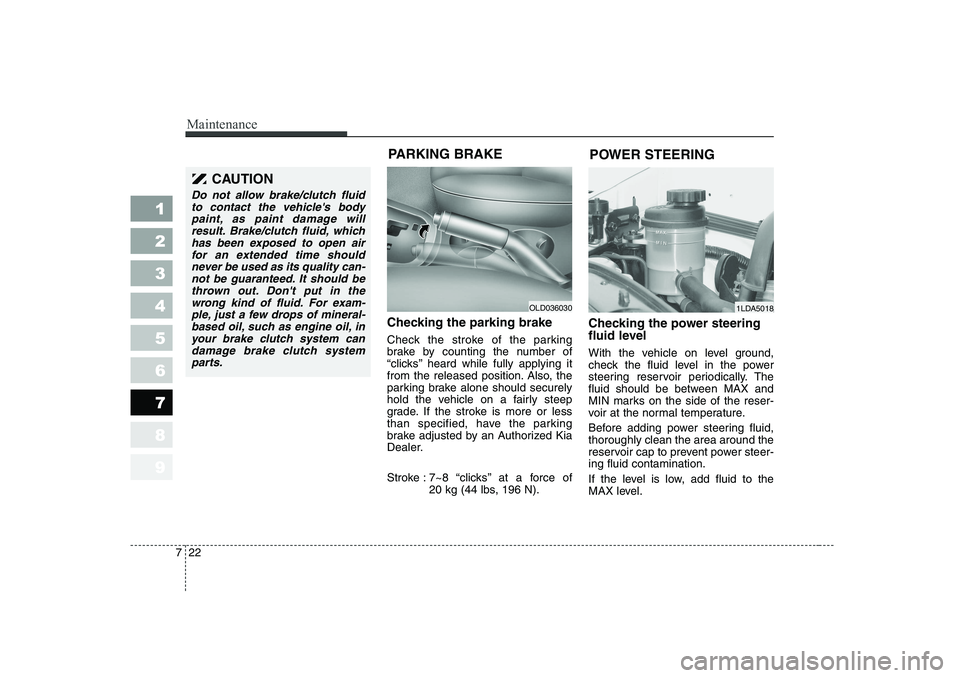
Checking the parking brake
Check the stroke of the parking
brake by counting the number of
“clicks’’ heard while fully applying it
from the released position. Also, the
parking brake alone should securely
hold the vehicle on a fairly steep
grade. If the stroke is more or less
than specified, have the parking
brake adjusted by an Authorized Kia
Dealer.
Stroke : 7~8 “clicks’’ at a force of
20 kg (44 lbs, 196 N). Checking the power steering
fluid level
With the vehicle on level ground,
check the fluid level in the power
steering reservoir periodically. The
fluid should be between MAX and
MIN marks on the side of the reser-
voir at the normal temperature.
Before adding power steering fluid, thoroughly clean the area around the
reservoir cap to prevent power steer-ing fluid contamination.
If the level is low, add fluid to the
MAX level.
OLD036030
PARKING BRAKE 1LDA5018
POWER STEERING
CAUTION
Do not allow brake/clutch fluid
to contact the vehicle's bodypaint, as paint damage will result. Brake/clutch fluid, whichhas been exposed to open airfor an extended time shouldnever be used as its quality can- not be guaranteed. It should bethrown out. Don't put in thewrong kind of fluid. For exam- ple, just a few drops of mineral-based oil, such as engine oil, inyour brake clutch system can damage brake clutch systemparts.
Page 289 of 329
Maintenance
24
7
1 23456789
AUTOMATIC TRANSAXLE (IF EQUIPPED)
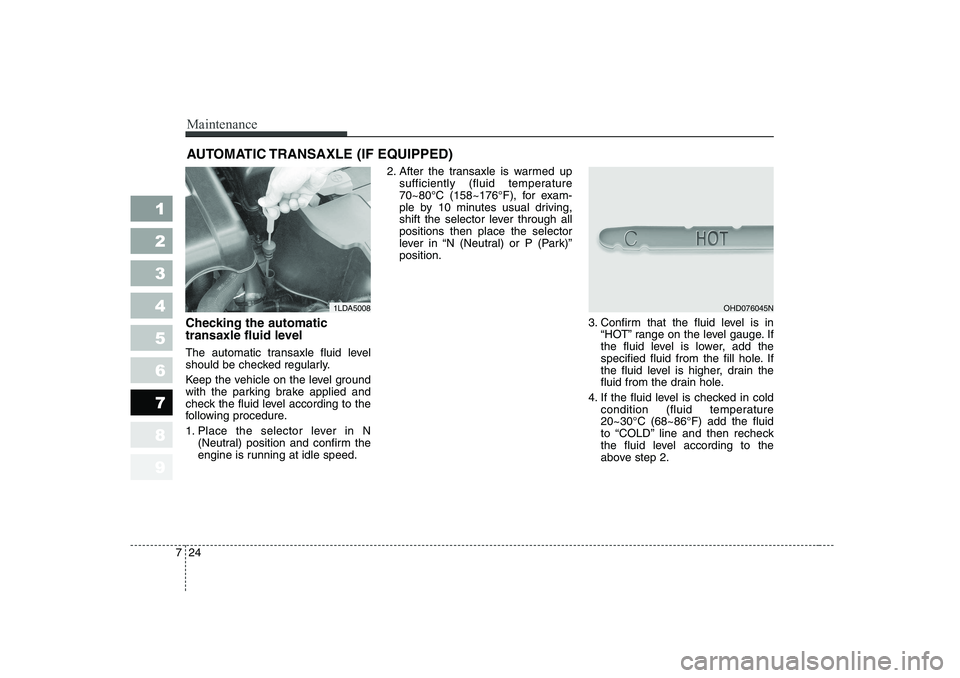
Checking the automatic
transaxle fluid level
The automatic transaxle fluid level
should be checked regularly.
Keep the vehicle on the level ground
with the parking brake applied and
check the fluid level according to the
following procedure.
1. Place the selector lever in N (Neutral) position and confirm the
engine is running at idle speed. 2. After the transaxle is warmed up
sufficiently (fluid temperature
70~80°C (158~176°F), for exam-
ple by 10 minutes usual driving,
shift the selector lever through allpositions then place the selector
lever in “N (Neutral) or P (Park)”position.
3. Confirm that the fluid level is in“HOT” range on the level gauge. If
the fluid level is lower, add the
specified fluid from the fill hole. If
the fluid level is higher, drain the
fluid from the drain hole.
4. If the fluid level is checked in cold condition (fluid temperature20~30°C (68~86°F) add the fluid
to “COLD” line and then recheck
the fluid level according to the
above step 2.
1LDA5008OHD076045N
Page 290 of 329
725
Maintenance
1 23456789
✽✽NOTICE
“COLD (C)” scale is for reference
only and should NOT be used todetermine transaxle fluid level. ✽
✽
NOTICE
New automatic transaxle fluid
should be red. The red dye is addedso the assembly plant can identify itas automatic transaxle fluid and dis-
tinguish it from engine oil or
antifreeze. The red dye, which is not
an indicator of fluid quality, is not
permanent. As the vehicle is driven,the automatic transaxle fluid will
begin to look darker. The color may
eventually appear light brown.
Therefore, have an Authorized Kia
dealer change the automatictransaxle fluid according to theScheduled Maintenance at thebeginning of this section.
Changing the automatic transaxle fluid
Have automatic transaxle fluid
changed by an authorized KIA deal-er according to the MaintenanceSchedule at the beginning of thissection.
CAUTION
Low fluid level causes transaxle slippage. Overfillingcan cause foaming, loss offluid and transaxle malfunc-tion.
The use of a non-specified fluid could result in transaxlemalfunction and failure.
WARNING - Parking brake
To avoid sudden movement of
the vehicle, apply parking brakeand depress the brake pedal
before moving the shift lever.
WARNING - Transaxle fluid
The transaxle fluid level should
be checked when the engine isat normal operating tempera-
ture. This means that the
engine, radiator, radiator hose
and exhaust system etc., are
very hot. Exercise great care not
to burn yourself during this pro-
cedure.
Page 304 of 329
739
Maintenance
1 23456789
Disc brake pads and rear brakeshoes should be inspected for wear whenever tires are rotated.
✽✽ NOTICE
Rotate radial tires that have an
asymmetric tread pattern only from
front to rear and not from right toleft.
Tire replacement
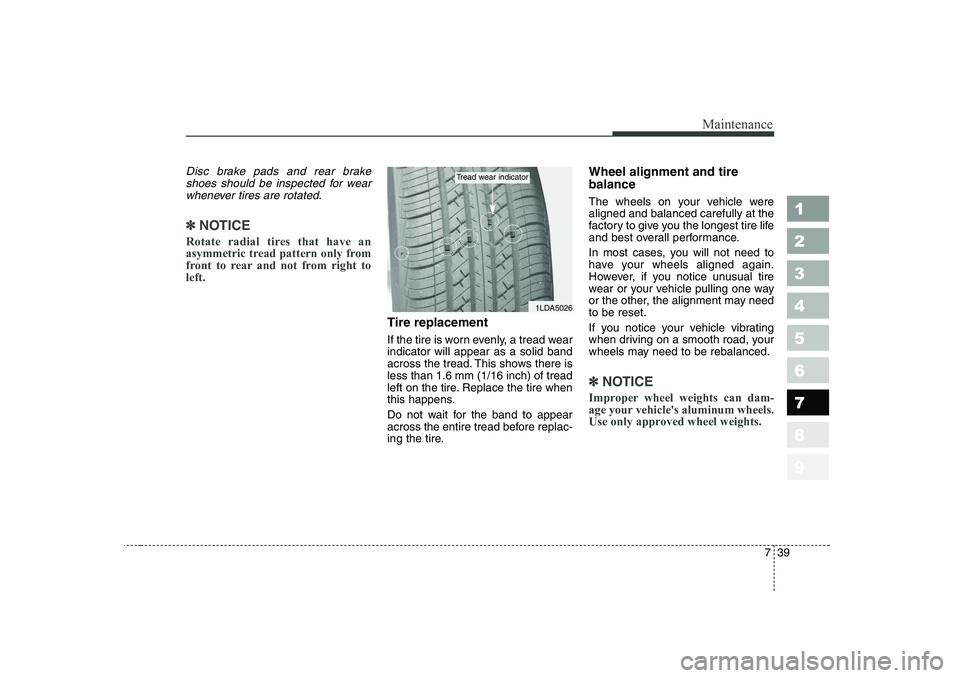
If the tire is worn evenly, a tread wear indicator will appear as a solid band
across the tread. This shows there isless than 1.6 mm (1/16 inch) of tread
left on the tire. Replace the tire when
this happens.
Do not wait for the band to appear
across the entire tread before replac-
ing the tire. Wheel alignment and tire balance
The wheels on your vehicle were aligned and balanced carefully at the
factory to give you the longest tire life
and best overall performance.
In most cases, you will not need to
have your wheels aligned again.
However, if you notice unusual tire
wear or your vehicle pulling one way
or the other, the alignment may needto be reset.
If you notice your vehicle vibrating
when driving on a smooth road, your
wheels may need to be rebalanced.
✽✽
NOTICE
Improper wheel weights can dam-
age your vehicle's aluminum wheels.
Use only approved wheel weights.
1LDA5026
Tread wear indicator
Page 309 of 329
Maintenance
44
7
1 23456789
BULB REPLACEMENT
Use only the bulbs of the specified
wattage.
✽✽ NOTICE
If you don’t have necessary tools,
the correct bulbs and the expertise,
consult an Authorized Kia Dealer. In
many cases, it is difficult to replacevehicle light bulbs because other
parts of the vehicle must be removed
before you can get to the bulb. Thisis especially true if you have to
remove the front bumper to get tothe bulb(s). Removing/installing the
front bumper or bumper hardware
can result in damage to the vehicle.
✽
✽ NOTICE
After heavy, driving rain or washing, headlight and taillight lenses could
appear frosty. This condition is
caused by the temperature differencebetween the lamp inside and outside.
This is similar to the condensation on
your windows inside your vehicleduring the rain and doesn’t indicate
a problem with your vehicle. If the
water leaks into the lamp bulb cir-
cuitry, have the vehicle checked by
an Authorized Kia Dealer.
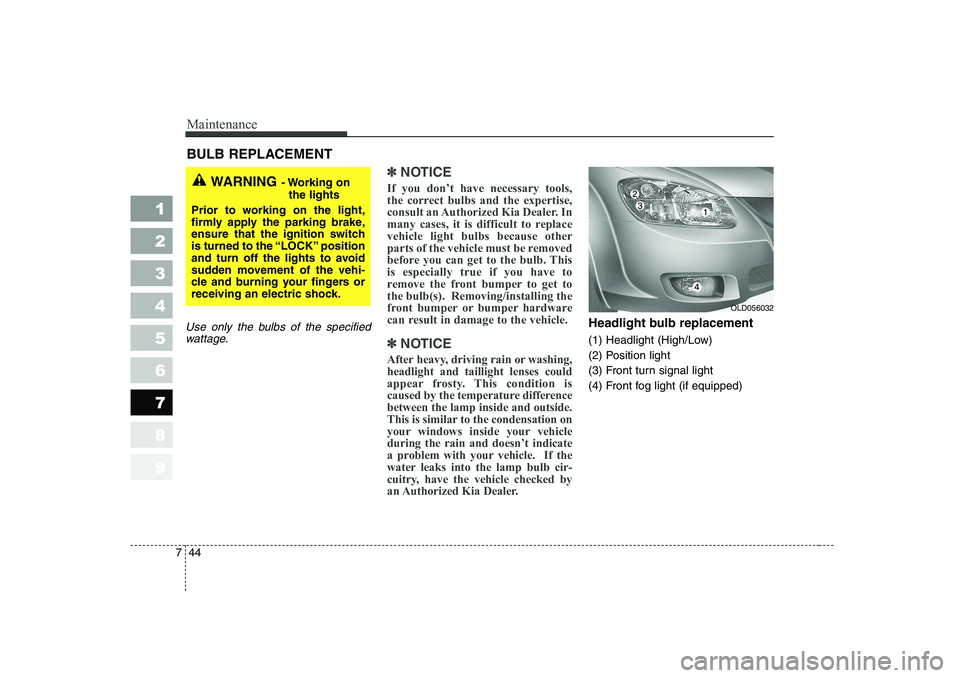
Headlight bulb replacement
(1) Headlight (High/Low)
(2) Position light
(3) Front turn signal light
(4) Front fog light (if equipped)
WARNING - Working on
the lights
Prior to working on the light,
firmly apply the parking brake,
ensure that the ignition switch
is turned to the “LOCK” position
and turn off the lights to avoid
sudden movement of the vehi-
cle and burning your fingers or
receiving an electric shock.
OLD056032