Page 237 of 467

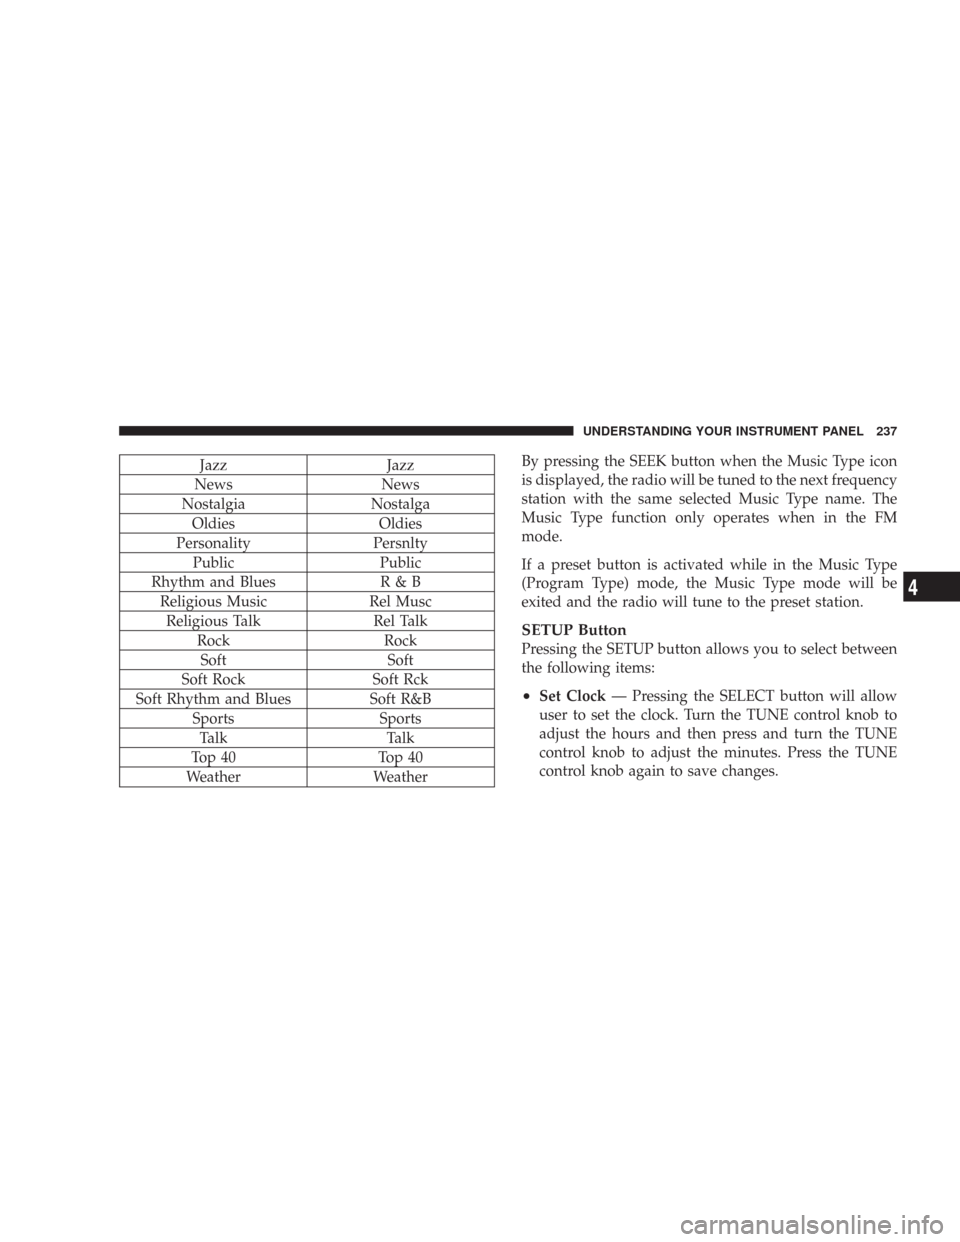
Jazz Jazz
News News
Nostalgia Nostalga
Oldies Oldies
Personality Persnlty
Public Public
Rhythm and Blues R & B
Religious Music Rel Musc
Religious Talk Rel Talk
Rock Rock
Soft Soft
Soft Rock Soft Rck
Soft Rhythm and Blues Soft R&B
Sports Sports
Talk Talk
Top 40 Top 40
Weather WeatherBy pressing the SEEK button when the Music Type icon
is displayed, the radio will be tuned to the next frequency
station with the same selected Music Type name. The
Music Type function only operates when in the FM
mode.
If a preset button is activated while in the Music Type
(Program Type) mode, the Music Type mode will be
exited and the radio will tune to the preset station.
SETUP Button
Pressing the SETUP button allows you to select between
the following items:
•Set Clock— Pressing the SELECT button will allow
user to set the clock. Turn the TUNE control knob to
adjust the hours and then press and turn the TUNE
control knob to adjust the minutes. Press the TUNE
control knob again to save changes.
UNDERSTANDING YOUR INSTRUMENT PANEL 237
4
Page 246 of 467

Operating Instructions — Satellite Radio
Refer to your “Navigation User’s Manual” for detailed
operating instructions.
Clock Setting Procedure
The GPS receiver used in this system is synchronized to
the time data being transmitted by the GPS satellite. The
satellites’ clock is Greenwich Mean Time (GMT). This is
the worldwide standard for time. This makes the sys-
tem’s clock very accurate once the appropriate time zone
and daylight savings information is set.
To manually set the clock, change the time zone, or
change daylight savings information, use a ballpoint pen
or similar object to press the hour (H) or minute (M)
buttons on the radio. TheSetupscreen appears.
Setting the Clock
1. Turn the ignition switch to the ON or ACC position.
Using the tip of a ballpoint pen or similar object, presseither the H button on the faceplate to change the hour or
the M button on the faceplate to change the minute.
2. The time setting will increase each time you press the
button. Holding either button in will fast forward the
setting.
3. If no changes are made within 5 seconds of accessing
theSetupscreen, the screen will time out and you will be
taken to the last mode.
NOTE:To reset the clock, select the appropriate time
zone and press ENTER. The clock will revert to the
accurate time based on the time zone you selected.
Changing the Time Zone
1. Highlight “Clock Setup” and press ENTER.
2. At theClock Setupscreen highlight the box next to
“Time Zone” and press ENTER.
246 UNDERSTANDING YOUR INSTRUMENT PANEL
Page 247 of 467

3. Highlight the appropriate time zone for you location
and press ENTER to store your selection. Select “Done”
when finished.
NOTE:When you are traveling and enter a new time
zone, the clock must be reset manually for the new zone.
Changing Daylight Savings Time
1. Highlight the box next to “Time” and press ENTER.
2. SelectDaylight Savingswhen Daylight Savings Time
is in effect or SelectStandardif Daylight Savings Time is
not being observed. Press ENTER.
3. Select “Done” when finished.
Select “Done” to exit from the clock setting mode.
SATELLITE RADIO — IF EQUIPPED
Satellite radio uses direct satellite to receiver broadcast-
ing technology to provide clear digital sound, coast to
coast. The subscription service provider is Sirius™ Satel-
lite Radio. This service offers up to 100 channels of music,
sports, news, entertainment, and programming for chil-
dren, directly from its satellites and broadcasting studios.
System Activation
Sirius Satellite Radio service is pre-activated, and you
may begin listening immediately to the one year of
SIRIUS audio service that is included with the factory-
installed satellite radio system in your vehicle. Sirius will
contact you to supply a welcome kit and to confirm
subscription information, including the set up of your
on-line listening account at no additional charge. For
further information, call the toll-free number 888-539-
7474, or visit the Sirius web site at www.sirius.com.
Please have the following information available when
calling:
UNDERSTANDING YOUR INSTRUMENT PANEL 247
4
Page 250 of 467

TUNE Control (Rotary)
Turn the right side rotary control clockwise to increase or
counter-clockwise to decrease the channel.
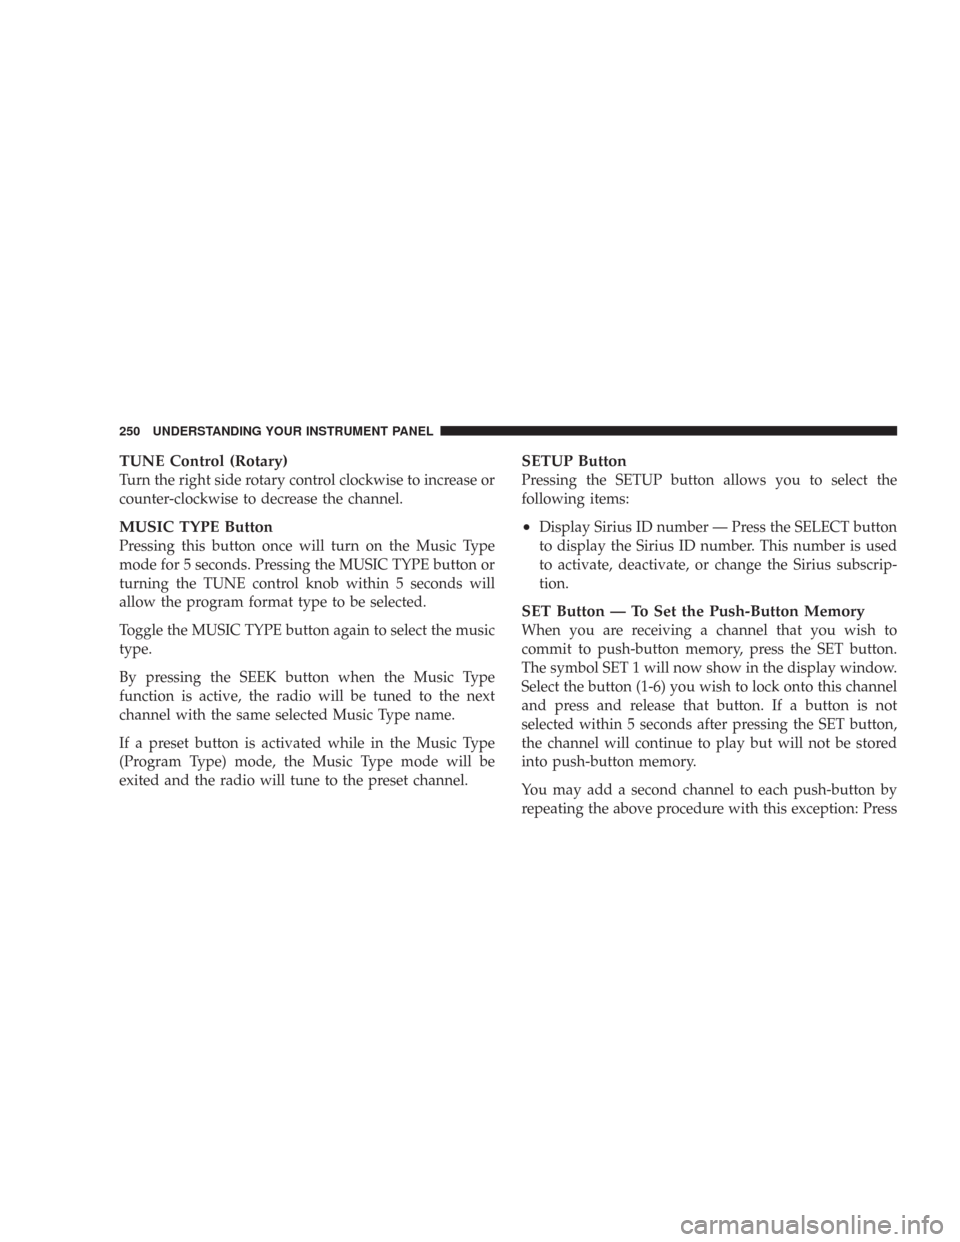
MUSIC TYPE Button
Pressing this button once will turn on the Music Type
mode for 5 seconds. Pressing the MUSIC TYPE button or
turning the TUNE control knob within 5 seconds will
allow the program format type to be selected.
Toggle the MUSIC TYPE button again to select the music
type.
By pressing the SEEK button when the Music Type
function is active, the radio will be tuned to the next
channel with the same selected Music Type name.
If a preset button is activated while in the Music Type
(Program Type) mode, the Music Type mode will be
exited and the radio will tune to the preset channel.
SETUP Button
Pressing the SETUP button allows you to select the
following items:
•Display Sirius ID number — Press the SELECT button
to display the Sirius ID number. This number is used
to activate, deactivate, or change the Sirius subscrip-
tion.
SET Button — To Set the Push-Button Memory
When you are receiving a channel that you wish to
commit to push-button memory, press the SET button.
The symbol SET 1 will now show in the display window.
Select the button (1-6) you wish to lock onto this channel
and press and release that button. If a button is not
selected within 5 seconds after pressing the SET button,
the channel will continue to play but will not be stored
into push-button memory.
You may add a second channel to each push-button by
repeating the above procedure with this exception: Press
250 UNDERSTANDING YOUR INSTRUMENT PANEL