Page 144 of 440
gravel conditions and more wheel spin than ESP would
normally allow is required to gain traction.
To turn ESP on again, momentarily depress the ªESP
Control Switchº. This will restore the normal ªESP Onº
mode of operation.
WARNING!
In the Partial ESP mode, the engine torque reduction
and stability features are desensitized. Therefore, the
enhanced vehicle stability offered by ESP is
unavailable.
NOTE:To improve the vehicle's traction when driving
with snow chains, or starting off in deep snow, sand or
gravel, it may be desirable to switch to the ªPartial Offº
mode by pressing the ESP switch. Once the situation
requiring ESP to be switched to the ªPartial Offº mode isovercome, turn ESP back on by momentarily depressing
the ªESP Control Switchº. This may be done while the
vehicle is in motion.
ESP 4WD Operating Modes
In addition to ESP ON and Partial ESP (described above
in ªESP 2WD Operating Modesº), all 4WD equipped
vehicles can also choose the following ESP operating
mode:
ESP OFF
This mode is intended for off-highway or off-road use
when ESP stability features could inhibit vehicle maneu-
verability due to trail conditions. This mode is entered by
depressing and holding the ªESP Control Switchº for 5
seconds when the vehicle is stopped and the engine is
running. After 5 seconds, the ªESP/TCS Indicator Lightº
will illuminate and the ªESP Offº message will appear in
the odometer. Press and release the trip odometer button
located on the instrument cluster to clear this message.
UNDERSTANDING THE FEATURES OF YOUR VEHICLE 143
3
Page 145 of 440
In this mode, ESP and TCS, except for the ªlimited slipº
feature described in the TCS section, are turned off until
the vehicle reaches a speed of 35 mph (56 km/h). At 35
mph (56 km/h) the normal ESP stability function returns
with the exception of engine power reduction. TCS
remains off. When the vehicle speed drops below 30 mph
(48 km/h) the ESP system shuts off. ESP is off at low
vehicle speeds so that it will not interfere with off-road
driving but ESP function returns to provide the stability
feature at speeds above 35 mph (56 km/h). The ªESP/
TCS Indicator Lightº will always be illuminated when
ESP is off.
To turn ESP on again, momentarily depress the
ªESP Control Switchº. This will restore the
normal ªESP Onº mode of operation.ESP/BAS Warning Light and ESP/TCS Indicator
Light
The malfunction indicator for the ESP is combined with
the BAS indicator. The yellow ªESP/BAS Warning
Lampº and the yellow ªESP/TCS Indicator Lightº in the
instrument cluster both come on when the ignition
switch is turned to the ªONº position. They should both
go out with the engine running. If the ªESP/BAS Warn-
ing Lampº comes on continuously with the engine
running, a malfunction has been detected in either the
ESP or BAS system, or both. If this light remains on after
several ignition cycles, and the vehicle has been driven
several miles at speeds greater than 30 mph (48 km/h),
see your authorized dealer as soon as possible to have the
problem diagnosed and corrected.
144 UNDERSTANDING THE FEATURES OF YOUR VEHICLE
Page 146 of 440
WARNING!
With the ESP switched off, the enhanced vehicle
stability offered by ESP is unavailable. In an emer-
gency evasive maneuver, the ESP system will not
engage to assist in maintaining stability. ªESP Offº
mode is intended for off-highway or off-road use,
only.NOTE:
²The ªESP Indicator Lightº and the ªESP/BAS Warning
Lightº come on momentarily each time the ignition
switch is turned ON.
²Each time the ignition is turned ON, the ESP System
will be ON even if it was turned off previously.
²The ESP Control System will make buzzing or clicking
sounds when it is active. This is normal; the sounds
will stop when ESP becomes inactive following the
maneuver that caused the ESP activation.
UNDERSTANDING THE FEATURES OF YOUR VEHICLE 145
3
Page 162 of 440
CAUTION!
²To prevent damage to the roof of your vehicle, DO NOT
carry any loads on the roof rack without cross rails
installed. The load should be secured and placed on top of
the cross rails, not directly on the roof. If it is necessary to
place the load on the roof, place a blanket or some other
protection between the load and the roof surface.
²To avoid damage to the roof rack and vehicle, do not
exceed the rated load capacity of your cross rail system or
the roof rack system maximum load capacity of 150 lbs (68
kg). Always distribute heavy loads as evenly as possible
and secure the load appropriately.
²Long loads which extend over the windshield, such as
wood panels or surfboards, should be secured to both the
front and rear of the vehicle.
²Travel at reduced speeds and turn corners carefully when
carrying large or heavy loads on the roof rack. Wind forces,
due to natural causes or nearby truck traffic, can add
sudden upward loads. This is especially true on large flat
loads and may result in damage to the cargo or your
vehicle.
WARNING!
Cargo must be securely tied before driving your
vehicle. Improperly secured loads can fly off the
vehicle, particularly at high speeds, resulting in per-
sonal injury or property damage. Follow the roof rack
ªCautionsº when carrying cargo on your roof rack.
UNDERSTANDING THE FEATURES OF YOUR VEHICLE 161
3
Page 168 of 440
INSTRUMENT PANEL FEATURES
1 Ð Air Outlet 5 Ð Glove Box 9 Ð Hazard Warning Flasher
2 Ð Demisters 6 Ð Storage Bin 10 Ð ESP OFF Switch*
3 Ð Instrument Cluster 7 Ð Climate Control * If Equipped
4 Ð Radio 8 Ð Heated Seat Switches*
UNDERSTANDING YOUR INSTRUMENT PANEL 167
4
Page 176 of 440
vehicle placard or tire inflation pressure label, you should
determine the proper tire inflation pressure for those
tires.)
As an added safety feature, your vehicle has been
equipped with a tire pressure monitoring system (TPMS)
that illuminates a low tire pressure telltale when one or
more of your tires is significantly under-inflated. Accord-
ingly, when the low tire pressure telltale illuminates, you
should stop and check your tires as soon as possible, and
inflate them to the proper pressure. Driving on a signifi-
cantly under-inflated tire causes the tire to overheat and
can lead to tire failure. Under-inflation also reduces fuel
efficiency and tire tread life, and may affect the vehicle's
handling and stopping ability.
Please note that the TPMS is not a substitute for proper
tire maintenance, and it is the driver 's responsibility tomaintain correct tire pressure, even if under-inflation has
not reached the level to trigger illumination of the TPMS
low tire pressure telltale.
The Tire Pressure Monitoring Telltale Lamp will illumi-
nate in the instrument cluster, and an audible chime will
be activated when one or more tire pressures is low. The
Tire Pressure Monitoring Telltale Lamp will flash on and
off for 60 seconds when a system fault is detected. The
flash cycle will repeat every ten minutes or until the fault
condition is removed and reset.
UNDERSTANDING YOUR INSTRUMENT PANEL 175
4
Page 179 of 440
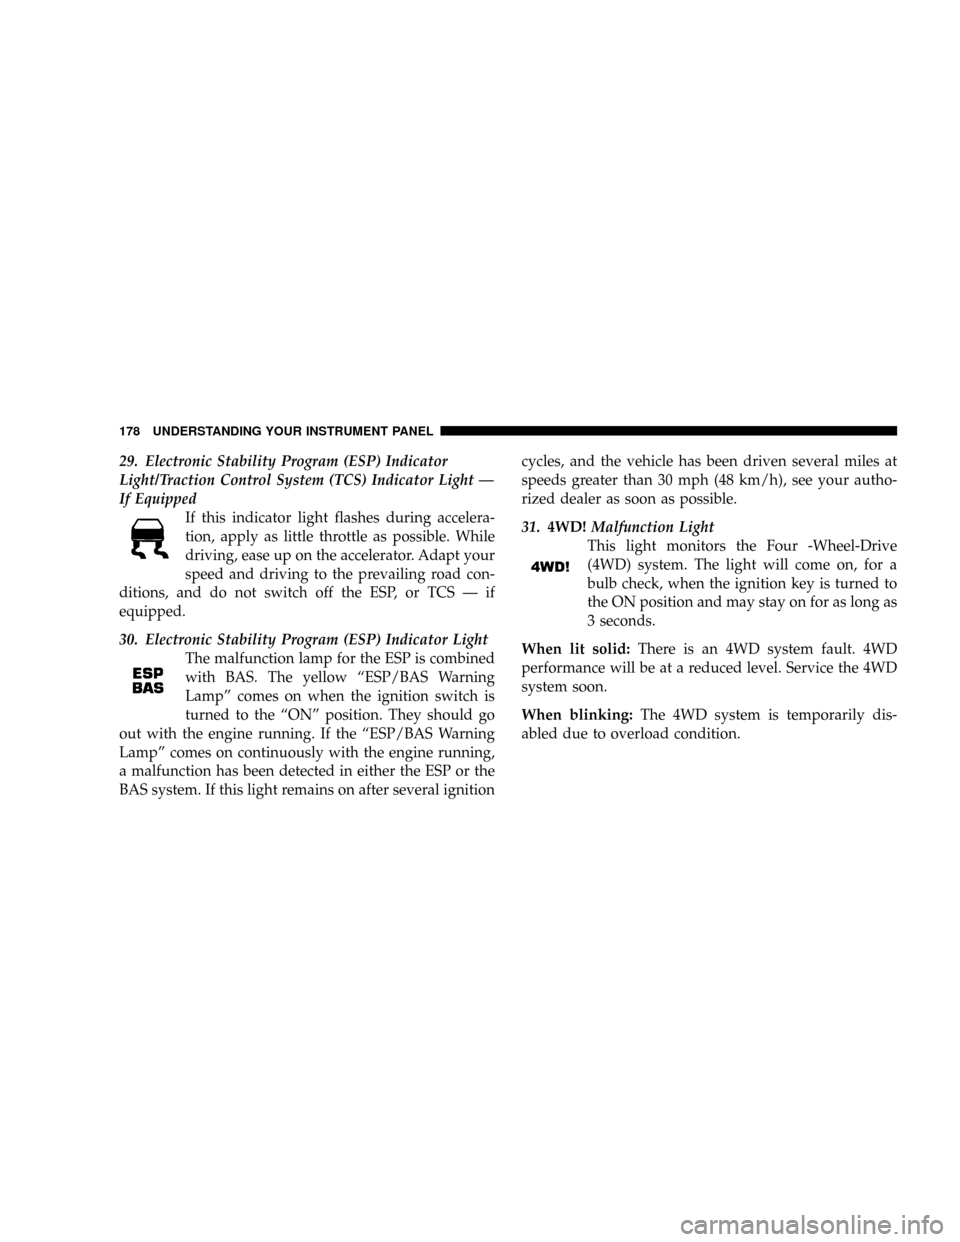
29. Electronic Stability Program (ESP) Indicator
Light/Traction Control System (TCS) Indicator Light Ð
If Equipped
If this indicator light flashes during accelera-
tion, apply as little throttle as possible. While
driving, ease up on the accelerator. Adapt your
speed and driving to the prevailing road con-
ditions, and do not switch off the ESP, or TCS Ð if
equipped.
30. Electronic Stability Program (ESP) Indicator Light
The malfunction lamp for the ESP is combined
with BAS. The yellow ªESP/BAS Warning
Lampº comes on when the ignition switch is
turned to the ªONº position. They should go
out with the engine running. If the ªESP/BAS Warning
Lampº comes on continuously with the engine running,
a malfunction has been detected in either the ESP or the
BAS system. If this light remains on after several ignitioncycles, and the vehicle has been driven several miles at
speeds greater than 30 mph (48 km/h), see your autho-
rized dealer as soon as possible.
31.4WD!Malfunction Light
This light monitors the Four -Wheel-Drive
(4WD) system. The light will come on, for a
bulb check, when the ignition key is turned to
the ON position and may stay on for as long as
3 seconds.
When lit solid:There is an 4WD system fault. 4WD
performance will be at a reduced level. Service the 4WD
system soon.
When blinking:The 4WD system is temporarily dis-
abled due to overload condition.
178 UNDERSTANDING YOUR INSTRUMENT PANEL
Page 185 of 440
Language
When in this display you may select different languages
for all display nomenclature, including the trip functions.
Pressing the EVIC button while in this display selects
English, Espanol, Deutsch, Italiano, or Francais depend-
ing on availability. As you continue the displayed infor-
mation will be shown in the selected language.
NOTE:UConnectŸ language will not change using the
EVIC. Please refer to ªLanguage Selectionº in the
HANDS±FREE COMMUNICATION (UConnectŸ) Ð IF
EQUIPPED section of this manual for details.
Lock Doors Automatically at 15 mph (24 km/h)
When ON is selected all doors lock automatically when
the speed of the vehicle reaches 15 mph (24 km/h). Press
and hold the EVIC button when in this display until
ªONº or ªOFFº appears to make your selection.
Auto Unlock On Exit
When ON is selected all the vehicle's doors will unlock
when the driver's door is opened if the vehicle is stopped
(manual transmissions) or the vehicle is stopped and the
transmission is in P (Park) or N (Neutral) position
(automatic transmissions). Press and hold the EVIC but-
ton when in this display until ªONº or ªOFFº appears to
make your selection.
Remote Unlock Driver's Door 1st
WhenDRIVER'S DOOR 1STis selected only the driv-
er's door will unlock on the first press of the remote
keyless entry unlock button and require a second press to
unlock the remaining locked doors. WhenREMOTE
UNLOCK ALL DOORSis selected all of the doors will
unlock at the first press of the remote keyless entry
unlock button. Press and hold the EVIC button when in
this display until ªDRIVER'S DOOR 1STº or ªALL
DOORSº appears to make your selection.
184 UNDERSTANDING YOUR INSTRUMENT PANEL