2007 HYUNDAI TUCSON light
[x] Cancel search: lightPage 146 of 306
1FEATURES OF YOUR HYUNDAI
134
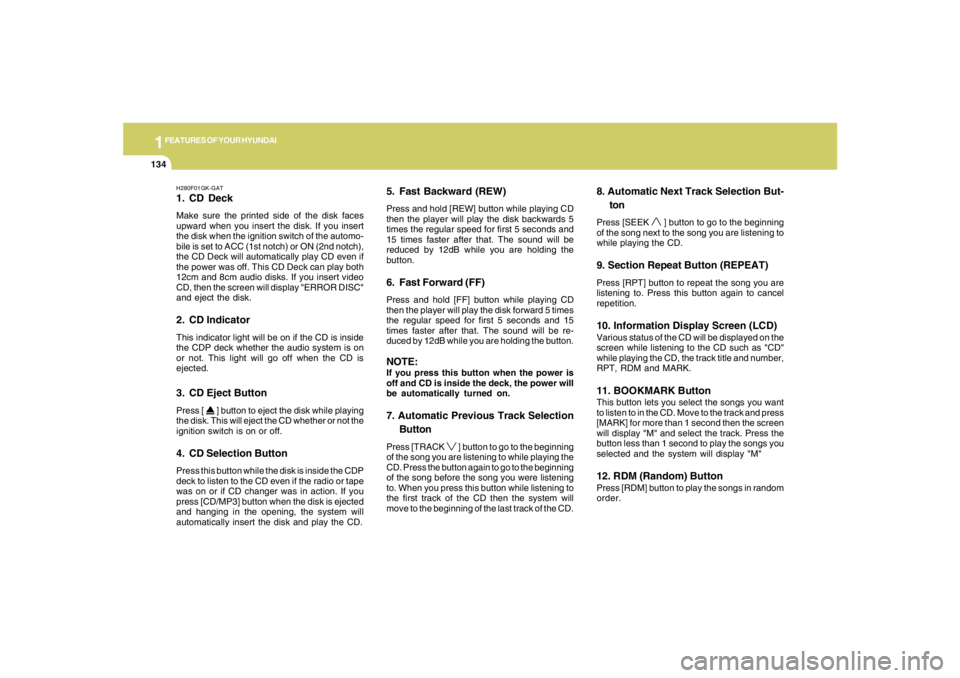
H280F01GK-GAT1. CD DeckMake sure the printed side of the disk faces
upward when you insert the disk. If you insert
the disk when the ignition switch of the automo-
bile is set to ACC (1st notch) or ON (2nd notch),
the CD Deck will automatically play CD even if
the power was off. This CD Deck can play both
12cm and 8cm audio disks. If you insert video
CD, then the screen will display "ERROR DISC"
and eject the disk.2. CD IndicatorThis indicator light will be on if the CD is inside
the CDP deck whether the audio system is on
or not. This light will go off when the CD is
ejected.3. CD Eject ButtonPress [
] button to eject the disk while playing
the disk. This will eject the CD whether or not the
ignition switch is on or off.
4. CD Selection ButtonPress this button while the disk is inside the CDP
deck to listen to the CD even if the radio or tape
was on or if CD changer was in action. If you
press [CD/MP3] button when the disk is ejected
and hanging in the opening, the system will
automatically insert the disk and play the CD.
5. Fast Backward (REW)Press and hold [REW] button while playing CD
then the player will play the disk backwards 5
times the regular speed for first 5 seconds and
15 times faster after that. The sound will be
reduced by 12dB while you are holding the
button.6. Fast Forward (FF)Press and hold [FF] button while playing CD
then the player will play the disk forward 5 times
the regular speed for first 5 seconds and 15
times faster after that. The sound will be re-
duced by 12dB while you are holding the button.NOTE:If you press this button when the power is
off and CD is inside the deck, the power will
be automatically turned on.7. Automatic Previous Track Selection
ButtonPress [TRACK
] button to go to the beginning
of the song you are listening to while playing the
CD. Press the button again to go to the beginning
of the song before the song you were listening
to. When you press this button while listening to
the first track of the CD then the system will
move to the beginning of the last track of the CD.
8. Automatic Next Track Selection But-
tonPress [SEEK
] button to go to the beginning
of the song next to the song you are listening to
while playing the CD.
9. Section Repeat Button (REPEAT)Press [RPT] button to repeat the song you are
listening to. Press this button again to cancel
repetition.10. Information Display Screen (LCD)Various status of the CD will be displayed on the
screen while listening to the CD such as "CD"
while playing the CD, the track title and number,
RPT, RDM and MARK.11. BOOKMARK ButtonThis button lets you select the songs you want
to listen to in the CD. Move to the track and press
[MARK] for more than 1 second then the screen
will display "M" and select the track. Press the
button less than 1 second to play the songs you
selected and the system will display "M"12. RDM (Random) ButtonPress [RDM] button to play the songs in random
order.
Page 154 of 306
1FEATURES OF YOUR HYUNDAI
142
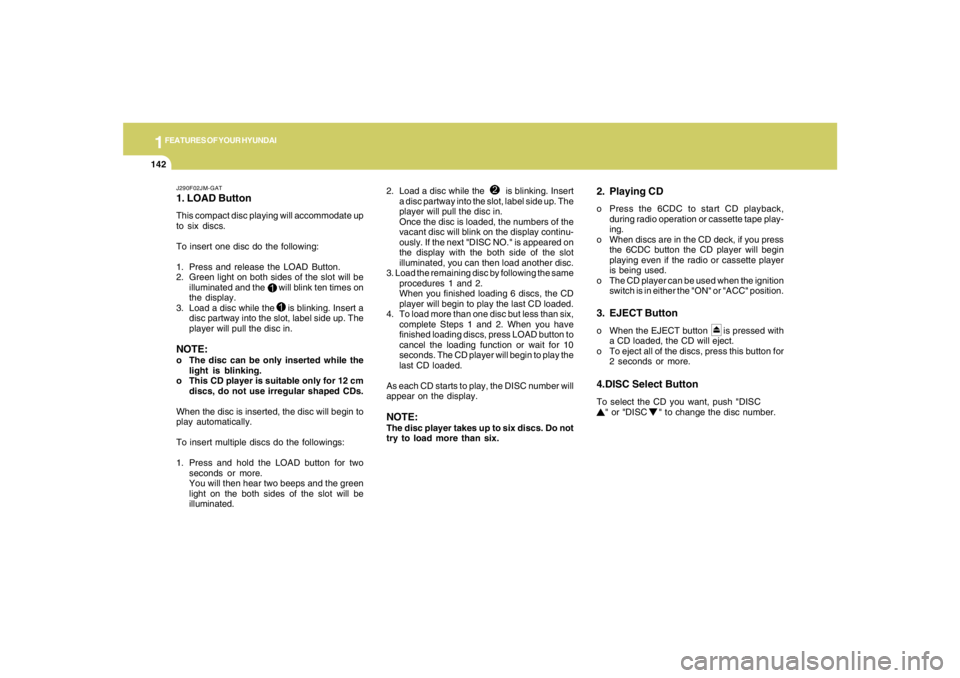
J290F02JM-GAT1. LOAD ButtonThis compact disc playing will accommodate up
to six discs.
To insert one disc do the following:
1. Press and release the LOAD Button.
2. Green light on both sides of the slot will be
illuminated and the will blink ten times on
the display.
3. Load a disc while the is blinking. Insert a
disc partway into the slot, label side up. The
player will pull the disc in.NOTE:o The disc can be only inserted while the
light is blinking.
o This CD player is suitable only for 12 cm
discs, do not use irregular shaped CDs.
When the disc is inserted, the disc will begin to
play automatically.
To insert multiple discs do the followings:
1. Press and hold the LOAD button for two
seconds or more.
You will then hear two beeps and the green
light on the both sides of the slot will be
illuminated.2. Load a disc while the is blinking. Insert
a disc partway into the slot, label side up. The
player will pull the disc in.
Once the disc is loaded, the numbers of the
vacant disc will blink on the display continu-
ously. If the next "DISC NO." is appeared on
the display with the both side of the slot
illuminated, you can then load another disc.
3. Load the remaining disc by following the same
procedures 1 and 2.
When you finished loading 6 discs, the CD
player will begin to play the last CD loaded.
4. To load more than one disc but less than six,
complete Steps 1 and 2. When you have
finished loading discs, press LOAD button to
cancel the loading function or wait for 10
seconds. The CD player will begin to play the
last CD loaded.
As each CD starts to play, the DISC number will
appear on the display.
NOTE:The disc player takes up to six discs. Do not
try to load more than six.
2. Playing CDo Press the 6CDC to start CD playback,
during radio operation or cassette tape play-
ing.
o When discs are in the CD deck, if you press
the 6CDC button the CD player will begin
playing even if the radio or cassette player
is being used.
o The CD player can be used when the ignition
switch is in either the "ON" or "ACC" position.3. EJECT Buttono When the EJECT button is pressed with
a CD loaded, the CD will eject.
o To eject all of the discs, press this button for
2 seconds or more.4.DISC Select ButtonTo select the CD you want, push "DISC
" or "DISC " to change the disc number.
Page 164 of 306
1FEATURES OF YOUR HYUNDAI
152
CARE OF CASSETTE TAPES
CARE OF DISCS
B850A02L B850A02F-AAT
Proper HandlingStorage
When not in use, place your discs in their
individual case and store them in a cool place
away from the sun, heat, and dust.
Do not grip or pull out the disc with your hand
while the disc is being pulled into the unit by the
self loading mechanism.Keep Your Discs Clean
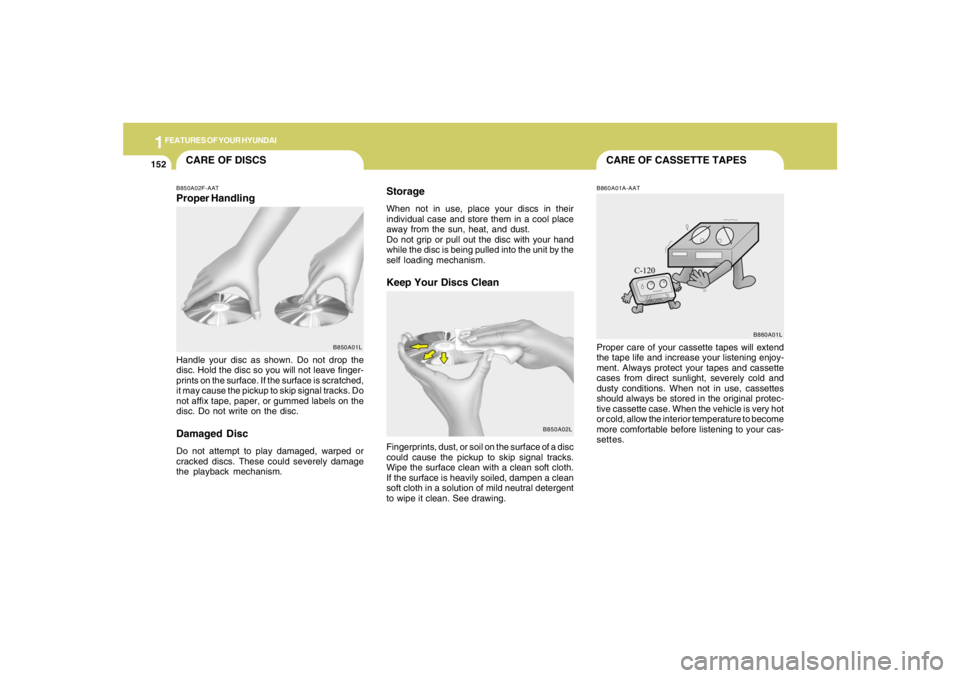
Handle your disc as shown. Do not drop the
disc. Hold the disc so you will not leave finger-
prints on the surface. If the surface is scratched,
it may cause the pickup to skip signal tracks. Do
not affix tape, paper, or gummed labels on the
disc. Do not write on the disc.Damaged DiscDo not attempt to play damaged, warped or
cracked discs. These could severely damage
the playback mechanism.Fingerprints, dust, or soil on the surface of a disc
could cause the pickup to skip signal tracks.
Wipe the surface clean with a clean soft cloth.
If the surface is heavily soiled, dampen a clean
soft cloth in a solution of mild neutral detergent
to wipe it clean. See drawing.
B860A01A-AATProper care of your cassette tapes will extend
the tape life and increase your listening enjoy-
ment. Always protect your tapes and cassette
cases from direct sunlight, severely cold and
dusty conditions. When not in use, cassettes
should always be stored in the original protec-
tive cassette case. When the vehicle is very hot
or cold, allow the interior temperature to become
more comfortable before listening to your cas-
settes.
B850A01LB860A01L
Page 170 of 306
2
DRIVING YOUR HYUNDAI
4
TO START THE ENGINEC030A01E-AATCOMBINATION IGNITION SWITCHo If your Hyundai is equipped with a manual
transaxle, place the shift lever in neutral and
depress the clutch pedal fully.
o If your Hyundai has an automatic transaxle,
place the shift lever in "P" (park).
o To start the engine, insert the ignition key and
turn it to the "START" position. Release it as
soon as the engine starts. Do not hold the
key in the "START" position for more that 15
seconds.NOTE:o For safety, the engine will not start if the
clutch pedal is not depressed fully
(Manual Transaxle) or the shift lever is
not in "P" or "N" Position (Automatic
Transaxle).
o The ignition key cannot be turned from
"ACC" position to "LOCK" position un-
less the shift lever is in the "P" (Park)
position or the negative battery terminal
is disconnected from the battery. To
remove the key, always confirm that the
shift lever is securely positioned in "P"
(Park) (For Automatic Transaxle).
o For additional information about start-
ing, see page 2-6.
BEFORE STARTING THE ENGINEC020A03A-AATBefore you start the engine, you should always:
1. Look around the vehicle to be sure there are
no flat tires, puddles of oil, water or other
indications of possible trouble.
2. After entering the car, check to be sure the
parking brake is engaged.
3. Check that all windows, and lights are clean.
4. Check that the interior and exterior mirrors
are clean and in position.
5. Check your seat, seatback and headrest to
be sure they are in their proper positions.
6. Lock all the doors.
7. Fasten your seat belt and be sure that all
other occupants have fastened theirs.
8. Turn off all lights and accessories that are
not needed.
9. When you turn the ignition switch to "ON",
check that all appropriate warning lights are
operating and that you have sufficient fuel.
10.Check the operation of warning lights and all
bulbs when key is in the "ON" position.
!
WARNING:
o All passengers must be properly belted
whenever the vehicle is moving. Refer to
pages: 1-18 through 1-24 for more infor-
mation on their proper use.
o Always check the surrounding areas near
your vehicle for people, especially chil-
dren, before putting a car into 'drive.'
!
WARNING:
Always wear appropriate shoes when oper-
ating your vehicle.
Unsuitable shoes (high heels, ski boots,
etc.) may interfere with your ability to use
the brake and accelerator pedal, and the
clutch (if installed).
Page 172 of 306
2
DRIVING YOUR HYUNDAI
6
!
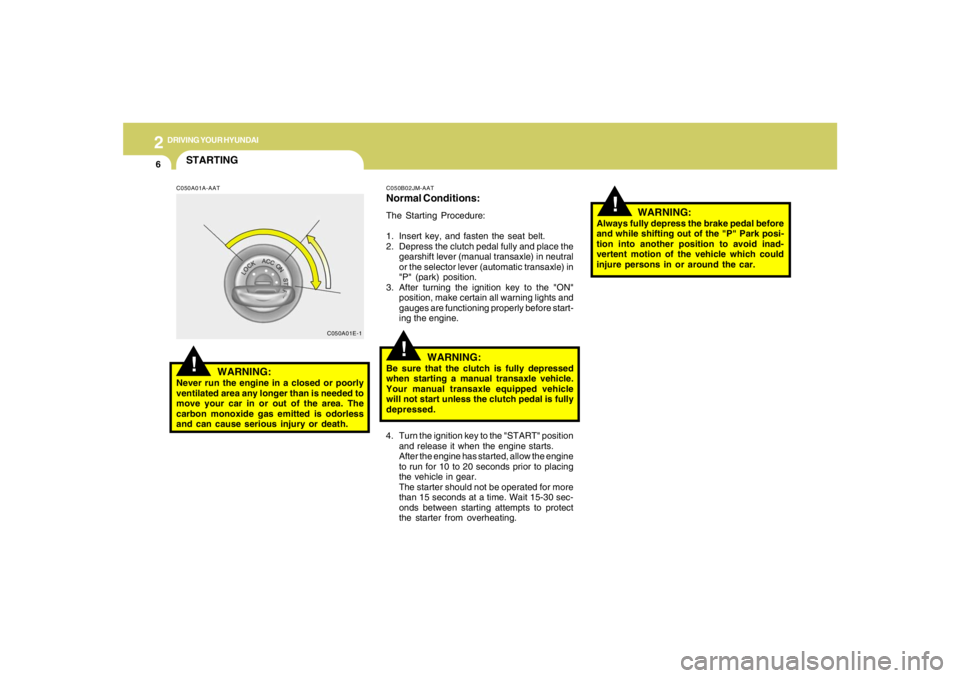
4. Turn the ignition key to the "START" position
and release it when the engine starts.
After the engine has started, allow the engine
to run for 10 to 20 seconds prior to placing
the vehicle in gear.
The starter should not be operated for more
than 15 seconds at a time. Wait 15-30 sec-
onds between starting attempts to protect
the starter from overheating.C050B02JM-AATNormal Conditions:The Starting Procedure:
1. Insert key, and fasten the seat belt.
2. Depress the clutch pedal fully and place the
gearshift lever (manual transaxle) in neutral
or the selector lever (automatic transaxle) in
"P" (park) position.
3. After turning the ignition key to the "ON"
position, make certain all warning lights and
gauges are functioning properly before start-
ing the engine.
WARNING:
Be sure that the clutch is fully depressed
when starting a manual transaxle vehicle.
Your manual transaxle equipped vehicle
will not start unless the clutch pedal is fully
depressed.
!
C050A01E-1
STARTING!
C050A01A-AAT
WARNING:
Never run the engine in a closed or poorly
ventilated area any longer than is needed to
move your car in or out of the area. The
carbon monoxide gas emitted is odorless
and can cause serious injury or death.
WARNING:
Always fully depress the brake pedal before
and while shifting out of the "P" Park posi-
tion into another position to avoid inad-
vertent motion of the vehicle which could
injure persons in or around the car.
Page 175 of 306
2
DRIVING YOUR HYUNDAI
9
HJM3018
OPERATING THE AUTOMATIC
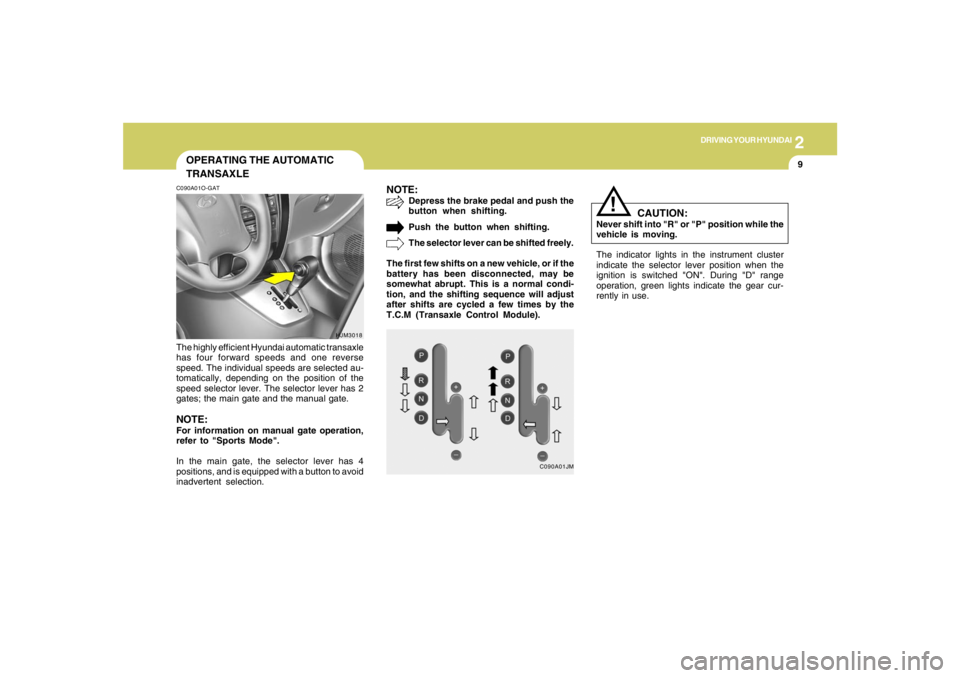
TRANSAXLEC090A01O-GATThe highly efficient Hyundai automatic transaxle
has four forward speeds and one reverse
speed. The individual speeds are selected au-
tomatically, depending on the position of the
speed selector lever. The selector lever has 2
gates; the main gate and the manual gate.NOTE:For information on manual gate operation,
refer to "Sports Mode".
In the main gate, the selector lever has 4
positions, and is equipped with a button to avoid
inadvertent selection.
NOTE:
Depress the brake pedal and push the
button when shifting.
Push the button when shifting.
The selector lever can be shifted freely.
The first few shifts on a new vehicle, or if the
battery has been disconnected, may be
somewhat abrupt. This is a normal condi-
tion, and the shifting sequence will adjust
after shifts are cycled a few times by the
T.C.M (Transaxle Control Module).
C090A01JM
The indicator lights in the instrument cluster
indicate the selector lever position when the
ignition is switched "ON". During "D" range
operation, green lights indicate the gear cur-
rently in use.
CAUTION:
Never shift into "R" or "P" position while the
vehicle is moving.
!
Page 180 of 306

2
DRIVING YOUR HYUNDAI
14
!
Driving HintsTCS does not actively apply brakes. Be sure to
decelerate the car sufficiently before entering
curves.
CAUTION:
When the TCS indicator blinks, SLIP con-
trol function has been activated. It also
means that the road is slippery or your car
is accelerating excessively. In this situa-
tion, gently release foot pressure from the
accelerator pedal and maintain moderate
speed.
!
WARNING:
Traction control is a driving aid; all normal
precautions for driving in inclement weath-
er and on slippery driving surfaces should
be observed.
C310B02O-AATTCS ON/OFF ModeWhen the TCS is operating, the TCS indicator
in the instrument cluster will blink.
If you turn the system off by pressing the TCS
switch, the TCS-OFF indicator will come on and
stay on. In the TCS-OFF mode, the SLIP control
will be deactivated. Adjust you driving accord-
ingly. To turn the system back on, press the
switch again. The TCS-OFF indicator should go
off.NOTE:1) The TCS mode will automatically be
turned ON after the engine is turned off
and restarted.
2) When the traction control system is op-
erating properly, you can feel a slight
pulsation in the vehicle. This is only the
effect of brake control and indicates
nothing unusual.
3) When the engine starts, a click may be
heard from the engine compartment;
this is the sound of the traction control
being checked.
4) When moving out of the mud or fresh
snow, pressing the accelerator pedal
may not cause the engine speed to in-
crease due to TCS operation.
C310D01JM-AATIndicators and WarningThe indicators should illuminate when the igni-
tion key is turned to ON or START but should
go out after approximately three seconds.
If the indicators do not illuminate, or the TCS or
TCS-OFF indicator does not go out after 3
seconds, have the system checked by an
authorized dealer.
Should there be any unusual conditions in the
TCS System while driving, TCS-OFF indicator
illuminates as a warning.
If TCS-OFF indicator illuminates, pull your car
to a safe place and stop the engine.
Then, start the engine again to check if the TCS-
OFF indicator goes out.
If the indicator remains lit even after the engine
has been started, have your car checked by an
authorized Hyundai dealer.NOTE:When the TCS-OFF indicator illuminates,
traction control is automatically deacti-
vated.
Page 185 of 306
2
DRIVING YOUR HYUNDAI
19
4WD LOCK SYSTEMC360A01O-GAT(With Electronic Control 4WD)
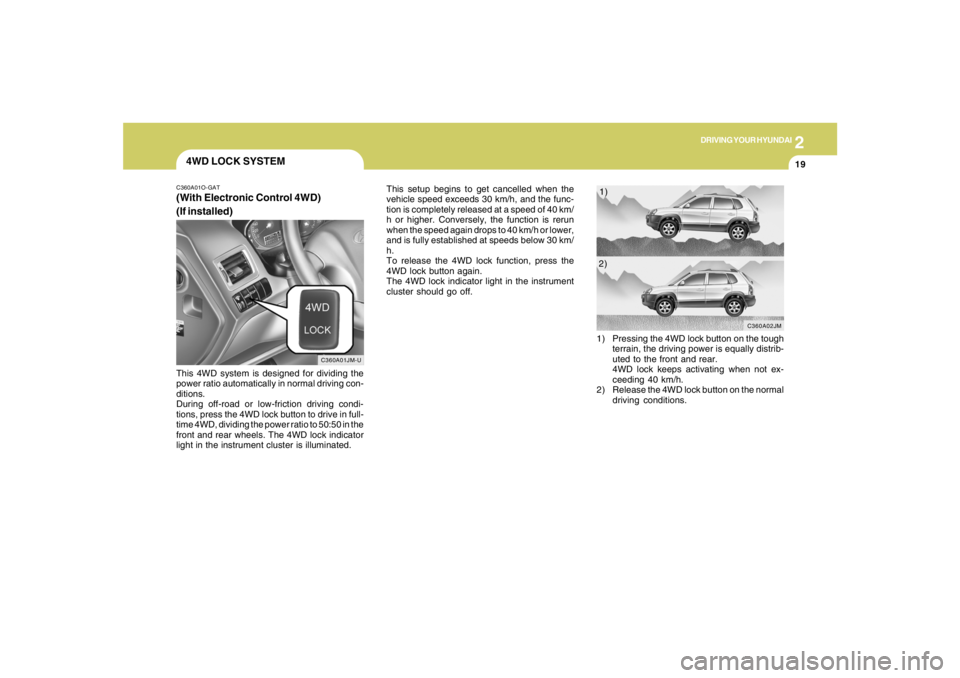
(If installed)This 4WD system is designed for dividing the
power ratio automatically in normal driving con-
ditions.
During off-road or low-friction driving condi-
tions, press the 4WD lock button to drive in full-
time 4WD, dividing the power ratio to 50:50 in the
front and rear wheels. The 4WD lock indicator
light in the instrument cluster is illuminated.This setup begins to get cancelled when the
vehicle speed exceeds 30 km/h, and the func-
tion is completely released at a speed of 40 km/
h or higher. Conversely, the function is rerun
when the speed again drops to 40 km/h or lower,
and is fully established at speeds below 30 km/
h.
To release the 4WD lock function, press the
4WD lock button again.
The 4WD lock indicator light in the instrument
cluster should go off.
C360A01JM-U
1) Pressing the 4WD lock button on the tough
terrain, the driving power is equally distrib-
uted to the front and rear.
4WD lock keeps activating when not ex-
ceeding 40 km/h.
2) Release the 4WD lock button on the normal
driving conditions.
C360A02JM
1)
2)