2007 HYUNDAI TUCSON key
[x] Cancel search: keyPage 76 of 306
1FEATURES OF YOUR HYUNDAI64
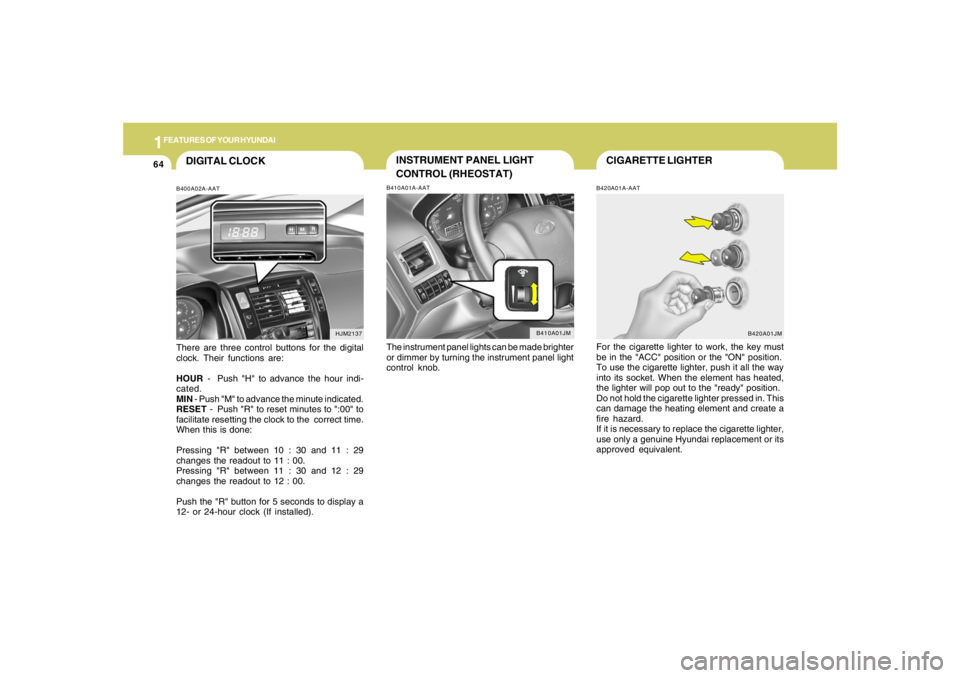
CIGARETTE LIGHTERB420A01A-AATFor the cigarette lighter to work, the key must
be in the "ACC" position or the "ON" position.
To use the cigarette lighter, push it all the way
into its socket. When the element has heated,
the lighter will pop out to the "ready" position.
Do not hold the cigarette lighter pressed in. This
can damage the heating element and create a
fire hazard.
If it is necessary to replace the cigarette lighter,
use only a genuine Hyundai replacement or its
approved equivalent.
B420A01JM
DIGITAL CLOCKB400A02A-AATThere are three control buttons for the digital
clock. Their functions are:
HOUR - Push "H" to advance the hour indi-
cated.
MIN - Push "M" to advance the minute indicated.
RESET - Push "R" to reset minutes to ":00" to
facilitate resetting the clock to the correct time.
When this is done:
Pressing "R" between 10 : 30 and 11 : 29
changes the readout to 11 : 00.
Pressing "R" between 11 : 30 and 12 : 29
changes the readout to 12 : 00.
Push the "R" button for 5 seconds to display a
12- or 24-hour clock (If installed).
HJM2137
INSTRUMENT PANEL LIGHT
CONTROL (RHEOSTAT)B410A01A-AATThe instrument panel lights can be made brighter
or dimmer by turning the instrument panel light
control knob.
B410A01JM
Page 77 of 306
1
FEATURES OF YOUR HYUNDAI
65
!
CAUTION:
o Use when the engine is running and
remove a plug from the power outlet
after using the electric appliance. Using
when the engine stops or remaining the
electric appliance with plugged in for
many hours may cause the battery to be
discharged.
o Do not use the power outlet to connect
electric accessories or equipment other
than those designed to operate on 12
volts.
o Some electronic devices can cause elec-
tronic interference when plugged into
the power outlet. These devices may
cause excessive audio noise and mal-
functions in other electronic systems or
devices used in your vehicle.
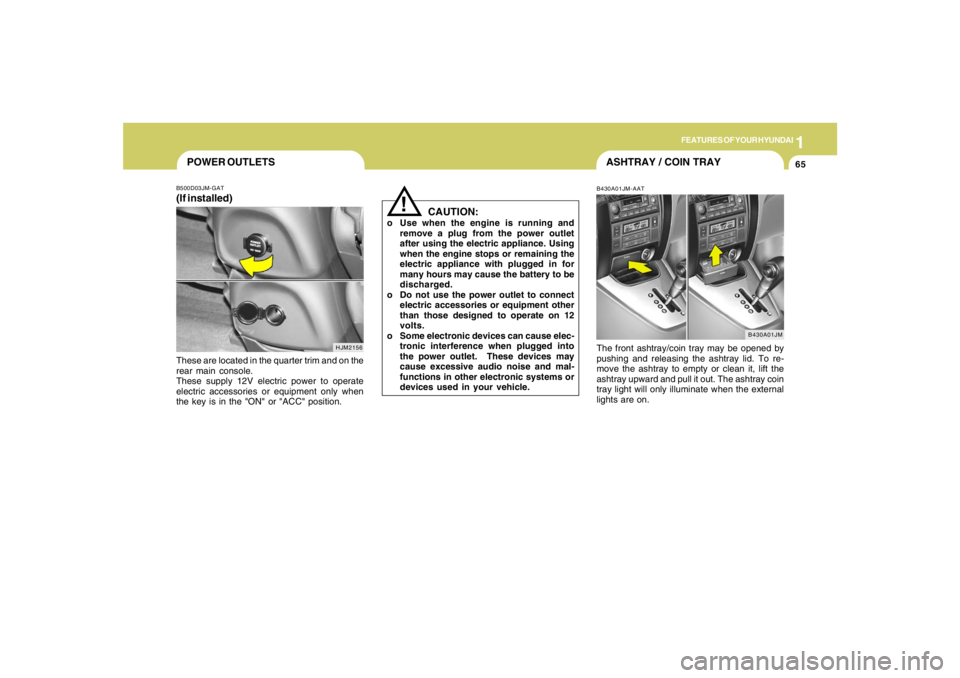
POWER OUTLETSB500D03JM-GAT(If installed)These are located in the quarter trim and on the
rear main console.
These supply 12V electric power to operate
electric accessories or equipment only when
the key is in the "ON" or "ACC" position.
HJM2156
ASHTRAY / COIN TRAYB430A01JM-AATThe front ashtray/coin tray may be opened by
pushing and releasing the ashtray lid. To re-
move the ashtray to empty or clean it, lift the
ashtray upward and pull it out. The ashtray coin
tray light will only illuminate when the external
lights are on.
B430A01JM
Page 81 of 306
1
FEATURES OF YOUR HYUNDAI
69
HJM2028
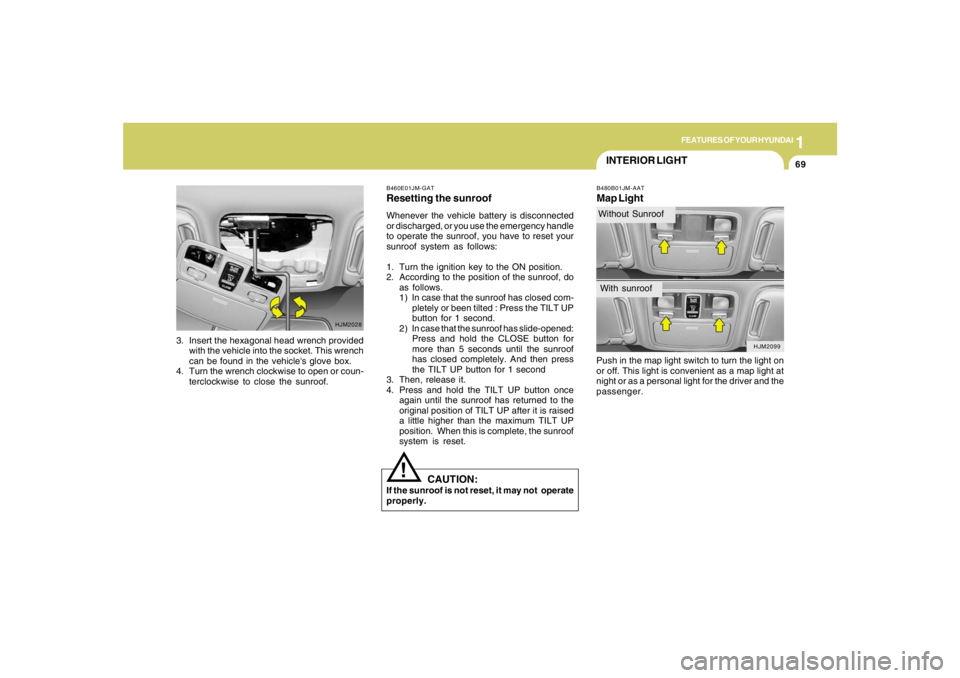
3. Insert the hexagonal head wrench provided
with the vehicle into the socket. This wrench
can be found in the vehicle's glove box.
4. Turn the wrench clockwise to open or coun-
terclockwise to close the sunroof.
INTERIOR LIGHTB480B01JM-AATMap LightPush in the map light switch to turn the light on
or off. This light is convenient as a map light at
night or as a personal light for the driver and the
passenger.
B460E01JM-GATResetting the sunroofWhenever the vehicle battery is disconnected
or discharged, or you use the emergency handle
to operate the sunroof, you have to reset your
sunroof system as follows:
1. Turn the ignition key to the ON position.
2. According to the position of the sunroof, do
as follows.
1) In case that the sunroof has closed com-
pletely or been tilted : Press the TILT UP
button for 1 second.
2) In case that the sunroof has slide-opened:
Press and hold the CLOSE button for
more than 5 seconds until the sunroof
has closed completely. And then press
the TILT UP button for 1 second
3. Then, release it.
4. Press and hold the TILT UP button once
again until the sunroof has returned to the
original position of TILT UP after it is raised
a little higher than the maximum TILT UP
position. When this is complete, the sunroof
system is reset.
CAUTION:
If the sunroof is not reset, it may not operate
properly.
!
HJM2099
Without SunroofWith sunroof
Page 82 of 306
1FEATURES OF YOUR HYUNDAI70
HJM2158
SPECTACLE CASE!
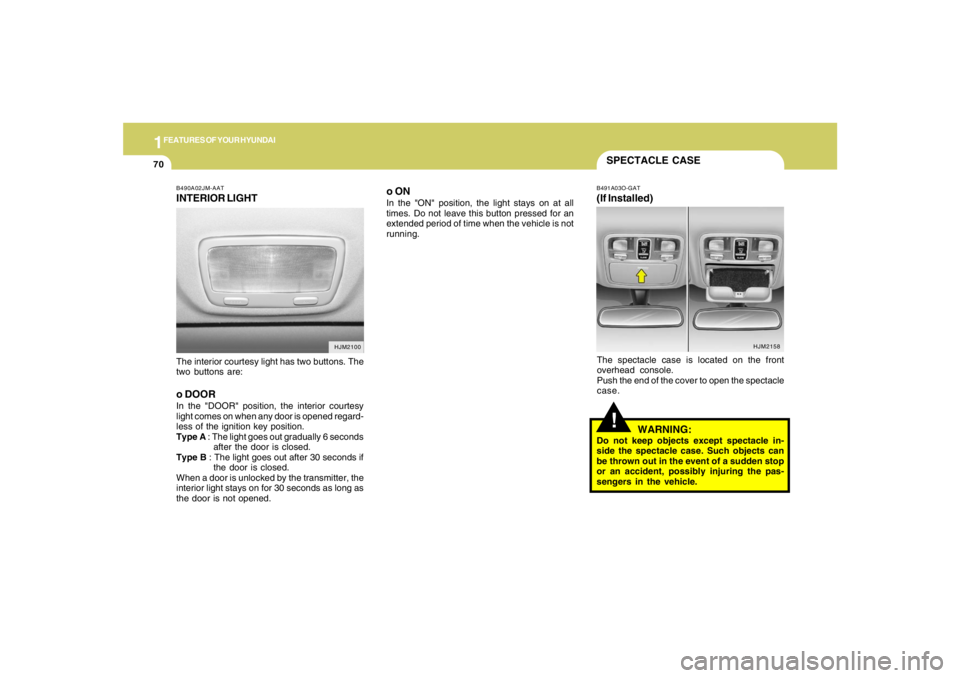
B491A03O-GAT(If Installed)The spectacle case is located on the front
overhead console.
Push the end of the cover to open the spectacle
case.
WARNING:
Do not keep objects except spectacle in-
side the spectacle case. Such objects can
be thrown out in the event of a sudden stop
or an accident, possibly injuring the pas-
sengers in the vehicle.
B490A02JM-AATINTERIOR LIGHTThe interior courtesy light has two buttons. The
two buttons are:o DOORIn the "DOOR" position, the interior courtesy
light comes on when any door is opened regard-
less of the ignition key position.
Type A : The light goes out gradually 6 seconds
after the door is closed.
Type B : The light goes out after 30 seconds if
the door is closed.
When a door is unlocked by the transmitter, the
interior light stays on for 30 seconds as long as
the door is not opened.
HJM2100
o ONIn the "ON" position, the light stays on at all
times. Do not leave this button pressed for an
extended period of time when the vehicle is not
running.
Page 83 of 306
1
FEATURES OF YOUR HYUNDAI
71
HJM2145
GLOVE BOX!
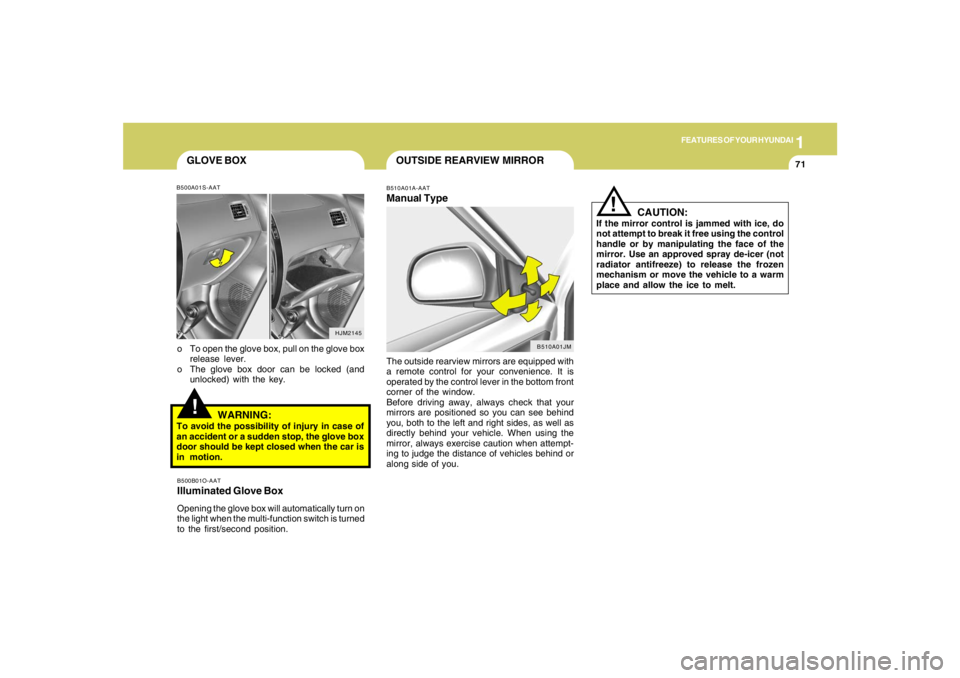
o To open the glove box, pull on the glove box
release lever.
o The glove box door can be locked (and
unlocked) with the key.
WARNING:
To avoid the possibility of injury in case of
an accident or a sudden stop, the glove box
door should be kept closed when the car is
in motion.B500B01O-AATIlluminated Glove BoxOpening the glove box will automatically turn on
the light when the multi-function switch is turned
to the first/second position.B500A01S-AAT
B510A01A-AATManual TypeThe outside rearview mirrors are equipped with
a remote control for your convenience. It is
operated by the control lever in the bottom front
corner of the window.
Before driving away, always check that your
mirrors are positioned so you can see behind
you, both to the left and right sides, as well as
directly behind your vehicle. When using the
mirror, always exercise caution when attempt-
ing to judge the distance of vehicles behind or
along side of you.OUTSIDE REARVIEW MIRROR
CAUTION:
If the mirror control is jammed with ice, do
not attempt to break it free using the control
handle or by manipulating the face of the
mirror. Use an approved spray de-icer (not
radiator antifreeze) to release the frozen
mechanism or move the vehicle to a warm
place and allow the ice to melt.
!
B510A01JM
Page 88 of 306
1FEATURES OF YOUR HYUNDAI76
B540A01JM-AATSHOPPING BAG HOLDERS
HJM2150
B540A02JM
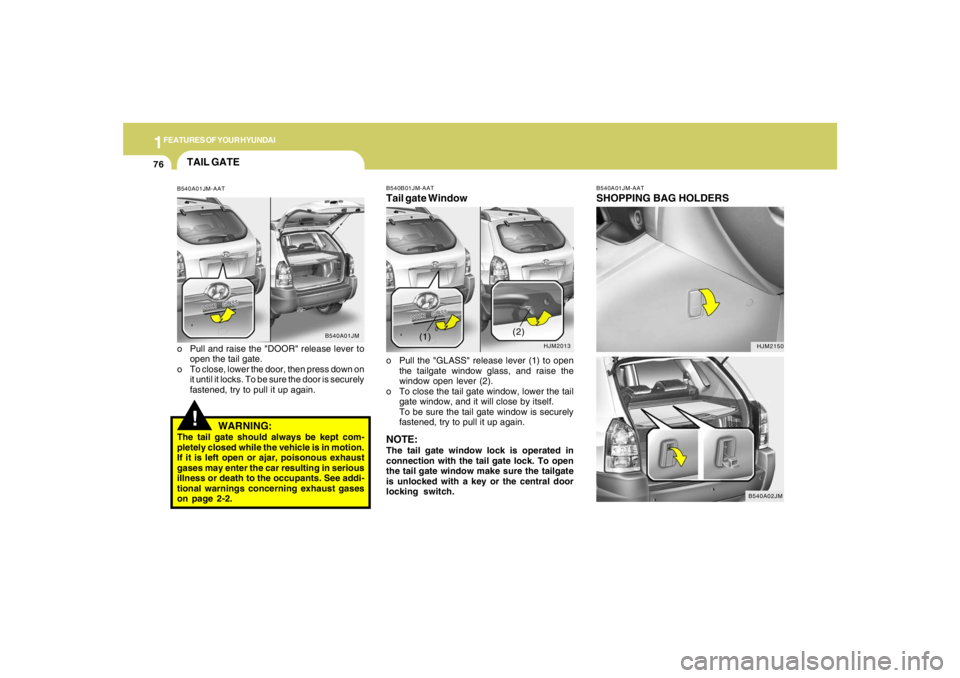
B540B01JM-AATTail gate Windowo Pull the "GLASS" release lever (1) to open
the tailgate window glass, and raise the
window open lever (2).
o To close the tail gate window, lower the tail
gate window, and it will close by itself.
To be sure the tail gate window is securely
fastened, try to pull it up again.NOTE:The tail gate window lock is operated in
connection with the tail gate lock. To open
the tail gate window make sure the tailgate
is unlocked with a key or the central door
locking switch.
HJM2013
(1)(2)
!TAIL GATEB540A01JM-AATo Pull and raise the "DOOR" release lever to
open the tail gate.
o To close, lower the door, then press down on
it until it locks. To be sure the door is securely
fastened, try to pull it up again.
B540A01JM
WARNING:
The tail gate should always be kept com-
pletely closed while the vehicle is in motion.
If it is left open or ajar, poisonous exhaust
gases may enter the car resulting in serious
illness or death to the occupants. See addi-
tional warnings concerning exhaust gases
on page 2-2.
Page 120 of 306
1FEATURES OF YOUR HYUNDAI
108
K260B01JM-GAT1. POWER ON-OFF Control KnobThe radio unit may be operated when the ignition
key is in the "ACC" or "ON" position. Press the
knob to switch the power on. The LCD shows
the radio frequency in the radio mode or the CD
track indicator in the CD mode. To switch the
power off, press the knob again.VOLUME ControlRotate the knob clockwise to increase the
volume and turn the knob counterclockwise to
reduce the volume.MODE ControlAfter pressing the MODE select button, rotate
the knob clockwise or counter- clockwise for
the desired tone quality.2. TUNE (Manual) Select ButtonPress the ( ) side or ( ) side to increase or to
decrease the frequency. Press either button
and hold down to continuously scroll. Release
button once the desired station is reached.
SEEK Operation (Automatic Channel
Selection)Press the TUNE select button for 1 sec or more.
Releasing it will automatically tune to the next
available station with a beep sound.
When the ( ) side is pressed longer than 1
second, releasing will automatically tune to the
next higher frequency and when the ( ) side is
pressed longer than 1 second, releasing will
automatically tune to the next lower frequency.3. PRESET STATION SELECT
ButtonSix (6) stations for AM, FM1 or FM2 respec-
tively can be preset in the electronic memory
circuit on this unit.HOW TO PRESET STATIONSSix AM and twelve FM stations may be pro-
grammed into the memory of the radio. Then, by
simply pressing the band select button and/or
one of the six station select buttons, you may
recall any of these stations instantly. To pro-
gram the stations, follow these steps:o Press band selector to set the band for AM,
FM1 or FM2.
o Select the desired station to be stored by
seek, scan or manual tuning.
o Determine the preset station select button
you wish to use to access that station.
o Press the station select button for more than
two seconds. A select button indicator will
show in the display indicating which select
button you have depressed. The frequency
display will flash after it has been stored into
the memory.
You should then release the button, and
proceed to program the next desired station.
A total of 18 stations can be programmed by
selecting one AM and two FM stations per
button.
o When completed, any preset station may be
recalled by selecting AM, FM1 or FM2 band
and the appropriate station button.
4.MODE Select ButtonPressing the MODE button changes the BASS,
TREBLE, FADER, BALANCE mode.
The mode selected is shown on the display.
After selecting the each mode, rotate the vol-
ume control knob clockwise or counterclock-
wise.
Page 126 of 306
1FEATURES OF YOUR HYUNDAI
114
!
HMP280B01TB-GAT1. POWER ON-OFF Controlo The radio unit may be operated when the
ignition key is in the "ACC" or "ON" position.
Press the button to switch the power on. The
display shows the radio frequency in the
radio mode, the tape direction indicator in the
tape mode or CD
ˆMP3 track in either the
CD
ˆMP3 mode or CD AUTO CHANGER
mode. To switch the power off, press the
button again.
o Push the FM
ˆAM, TAPE or CD
ˆMP3 to turn
on that function without pushing Power
ON
ˆOFF control knob.
VOLUME ControlRotate the knob clockwise to increase the
volume and turn the knob counterclockwise to
reduce the volume.2. BAND SelectorPressing the band selector FM
ˆAM changes
the AM, FM1 and FM2 bands. The mode se-
lected is shown on the display.
3. TUNE (Manual) Select KnobPush the TUNE select knob (JOY STICK)
upwards or downwards to increase or de-
crease the frequency. Release the knob when
the station is selected.SEEK Operation
(Automatic Channel Selection)Push the TUNE select knob (JOY STICK) to the
right or left, the frequency will be automatically
tuned to the next higher or lower available
station.
4. SCANWhen the scan button is pressed, the frequency
will increase and the receivable stations will be
tuned in one after another, receiving each sta-
tion for 5 seconds. To stop scanning, press the
scan button again.5. Best Station Memory (BSM)When the BSM button is pressed the six chan-
nels from the highest field intensity are selected
next and stored in memory. The stations se-
lected are stored in the sequence frequency
from the first preset key.6. PRESET STATION Select ButtonsSix (6) stations for AM, FM and FM2 respec-
tively can be preset in the electronic memory
circuit.HOW TO PRESET STATIONSSix AM and twelve FM stations may be pro-
grammed into the memory of the radio. Then, by
simply pressing the band select button and/or
one of the six station select buttons, you may
recall any of these stations instantly. To pro-
gram the stations, follow these steps:
WARNING:
Don't operate the button and joy stick switch
while driving. It can cause death or serious
injury in case of an accident.