2007 HYUNDAI TUCSON set clock
[x] Cancel search: set clockPage 159 of 306

1
FEATURES OF YOUR HYUNDAI
147147147147147
J295B01JM-GAT1. Power Button (POWER ON)Press this button when the ignition switch of the
automobile is set to ACC (1st notch) or ON (2nd
notch) to turn on the power and the audio
system. Press once again when the audio
system is on to turn off the power.2. Volume Control (VOLUME)Turn the volume control clockwise to increase
volume and counterclockwise to reduce. The
volume level will be displayed on the screen
when you adjust the volume.3. Radio Band Selection Button (FM/AM)o Press this button to listen to either FM or AM.
o The radio will be set to each of the following
modes each time you press the button.
FM1 ➟ FM2 ➟ AMNOTE:Push this button when the power is off to
turn on the power automatically.4. SCAN ButtonPress this button to automatically select chan-
nels starting from the current channel and play
each channel for 5 seconds. Press again to
keep listening to the channel currently selected.
5. Automatic Channel Selection Button
(SEEK)Press the [SEEK
] button to automatically
increase frequency and press the [TRACK
]
button to automatically decrease frequency to
select and play the next available channel. If the
received channel is memorized in the preset
buttons then the screen will display the memo-
rized channel.
6. Manual Channel Selection Control
(TUNE)Turn the TUNE control clockwise to increase
frequency and counterclockwise to reduce fre-
quency by 1 step for each click.
o FM: Increases/Decreases by 0.2MHz
(87.5➟87.7➟87.9…87.9➟87.7➟87.5)
o AM: Increases/Decreases by 10MHz
(530➟540➟550…550➟540➟530)7. Preset Button (1~6)Press this button to listen to the channels
memorized to each button. If you want to memo-
rize the current channel to the preset button,
press the button for more than 1.5 seconds then
the channel will be memorized to the button with
a beep.
8. Information Display Screen (LCD)A variety of information will be displayed on the
screen including the radio bands (FM1/FM2/
AM) while listening to the radio, frequency of
each channel, the number of preset channel
and "ST" for FM stereo broadcasting.9. BASS, MIDDLE, TREBLE Tone Control
/ FADE, BALANCE ControlPress this button to control tone. Each time you
press the button, the mode will switch from
BASS➟MIDDLE➟TREBLE➟FADER➟BALANCE
and the mode will be displayed on the screen.
Page 210 of 306

310
WHAT TO DO IN AN EMERGENCY
IF YOU HAVE A FLAT TIRED050A02A-AATIf a tire goes flat while you are driving:
1. Take your foot off the accelerator
pedal and let the car slow down while
driving straight ahead. Do not apply
the brakes immediately or attempt to
pull off the road as this may cause a
loss of control. When the vehicle has
slowed to such a speed that it is safe
to do so, brake carefully and pull off
the road. Drive off the road as far as
possible and park on firm, level
ground. If you are on a divided high-
way, do not park in the median area
between the two traffic lanes.
2. When the car is stopped, turn on your
emergency hazard flashers, set the
parking brake and put the transaxle
in "P" (automatic) or reverse (manual
transaxle).
3. Have all passengers get out of the
vehicle. Be sure they all get out on
the side of the vehicle that is away
from traffic.
4. Change the tire following the instruc-
tions provided on the following pages.
HJM4008
5. Turn the installation bolt counter-
clockwise with a wheel nut wrench to
remove the spare tire. After replac-
ing the spare tire, install and tighten
the bolt firmly with your fingers until
there is no more play in the spare tire.
D040B01JM-GATHandling the Spare Tire
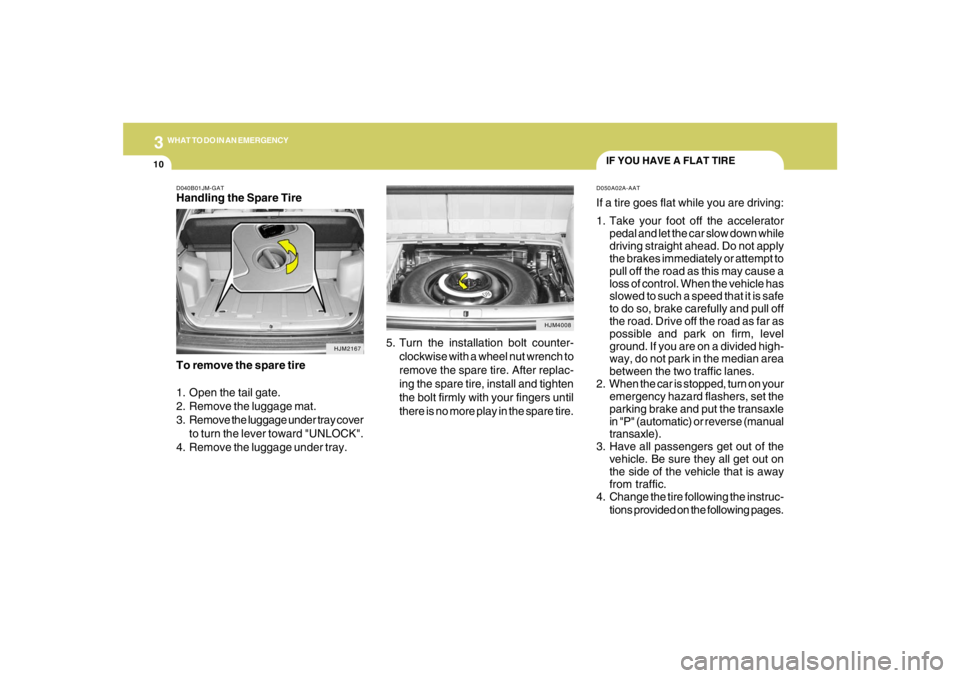
To remove the spare tire
1. Open the tail gate.
2. Remove the luggage mat.
3. Remove the luggage under tray cover
to turn the lever toward "UNLOCK".
4. Remove the luggage under tray.
HJM2167
Page 241 of 306

6
DO-IT-YOURSELF MAINTENANCE
6
WARNING:
Be very careful not to touch the radiator
hose when adding the engine oil as it may
be hot enough to burn you.
!
CHANGING THE OIL AND FILTER
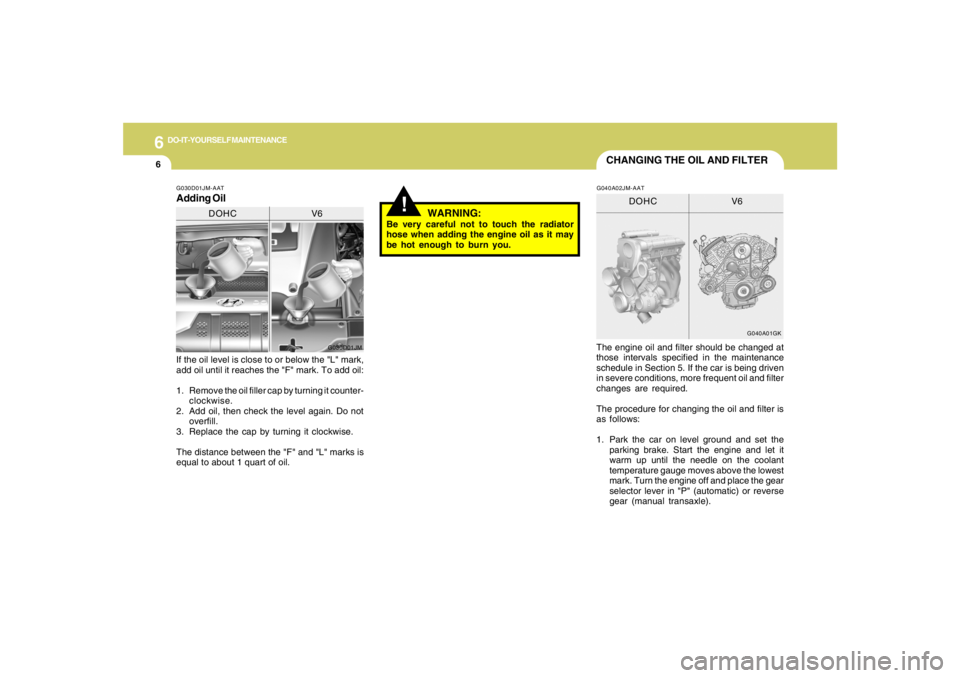
If the oil level is close to or below the "L" mark,
add oil until it reaches the "F" mark. To add oil:
1. Remove the oil filler cap by turning it counter-
clockwise.
2. Add oil, then check the level again. Do not
overfill.
3. Replace the cap by turning it clockwise.
The distance between the "F" and "L" marks is
equal to about 1 quart of oil.The engine oil and filter should be changed at
those intervals specified in the maintenance
schedule in Section 5. If the car is being driven
in severe conditions, more frequent oil and filter
changes are required.
The procedure for changing the oil and filter is
as follows:
1. Park the car on level ground and set the
parking brake. Start the engine and let it
warm up until the needle on the coolant
temperature gauge moves above the lowest
mark. Turn the engine off and place the gear
selector lever in "P" (automatic) or reverse
gear (manual transaxle).G030D01JM-AATAdding Oil
G030D01JM
DOHC V6
G040A01GK
DOHC V6
G040A02JM-AAT
Page 244 of 306

6
DO-IT-YOURSELF MAINTENANCE
9
!
!
WARNING:
The cooling fan is controlled by engine
coolant temperature and may sometimes
operate even when the engine is not run-
ning. Use extreme caution when working
near the blades of the coolant fan so that
you are not injured by a rotating fan blade.
As the engine coolant temperature de-
creases, the fan will automatically shut off.
This is a normal condition. 2. Turn the radiator cap counterclockwise with-
out pressing down on it, until it stops. This
relieves any pressure remaining in the cool-
ing system. And remove the radiator cap by
pushing down and turning counterclock-
wise.
3. Be sure your drain receptacle is in place.
Open the drain cock on the radiator. Allow all
the engine coolant to drain from the cooling
system, then securely close the drain cock.
4. Check Section 9 for the capacity of the
cooling system in your car. Then, following
the manufacturer's directions on the engine
coolant container, add the appropriate quan-
tity of coolant to the radiator.
5. Fill the radiator with clean demineralized or
distilled water. Continue to add clean dem-
ineralized or distilled water in small quantities
until the fluid level stays up in the radiator
neck.6. Start the engine, top off the radiator with
water and then add coolant to the reservoir
until the level is between "L" and "F".
7. Replace the radiator and reservoir caps and
check to be sure the drain cocks are fully
closed and not leaking.
G050D02A-AATTo Change the Engine CoolantThe engine coolant should be changed at those
intervals specified in the vehicle maintenance
schedule in Section 5.
HJM5034G050D01JM
CAUTION:
Engine coolant can damage the finish of
your car. If you spill engine coolant on the
car, wash it off thoroughly with clean water.
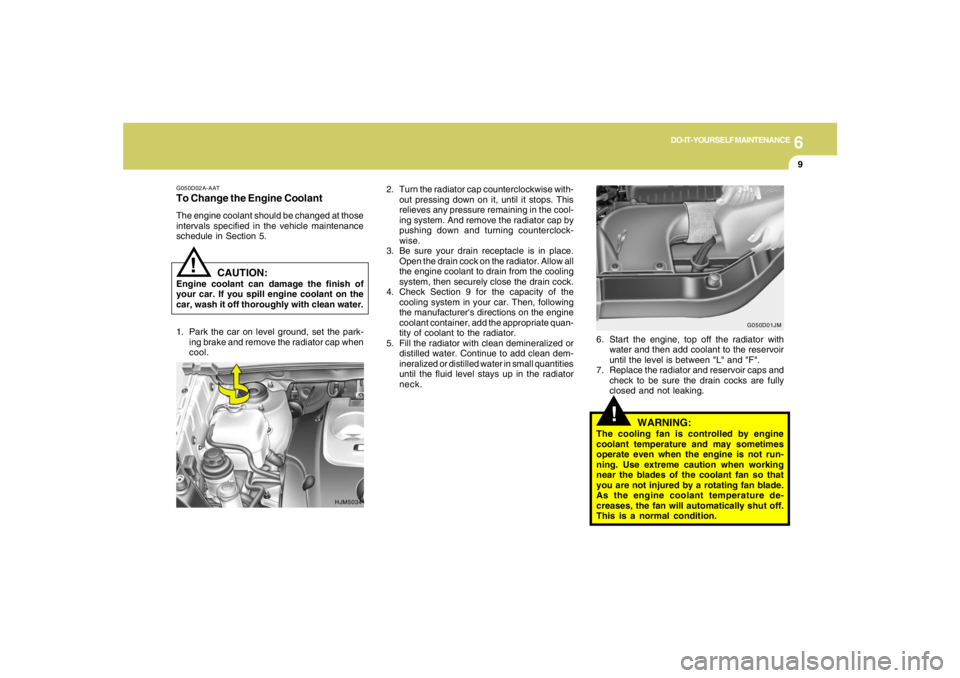
1. Park the car on level ground, set the park-
ing brake and remove the radiator cap when
cool.
Page 300 of 306

10
INDEX
2
A
Air bag ...............................................................................................1-33
Air Cleaner Filter ...............................................................................6-10
Air Conditioning
Care..............................................................................................6-16
Operation............................................................................ 1-95, 6-16
Switch...........................................................................................1-95
Antenna..........................................................................................1-154
Ashtray..............................................................................................1-65
Audio System
Cassette Tape player operation (J290)...................................1-139
Cassete tape player operation (M280) .........................1-116, 1-130
Compact disc player operation (K260)....................................1-110
Compact disc player operation (M280) .........................1-119, 1-133
CD changer operation (M280) ..................................................1-123
Compact disc player / CD Auto changer operation (J290) .....1-141
Compact disc player / CD Auto changer operation (J295) .....1-149
Stereo radio operation (J290) ...................................................1-136
Stereo radio operation (J295) ...................................................1-146
Stereo radio operation (K260)..................................................1-107
Stereo radio operation (M280)....................................... 1-113, 1-127
B
Battery...............................................................................................6-23
Binding Arbitration (U.S.A Only) .......................................................8-17
Brake
Anti-lock brake system ................................................................2-13
Traction control system (TCS) ...................................................2-13
Checking the brakes ....................................................................6-14Electronic Stability Control (ESC) .....................................................2-15
Fluid ..............................................................................................6-11
Pedal clearance...........................................................................6-20
Pedal free-play.............................................................................6-19
Practices......................................................................................2-19
Breaking-In your New Hyundai .......................................................... 1-3
Bulb Replacement.............................................................................6-27
C
California Perchlorate Notice ............................................................5-10
Care of Cassette Tapes ................................................................1-152
Care of Disc ...................................................................................
1-152
Catalytic Converter............................................................................. 7-3
Child-Protector Rear Door Lock ......................................................... 1-7
Child Restraint System.....................................................................1-25
Installing a Child Restraint Seat with the
"Tether Anchorage" System .....................................................1-26
Securing the Child Restraint Seat with the "ISOFIX" System ....1-28
Cigarette Lighter................................................................................1-64
Clock.................................................................................................1-64
Clutch
Checking fluid...............................................................................6-16
Pedal free-play.............................................................................6-19
Combination Light
Auto light.......................................................................................1-60
Headlight flasher..........................................................................1-59
Headlight switch...........................................................................1-59
High-beam switch........................................................................1-59
Lane change signal ......................................................................1-58
Parking light auto off .....................................................................1-59
Turn signal operation...................................................................1-58