Page 67 of 268
To switch the information display
between the odometer, trip meter,
outside temperature, and engine oil
lif e and maintenance item code(s),
press the SEL/RESET button
repeatedly.
The odometer shows the total
distance your vehicle has been
driven. It measures in miles or
kilometers. It is illegal under U.S.
federal law and Canadian provincial
regulations to disconnect, reset, or
alter the odometer with the intent to
change the number of miles or
kilometers indicated.
Gauges
Odometer
64
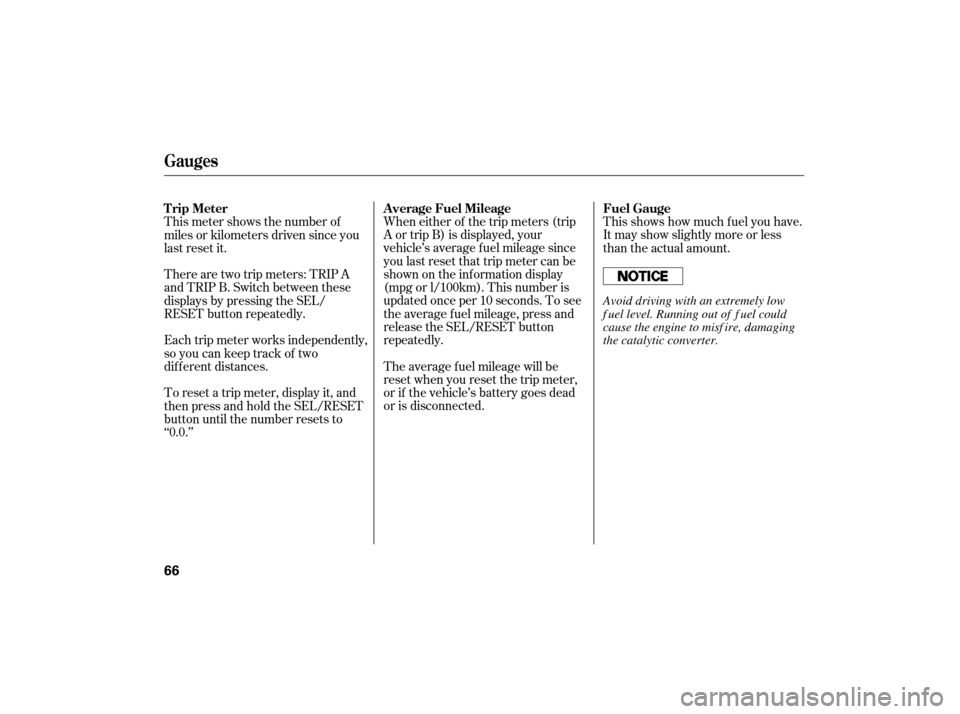
TRIP METER
SEL/RESET BUTTON DISPLAY CHANGE BUTTON TACHOMETER
INSTRUMENT PANEL BRIGHTNESS CONTROL BUTTONS INFORMATION
DISPLAYFUEL GAUGE
ODOMETER/OUTSIDE
TEMPERATURE INDICATOR CURRENT FUEL MILEAGE/
TEMPERATURE GAUGE SPEEDOMETER
Page 68 of 268

Every time you press the display
change button, the display changes
from the current fuel mileage to the
temperature gauge, or from the
temperature gauge to the current
fuel mileage.
Press and hold the display change
button until you hear a beep. Each
time you press the button, the
speedometer, trip meter, average
fuel mileage and current fuel
mile age readings switches their
measures.
Depending on the selected measures
(mph or km/h), the trip meter and
odometer readings are shown with
miles or km. The average fuel
mileage and current fuel mileage are
shown with mpg or l/100 km. This
display shows the current, or
instant fuel mileage you are getting.
It shows the number of mpg or l/100
km. This
shows the temperature of the
engine’s coolant. During normal
operation, the reading should be in
the middle of the gauge. In severe
driving conditions, such as very hot
weather or a long period of uphill
driving, the reading may reach near
the red mark. If it reaches the red
(Hot) mark, pull saf ely to the side of
theroad.Seepage for
instructions and precautions on
checking the engine’s cooling
system. 225
Gauges
Display Change Button
Current Fuel Mileage Temperature Gauge
Inst rument s and Cont rols
65
Page 69 of 268

When either of the trip meters (trip
A or trip B) is displayed, your
vehicle’s average fuel mileage since
you last reset that trip meter can be
shownontheinformationdisplay
(mpg or l/100km). This number is
updated once per 10 seconds. To see
the average f uel mileage, press and
release the SEL/RESET button
repeatedly.This shows how much f uel you have.
It may show slightly more or less
than the actual amount.
The average f uel mileage will be
reset when you reset the trip meter,
or if the vehicle’s battery goes dead
or is disconnected.
This meter shows the number of
miles or kilometers driven since you
last reset it.
There are two trip meters: TRIP A
and TRIP B. Switch between these
displays by pressing the SEL/
RESET button repeatedly.
Each trip meter works independently,
so you can keep track of two
dif f erent distances.
To reset a trip meter, display it, and
then press and hold the SEL/RESET
button until the number resets to
‘‘0.0.’’ A verage Fuel Mileage Fuel Gauge
Trip Meter
Gauges
66
Avoid driving with an extremely low
f uel level. Running out of f uel could
cause the engine to misf ire, damaging
the catalytic converter.
Page 70 of 268

�¶�¶�µ�µ�µ�µ
�µ�µ�µ
�µ If the outside temperature is
incorrectly displayed, you can adjust
it up to 5°F ( 3°C) warmer or
cooler.
NOTE: The temperature must be
stabilized bef ore doing this
procedure.
Select the outside temperature
display, then press the SEL/RESET
button f or 10 seconds. The f ollowing
sequence will appear f or 1 second
each:0,1,2,3,4,5, 5, 4, 3, 2, 1,0(U.S.)or0,1,2,3, 3, 2,
1, 0 (Canada).
In certain weather conditions,
temperature readings near f reezing
(32°F, 0°C) could mean that ice is
f orming on the road surf ace. When it reaches the desired value,
release the SEL/RESET button. You
should see the new outside
temperature displayed.
This indicator displays the outside
temperature in Fahrenheit (U.S.
models) or Centigrade (Canadian
models). To see the outside
temperature, press and release the
SEL/RESET button until the
temperature is shown on the
inf ormation display.
The temperature sensor is in the
f ront bumper. Theref ore, the
temperature reading can be af f ected
by heat ref lection f rom the road
surf ace, engine heat, and the
exhaust f rom surrounding traf f ic.
This can cause an incorrect
temperature reading when your
speed is under 19 mph (30 km/h).
The sensor delays the display update
until it reaches the correct outside
temperature. This may take several
minutes.
Gauges
Outside Temperature Indicator
Inst rument s and Cont rols
67
Page 71 of 268

The information display in the
instrument panel shows you the
engine oil life and maintenance
service items when the ignition
switch is in the ON (II) position. This
information helps to keep you aware
of the periodic maintenance your
vehicle needs for continued trouble-
free driving. Refer to page for
more information.
Your
vehicle’s on board diagnostic
system will detect a loose or missing
fuel fill cap as an evaporative system
leak. The first time a leak is detected
a ‘‘CHECK FUEL CAP’’ message
appears on the information display.
Turn the engine off, and confi rm the
fuel fill cap is installed. If it is, loosen
it, then retighten it until it clicks at
least once. The message should go
off after several days of normal
driving once you tighten or replace
the fuel fill cap. To scroll to another
display, press the SEL/RESET
button. The ‘‘CHECK FUEL CAP’’
message will appear each time you
restart the engine until the system
turns the message off. If
the system still detects a leak in
the vehicle’s evaporative emissions
system, the malfunction indicator
lamp (MIL) comes on. If the fuel fill
cap was not already tightened, turn
the engine off, and check or
retighten the fuel fill cap until it
clicks at least once. The MIL should
go off after several days of normal
driving once the cap is tightened or
replaced. If the MIL does not go off,
have your vehicle inspected by a
dealer. For more information, see
page . 179
229
Gauges
Maintenance Minder
Check Fuel Cap Message
68
Page 72 of 268

This gauge shows you the state of
charge of the battery for the
Integrated Motor Assist (IMA). This
battery is recharged by the IMA
motor, and discharged by the IMA
when it is assi sting the engine with
powering the vehicle. The
battery level gauge does not
read the battery level directly. It
calculates the level by continuously
measuring the current flow, voltage,
and temperature.
Since the level is not read directly,
small sensing errors can, over time,
cause the gauge to read higher than
the actual battery level. The system
will then perform a correction, and
the battery level gauge reading will
drop suddenly. When this happens,
IMA assist and Auto Idle Stop are
disabled until the IMA battery is
sufficiently recharged by normal
driving. This should take only a few
minutes. This
correction of the battery level
gauge is normal and does not
indicate a problem. If the IMA
battery develops a problem or
becomes deteriorate d, the IMA
system indicator will come on. If this
happens, have the vehic le checked
by your dealer as soon as possible.
The gauge reading may drop near
the bottom under driving conditions
that require IMA motor assistance
for a long time, such as prolonged acceleration or climbing a long hill.
TheIMAmotorwillrechargethe
battery as you continue driving.
If the battery is mostly discharged,
the Auto Idle Stop f unction is
disabled (see page ).
170
IMA Battery Level Gauge
Gauges
Inst rument s and Cont rols
69
BATTERY LEVEL GAUGE
Page 73 of 268
This gauge shows you the status of
the Integrated Motor Assist (IMA).
When the IMA battery is being
charged, the bottom side of the
gauge illuminates. When the IMA is
assisting the engine, the upper side
of the gauge illuminates.If the IMA battery is too hot or too
cold, the IMA system limits the IMA
battery’s output power to protect the
battery. This disables the IMA assist
and Auto Idle Stop, even though the
Battery Level Gauge may show that
the battery is well-charged.
Theref ore, if the motor assist is
f requently used, the battery
becomes hot and starts to limit its
output power.
It takes the IMA system a f ew
minutes in cold weather to normalize
the IMA battery’s output power, and
about 15 minutes in hot weather.
Charge/Assist Gauge
Gauges
70
IMA ASSIST GAUGE
IMA CHARGE GAUGE
Page 80 of 268
Protect the keys f rom direct
sunlight, high temperature, and
high humidity.
Donotdropthekeysorsetheavy
objects on them.
Keep the keys away f rom liquids.
If they get wet, dry them
immediately with a sof t cloth.
The keys without a remote
transmitter do not contain batteries.
Do not try to take them apart.
These keys contain electronic
circuits that are activated by the
immobilizer system. They will not
work to start the engine if the
circuits are damaged.
The valet key works only in the
ignition and the door locks. You can
keep the trunk and trunk release
handle locked when you leave your
vehicle and the valet key at a parking
f acility. Youshouldhavereceivedakey
number tag with your keys. You will
need this key number if you ever
have to get a lost key replaced. Use
only Honda-approved key blanks.
Keys and Locks
Inst rument s and Cont rols
77
KEY
NUMBER
TAG
VALET
KEY
(Gray)
Canadian model MASTER KEYS
WITH REMOTE
TRANSMITTER