Page 316 of 344

TRANSMISSION FLUID
Checking automatic transmission fluid (if equipped)
Refer to yourscheduled maintenance informationfor scheduled
intervals for fluid checks and changes. Your transmission does not
consume fluid. However, the fluid level should be checked if the
transmission is not working properly, i.e., if the transmission slips or
shifts slowly or if you notice some sign of fluid leakage.
Automatic transmission fluid expands when warmed. To obtain an
accurate fluid check, drive the vehicle until it is at normal operating
temperature (approximately 20 miles [30 km]). If your vehicle has been
operated for an extended period at high speeds, in city traffic during hot
weather or pulling a trailer, the vehicle should be turned off for about 30
minutes to allow fluid to cool before checking.
1. Drive the vehicle 20 miles (30 km) or until it reaches normal operating
temperature.
2. Park the vehicle on a level surface and engage the parking brake.
3. With the parking brake engaged and your foot on the brake pedal,
start the engine and move the gearshift lever through all of the gear
ranges. Allow sufficient time for each gear to engage.
4. Latch the gearshift lever in P (Park) and leave the engine running.
5. Remove the dipstick, wiping it clean with a clean, dry lint free rag. If
necessary, refer toIdentifying components in the engine compartment
in this chapter for the location of the dipstick.
6. Install the dipstick making sure it is fully seated in the filler tube.
7. Remove the dipstick and inspect the fluid level. The fluid should be in
the designated area for normal operating temperature or ambient
temperature.
Low fluid level
Do not drive the vehicle if the fluid
level is at the bottom of the dipstick
and the ambient temperature is
above 50°F (10°C).
Correct fluid level
The transmission fluid should be checked at normal operating
temperature 150°F-170°F (66°C-77°C) on a level surface. The normal
operating temperature can be reached after approximately 20 miles (30
km) of driving.
FoMoCo COLD5L 3P -7A020- CB
2007 F-150(f12)
Owners Guide (post-2002-fmt)
USA(fus)
Maintenance and Specifications
316
Page 317 of 344

You can check the fluid without driving if the ambient temperature is
above 50°F (10°C). However, if fluid is added at this time, an overfill
condition could result when the vehicle reaches normal operating
temperature.
The transmission fluid should be in
this range if at normal operating
temperature (150°F-170°F
[66°C-77°C]).
The transmission fluid should be in
this range if at ambient temperature
(50°F-95°F [10°C-35°C]).
High fluid level
Fluid levels above the safe range
may result in transmission failure.
An overfill condition of transmission
fluid may cause shift and/or
engagement concerns and/or
possible damage.
High fluid levels can be caused by
an overheating condition.
Adjusting automatic transmission fluid levels
Before adding any fluid, make sure the correct type is used. The type of
fluid used is normally indicated on the dipstick. Refer toMaintenance
product specifications and capacitiesin this chapter.
Use of a non-approved automatic transmission fluid may cause
internal transmission component damage.
If necessary, add fluid in 1/2 pint (250 ml) increments through the filler
tube until the level is correct.
FoMoCo COLD5L 3P -7A020- CB
FoMoCo COLD5L 3P -7A020- CB
FoMoCo COLD5L 3P -7A020- CB
2007 F-150(f12)
Owners Guide (post-2002-fmt)
USA(fus)
Maintenance and Specifications
317
Page 318 of 344
If an overfill occurs, excess fluid
should be removed by an authorized
dealer.
An overfill condition of
transmission fluid may cause
shift and/or engagement
concerns and/or possible
damage.
Do not use supplemental transmission fluid additives, treatments or
cleaning agents. The use of these materials may affect transmission
operation and result in damage to internal transmission components.
Checking and adding manual transmission fluid (if equipped)
1. Clean the filler plug.
2. Remove the filler plug and
inspect the fluid level.
FoMoCo COLD5L 3P -7A020- CB
2007 F-150(f12)
Owners Guide (post-2002-fmt)
USA(fus)
Maintenance and Specifications
318
Page 319 of 344
3. Fluid level should be at bottom of
the opening.
4. Add enough fluid through the
filler opening so that the fluid level
is at the bottom of the opening.
5. Install and tighten the fill plug
securely.
Use only fluid that meets Ford specifications. Refer to theMaintenance
product specifications and capacitiessection in this chapter.
TRANSFER CASE FLUID (IF EQUIPPED)
1. Clean the filler plug.
2. Remove the filler plug and
inspect the fluid level.
2007 F-150(f12)
Owners Guide (post-2002-fmt)
USA(fus)
Maintenance and Specifications
319
Page 320 of 344

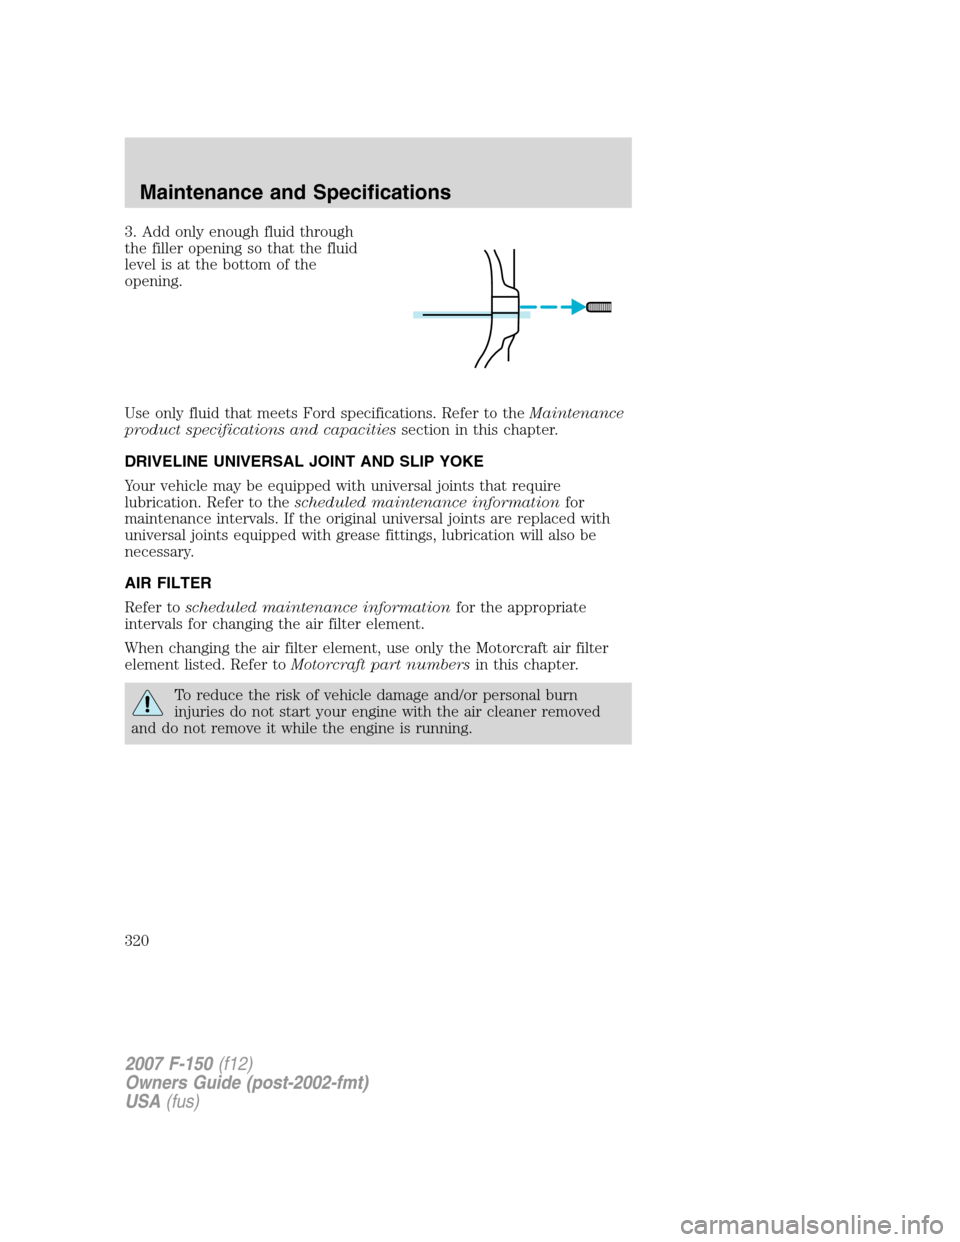
3. Add only enough fluid through
the filler opening so that the fluid
level is at the bottom of the
opening.
Use only fluid that meets Ford specifications. Refer to theMaintenance
product specifications and capacitiessection in this chapter.
DRIVELINE UNIVERSAL JOINT AND SLIP YOKE
Your vehicle may be equipped with universal joints that require
lubrication. Refer to thescheduled maintenance informationfor
maintenance intervals. If the original universal joints are replaced with
universal joints equipped with grease fittings, lubrication will also be
necessary.
AIR FILTER
Refer toscheduled maintenance informationfor the appropriate
intervals for changing the air filter element.
When changing the air filter element, use only the Motorcraft air filter
element listed. Refer toMotorcraft part numbersin this chapter.
To reduce the risk of vehicle damage and/or personal burn
injuries do not start your engine with the air cleaner removed
and do not remove it while the engine is running.
2007 F-150(f12)
Owners Guide (post-2002-fmt)
USA(fus)
Maintenance and Specifications
320
Page 321 of 344
Changing the air filter element
•4.2L/4.6L engines
1. Loosen the clamp that secures
the air filter element in place.
2. Carefully separate the two halves
of the air filter housing.
3. Remove the air filter element
from the open end of the air filter
housing.
4. Install a new air filter element.
5. Reassemble the two halves of the air filter housing, aligning the notch
and slot found on the top of each half. Secure the clamp, making sure
not to crimp the air filter edges between the two halves of the air filter
housing. This could cause filter damage and allow unmetered air to enter
the engine if not properly seated.
•5.4L Engine
1. Release two retainer clamps.
2007 F-150(f12)
Owners Guide (post-2002-fmt)
USA(fus)
Maintenance and Specifications
321
Page 322 of 344

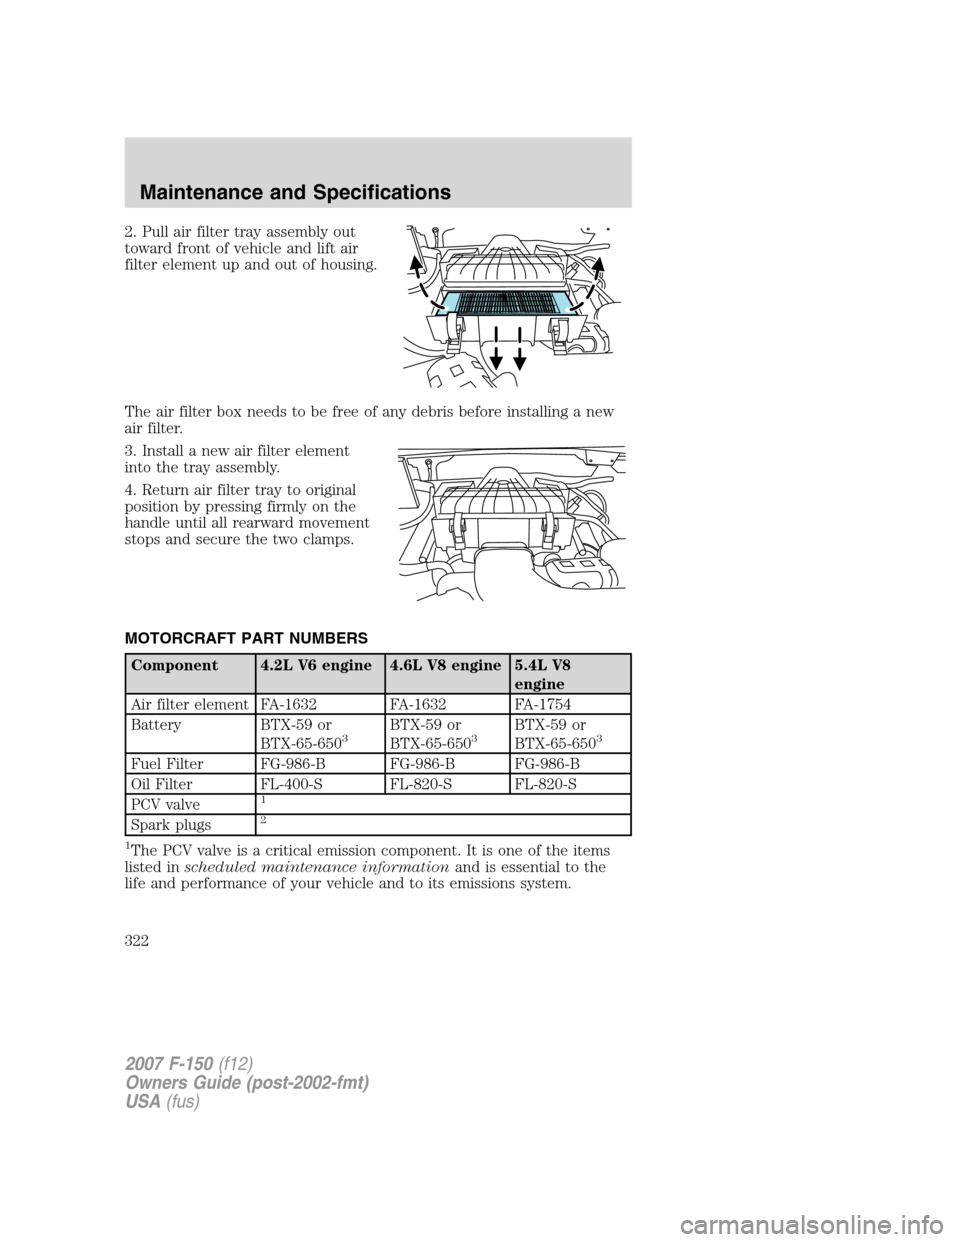
2. Pull air filter tray assembly out
toward front of vehicle and lift air
filter element up and out of housing.
The air filter box needs to be free of any debris before installing a new
air filter.
3. Install a new air filter element
into the tray assembly.
4. Return air filter tray to original
position by pressing firmly on the
handle until all rearward movement
stops and secure the two clamps.
MOTORCRAFT PART NUMBERS
Component 4.2L V6 engine 4.6L V8 engine 5.4L V8
engine
Air filter element FA-1632 FA-1632 FA-1754
Battery BTX-59 or
BTX-65-650
3BTX-59 or
BTX-65-6503BTX-59 or
BTX-65-6503
Fuel Filter FG-986-B FG-986-B FG-986-B
Oil Filter FL-400-S FL-820-S FL-820-S
PCV valve
1
Spark plugs2
1
The PCV valve is a critical emission component. It is one of the items
listed inscheduled maintenance informationand is essential to the
life and performance of your vehicle and to its emissions system.
2007 F-150(f12)
Owners Guide (post-2002-fmt)
USA(fus)
Maintenance and Specifications
322
Page 323 of 344
For PCV valve replacement, see your authorized dealer. Refer to
scheduled maintenance informationfor the appropriate intervals for
changing the PCV valve.
Replace the PCV valve with one that meets Ford material and
design specifications for your vehicle, such as a Motorcraft or
equivalent replacement part. The customer warranty may be void
for any damage to the emissions system if such a PCV valve is not
used.
2For spark plug replacement, see your authorized dealer. Refer to
scheduled maintenance informationfor the appropriate intervals for
changing the spark plugs.
Replace the spark plugs with ones that meet Ford material and
design specifications for your vehicle, such as Motorcraft or
equivalent replacement parts. The customer warranty may be
void for any damage to the engine if such spark plugs are not
used.
3Heavy-duty battery, if equipped.
2007 F-150(f12)
Owners Guide (post-2002-fmt)
USA(fus)
Maintenance and Specifications
323