Page 3 of 344
Customer Assistance 266
Reporting safety defects (U.S. only) 272
Cleaning 273
Maintenance and Specifications 283
Engine compartment 285
Engine oil 289
Battery 293
Engine coolant 295
Fuel information 301
Air filter(s) 320
Part numbers 322
Maintenance product specifications and capacities 324
Engine data 328
Accessories 332
Index 334
All rights reserved. Reproduction by any means, electronic or mechanical
including photocopying, recording or by any information storage and retrieval
system or translation in whole or part is not permitted without written
authorization from Ford Motor Company. Ford may change the contents without
notice and without incurring obligation.
Copyright © 2006 Ford Motor Company
Table of Contents
3
2007 F-150(f12)
Owners Guide (post-2002-fmt)
USA(fus)
Page 11 of 344
Vehicle Symbol Glossary
Power Windows
Front/Rear
Power Window Lockout
Child Safety Door
Lock/UnlockInterior Luggage
Compartment Release
Symbol
Panic AlarmEngine Oil
Engine CoolantEngine Coolant
Temperature
Do Not Open When HotBattery
Avoid Smoking, Flames,
or SparksBattery Acid
Explosive GasFan Warning
Power Steering FluidMaintain Correct Fluid
LevelMAX
MIN
Emission SystemEngine Air Filter
Passenger Compartment
Air FilterJack
Check Fuel CapLow Tire Pressure
Warning
2007 F-150(f12)
Owners Guide (post-2002-fmt)
USA(fus)
Introduction
11
Page 285 of 344
IDENTIFYING COMPONENTS IN THE ENGINE COMPARTMENT
4.2L V6 engine
1. Battery
2. Clutch fluid reservoir (manual transmission)
3. Power steering fluid reservoir
4. Brake fluid reservoir
5. Engine coolant reservoir
6. Air filter assembly
7. Engine oil filler cap
8. Engine oil dipstick
9. Transmission fluid dipstick (automatic transmission)
10. Windshield washer fluid reservoir
54321
791068
2007 F-150(f12)
Owners Guide (post-2002-fmt)
USA(fus)
Maintenance and Specifications
285
Page 286 of 344
4.6L V8
1. Battery
2. Transmission fluid dipstick (automatic transmission)
3. Engine oil filler cap
4. Power steering fluid reservoir
5. Brake fluid reservoir
6. Engine coolant reservoir
7. Air filter assembly
8. Engine oil dipstick
9. Windshield washer fluid reservoir
2007 F-150(f12)
Owners Guide (post-2002-fmt)
USA(fus)
Maintenance and Specifications
286
Page 287 of 344
5.4L V8
1. Battery
2. Transmission fluid dipstick (automatic transmission)
3. Air filter assembly
4. Power steering fluid reservoir
5. Engine oil dipstick
6. Brake fluid reservoir
7. Engine coolant reservoir
8. Engine oil filler cap
9. Windshield washer fluid reservoir
2007 F-150(f12)
Owners Guide (post-2002-fmt)
USA(fus)
Maintenance and Specifications
287
Page 301 of 344

Never remove the coolant reservoir cap while the engine is
running or hot.
5. Restart the engine and take your vehicle to an authorized dealer.
Driving the vehicle without repairing the engine problem
increases the chance of engine damage. Take your vehicle to an
authorized dealer as soon as possible.
FUEL FILTER
For fuel filter replacement, see your authorized dealer. Refer to
scheduled maintenance informationfor the appropriate intervals for
changing the fuel filter.
Replace the fuel filter with an authorized Motorcraft part. The
customer warranty may be void for any damage to the fuel system
if an authorized Motorcraft fuel filter is not used.
WHAT YOU SHOULD KNOW ABOUT AUTOMOTIVE FUELS
Important safety precautions
Do not overfill the fuel tank. The pressure in an overfilled tank
may cause leakage and lead to fuel spray and fire.
The fuel system may be under pressure. If the fuel filler cap is
venting vapor or if you hear a hissing sound, wait until it stops
before completely removing the fuel filler cap. Otherwise, fuel may
spray out and injure you or others.
If you do not use the proper fuel filler cap, excessive vacuum in
the fuel tank may damage the fuel system or cause the fuel cap
to disengage in a collision, which may result in possible personal injury.
Automotive fuels can cause serious injury or death if misused or
mishandled.
Fuel ethanol and gasoline may contain benzene, which is a
cancer-causing agent.
2007 F-150(f12)
Owners Guide (post-2002-fmt)
USA(fus)
Maintenance and Specifications
301
Page 320 of 344

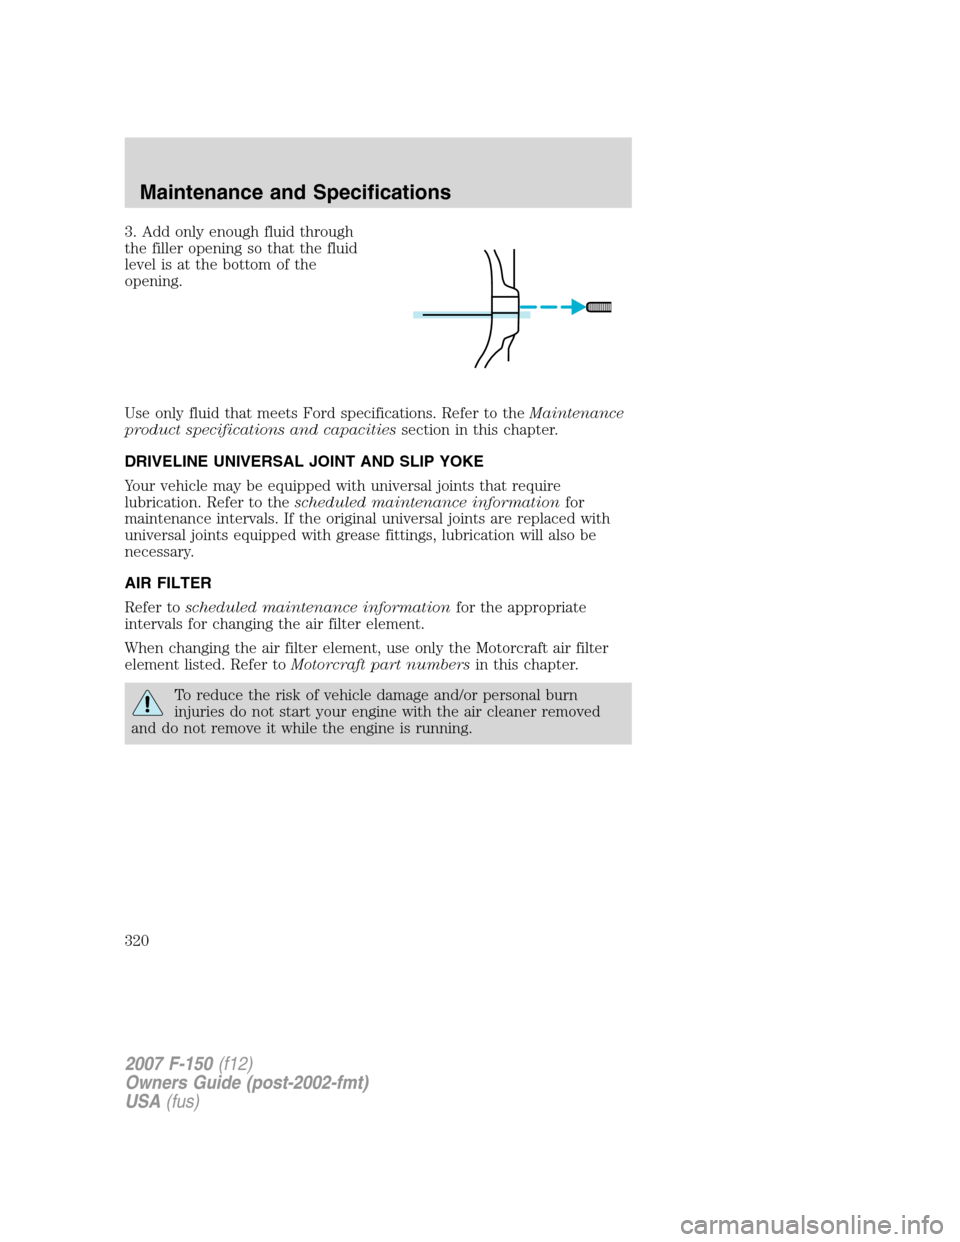
3. Add only enough fluid through
the filler opening so that the fluid
level is at the bottom of the
opening.
Use only fluid that meets Ford specifications. Refer to theMaintenance
product specifications and capacitiessection in this chapter.
DRIVELINE UNIVERSAL JOINT AND SLIP YOKE
Your vehicle may be equipped with universal joints that require
lubrication. Refer to thescheduled maintenance informationfor
maintenance intervals. If the original universal joints are replaced with
universal joints equipped with grease fittings, lubrication will also be
necessary.
AIR FILTER
Refer toscheduled maintenance informationfor the appropriate
intervals for changing the air filter element.
When changing the air filter element, use only the Motorcraft air filter
element listed. Refer toMotorcraft part numbersin this chapter.
To reduce the risk of vehicle damage and/or personal burn
injuries do not start your engine with the air cleaner removed
and do not remove it while the engine is running.
2007 F-150(f12)
Owners Guide (post-2002-fmt)
USA(fus)
Maintenance and Specifications
320
Page 321 of 344
Changing the air filter element
•4.2L/4.6L engines
1. Loosen the clamp that secures
the air filter element in place.
2. Carefully separate the two halves
of the air filter housing.
3. Remove the air filter element
from the open end of the air filter
housing.
4. Install a new air filter element.
5. Reassemble the two halves of the air filter housing, aligning the notch
and slot found on the top of each half. Secure the clamp, making sure
not to crimp the air filter edges between the two halves of the air filter
housing. This could cause filter damage and allow unmetered air to enter
the engine if not properly seated.
•5.4L Engine
1. Release two retainer clamps.
2007 F-150(f12)
Owners Guide (post-2002-fmt)
USA(fus)
Maintenance and Specifications
321