2007 FORD EXPLORER fuel cap
[x] Cancel search: fuel capPage 3 of 344

Maintenance and Specifications 295
Engine compartment 297
Engine oil 300
Battery 305
Engine coolant 307
Fuel information 313
Air filter(s) 327
Part numbers 328
Maintenance product specifications and capacities 329
Engine data 333
Accessories 336
Index 338
All rights reserved. Reproduction by any means, electronic or mechanical
including photocopying, recording or by any information storage and retrieval
system or translation in whole or part is not permitted without written
authorization from Ford Motor Company. Ford may change the contents without
notice and without incurring obligation.
Copyright © 2006 Ford Motor Company
Table of Contents
3
2007 Explorer(exp)
Owners Guide (post-2002-fmt)
USA(fus)
Page 11 of 344

Vehicle Symbol Glossary
Power Windows
Front/Rear
Power Window Lockout
Child Safety Door
Lock/UnlockInterior Luggage
Compartment Release
Symbol
Panic AlarmEngine Oil
Engine CoolantEngine Coolant
Temperature
Do Not Open When HotBattery
Avoid Smoking, Flames,
or SparksBattery Acid
Explosive GasFan Warning
Power Steering FluidMaintain Correct Fluid
LevelMAX
MIN
Emission SystemEngine Air Filter
Passenger Compartment
Air FilterJack
Check Fuel CapLow Tire Pressure
Warning
2007 Explorer(exp)
Owners Guide (post-2002-fmt)
USA(fus)
Introduction
11
Page 16 of 344

Never remove the coolant reservoir cap while the engine is
running or hot.
Low tire pressure warning:
Illuminates when your tire pressure
is low. If the light remains ON at
start up or while driving, the tire
pressure should be checked. Refer
toInflating your tiresin theTires, Wheels and Loadingchapter. When
the ignition is first turned to ON, the light will illuminate for 3 seconds to
ensure the bulb is working. If the light does not turn ON, have the
system inspected by your authorized dealer. For more information on
this system, refer toUnderstanding your Tire Pressure Monitoring
Systemin theTires, Wheels and Loadingchapter.
Check fuel cap:Illuminates when the fuel cap may not be properly
installed. Continued driving with this light on may cause the Service
engine soon warning light to come on. Refer toFuel filler capin the
Maintenance and Specificationschapter.
•Standard instrument cluster
•Optional instrument cluster
Speed control (if equipped):
Illuminates when the speed control
is activated. Turns off when the
speed control system is deactivated.
O/D off:Illuminates when the
overdrive function of the
transmission has been turned off,
refer to theDrivingchapter.
O/D
OFF
2007 Explorer(exp)
Owners Guide (post-2002-fmt)
USA(fus)
Instrument Cluster
16
Page 205 of 344
any tire is under-inflated, carefully drive the vehicle to the nearest
location where air can be added to the tires. Inflate all the tires to the
recommended inflation pressure.
USING SNOW TIRES AND TRACTION DEVICES
Snow tires must be the same size and grade as the tires you
currently have on your vehicle.
The tires on your vehicle have all-weather treads to provide traction in
rain and snow. However, in some climates, using snow tires or traction
devices may be necessary. Ford offers tire cables as a Ford approved
accessory and recommends use of these or SAE class “S” tire cables. See
your authorized dealer for more information on tire cables for your
vehicle.
Follow these guidelines when using snow tires and traction devices:
•Use only SAE Class S chains.
•Cables should only be used on the rear wheels.
•Install cables securely, verifying that the cables do not touch any
wiring, brake lines or fuel lines.
•Drive cautiously. If you hear the cables rub or bang against the
vehicle, stop and retighten them. If this does not work, remove the
cables to prevent vehicle damage.
•Avoid overloading your vehicle.
•Remove the cables when they are no longer needed.
•Do not use cables on dry roads.
•Do not exceed 30 mph (48 km/h) with tire cables on your vehicle.
Consult your authorized dealer for information on other Ford Motor
Company approved methods of traction control.
VEHICLE LOADING – WITH AND WITHOUT A TRAILER
This section will guide you in the proper loading of your vehicle and/or
trailer, to keep your loaded vehicle weight within its design rating
capability, with or without a trailer. Properly loading your vehicle will
provide maximum return of vehicle design performance. Before loading
your vehicle, familiarize yourself with the following terms for determining
your vehicle’s weight ratings, with or without a trailer, from the vehicle’s
Tire Label or Safety Compliance Certification Label:
Base Curb Weight– is the weight of the vehicle including a full tank of
fuel and all standard equipment. It does not include passengers, cargo, or
optional equipment.
2007 Explorer(exp)
Owners Guide (post-2002-fmt)
USA(fus)
Tires, Wheels and Loading
205
Page 303 of 344
To avoid possible oil loss, DO NOT operate the vehicle with the
engine oil level indicator and/or the engine oil filler cap removed.
Engine Oil Recommendations
4.0L V6 Engine
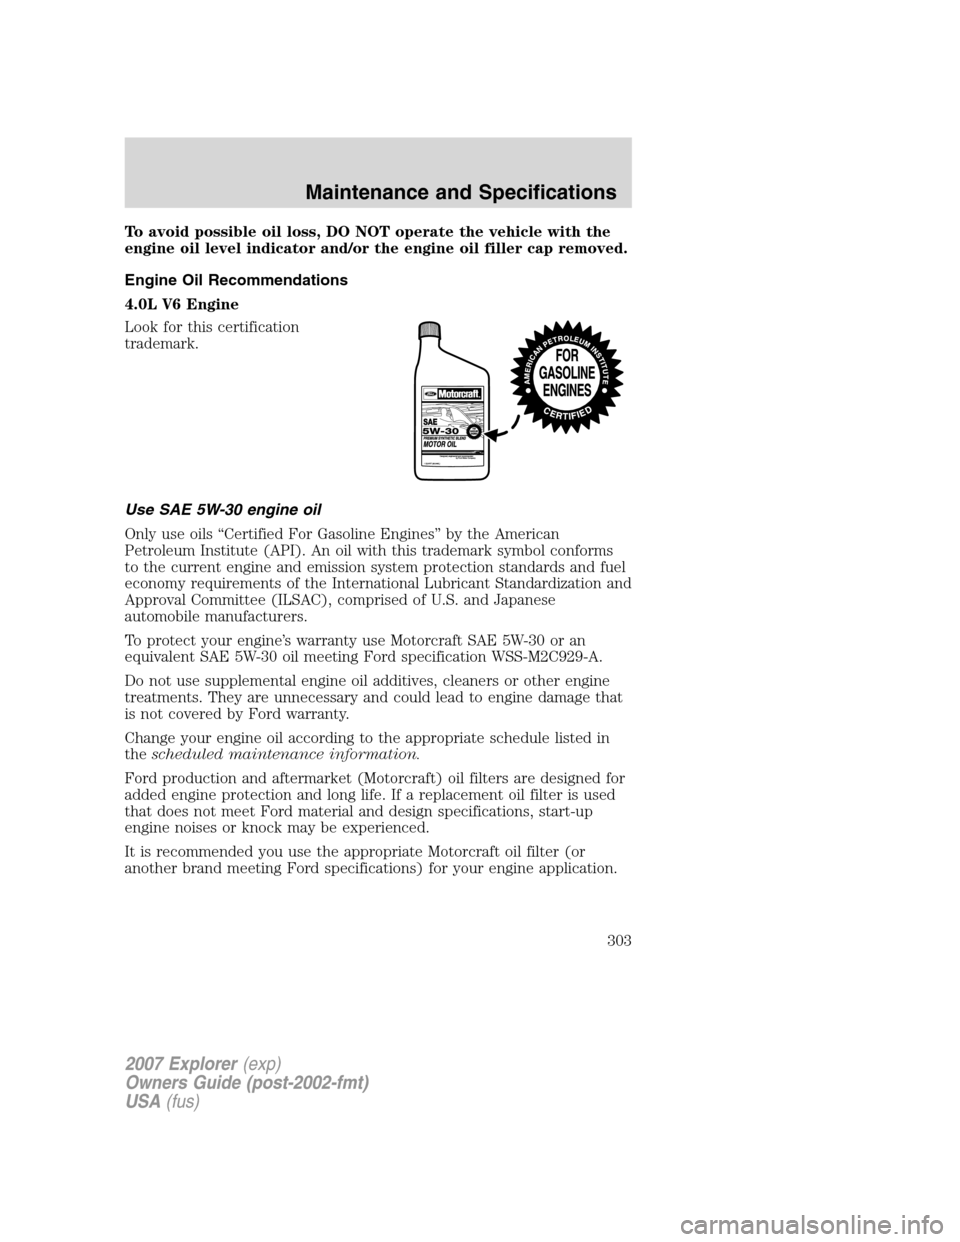
Look for this certification
trademark.
Use SAE 5W-30 engine oil
Only use oils “Certified For Gasoline Engines” by the American
Petroleum Institute (API). An oil with this trademark symbol conforms
to the current engine and emission system protection standards and fuel
economy requirements of the International Lubricant Standardization and
Approval Committee (ILSAC), comprised of U.S. and Japanese
automobile manufacturers.
To protect your engine’s warranty use Motorcraft SAE 5W-30 or an
equivalent SAE 5W-30 oil meeting Ford specification WSS-M2C929-A.
Do not use supplemental engine oil additives, cleaners or other engine
treatments. They are unnecessary and could lead to engine damage that
is not covered by Ford warranty.
Change your engine oil according to the appropriate schedule listed in
thescheduled maintenance information.
Ford production and aftermarket (Motorcraft) oil filters are designed for
added engine protection and long life. If a replacement oil filter is used
that does not meet Ford material and design specifications, start-up
engine noises or knock may be experienced.
It is recommended you use the appropriate Motorcraft oil filter (or
another brand meeting Ford specifications) for your engine application.
2007 Explorer(exp)
Owners Guide (post-2002-fmt)
USA(fus)
Maintenance and Specifications
303
Page 313 of 344
Oil overheat can be triggered in severe driving conditions, such as
towing heavy loads over mountainous terrain in extreme hot
temperatures. As oil temperature increases, engine and vehicle speed
will be limited. The transmission will also shift differently.
When the engine oil has cooled, the vehicle will perform normally.
When fail-safe cooling mode is activated
You have limited engine power when in the fail-safe mode, so drive the
vehicle with caution. Remember that the engine is capable of completely
shutting down automatically to prevent engine damage, therefore:
1. Pull off the road as soon as safely possible and turn off the engine.
2. Arrange for the vehicle to be taken to an authorized dealer.
3. If this is not possible, wait approximately 15 minutes for the engine to
cool.
4. Check the coolant level and replenish if low. Look for coolant leakage
in the engine compartment and under the vehicle.
Never remove the coolant reservoir cap while the engine is
running or hot.
5. Restart the engine and take your vehicle to an authorized dealer.
Driving the vehicle without repairing the engine problem
increases the chance of engine damage. Take your vehicle to an
authorized dealer as soon as possible.
FUEL FILTER
For fuel filter replacement, see your authorized dealer. Refer to
scheduled maintenance informationfor the appropriate intervals for
changing the fuel filter.
Replace the fuel filter with an authorized Motorcraft part. The
customer warranty may be void for any damage to the fuel system
if an authorized Motorcraft fuel filter is not used.
WHAT YOU SHOULD KNOW ABOUT AUTOMOTIVE FUELS
Important safety precautions
Do not overfill the fuel tank. The pressure in an overfilled tank
may cause leakage and lead to fuel spray and fire.
2007 Explorer(exp)
Owners Guide (post-2002-fmt)
USA(fus)
Maintenance and Specifications
313
Page 314 of 344
The fuel system may be under pressure. If the fuel filler cap is
venting vapor or if you hear a hissing sound, wait until it stops
before completely removing the fuel filler cap. Otherwise, fuel may
spray out and injure you or others.
If you do not use the proper fuel filler cap, excessive vacuum in
the fuel tank may damage the fuel system or cause the fuel cap
to disengage in a collision, which may result in possible personal injury.
Automotive fuels can cause serious injury or death if misused or
mishandled.
Gasoline may contain benzene, which is a cancer-causing agent.
Observe the following guidelines when handling automotive fuel:
•Extinguish all smoking materials
and any open flames before
refueling your vehicle.
•Always turn off the vehicle before
refueling.
•Automotive fuels can be harmful
or fatal if swallowed. Fuel such as gasoline is highly toxic and if
swallowed can cause death or permanent injury. If fuel is swallowed,
call a physician immediately, even if no symptoms are immediately
apparent. The toxic effects of fuel may not be visible for hours.
•Avoid inhaling fuel vapors. Inhaling too much fuel vapor of any kind
can lead to eye and respiratory tract irritation. In severe cases,
excessive or prolonged breathing of fuel vapor can cause serious
illness and permanent injury.
•Avoid getting fuel liquid in your eyes. If fuel is splashed in the eyes,
remove contact lenses (if worn), flush with water for 15 minutes and
seek medical attention. Failure to seek proper medical attention could
lead to permanent injury.
•Fuels can also be harmful if absorbed through the skin. If fuel is
splashed on the skin and/or clothing, promptly remove contaminated
clothing and wash skin thoroughly with soap and water. Repeated or
prolonged skin contact with fuel liquid or vapor causes skin irritation.
2007 Explorer(exp)
Owners Guide (post-2002-fmt)
USA(fus)
Maintenance and Specifications
314
Page 316 of 344
Fuel Filler Cap
Your fuel tank filler cap has an indexed design with a 1/4 turn on/off
feature.
When fueling your vehicle:
1. Turn the engine off.
2. Carefully turn the filler cap counterclockwise 1/4 of a turn to unscrew
the cap.
3. Pull to remove the cap from the fuel filler pipe.
4. Reinstall the cap on the filler pipe and turn it clockwise until at least
one click is heard.
After refueling, if the “CHECK FUEL CAP” indicator comes on and stays
on when you start the engine, the fuel filler cap may not be properly
installed. Turn off the engine, remove the fuel filler cap, align the cap
properly and reinstall it securely. The “CHECK FUEL CAP” indicator
should turn off after three driving cycles with the fuel filler cap properly
installed. A driving cycle consists of a cold engine start-up followed by
mixed city/highway driving.
If you must replace the fuel filler cap, replace it with a fuel filler
cap that is designed for your vehicle. The customer warranty may
be void for any damage to the fuel tank or fuel system if the
correct genuine Ford or Motorcraft fuel filler cap is not used.
The fuel system may be under pressure. Remove fuel filler cap
slowly. Otherwise, fuel may spray out and injure you or others.
2007 Explorer(exp)
Owners Guide (post-2002-fmt)
USA(fus)
Maintenance and Specifications
316