2007 FIAT PANDA light
[x] Cancel search: lightPage 8 of 166

7
CONNECT NAV+
No
– Never use chemical products for
cleaning (e.g. spray cans, antistatics or
thinners) as they might damage the
surface of Compact Discs.
– After listening to them put Com-
pact Discs back in their boxes to avoid
marking or scoring which could cause
skipping when playing.
– Do not expose Compact Discs to
direct sunlight, high temperatures or
damp for prolonged lengths of time to
prevent them from bending.
– Do not stick labels or write on the
recorded surface of Compact Discs.
To remove a Compact Disc from its
container, press on the centre and
raise the disc holding carefully from
the edges.Always hold a Compact Disc by the
edge. Never touch the surface.
To remove fingerprints and dust, use
a soft cloth starting from the centre of
the Compact Disc towards the cir-
cumference.
Proper way to hold
the compact discRemoving the disc
New discs may be rough around the
edges. When using these discs the
player might not work or the sound
might skip. To remove roughness
from the edge of a disc use a ball-point
pen, etc.
Ball-point pen
Roughness
IMPORTANTDo not use the pro-
tective sheets for CDs in commerce
or discs with stabilisers, etc. as they
might get stuck in the internal mech-
anism and damage the disc.
Page 10 of 166

9
CONNECT NAV+
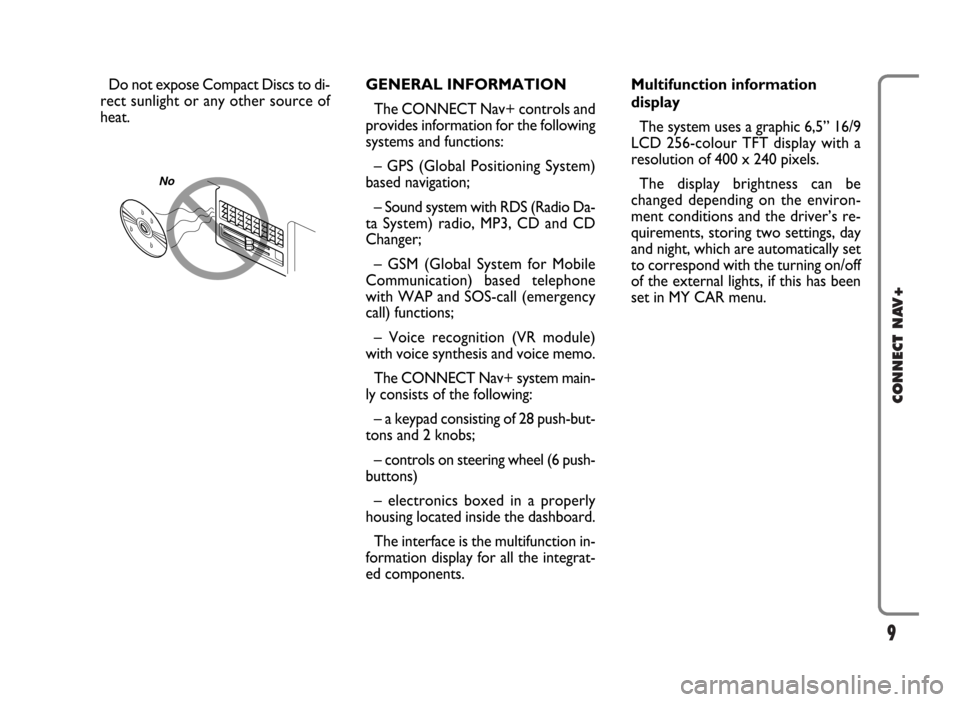
Do not expose Compact Discs to di-
rect sunlight or any other source of
heat.GENERAL INFORMATION
The CONNECT Nav+ controls and
provides information for the following
systems and functions:
– GPS (Global Positioning System)
based navigation;
– Sound system with RDS (Radio Da-
ta System) radio, MP3, CD and CD
Changer;
– GSM (Global System for Mobile
Communication) based telephone
with WAP and SOS-call (emergency
call) functions;
– Voice recognition (VR module)
with voice synthesis and voice memo.
The CONNECT Nav+ system main-
ly consists of the following:
– a keypad consisting of 28 push-but-
tons and 2 knobs;
– controls on steering wheel (6 push-
buttons)
– electronics boxed in a properly
housing located inside the dashboard.
The interface is the multifunction in-
formation display for all the integrat-
ed components.Multifunction information
display
The system uses a graphic 6,5” 16/9
LCD 256-colour TFT display with a
resolution of 400 x 240 pixels.
The display brightness can be
changed depending on the environ-
ment conditions and the driver’s re-
quirements, storing two settings, day
and night, which are automatically set
to correspond with the turning on/off
of the external lights, if this has been
set in MY CAR menu.
No
Page 29 of 166

28
CONNECT NAV+
IMPORTANTIt may occur that
the Autostore function is unable to
find 6 stations with a strong signal; in
this case only the stations found are
stored.
IMPORTANTActivating the “Au-
tostore” function cancels the stations
stored previously in the FMAST or
AMAST band.“Band Scan” FUNCTION
The “Band scan” function activates
station scanning in the chosen fre-
quency band. Each station frequency
will be displayed for about 10 seconds.
To turn the “Band scan” function on,
select the “Band scan” icon with the
knob 15-fig. 1then press it to con-
firm.
During scanning, the display will
show “Band Scan”.
Scanning will be interrupted by press-
ing knob 15-fig. 1again (by taking care
to be positioned onto the “Preset
Scan” graphic key), or by selecting a
station previously memorized. “Preset Scan” FUNCTION
The “Preset scan” function activates
stored station scanning in the chosen
frequency band. Each stored station
will be played for about 10 seconds.
To turn on the “Preset scan” func-
tion, select the “Preset scan” icon with
the knob 15-fig. 1and then press it to
confirm.
During stations scan, the scanned
one is highlighted in the stored sta-
tions window and corresponding low-
bar button too. During operations the
string “Preset Scan” is displayed in the
main window.
Scanning will be interrupted by press-
ing knob 15-fig. 1again (by taking care
to be positioned onto the “Preset
Scan” graphic key), or by selecting a
station previously memorized.
Page 31 of 166

30
CONNECT NAV+
“PTY-Prog. Type” FUNCTION
(CHOOSING A TYPE OF
PROGRAMME)
The PTY function (Program Type),
when present, makes it possible to
give priority to broadcasters trans-
mitting programmes classified accord-
ing to the type of PTY. PTY pro-
grammes may concern emergency an-
nouncements or various subjects (e.g.
music, news). To access the list of PTY
programmes, choose the “PTY-
Prog.Type” icon with the knob 15-
fig. 1, then press it to confirm; the dis-
play will show the screen with the list
of PTY programmes and the subject of
the last station heard (e.g. “NEWS”).
To scroll the list of PTY programmes,
turn the knob 15-fig. 1. To choose a
type of programme, press the knob af-
ter choosing the type. IMPORTANTThe PTY function
can only be turned on in the FM band.
The list of PTY programmes is the
following:
–
NONE
– NEWS
– AFFAIRS
– INFO
– SPORT
– EDUCATION
– DRAMA
– CULTURE
– SCIENCE
– VARIED
– POP
– ROCK
– EASY
– LIGHT
– CLASSIC
– OTHER
– WEATHER
– FINANCE
– CHILDREN
– SOCIAL
– RELIGION
– PHONE IN
– TRAVEL
– LEISURE
– JAZZ
– COUNTRY
– NATIONAL
– OLDIES
– FOLK
– DOCUMENTARY
– TEST
– ALARM.
To seek a station with this pro-
gramme, follow the instructions giv-
en previously in the “Tuning” para-
graph.
If no station is available with this type
of programme, the station selected
previously is returned.
To exit the screen with the list of
PTY programmes, choose a type of
programme, or “None” if you do not
wish to set a programme type.
Page 133 of 166

132
CONNECT NAV+
VIDEO
Selecting and confirming the “Video”
icon by rotating and pressing the knob
15-fig. 1will allow the following set-
tings fig. 156:Daytime brightness: enables to
adjust CONNECT Nav+ screen
brightness in day mode, if colour mode
is active: DAY or Automatic with lights
off (see paragraph Color). To perform
the adjustment, select and confirm the
relevant icon rotating and pressing the
knob 15-fig. 1. Rotate the knob 15-
fig. 1clockwise to increase brightness
and counterclockwise to decrease it.Nighttime brightness: enables to
adjust CONNECT Nav+ screen
brightness in night mode, if colour
mode is active: NIGHT or Automatic
with lights on (see paragraph Color).
To perform the adjustment, select and
confirm the relevant icon rotating and
pressing the knob 15-fig. 1. Rotate
the knob 15-fig. 1clockwise to in-
crease brightness and counterclock-
wise to decrease it.
fig. 156
F0G3122g
Page 134 of 166

133
CONNECT NAV+
Color: selecting and confirming it by
rotating and pressing the knob 15-
fig. 1, the following settings are pos-
sible:
– “Automatic”: enables to adjust au-
tomatically the colour palette
(day/night) depending on car lights
switching on/off.In MAIN mode and color set to “Au-
tomatic”, press knob 15-fig. 1to al-
ternate daytime brightness and night-
time brightness settings.
– “Day”: activates day mode. The ad-
justment cursor is available if “Color”
is set to Day or Automatic with lights
off.
– “Night”: activates night mode. The
adjustment cursor is available if “Col-
or” is set to Night or Automatic with
lights on.OK
To activate and to store settings, se-
lect and confirm “OK” by turning and
pressing the knob 15-fig. 1.
POWER OFF
Select and confirm “Power OFF” by
turning and pressing the knob 15-
fig. 1to access the type of setting that
determines CONNECT Nav+ switch-
ing off fig. 157.
The following settings are possible:
– “Deactivation dependent on igni-
tion key”
fig. 157
F0G3123g
Page 135 of 166

– “Deactivation independent of igni-
tion key”.
Current activated setting will be high-
lighted.
Select the required setting by rotat-
ing the knob 15-fig. 1and then press
it to confirm.
Press “ESC” 14-fig. 1to go back to
previous screen.
UNITS
Select and confirm “Units” by turn-
ing and pressing the knob 15-fig. 1to
set the following type of unit fig. 158:
– Distance units
– Consum.unitsTo change settings, select and con-
firm "change" by turning and pressing
the knob 15-fig. 1.
“OK”
To confirm selected options select
“OK” with the knob 15-fig. 1and
then press it.Distance units
To choose the required distance unit
(km or miles).
To change setting, select and confirm
“Distance units” by turning and press-
ing the knob 15-fig. 1.
The two units are displayed alter-
nately each time the knob 15-fig. 1is
pressed.
Consumption units
To choose the required consump-
tion unit (l/100Km or km/l).
To change setting, select and confirm
“Consum. units” by turning and press-
ing the knob 15-fig. 1.
The two units are displayed alter-
nately each time the knob 15-fig. 1is
pressed.
IMPORTANTChanges can only be
performed with ignition key to ON
and car stopped. With ignition key at
OFFany attempt to enter changes is
rejected and the display will show
“Setup change failed”.
134
CONNECT NAV+
fig. 158
F0G3171g
Page 156 of 166

155
CONNECT NAV+
If the function is enabled, pressing the
“SOS” key 12-fig. 1, automatically
opens the screen with the “Automat-
ic medical advice”: function already
highlighted: if the user does not move
the cursor within 15 seconds using the
knob 15-fig. 1and call is not cancelled
for other 10 seconds, the request for
medical assistance will be forwarded
automatically. If not, the call will not
be sent and to activate it at a later
time, the user will have to select again
the “Medical advice” function and to
press the knob 15-fig.1to confirm.
“OK” icon key
To confirm settings, select “OK”
with the knob 15-fig. 1and press it to
confirm.CALLS FOR MEDICAL
ADVICE OR ROADSIDE
ASSISTANCE
During the forwarding of a call for as-
sistance to the operating centre, any
other operations activated are inter-
rupted and the volume of any audio
sources (except the phone) is muted.
These conditions will be maintained as
long as the call for assistance is active,
with the corresponding screen on the
display.
If a phone call is received while for-
warding a request for assistance, the
corresponding alert will not be shown
on the display but the ringer will ring.
If the user decides to accept the call
and briefly presses the
ß3-fig. 1, key,
the assistance call screen goes off the
display.
IMPORTANTThe call for assis-
tance is always forwarded; however, if
you accept the incoming call, the
bCONNECToperator might have
difficulty in contacting you since the
number could be busy. When the call has been sent, the dis-
play shows the corresponding call for-
warded message for about 4 seconds.
If for any reason the call for assis-
tance cannot be sent, the display
shows a warning message and the user
is then asked if he/she wants to acti-
vate a phone call in any case (*) to the
operating centre to avail of the service
required, even if in this case the op-
erating centre will no longer be able
to locate the car.
(*) The call is normally made using the toll-
free number, while it is at the user’s expense
if it is made in roaming conditions.