2007 DODGE SPRINTER warning light
[x] Cancel search: warning lightPage 244 of 393

243 Operation
Cleaning and care of the vehicle
4
Steps
Engine cleaningLight-alloy wheels*
Clean light-alloy wheels on a regular basis.
Outside of windshield and wiper blades
\1Turn key to position1 in ignition lock
(\2page 67).
\1Switch on windshield wipers
(\2page 126).
\1When the wiper arms are vertical, turn
key to position0 in the ignition lock or
remove the key.
\1Fold the wiper arms away from the
windshield until you feel them engage
in place.\1You can now clean the windshield and
the wiper blades.
\1Fold the windshield wipers back again
before you switch on the ignition.Warning
G
Dirty or iced-up steps and entrances create
a risk of slipping or falling.
Keep steps, entrances and footwear free
from dirt (e.g. mud, clay, snow and ice).!
CAUTION
Do not allow water to enter the intake
and ventilation openings.
When cleaning with high-pressure wa-
ter or steam cleaners, the spray must
not be aimed directly at electrical com-
ponents or at the end of electrical
lines.
Treat the engine with preservative
agents after cleaning. Protect the belt
drive system from the preservative
when you do so.
!
CAUTION
Do not use any acidic or alkaline clean-
ing agents. They can cause corrosion of
the wheel bolts (wheel nuts) or the bal-
ancing weight retainers.
!
CAUTION
Do not fold the windshield wipers away
from the windshield unless the hood is
closed. You will otherwise damage the
hood.
Warning
G
Switch off the ignition before cleaning the
windshield or the wiper blades. The wind-
shield wipers could otherwise move and in-
jure you.
Page 246 of 393

245 Operation
Cleaning and care of the vehicle
4
\1Clean the camera lens 1 using water
and a soft cloth only.
Be careful not to apply wax to the camera
lens 1 when waxing the vehicle. If neces-
sary, remove the wax using shampoo with
plenty of water.!
Do not use dry, coarse or hard cloths
and aggressive cleaning agents. Do not
scrub or use high pressure. You will other-
wise scratch or damage the lens or the ca-
mera.
If you clean the vehicle with a high-pressu-
re cleaner or steam cleaner, maintain a mi-
nimum distance of 1.6 ft (50 cm) to the
rear view camera. To prevent damage, do
not aim directly at the rear view camera or
at the microphone openings on the under-
side of the rear view camera.
Plastic trimsLight soiling
\1Wipe plastic parts with a damp, lint-
free cloth (e.g. a micro-fiber cloth).
Heavy soiling
\1Wipe plastic parts with a damp, lint-
free cloth (e.g. a micro-fiber cloth). Dashboard and padded boss of the
steering wheel
\1Moisten a clean and lint-free cloth with
water and clean the plastic parts and
the dashboard.
\1Use a mild soap solution for particularly
stubborn dirt.!
CAUTION
Do not use dry, coarse or hard cloths
and do not scrub. You will otherwise
scratch or damage the surfaces.
!
CAUTION
Use a low-foaming grease solvent (e.g.
washing-up liquid) diluted in water as a
cleaning agent.
The surface color may temporarily
change shade during cleaning. Simply
wait for the surface to dry.
!
CAUTION
Use a solvent-free and non-caustic
cleaning agent. The manufacturer
recommends that you use a
Mercedes-Benz product.
The surface color may temporarily
change shade during cleaning. Simply
wait for the surface to dry.
Warning
G
Do not use cleaners or cockpit care sprays
containing solvents to clean the dashboard
or the padded boss of the steering wheel.
Cleaners containing solvents can make the
surface porous, which could lead to serious
injuries if plastic parts were to come loose
when an airbag is triggered.
Page 247 of 393

246 OperationCleaning and care of the vehicle
4
Seat belts
Remove stains or dirt immediately to pre-
vent damage or the build-up of residues.
!
CAUTION
Clean the seat belts with a mild wash-
ing solution. Do not dry the seat belts in
direct sunlight or at temperatures
above 176 °F (80 °C).
Do not bleach or dye the seat belts.
This could impair the function of the
seat belts.
After driving off-road or on construc-
tion sitesWarning
G
Dirt on the vehicle can affect road and oper-
ating safety.In particular, the following dangers can arise:Stone chippings
Stones trapped between the tires can be
thrown out while the vehicle is in motion and
injure other road users or damage their ve-
hicles (in particular the windshield).
Risk of skidding
Dirt and mud on the tires / road surface re-
duce wheel grip. This is especially so if the
road surface is wet. The vehicle could then
start to skid.
Risk of slipping
Dirt and mud on the steps and entrances
make the steps less safe. As a result you
could slip from the steps and injure yourself.
For this reason, always clean your vehicle
carefully after driving off-road and on con-
struction sites before using public roads.
If you use a high-pressure cleaner or auto-
matic car wash for this purpose, you must
follow the relevant safety instructions in this
section.
Page 248 of 393

247 Operation
Cleaning and care of the vehicle
4
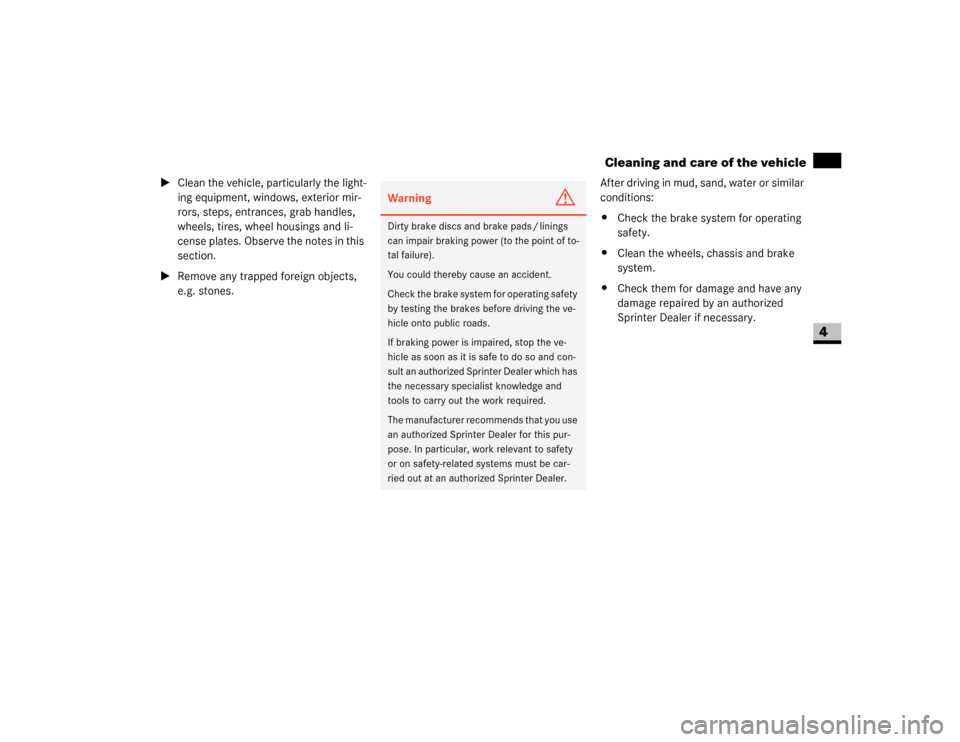
\1Clean the vehicle, particularly the light-
ing equipment, windows, exterior mir-
rors, steps, entrances, grab handles,
wheels, tires, wheel housings and li-
cense plates. Observe the notes in this
section.
\1Remove any trapped foreign objects,
e.g. stones.After driving in mud, sand, water or similar
conditions:
\4Check the brake system for operating
safety.
\4Clean the wheels, chassis and brake
system.
\4Check them for damage and have any
damage repaired by an authorized
Sprinter Dealer if necessary.
Warning
G
Dirty brake discs and brake pads / linings
can impair braking power (to the point of to-
tal failure).
You could thereby cause an accident.
Check the brake system for operating safety
by testing the brakes before driving the ve-
hicle onto public roads.
If braking power is impaired, stop the ve-
hicle as soon as it is safe to do so and con-
sult an authorized Sprinter Dealer which has
the necessary specialist knowledge and
tools to carry out the work required.
The manufacturer recommends that you use
an authorized Sprinter Dealer for this pur-
pose. In particular, work relevant to safety
or on safety-related systems must be car-
ried out at an authorized Sprinter Dealer.
Page 251 of 393

250 Practical hintsWhat to do if ...
5
Audible warning signalsWarning
G
Always have maintenance work carried out
at an authorized Sprinter Dealer which has
the necessary specialist knowledge and
tools to carry out the work required.
The manufacturer recommends that you use
an authorized Sprinter Dealer for this pur-
pose.
In particular, work relevant to safety or on
safety-related systems must be carried out
at an authorized Sprinter Dealer. There is a
risk of an accident and injury if this work is
carried out incorrectly.
Problem
Possible cause / result
Suggested solutions
The anti-theft alarm system is suddenly
triggered.
You have opened the vehicle using the key
while the anti-theft alarm system was still
primed.
Key:
\1Press theΠbutton.
or
\1Insert the key into the ignition lock.
The anti-theft alarm system is deacti-
vated.
You hear a warning signal.
A message appears in the display.
\1Observe the instructions on
(\2page 281).
You are driving with the handbrake applied.
\1Release the handbrake
(\2page 115).
You opened the driver’s door and forgot to
switch off the lights.
\1Turn the light switch to0.
Warning
G
You are not wearing your seat belt.
\1Fasten your seat belt (\2page 25).
Page 258 of 393

257 Practical hints
What to do if ...
5
Headlamps and turn signalsWarning
G
Always have maintenance work carried out
at an authorized Sprinter Dealer which has
the necessary specialist knowledge and
tools to carry out the work required.
The manufacturer recommends that you use
an authorized Sprinter Dealer for this pur-
pose.
In particular, work relevant to safety or on
safety-related systems must be carried out
at an authorized Sprinter Dealer. There is a
risk of an accident and injury if this work is
carried out incorrectly.
Problem
Possible cause / result
Suggested solutions
The headlamps are fogged up on the inside.
Air humidity is very high.
\1Drive with the lights on.
The headlamps will defrost after the
vehicle has been driven a short dis-
tance.
Moisture has penetrated the headlamp hous-
ing since it is not water-tight.
\1Have the headlamps checked at
an au-
thorized Sprinter Dealer
.
Page 263 of 393

262 Practical hintsWhat to do if ...
5
Driving systemsWarning
G
Always have maintenance work carried out
at an authorized Sprinter Dealer which has
the necessary specialist knowledge and
tools to carry out the work required.
The manufacturer recommends that you use
an authorized Sprinter Dealer for this pur-
pose.
In particular, work relevant to safety or on
safety-related systems must be carried out
at an authorized Sprinter Dealer. There is a
risk of an accident and injury if this work is
carried out incorrectly.
Problem
Possible cause / result
Suggested solutions
Only the red segments in the Parktronic*
warning displays are lit.
A warning tone also sounds for approxi-
mately 2 seconds.
Parktronic* switches off after approxi-
mately 20 seconds.
The indicator lamp on the Parktronic
switch comes on and the red segments in
the warning display go out.
Parktronic* has malfunctioned and has
switched off.
When you press the Parktronic switch, the
red segments in the Parktronic warning dis-
plays light up again and the warning tone
sounds for approximately 2 seconds.
\1Have Parktronic* checked as soon as
possible at an authorized Sprinter
Dealer.
The Parktronic* warning displays indicate
implausible distances.
For example, all the segments may be lit
even though there is no obstacle present.
The Parktronic* sensors are dirty or iced up.
\1Clean the Parktronic* sensors
(\2page 244).
\1Switch on the ignition again.
An external radio or ultrasonic source may
be causing interference.
\1Check whether Parktronic* works at
another location.
The license plate or other attachment parts
near the sensors may not be secured cor-
rectly.
\1Check the number plate and attach-
ment parts near the sensors to see if
they are securely in place.
Page 265 of 393

264 Practical hintsWhat to do if ...
5
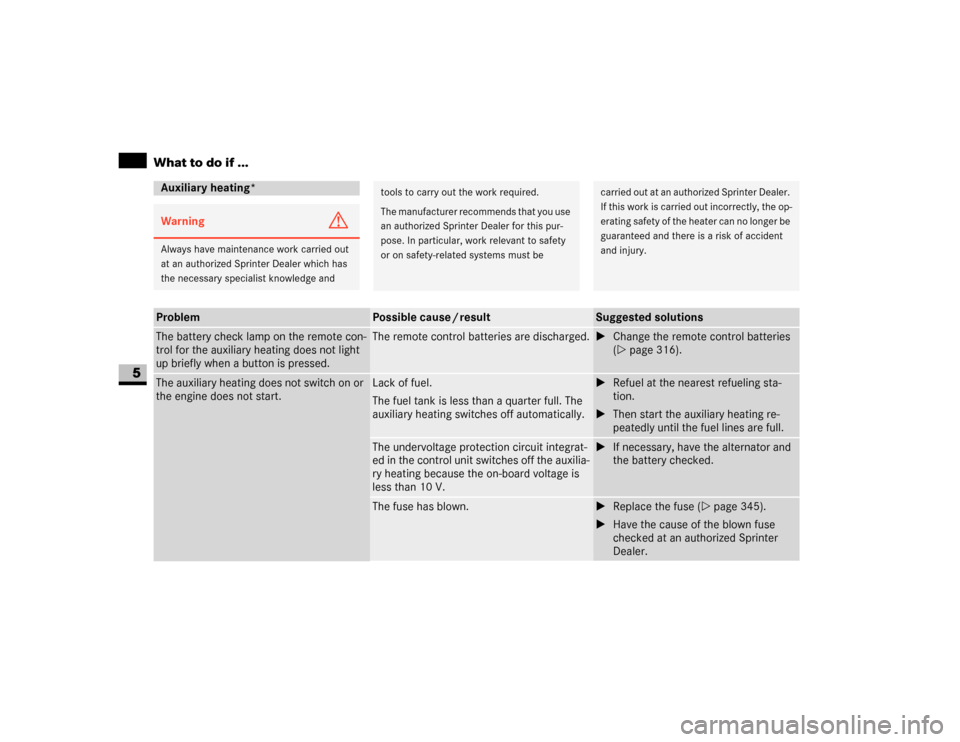
Auxiliary heating*Warning
G
Always have maintenance work carried out
at an authorized Sprinter Dealer which has
the necessary specialist knowledge and
tools to carry out the work required.
The manufacturer recommends that you use
an authorized Sprinter Dealer for this pur-
pose. In particular, work relevant to safety
or on safety-related systems must be
carried out at an authorized Sprinter Dealer.
If this work is carried out incorrectly, the op-
erating safety of the heater can no longer be
guaranteed and there is a risk of accident
and injury.
Problem
Possible cause / result
Suggested solutions
The battery check lamp on the remote con-
trol for the auxiliary heating does not light
up briefly when a button is pressed.
The remote control batteries are discharged.
\1Change the remote control batteries
(\2page 316).
The auxiliary heating does not switch on or
the engine does not start.
Lack of fuel.
The fuel tank is less than a quarter full. The
auxiliary heating switches off automatically.
\1Refuel at the nearest refueling sta-
tion.
\1Then start the auxiliary heating re-
peatedly until the fuel lines are full.
The undervoltage protection circuit integrat-
ed in the control unit switches off the auxilia-
ry heating because the on-board voltage is
less than 10 V.
\1If necessary, have the alternator and
the battery checked.
The fuse has blown.
\1Replace the fuse (\2page 345).
\1Have the cause of the blown fuse
checked at an authorized Sprinter
Dealer.