2007 DODGE CHARGER lock
[x] Cancel search: lockPage 43 of 384

WARNING!
•Do not put anything on or around the front airbag
covers or attempt to manually open them. You may
damage the airbags and you could be injured be-
cause the airbags are no longer functional. These
protective covers for the airbag cushions are de-
signed to open only when the airbags are inflating.
•If your vehicle is equipped with side curtain airbags,
do not stack luggage or other cargo up high enough
to block the location of the side curtain airbag. The
area where the side curtain airbag is located should
remain free from any obstructions.
•If your vehicle is equipped with side curtain airbags,
do not have any accessory items installed which will
alter the roof, including adding a sunroof to your
vehicle. Do not add roof racks that require perma-
nent attachments (bolts or screws) for installation on
the vehicle roof. Do not drill into the roof of the
vehicle for any reason.
•Do not drill, cut or tamper with the knee bolster in
any way.
•Do not mount any accessories to the knee bolster
such as alarm lights, stereos, citizens band radios etc.
NOTE:Do not use a clothing bar mounted to the coat
hooks in this vehicle. A clothing bar will impede the
proper performance of the curtain airbags.
Along with the seat belts, front airbags work with the
instrument panel knee bolsters to provide improved
protection for the driver and front passenger. Side Cur-
tain Airbags also work with seat belts to improve occu-
pant protection.
The seat belts are designed to protect you in many types
of collisions. The front airbags deploy in moderate to
severe frontal collisions.
If your vehicle is so equipped, the Side Curtain Airbag on
the crash side of the vehicle is triggered in moderate to
severe side collisions. However, even in collisions where
the airbags deploy, you need the seat belts to keep you in
the correct position for the airbags to protect you prop-
erly.
Here are some simple steps you can take to minimize
the risk of harm from a deploying airbag.
1. Children 12 years old and under should ride buckled
up in the rear seat.
THINGS TO KNOW BEFORE STARTING YOUR VEHICLE 43
2
Page 46 of 384

provide different rates of airbag inflation from direc-
tion provided by the ACM. The ACM will not detect
roll over.
•The ACM also monitors the readiness of the electronic
parts of the system whenever the ignition switch is in
the START or ON positions. These include all of the
items listed above except the knee bolster, the instru-
ment panel, and the steering wheel and column. If the
key is in the LOCK position, in the ACC position, or
not in the ignition, the airbags are not on and will not
inflate.
•The ACM also turns on the Airbag Warning
Light in the instrument panel for 6 to 8
seconds as a self-check when the ignition is
first turned on. After the self-check, the
Airbag Warning Light will turn off. If the ACM detects
a malfunction in any part of the system, it turns on the
Airbag Warning Light either momentarily or continu-
ously. A single chime will sound if the light comes on
again after initial start up.
WARNING!
Ignoring the AIRBAG Warning Light in your instru-
ment panel could mean you won’t have the airbags
to protect you in a collision. If the light does not
come on, stays on after you start the vehicle, or if it
comes on as you drive, have the airbag system
checked right away.
•TheDriver and Front Passenger Airbag/Inflator
Unitsare located in the center of the steering wheel
and the passenger side of the instrument panel. When
the ACM detects a collision requiring the airbags, it
signals the inflator units. A large quantity of nontoxic
gas is generated to inflate the front airbags. Different
airbag inflation rates may be possible based on colli-
sion severity. The steering wheel hub trim cover, and
the upper passenger side of the instrument panel
separate and fold out of the way, as the bags inflate to
their full size. The bags fully inflate in about 50 - 70
milliseconds. This is about half of the time that it takes
to blink your eyes. The bags then quickly deflate while
helping to restrain the driver and front passenger. The
46 THINGS TO KNOW BEFORE STARTING YOUR VEHICLE
Page 48 of 384

However, if you haven’t healed significantly within a
few days, or if you have any blistering, see your doctor
immediately.
•As the airbags deflate, you may see some smoke-like
particles. The particles are a normal by-product of the
process that generates the nontoxic gas used for airbag
inflation. These airborne particles may irritate the skin,
eyes, nose, or throat. If you have skin or eye irritation,
rinse the area with cool water. For nose or throat
irritation, move to fresh air. If the irritation continues,
see your doctor. If these particles settle on your
clothing, follow the garment manufacturer’s instruc-
tions for cleaning.
•It is not advisable to drive your vehicle after the
airbags have been deployed. If you are involved in
another collision, the airbags will not be in place to
protect you.
WARNING!
Deployed airbags can’t protect you in another colli-
sion. Have the airbags replaced by an authorized
dealer as soon as possible.
Enhanced Accident Response Feature
If the airbags deploy after an impact and the electrical
system remains functional, vehicles equipped with
power door locks will unlock automatically. In addition,
approximately 5 seconds after the vehicle has stopped
moving, the interior lights will illuminate to aid visibility.
NOTE:The interior lights can only be deactivated if the
key is removed from the ignition switch or the vehicle is
driven.
48 THINGS TO KNOW BEFORE STARTING YOUR VEHICLE
Page 57 of 384

WARNING!
Improper installation of a child restraint to the
LATCH anchorages can lead to failure of an infant or
child restraint. The child could be badly injured or
killed. Follow the manufacturer’s directions exactly
when installing an infant or child restraint.
Installing Child Restraints Using the Vehicle Seat belt
The passenger seat belts are equipped with either cinch-
ing latch plates or automatic locking retractors, which are
designed to keep the lap portion tight around the child
restraint so that it is not necessary to use a locking clip.
Pulling up on the shoulder portion of the lap/shoulder
belt will tighten the belt. The cinching latch plate will
keep the belt tight, however, any seat belt system will
loosen with time, so check the belt occasionally, and pull
it tight if necessary.
Seat belts with an automatic locking retractor have a
distinctive label on the seat belt webbing. The seat belt
must be in the automatic locking mode in order to enable
a child restraint to be tightly installed. Refer to “Auto-
matic Locking Mode” in this section for details. A lockingclip should not be necessary once the automatic locking
feature is enabled. Position the shoulder and lap belt on
the child restraint. The automatic locking retractor is
activated by first attaching the child seat, then pulling all
of the webbing out of the retractor, then allowing back in.
Tighten webbing. To release, simply unbuckle the seat
belt by depressing the button, allowing the webbing to
retract into the retractor.
In the rear seat, you may have trouble tightening the
lap/shoulder belt on the child restraint because the
buckle or latch plate is too close to the belt path opening
on the restraint. Disconnect the latch plate from the
buckle and twist the short buckle-end belt several times
to shorten it. Insert the latch plate into the buckle with the
release button facing out.
If the belt still can’t be tightened, or if by pulling and
pushing on the restraint loosens the belt, you may need
to do something more. Disconnect the latch plate from
the buckle, turn the buckle around, and insert the latch
plate into the buckle again. If you still can’t make the
child restraint secure, try a different seating position.
THINGS TO KNOW BEFORE STARTING YOUR VEHICLE 57
2
Page 60 of 384

Lock Your Vehicle
Always remove the keys from the ignition and lock all
doors when leaving the vehicle unattended, even in your
own driveway or garage. Try to park your vehicle in a
well-lit area and never invite theft by leaving articles of
value exposed.
Exhaust Gas
Do not run the engine in a closed garage or in confined
areas any longer than needed to move your vehicle in or
out of the area.
If it is necessary to sit in a parked vehicle with the engine
running, adjust your heating or cooling controls to force
outside air into the vehicle. Set the blower at high speed.
The best protection against carbon monoxide entry into
the vehicle body is a properly maintained engine exhaust
system.
Whenever a change is noticed in the sound of the exhaust
system, when exhaust fumes can be detected inside the
vehicle, or when the underside or rear of the vehicle is
damaged, have a competent mechanic inspect the com-
plete exhaust system and adjacent body areas for broken,damaged, deteriorated, or mispositioned parts. Open
seams or loose connections could permit exhaust fumes
to seep into the passenger compartment. In addition,
inspect the exhaust system each time the vehicle is raised
for lubrication or oil change. Replace as required.
WARNING!
•Exhaust gases can injure or kill. They contain
carbon monoxide (CO) which is colorless and
odorless. Breathing it can make you unconscious
and can eventually poison you. To avoid breath-
ing (CO) follow the safety tips below.
•If you are required to drive with the trunk open,
make sure that all windows are closed, and the
climate control blower switch is set at high speed.
DO NOT use the recirculation mode.
60 THINGS TO KNOW BEFORE STARTING YOUR VEHICLE
Page 61 of 384

Safety Checks You Should Make Inside The
Vehicle
Seat Belts
Inspect the belt system periodically, checking for cuts,
frays, and loose parts. Damaged parts must be replaced
immediately. Do not disassemble or modify the system.
Front seat belt assemblies must be replaced after a
collision. Rear seat belt assemblies must be replaced after
a collision if they have been damaged (bent retractor, torn
webbing, etc. If there is any question regarding belt or
retractor condition, replace the belt.
Airbag Warning Light
The light should come on and remain on for 6 to 8
seconds as a bulb check when the ignition switch is first
turned ON. If the light is not lit during starting, see you
authorized dealer. If the light stays on, flickers, or comes
on while driving, have the system checked by an autho-
rized dealer.
Defroster
Check operation by selecting the defrost mode and place
the blower control on high speed. You should be able to
feel the air directed against the windshield.
Periodic Safety Checks You Should Make Outside
The Vehicle
Tires
Examine tires for excessive tread wear and uneven wear
patterns. Check for stones, nails, glass, or other objects
lodged in the tread. Inspect the tread and sidewall for
cuts and cracks. Check the wheel nuts for tightness.
Check the tires (including spare) for proper pressure.
Lights
Have someone observe the operation of exterior lights
while you work the controls. Check turn signal and high
beam indicator lights on the instrument panel.
Door Latches
Check for positive closing, latching, and locking.
Fluid Leaks
Check area under vehicle after overnight parking for fuel,
engine coolant, oil, or other fluid leaks. Also, if gasoline
fumes are detected or if fuel, power steering fluid, or
brake fluid leaks are suspected, the cause should be
located and corrected immediately.
THINGS TO KNOW BEFORE STARTING YOUR VEHICLE 61
2
Page 68 of 384

Power Remote-Control Mirrors
The power mirror switch is located on the driver’s door
trim panel next to the power door lock switch. A rotary
knob selects the left mirror, right mirror, or off position.
After selecting a mirror, move the knob in the same
direction you want the mirror to move. Use the center off
position to guard against accidentally moving a mirror
position.
Heated Remote Control Mirrors — If Equipped
These mirrors are heated to melt frost or ice. This feature
is activated whenever you turn on the Rear Window
Defrost.
Illuminated Vanity Mirrors — If Equipped
An illuminated vanity mirror is on the sun visor. To use
the mirror, rotate the sun visor downward and swing the
mirror cover upward. The light turns on automatically.
Closing the mirror cover turns off the lights.
Power Mirror Control
Illuminated Vanity Mirror
68 UNDERSTANDING THE FEATURES OF YOUR VEHICLE
Page 91 of 384

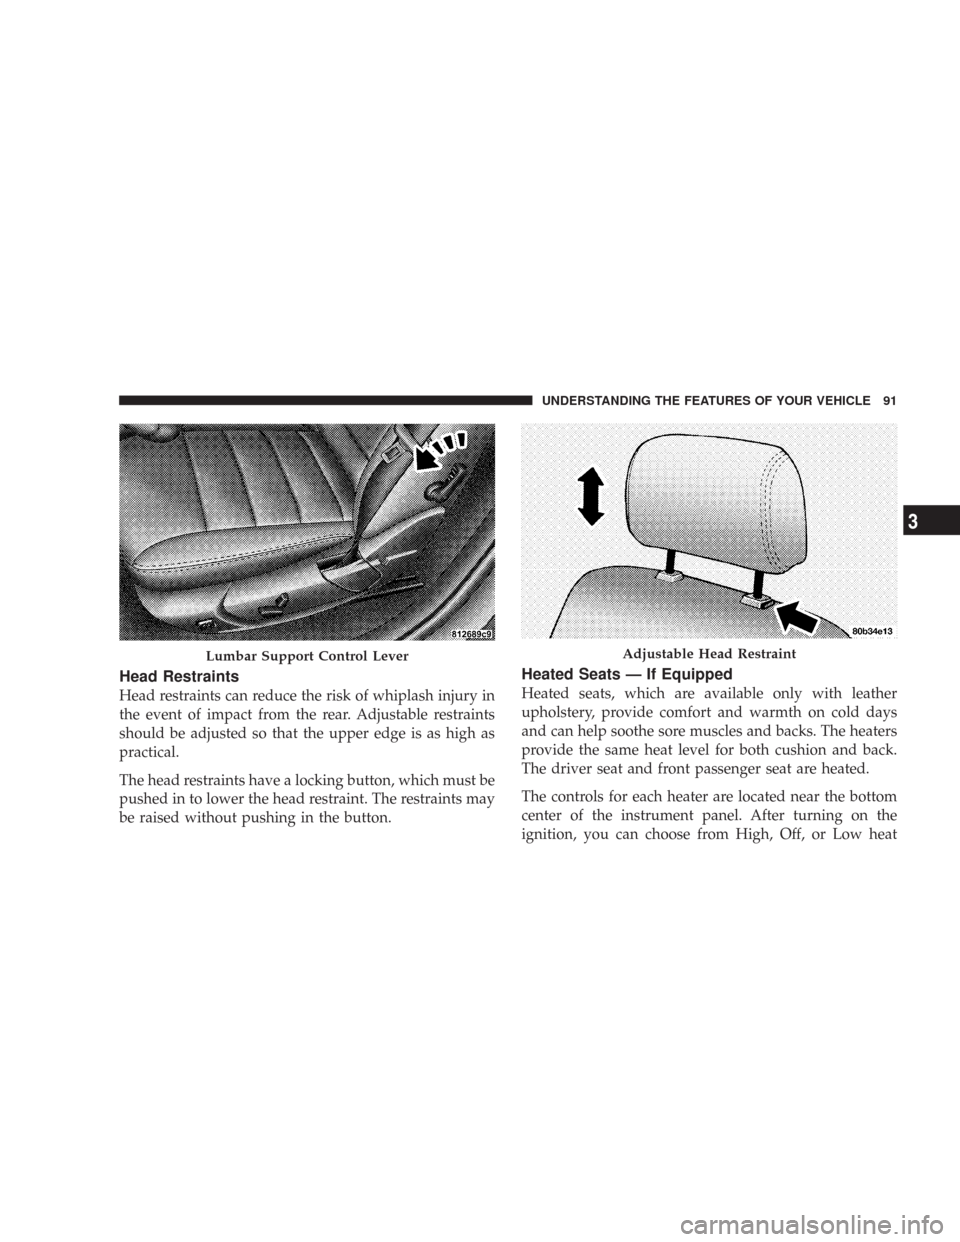
Head Restraints
Head restraints can reduce the risk of whiplash injury in
the event of impact from the rear. Adjustable restraints
should be adjusted so that the upper edge is as high as
practical.
The head restraints have a locking button, which must be
pushed in to lower the head restraint. The restraints may
be raised without pushing in the button.
Heated Seats — If Equipped
Heated seats, which are available only with leather
upholstery, provide comfort and warmth on cold days
and can help soothe sore muscles and backs. The heaters
provide the same heat level for both cushion and back.
The driver seat and front passenger seat are heated.
The controls for each heater are located near the bottom
center of the instrument panel. After turning on the
ignition, you can choose from High, Off, or Low heat
Lumbar Support Control LeverAdjustable Head Restraint
UNDERSTANDING THE FEATURES OF YOUR VEHICLE 91
3