Page 136 of 360

INSTRUMENT CLUSTER DESCRIPTIONS
1. Electronic Speed Control Indicator Light — If
Equipped
This light will turn on when the electronic
speed control is ON. (See page 109 for more
information.)
2. Low Fuel Indicator Light
This light will turn on and a single chime will
sound when the fuel level drops to 1/8 tank. (See
page 249 for more information.)
3. Front Fog Light Indicator
This light will turn on when the front fog lights
are ON. (See page 98 for more information.)
4. Turn Signal Indicators
The arrow will flash with the exterior turn signal
when the turn signal lever is operated.
NOTE:
A continuous chime will sound if the vehicle is
driven more than 1 mile (1.6 km) with either turn signal
on.
NOTE:Check for a defective outside light bulb if either
indicator flashes at a rapid rate. (See page 98 for more
information.)
5. Speedometer
Indicates vehicle speed.
6. Electronic Vehicle Information Center Display
This display shows the Electronic Vehicle Information
Center (EVIC) messages when the appropriate conditions
exist. (See page 144 for more information.)
Loose Fuel Filler Cap
If the vehicle diagnostic system determines that the fuel
filler cap is loose, improperly installed, or damaged, a
“Check Gascap” message will display in the Electronic
Vehicle Information Center (EVIC). Tighten the fuel filler
cap properly and press the odometer reset button to turn
off the message. If the problem continues, the message
will appear the next time the vehicle is started.
A loose, improperly installed, or damaged fuel filler cap
may also turn on the Malfunction Indicator Light (MIL).
(See page 272 for more information.)
136 UNDERSTANDING YOUR INSTRUMENT PANEL
Page 143 of 360

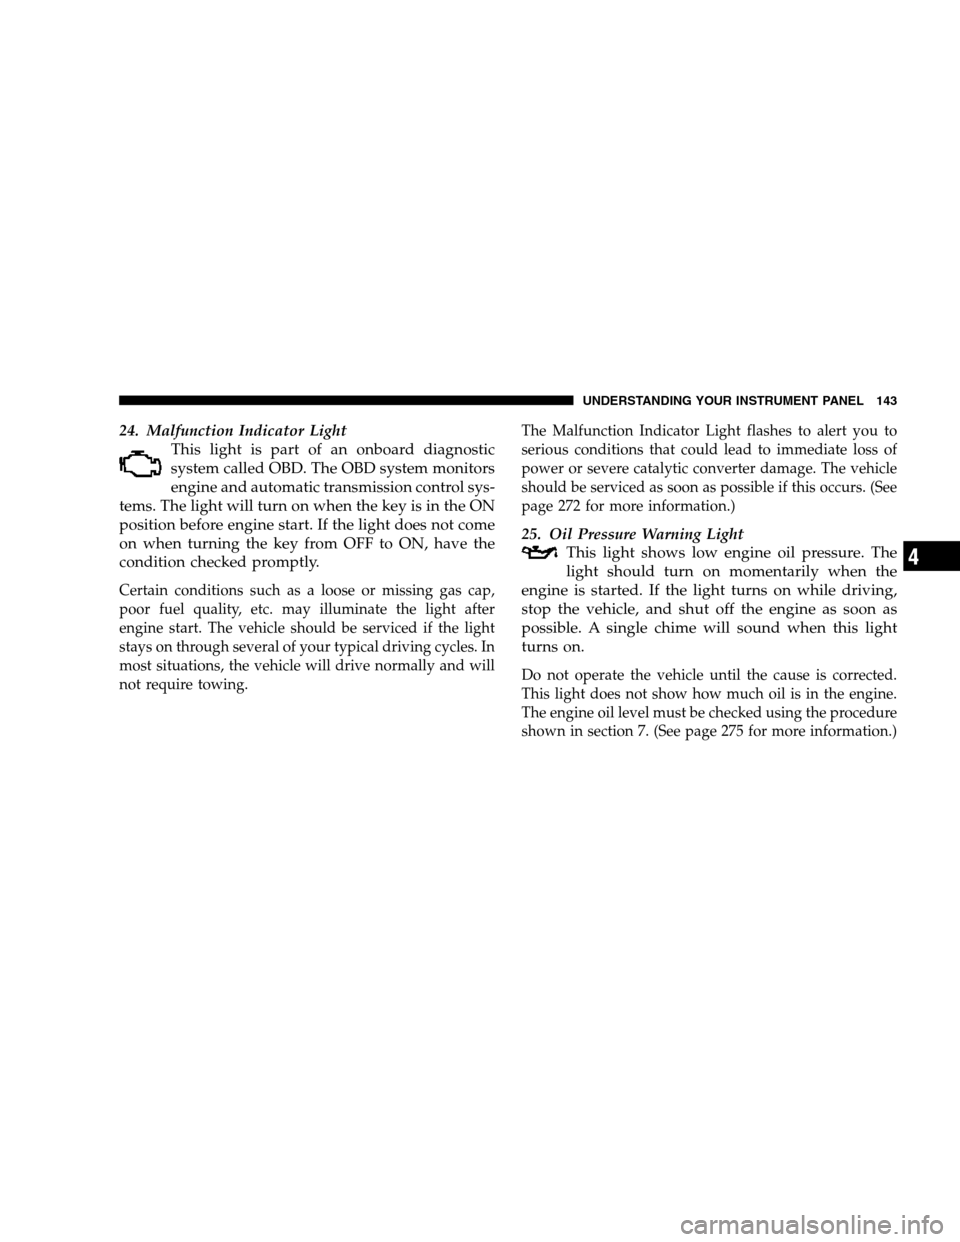
24. Malfunction Indicator Light
This light is part of an onboard diagnostic
system called OBD. The OBD system monitors
engine and automatic transmission control sys-
tems. The light will turn on when the key is in the ON
position before engine start. If the light does not come
on when turning the key from OFF to ON, have the
condition checked promptly.
Certain conditions such as a loose or missing gas cap,
poor fuel quality, etc. may illuminate the light after
engine start. The vehicle should be serviced if the light
stays on through several of your typical driving cycles. In
most situations, the vehicle will drive normally and will
not require towing.The Malfunction Indicator Light flashes to alert you to
serious conditions that could lead to immediate loss of
power or severe catalytic converter damage. The vehicle
should be serviced as soon as possible if this occurs. (See
page 272 for more information.)
25. Oil Pressure Warning Light
This light shows low engine oil pressure. The
light should turn on momentarily when the
engine is started. If the light turns on while driving,
stop the vehicle, and shut off the engine as soon as
possible. A single chime will sound when this light
turns on.
Do not operate the vehicle until the cause is corrected.
This light does not show how much oil is in the engine.
The engine oil level must be checked using the procedure
shown in section 7. (See page 275 for more information.)
UNDERSTANDING YOUR INSTRUMENT PANEL 143
4
Page 147 of 360

•Right Front Low Pressure (with a single chime). Refer
to information on “Tire Pressure” and “Tire Pressure
Monitor” in the “Starting And Operating” section of
this manual.
•Right Rear Low Pressure (with a single chime). Refer
to information on “Tire Pressure” and “Tire Pressure
Monitor” in the “Starting And Operating” section of
this manual.
•Check TPM System (with a single chime). Refer to
information on “Tire Pressure Monitor” in the “Start-
ing And Operating” section of this manual.
•Check Gascap (refer to “Adding Fuel” in Section 5 of
this manual for more details)
•Service Park Assist System (with a single chime)
•Upshift
Trip Functions
Press and release the MENU button until one of the
following Trip Functions displays in the EVIC:
•Average Fuel Economy
•Distance To Empty
•Trip A
•Trip B
•Elapsed Time
•Display Units of Measure in
Press the SCROLL button to cycle through all the Trip
Computer functions.
The Trip Functions mode displays the following informa-
tion:
•Average Fuel Economy
Shows the average fuel economy since the last reset.
When the fuel economy is reset, the display will read
“RESET” or show dashes for two seconds. Then, the
history information will be erased, and the averaging will
continue from the last fuel average reading before the
reset.
UNDERSTANDING YOUR INSTRUMENT PANEL 147
4
Page 195 of 360

▫6.1L Engine.........................246
▫Reformulated Gasoline.................246
▫Gasoline/Oxygenate Blends..............247
▫MMT In Gasoline.....................247
▫Materials Added To Fuel................247
▫Fuel System Cautions..................248
▫Carbon Monoxide Warnings..............248
�Adding Fuel..........................249
▫Fuel Filler Cap (Gas Cap)...............249
▫Loose Fuel Filler Cap Message............251
�Vehicle Loading.......................252▫Vehicle Certification Label...............252
▫Gross Vehicle Weight Rating (GVWR).......252
▫Gross Axle Weight Rating (GAWR).........252
▫Overloading.........................253
▫Loading............................253
�Trailer Towing........................254
�Recreational Towing
(Behind Motorhome, Etc.)
................254
▫Towing This Vehicle Behind Another Vehicle
(Flat Towing With All Four Wheels On The
Ground)............................254
�Ground Clearance.....................254
STARTING AND OPERATING 195
5
Page 249 of 360
more than a short period, adjust the ventilation system
to force fresh, outside air into the vehicle.
•Guard against carbon monoxide with proper mainte-
nance. Have the exhaust system inspected every time
the vehicle is raised. Have any abnormal conditions
repaired promptly. Until repaired, drive with all side
windows fully open.
•Keep the trunk closed when driving your vehicle to
prevent carbon monoxide and other poisonous ex-
haust gases from entering the vehicle.
ADDING FUEL
Fuel Filler Cap (Gas Cap)
The gas cap is located behind the fuel filler door on the
left side of the vehicle. Push in on the left side (near the
edge) of the fuel filler door to access the fuel filler cap. If
the gas cap is lost or damaged, be sure the replacement
cap is for use with this vehicle.
Fuel Filler Door
STARTING AND OPERATING 249
5
Page 250 of 360
NOTE:When removing the fuel filler cap, lay the cap
tether in the hook, located on the fuel filler cap door
reinforcement.CAUTION!
•Damage to the fuel system or emission control
system could result from using an improper fuel
tank filler tube cap (gas cap).
•A poorly fitting gas cap could let impurities into
the fuel system.
•A poorly fitting gas cap may cause the Malfunc-
tion Indicator Light to turn on.
•To avoid fuel spillage and overfilling, do not “top
off” the fuel tank after filling. When the fuel
nozzle “clicks” or shuts off, the fuel tank is full.
Gas Cap Tether Hook
250 STARTING AND OPERATING
Page 251 of 360

WARNING!
•Never have any smoking materials lit in or near
the vehicle when the gas cap is removed or the
tank filled.
•Never add fuel to the vehicle when the engine is
running.
•A fire may result if gasoline is pumped into a
portable container that is inside of a vehicle. You
could be burned. Always place gas containers on
the ground while filling.
NOTE:
•
Tighten the gas cap until you hear a “clicking” sound.
This is an indication that the gas cap is tightened
properly. The Malfunction Indicator Light in the in-
strument cluster may turn on if the gas cap is not
secured properly. Make sure that the gas cap is tight-
ened each time the vehicle is refueled.
•When the fuel nozzle “clicks” or shuts off, the fuel
tank is full.
Loose Fuel Filler Cap Message
If the vehicle diagnostic system determines that the fuel
filler cap is loose, improperly installed, or damaged, a
“Check Gascap” message will display in the Electronic
Vehicle Information Center (EVIC). If this occurs, tighten
the fuel filler cap properly and press the odometer reset
button to turn off the message. If the problem continues,
the message will appear the next time the vehicle is
started.
A loose, improperly installed, or damaged fuel filler cap
may also turn on the Malfunction Indicator Light (MIL).
Refer to “Onboard Diagnostic System” in Section 7 of this
manual for more information.
STARTING AND OPERATING 251
5
Page 269 of 360

MAINTAINING YOUR VEHICLE
CONTENTS
�6.1L Engine Compartment...............271
�Onboard Diagnostic System — OBD II......272
▫Loose Fuel Filler Cap..................272
�Emissions Inspection And Maintenance
Programs
............................273
�Replacement Parts.....................274
�Dealer Service........................274
�Maintenance Procedures.................275
▫Engine Oil..........................275
▫Engine Oil Filter......................278
▫Drive Belts — Check Condition And Tension . . 278
▫Spark Plugs.........................278▫Engine Air Cleaner Filter................279
▫Fuel Filter..........................279
▫Catalytic Converter....................279
▫Maintenance-Free Battery................281
▫Air Conditioner Maintenance.............282
▫A/C Air Filter — If Equipped............283
▫Power Steering — Fluid Check............284
▫Front & Rear Suspension Ball Joints........284
▫Steering Linkage......................284
▫Body Lubrication.....................284
▫Windshield Wiper Blades................285
7