2007 CHEVROLET TRAIL BLAZER buttons
[x] Cancel search: buttonsPage 11 of 574
Power Lumbar
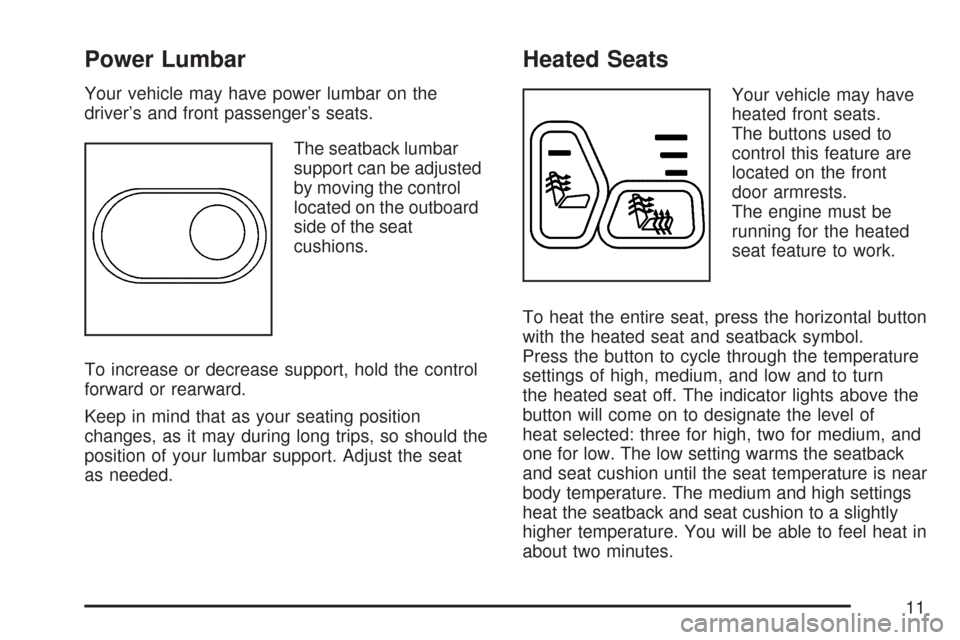
Your vehicle may have power lumbar on the
driver’s and front passenger’s seats.
The seatback lumbar
support can be adjusted
by moving the control
located on the outboard
side of the seat
cushions.
To increase or decrease support, hold the control
forward or rearward.
Keep in mind that as your seating position
changes, as it may during long trips, so should the
position of your lumbar support. Adjust the seat
as needed.
Heated Seats
Your vehicle may have
heated front seats.
The buttons used to
control this feature are
located on the front
door armrests.
The engine must be
running for the heated
seat feature to work.
To heat the entire seat, press the horizontal button
with the heated seat and seatback symbol.
Press the button to cycle through the temperature
settings of high, medium, and low and to turn
the heated seat off. The indicator lights above the
button will come on to designate the level of
heat selected: three for high, two for medium, and
one for low. The low setting warms the seatback
and seat cushion until the seat temperature is near
body temperature. The medium and high settings
heat the seatback and seat cushion to a slightly
higher temperature. You will be able to feel heat in
about two minutes.
11
Page 12 of 574
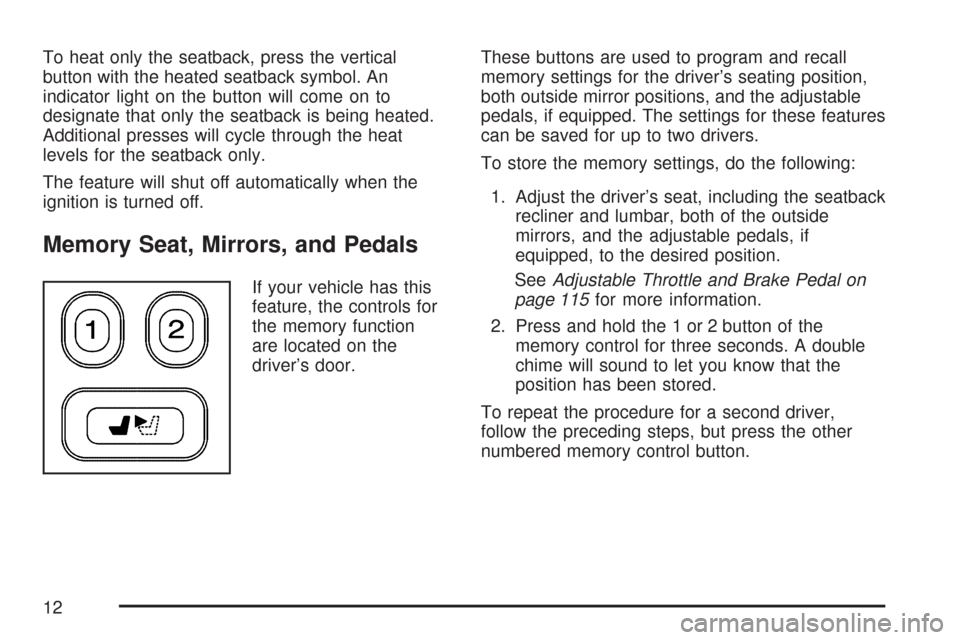
To heat only the seatback, press the vertical
button with the heated seatback symbol. An
indicator light on the button will come on to
designate that only the seatback is being heated.
Additional presses will cycle through the heat
levels for the seatback only.
The feature will shut off automatically when the
ignition is turned off.
Memory Seat, Mirrors, and Pedals
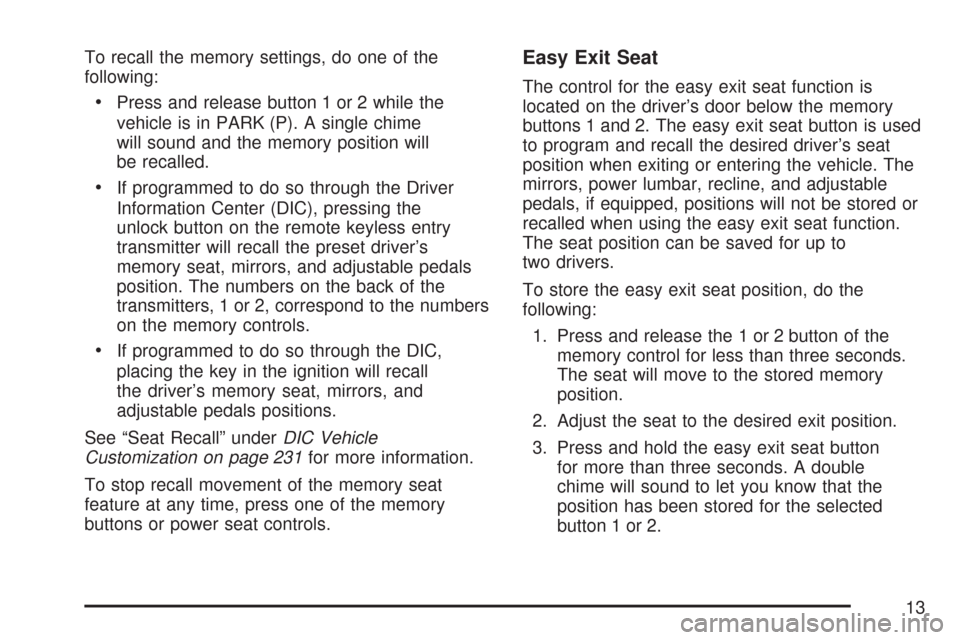
If your vehicle has this
feature, the controls for
the memory function
are located on the
driver’s door.These buttons are used to program and recall
memory settings for the driver’s seating position,
both outside mirror positions, and the adjustable
pedals, if equipped. The settings for these features
can be saved for up to two drivers.
To store the memory settings, do the following:
1. Adjust the driver’s seat, including the seatback
recliner and lumbar, both of the outside
mirrors, and the adjustable pedals, if
equipped, to the desired position.
SeeAdjustable Throttle and Brake Pedal on
page 115for more information.
2. Press and hold the 1 or 2 button of the
memory control for three seconds. A double
chime will sound to let you know that the
position has been stored.
To repeat the procedure for a second driver,
follow the preceding steps, but press the other
numbered memory control button.
12
Page 13 of 574
To recall the memory settings, do one of the
following:
Press and release button 1 or 2 while the
vehicle is in PARK (P). A single chime
will sound and the memory position will
be recalled.
If programmed to do so through the Driver
Information Center (DIC), pressing the
unlock button on the remote keyless entry
transmitter will recall the preset driver’s
memory seat, mirrors, and adjustable pedals
position. The numbers on the back of the
transmitters, 1 or 2, correspond to the numbers
on the memory controls.
If programmed to do so through the DIC,
placing the key in the ignition will recall
the driver’s memory seat, mirrors, and
adjustable pedals positions.
See “Seat Recall” underDIC Vehicle
Customization on page 231for more information.
To stop recall movement of the memory seat
feature at any time, press one of the memory
buttons or power seat controls.
Easy Exit Seat
The control for the easy exit seat function is
located on the driver’s door below the memory
buttons 1 and 2. The easy exit seat button is used
to program and recall the desired driver’s seat
position when exiting or entering the vehicle. The
mirrors, power lumbar, recline, and adjustable
pedals, if equipped, positions will not be stored or
recalled when using the easy exit seat function.
The seat position can be saved for up to
two drivers.
To store the easy exit seat position, do the
following:
1. Press and release the 1 or 2 button of the
memory control for less than three seconds.
The seat will move to the stored memory
position.
2. Adjust the seat to the desired exit position.
3. Press and hold the easy exit seat button
for more than three seconds. A double
chime will sound to let you know that the
position has been stored for the selected
button 1 or 2.
13
Page 132 of 574
{CAUTION:
If your vehicle has four-wheel drive, it will
be free to roll — even if the shift lever is
in PARK (P) — if the transfer case is in
NEUTRAL. So be sure the transfer case
is in a drive gear — not in NEUTRAL.
SeeFour-Wheel Drive on page 121.
Follow the proper steps to be sure your vehicle
will not move. SeeShifting Into Park (P) on
page 127.
If you are pulling a trailer, seeTowing a Trailer on
page 368.
Mirrors
Manual Rearview Mirror
Your vehicle may have this feature. While sitting in
a comfortable driving position, adjust the rearview
mirror so you can see clearly behind your
vehicle. Grip the mirror in the center to move it up
or down and side to side. The day/night control,
located at the bottom of the mirror, adjusts
the mirror to reduce headlamp glare from behind
during evening or dark conditions. Turn the
control clockwise for night use; return it to the
center for daytime use.
Manual Rearview Mirror with OnStar®
Your vehicle may have a rearview mirror with the
OnStar®system.
Control buttons for the OnStar
®system are at the
bottom of the mirror. See your dealer for more
information on the OnStar
®system and how
to subscribe to OnStar®. Also, seeOnStar®
System on page 145for more information about
the services OnStar®provides.
132
Page 133 of 574
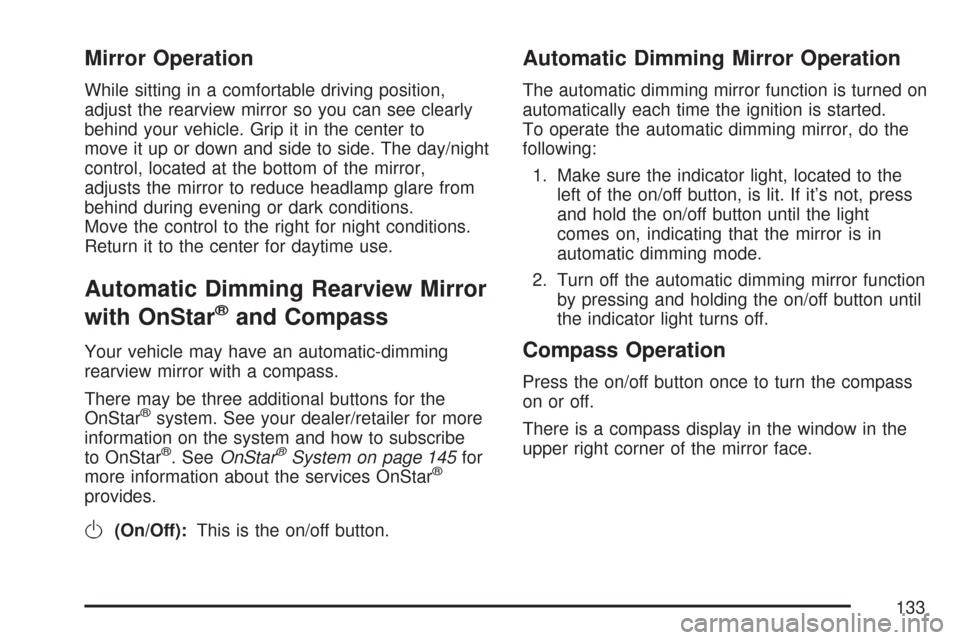
Mirror Operation
While sitting in a comfortable driving position,
adjust the rearview mirror so you can see clearly
behind your vehicle. Grip it in the center to
move it up or down and side to side. The day/night
control, located at the bottom of the mirror,
adjusts the mirror to reduce headlamp glare from
behind during evening or dark conditions.
Move the control to the right for night conditions.
Return it to the center for daytime use.
Automatic Dimming Rearview Mirror
with OnStar
®and Compass
Your vehicle may have an automatic-dimming
rearview mirror with a compass.
There may be three additional buttons for the
OnStar
®system. See your dealer/retailer for more
information on the system and how to subscribe
to OnStar
®. SeeOnStar®System on page 145for
more information about the services OnStar®
provides.
O(On/Off):This is the on/off button.
Automatic Dimming Mirror Operation
The automatic dimming mirror function is turned on
automatically each time the ignition is started.
To operate the automatic dimming mirror, do the
following:
1. Make sure the indicator light, located to the
left of the on/off button, is lit. If it’s not, press
and hold the on/off button until the light
comes on, indicating that the mirror is in
automatic dimming mode.
2. Turn off the automatic dimming mirror function
by pressing and holding the on/off button until
the indicator light turns off.
Compass Operation
Press the on/off button once to turn the compass
on or off.
There is a compass display in the window in the
upper right corner of the mirror face.
133
Page 137 of 574
3. Keep pressing the on/off button until the
desired zone number appears in the display.
Release the button. After approximately
four seconds of inactivity, the new zone
number will be locked in and the
compass/temperature display will return.
4. Calibrate the compass as described next.
Compass Calibration
The compass may need calibration if one of the
following occurs:
After approximately �ve seconds, the display
does not show a compass heading (N for
North, for example), there may be a strong
magnetic �eld interfering with the compass.
Such interference may be caused by a
magnetic antenna mount, magnetic note pad
holder or a similar magnetic item.
The compass does not display the correct
heading and the compass zone variance
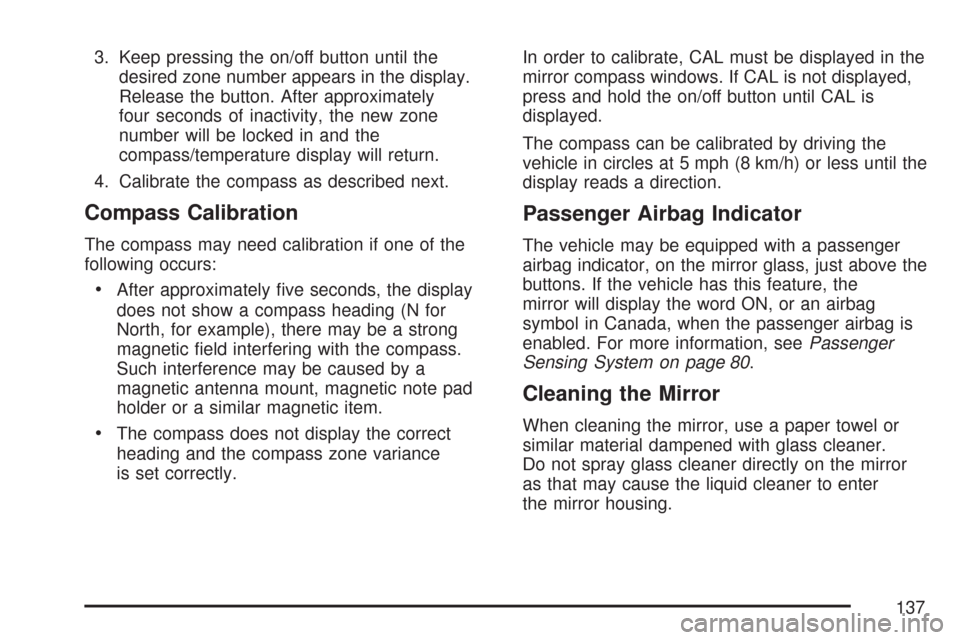
is set correctly.In order to calibrate, CAL must be displayed in the
mirror compass windows. If CAL is not displayed,
press and hold the on/off button until CAL is
displayed.
The compass can be calibrated by driving the
vehicle in circles at 5 mph (8 km/h) or less until the
display reads a direction.
Passenger Airbag Indicator
The vehicle may be equipped with a passenger
airbag indicator, on the mirror glass, just above the
buttons. If the vehicle has this feature, the
mirror will display the word ON, or an airbag
symbol in Canada, when the passenger airbag is
enabled. For more information, seePassenger
Sensing System on page 80.
Cleaning the Mirror
When cleaning the mirror, use a paper towel or
similar material dampened with glass cleaner.
Do not spray glass cleaner directly on the mirror
as that may cause the liquid cleaner to enter
the mirror housing.
137
Page 143 of 574
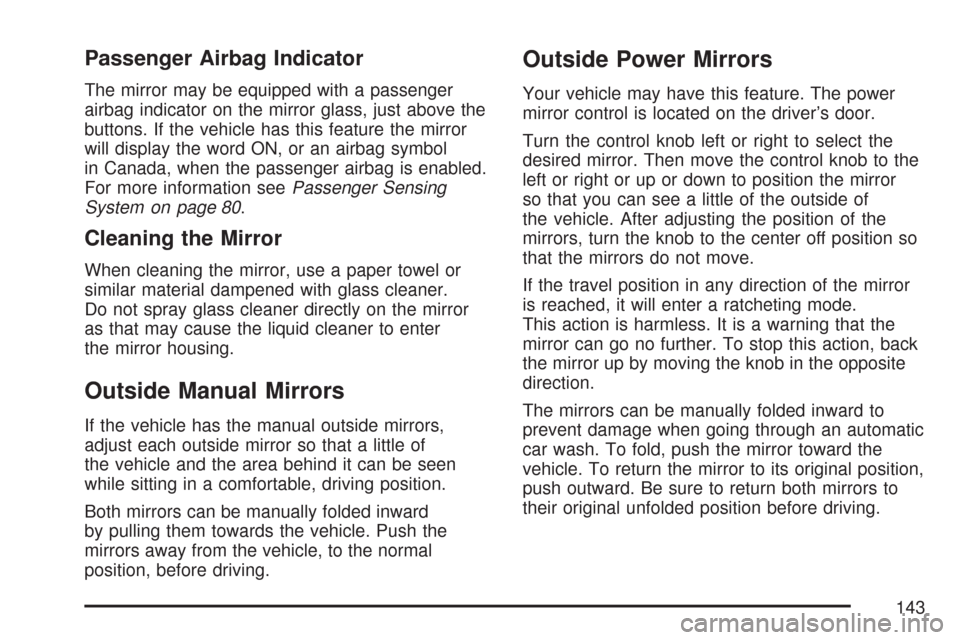
Passenger Airbag Indicator
The mirror may be equipped with a passenger
airbag indicator on the mirror glass, just above the
buttons. If the vehicle has this feature the mirror
will display the word ON, or an airbag symbol
in Canada, when the passenger airbag is enabled.
For more information seePassenger Sensing
System on page 80.
Cleaning the Mirror
When cleaning the mirror, use a paper towel or
similar material dampened with glass cleaner.
Do not spray glass cleaner directly on the mirror
as that may cause the liquid cleaner to enter
the mirror housing.
Outside Manual Mirrors
If the vehicle has the manual outside mirrors,
adjust each outside mirror so that a little of
the vehicle and the area behind it can be seen
while sitting in a comfortable, driving position.
Both mirrors can be manually folded inward
by pulling them towards the vehicle. Push the
mirrors away from the vehicle, to the normal
position, before driving.
Outside Power Mirrors
Your vehicle may have this feature. The power
mirror control is located on the driver’s door.
Turn the control knob left or right to select the
desired mirror. Then move the control knob to the
left or right or up or down to position the mirror
so that you can see a little of the outside of
the vehicle. After adjusting the position of the
mirrors, turn the knob to the center off position so
that the mirrors do not move.
If the travel position in any direction of the mirror
is reached, it will enter a ratcheting mode.
This action is harmless. It is a warning that the
mirror can go no further. To stop this action, back
the mirror up by moving the knob in the opposite
direction.
The mirrors can be manually folded inward to
prevent damage when going through an automatic
car wash. To fold, push the mirror toward the
vehicle. To return the mirror to its original position,
push outward. Be sure to return both mirrors to
their original unfolded position before driving.
143
Page 148 of 574
How OnStar®Service Works
In order to provide you with OnStar®services, your
vehicle’s OnStar®system has the capability of
recording and transmitting vehicle information.
This information is automatically sent to an OnStar
®
Call Center at the time of an OnStar®button press,
Emergency button press or if your airbags or AACN
system deploys. The vehicle information usually
includes your GPS location and, in the event of a
crash, additional information regarding the accident
that your vehicle has been involved in (e.g. the
direction from which your vehicle was hit). When
you use the Virtual Advisor feature of OnStar
®
Hands-Free Calling, your vehicle also sends
OnStar®your GPS location so that we can provide
you with location-based services.
OnStar
®service cannot work unless your vehicle is
in a place where OnStar®has an agreement with a
wireless service provider for service in that area.
OnStar
®service also cannot work unless you are
in a place where the wireless service provider
OnStar
®has hired for that area has coverage,
network capacity and reception when the service is
needed, and technology that is compatible with theOnStar
®service. Not all services are available
everywhere, particularly in remote or enclosed
areas, or at all times.
OnStar
®service that involves location information
about your vehicle cannot work unless GPS
satellite signals are unobstructed and available in
that place as well.
Your vehicle must have a working electrical system
(including adequate battery power) for the OnStar
®
equipment to operate. There are other problems
OnStar®cannot control that may prevent OnStar®
from providing OnStar®service to you at any
particular time or place. Some examples are
damage to important parts of your vehicle in an
accident, hills, tall buildings, tunnels, weather or
wireless phone network congestion.
Your Responsibility
You may need to increase the volume of your radio
to hear the OnStar®advisor. If the light next to the
OnStar®buttons is red, this means that your system
is not functioning properly and should be checked
by your dealer/retailer. If the light appears clear (no
light is appearing), your OnStar
®subscription has
expired. You can always press the OnStar®button
to con�rm that your OnStar®equipment is active.
148