Page 346 of 634

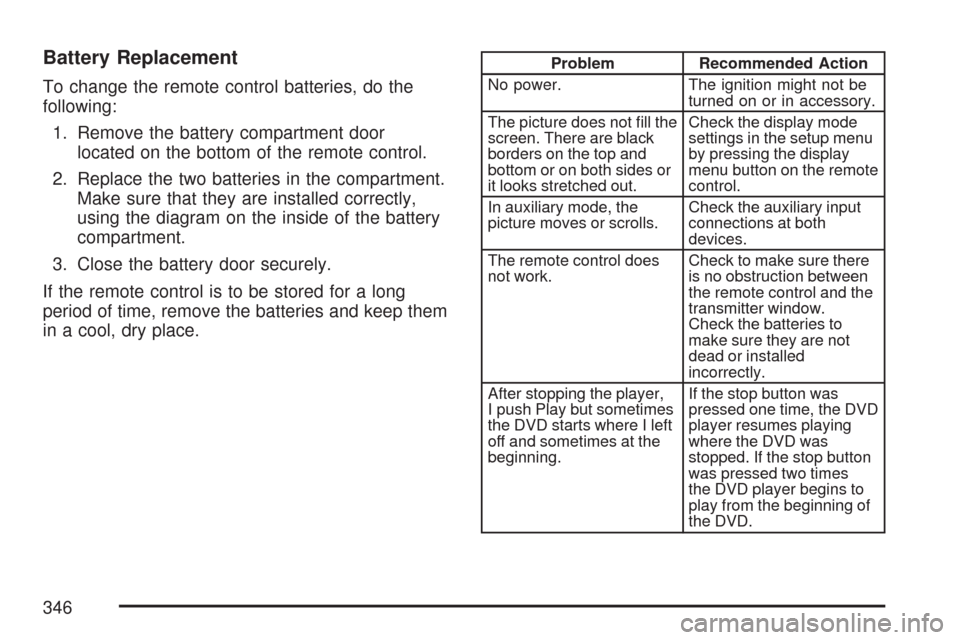
Battery Replacement
To change the remote control batteries, do the
following:
1. Remove the battery compartment door
located on the bottom of the remote control.
2. Replace the two batteries in the compartment.
Make sure that they are installed correctly,
using the diagram on the inside of the battery
compartment.
3. Close the battery door securely.
If the remote control is to be stored for a long
period of time, remove the batteries and keep them
in a cool, dry place.
Problem Recommended Action
No power. The ignition might not be
turned on or in accessory.
The picture does not �ll the
screen. There are black
borders on the top and
bottom or on both sides or
it looks stretched out.Check the display mode
settings in the setup menu
by pressing the display
menu button on the remote
control.
In auxiliary mode, the
picture moves or scrolls.Check the auxiliary input
connections at both
devices.
The remote control does
not work.Check to make sure there
is no obstruction between
the remote control and the
transmitter window.
Check the batteries to
make sure they are not
dead or installed
incorrectly.
After stopping the player,
I push Play but sometimes
the DVD starts where I left
off and sometimes at the
beginning.If the stop button was
pressed one time, the DVD
player resumes playing
where the DVD was
stopped. If the stop button
was pressed two times
the DVD player begins to
play from the beginning of
the DVD.
346
Page 494 of 634

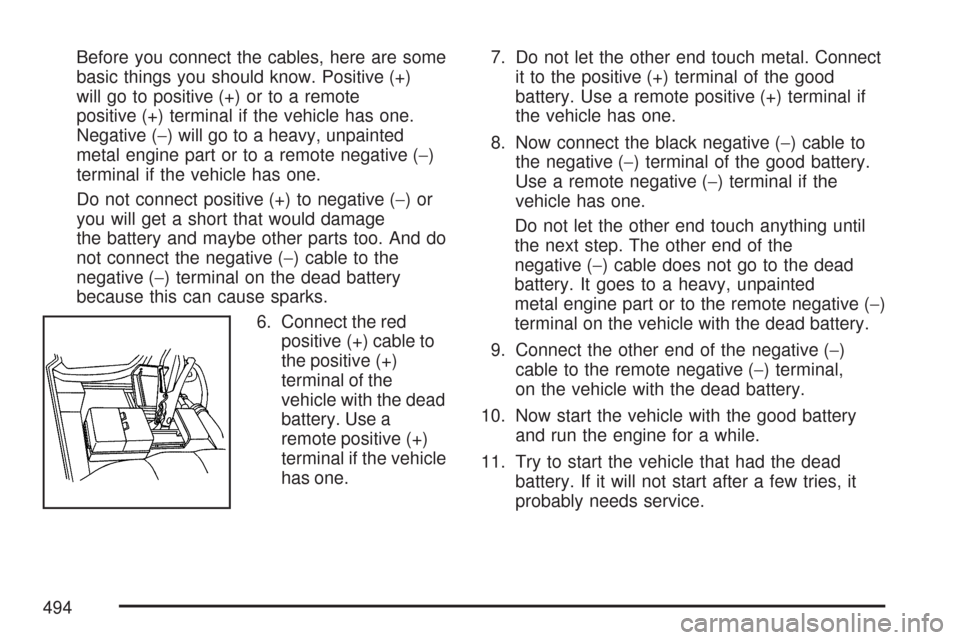
Before you connect the cables, here are some
basic things you should know. Positive (+)
will go to positive (+) or to a remote
positive (+) terminal if the vehicle has one.
Negative (−) will go to a heavy, unpainted
metal engine part or to a remote negative (−)
terminal if the vehicle has one.
Do not connect positive (+) to negative (−)or
you will get a short that would damage
the battery and maybe other parts too. And do
not connect the negative (−) cable to the
negative (−) terminal on the dead battery
because this can cause sparks.
6. Connect the red
positive (+) cable to
the positive (+)
terminal of the
vehicle with the dead
battery. Use a
remote positive (+)
terminal if the vehicle
has one.7. Do not let the other end touch metal. Connect
it to the positive (+) terminal of the good
battery. Use a remote positive (+) terminal if
the vehicle has one.
8. Now connect the black negative (−) cable to
the negative (−) terminal of the good battery.
Use a remote negative (−) terminal if the
vehicle has one.
Do not let the other end touch anything until
the next step. The other end of the
negative (−) cable does not go to the dead
battery. It goes to a heavy, unpainted
metal engine part or to the remote negative (−)
terminal on the vehicle with the dead battery.
9. Connect the other end of the negative (−)
cable to the remote negative (−) terminal,
on the vehicle with the dead battery.
10. Now start the vehicle with the good battery
and run the engine for a while.
11. Try to start the vehicle that had the dead
battery. If it will not start after a few tries, it
probably needs service.
494
Page 495 of 634

Notice:If the jumper cables are connected or
removed in the wrong order, electrical shorting
may occur and damage the vehicle. The repairs
would not be covered by your warranty. Always
connect and remove the jumper cables in the
correct order, making sure that the cables do
not touch each other or other metal.
A. Heavy, Unpainted Metal Engine Part or Remote
Negative (−) Terminal
B. Good Battery or Remote Positive (+) and
Remote Negative (−) Terminals
C. Dead Battery or Remote Positive (+) TerminalTo disconnect the jumper cables from both
vehicles do the following:
1. Disconnect the black negative (−) cable from
the vehicle that had the bad battery.
2. Disconnect the black negative (−) cable from
the vehicle with the good battery.
3. Disconnect the red positive (+) cable from the
vehicle with the good battery.
4. Disconnect the red positive (+) cable from the
other vehicle.
5. Return the remote positive (+) terminal cover,
if equipped, to its original position.
Jumper Cable Removal
495