2007 CHEVROLET SILVERADO instrument panel
[x] Cancel search: instrument panelPage 229 of 684
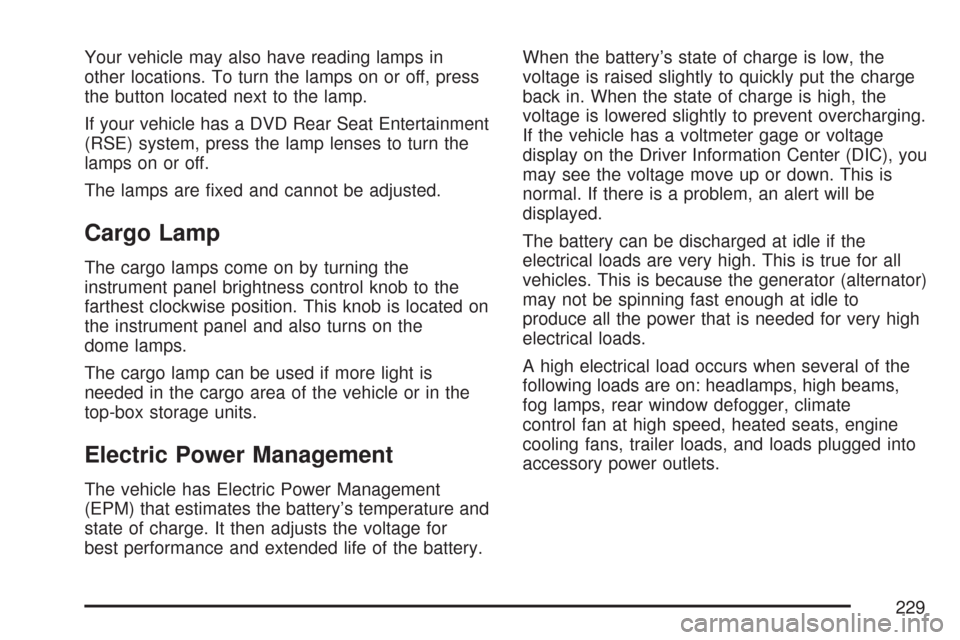
Your vehicle may also have reading lamps in
other locations. To turn the lamps on or off, press
the button located next to the lamp.
If your vehicle has a DVD Rear Seat Entertainment
(RSE) system, press the lamp lenses to turn the
lamps on or off.
The lamps are �xed and cannot be adjusted.
Cargo Lamp
The cargo lamps come on by turning the
instrument panel brightness control knob to the
farthest clockwise position. This knob is located on
the instrument panel and also turns on the
dome lamps.
The cargo lamp can be used if more light is
needed in the cargo area of the vehicle or in the
top-box storage units.
Electric Power Management
The vehicle has Electric Power Management
(EPM) that estimates the battery’s temperature and
state of charge. It then adjusts the voltage for
best performance and extended life of the battery.When the battery’s state of charge is low, the
voltage is raised slightly to quickly put the charge
back in. When the state of charge is high, the
voltage is lowered slightly to prevent overcharging.
If the vehicle has a voltmeter gage or voltage
display on the Driver Information Center (DIC), you
may see the voltage move up or down. This is
normal. If there is a problem, an alert will be
displayed.
The battery can be discharged at idle if the
electrical loads are very high. This is true for all
vehicles. This is because the generator (alternator)
may not be spinning fast enough at idle to
produce all the power that is needed for very high
electrical loads.
A high electrical load occurs when several of the
following loads are on: headlamps, high beams,
fog lamps, rear window defogger, climate
control fan at high speed, heated seats, engine
cooling fans, trailer loads, and loads plugged into
accessory power outlets.
229
Page 235 of 684
Notice:Adding any electrical equipment to
your vehicle may damage it or keep other
components from working as they should. The
repairs would not be covered by your
warranty. Do not use equipment exceeding
maximum amperage rating of 20 amperes.
Check with your dealer/retailer before adding
electrical equipment.
When adding electrical equipment, be sure to
follow the proper installation instructions included
with the equipment.
Notice:Improper use of the power outlet can
cause damage not covered by your warranty.
Do not hang any type of accessory or
accessory bracket from the plug because the
power outlets are designed for accessory
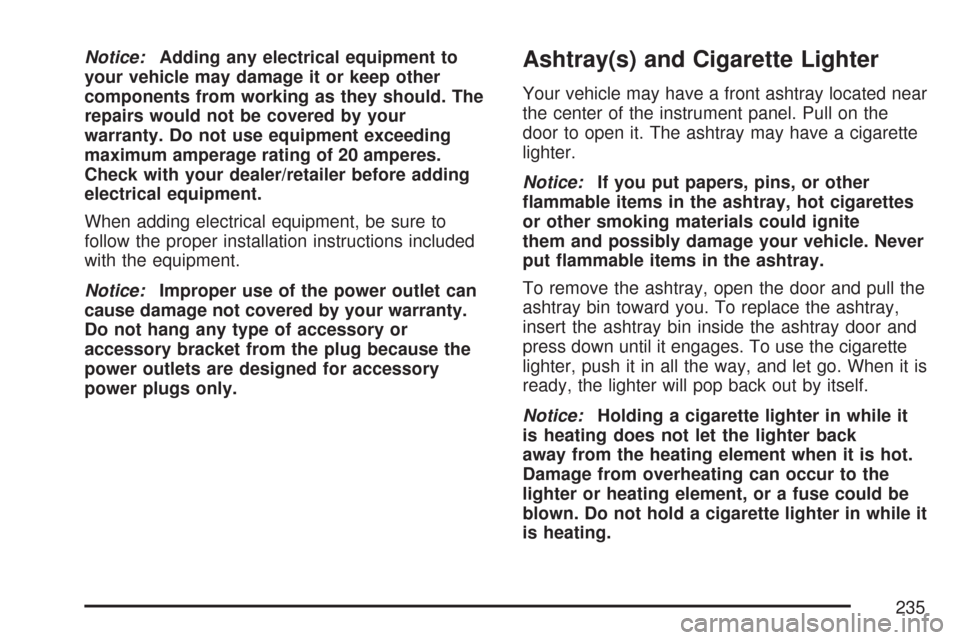
power plugs only.Ashtray(s) and Cigarette Lighter
Your vehicle may have a front ashtray located near
the center of the instrument panel. Pull on the
door to open it. The ashtray may have a cigarette
lighter.
Notice:If you put papers, pins, or other
�ammable items in the ashtray, hot cigarettes
or other smoking materials could ignite
them and possibly damage your vehicle. Never
put �ammable items in the ashtray.
To remove the ashtray, open the door and pull the
ashtray bin toward you. To replace the ashtray,
insert the ashtray bin inside the ashtray door and
press down until it engages. To use the cigarette
lighter, push it in all the way, and let go. When it is
ready, the lighter will pop back out by itself.
Notice:Holding a cigarette lighter in while it
is heating does not let the lighter back
away from the heating element when it is hot.
Damage from overheating can occur to the
lighter or heating element, or a fuse could be
blown. Do not hold a cigarette lighter in while it
is heating.
235
Page 236 of 684
Climate Controls
Climate Control System
(With Air Conditioning)
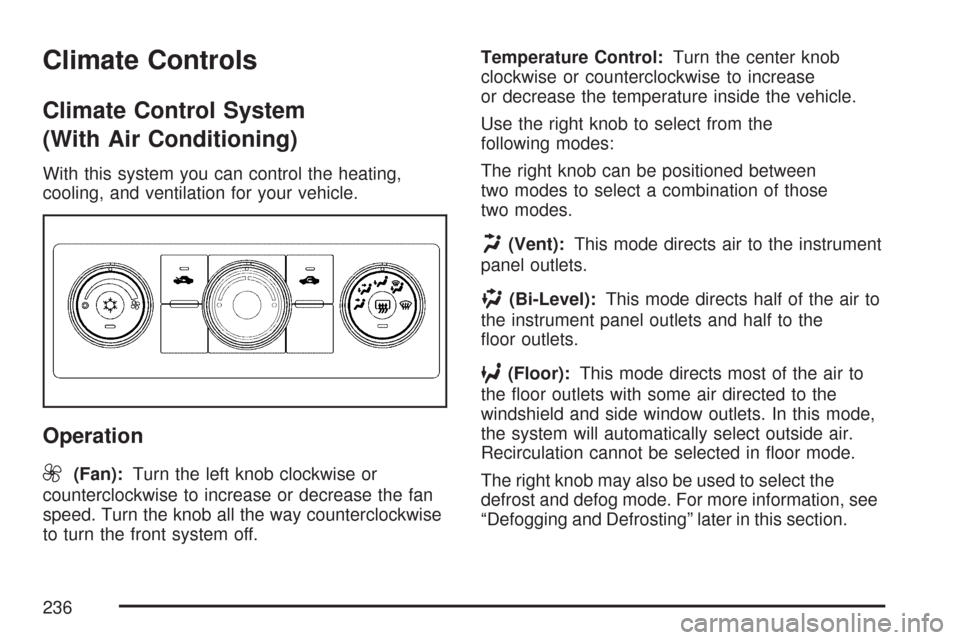
With this system you can control the heating,
cooling, and ventilation for your vehicle.
Operation
9
(Fan):Turn the left knob clockwise or
counterclockwise to increase or decrease the fan
speed. Turn the knob all the way counterclockwise
to turn the front system off.Temperature Control:Turn the center knob
clockwise or counterclockwise to increase
or decrease the temperature inside the vehicle.
Use the right knob to select from the
following modes:
The right knob can be positioned between
two modes to select a combination of those
two modes.
H(Vent):This mode directs air to the instrument
panel outlets.
)(Bi-Level):This mode directs half of the air to
the instrument panel outlets and half to the
�oor outlets.
6(Floor):This mode directs most of the air to
the �oor outlets with some air directed to the
windshield and side window outlets. In this mode,
the system will automatically select outside air.
Recirculation cannot be selected in �oor mode.
The right knob may also be used to select the
defrost and defog mode. For more information, see
“Defogging and Defrosting” later in this section.
236
Page 239 of 684
Climate Control System
(Heater Only)
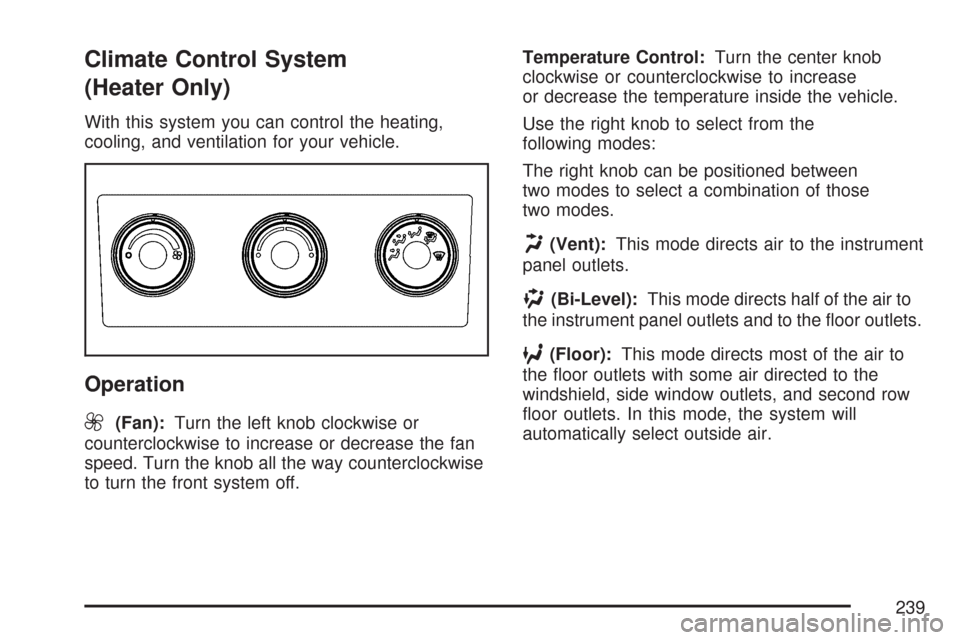
With this system you can control the heating,
cooling, and ventilation for your vehicle.
Operation
9
(Fan):Turn the left knob clockwise or
counterclockwise to increase or decrease the fan
speed. Turn the knob all the way counterclockwise
to turn the front system off.Temperature Control:Turn the center knob
clockwise or counterclockwise to increase
or decrease the temperature inside the vehicle.
Use the right knob to select from the
following modes:
The right knob can be positioned between
two modes to select a combination of those
two modes.
H(Vent):This mode directs air to the instrument
panel outlets.
)(Bi-Level):This mode directs half of the air to
the instrument panel outlets and to the �oor outlets.
6(Floor):This mode directs most of the air to
the �oor outlets with some air directed to the
windshield, side window outlets, and second row
�oor outlets. In this mode, the system will
automatically select outside air.
239
Page 242 of 684

2. Set the driver’s and passenger’s temperature.
To �nd your comfort setting, start with a 74°F
(23°C) temperature setting and allow about
20 minutes for the system to regulate. Use the
driver’s or passenger’s temperature buttons to
adjust the temperature setting as necessary.
If you choose the temperature setting of 60°F
(15°C), the system will remain at the maximum
cooling setting. If you choose the temperature
setting of 90°F (32°C), the system will remain
at the maximum heat setting. Choosing either
maximum setting will not cause the vehicle to
heat or cool any faster.
Be careful not to cover the solar sensor located on
the top of the instrument panel near the
windshield. This sensor regulates air temperature
based on sun load and also turns on your
headlamps. For more information on the solar
sensor, see “Sensors” later in this section.
To avoid blowing cold air in cold weather, the
system will delay turning on the fan until warm air
is available. The length of delay depends on
the engine coolant temperature. Pressing the fan
switch will override this delay and change the
fan to a selected speed.O(On/Off):Press this button to turn off the
climate control system. Outside air will still enter the
vehicle, and will be directed to the �oor. This
direction can be changed by pressing the mode
button. Recirculation can be selected once you
have selected vent or bi-level mode. The
temperature can also be adjusted using either
temperature button. If you adjust the air delivery
mode or temperature settings with the system off,
the display will illuminate brie�y to show you the
settings and then return to off. Press the on/off
button or the up down arrows on the fan switch, the
defrost button, AUTO button, or the air conditioning
button to turn the system on when it is off.
Manual Operation
You may manually adjust the air delivery mode or
fan speed.
y9 z(Fan):The buttons with the fan symbols
allow you to manually adjust the fan speed.
Press the up arrow to increase fan speed and the
down arrow to decrease fan speed.
242
Page 243 of 684

Pressing one of these buttons when the system is
off will turn the system on. Pressing one of
these buttons when in automatic control will place
the fan under manual control. The fan setting
will remain displayed and the AUTO light will turn
off. The air delivery mode will remain under
automatic control.
yNz(Mode):Press the mode up and down
buttons to manually change the direction of
the air�ow in your vehicle. Repeatedly press the
button until the desired mode appears on the
display. Pressing one of these buttons when the
system is off will change air delivery mode without
turning the system on. Pressing one of these
buttons when in automatic control will place the
mode under manual control.
The air delivery mode setting will be displayed and
the AUTO light will turn off. The fan will remain
under automatic control.
H(Vent):Air is directed to the instrument
panel outlets.
)(Bi-Level):Air is directed partly to the
instrument panel outlets and to the �oor outlets. A
little air is directed towards the windshield and
side window outlets. Cooler air is directed to the
upper outlets and warmer air to the �oor outlets.
6(Floor):Air is directed to the �oor outlets, with
some to the windshield, side window outlets,
and second row �oor outlets. In this mode, the
system will automatically select outside air.
-(Defog):See “Defogging and Defrosting” later
in this section.
@(Recirculation):Press this button to turn the
recirculation mode on. When the button is
pressed, an indicator light will come on.
This mode keeps outside air from entering the
vehicle. It can be used to reduce outside air and
prevent odors from entering the vehicle.
Recirculation may also help cool the air inside the
vehicle more quickly once the temperature inside
the vehicle is less than the outside temperature.
243
Page 245 of 684
Sensors
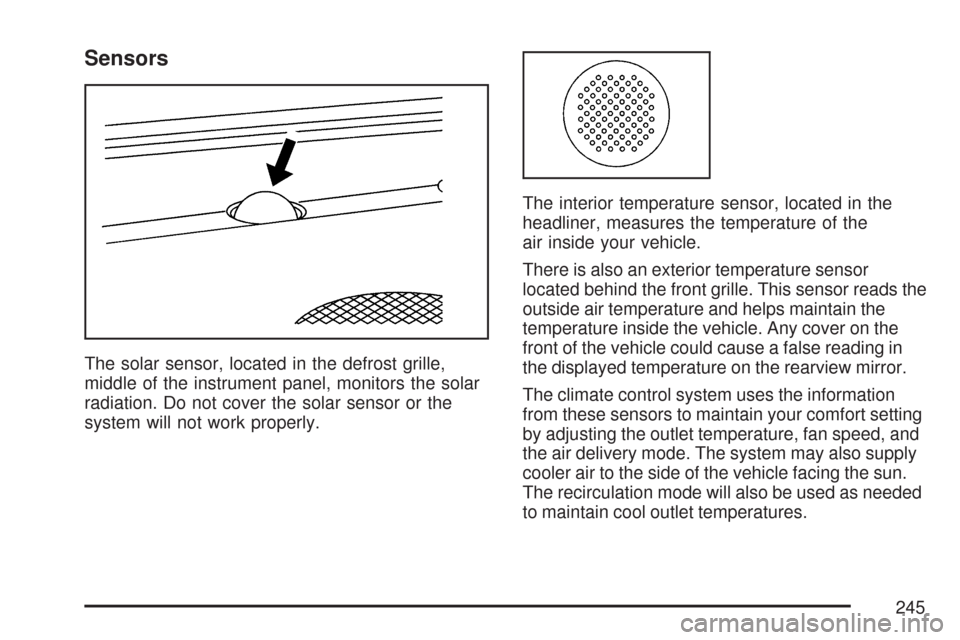
The solar sensor, located in the defrost grille,
middle of the instrument panel, monitors the solar
radiation. Do not cover the solar sensor or the
system will not work properly.The interior temperature sensor, located in the
headliner, measures the temperature of the
air inside your vehicle.
There is also an exterior temperature sensor
located behind the front grille. This sensor reads the
outside air temperature and helps maintain the
temperature inside the vehicle. Any cover on the
front of the vehicle could cause a false reading in
the displayed temperature on the rearview mirror.
The climate control system uses the information
from these sensors to maintain your comfort setting
by adjusting the outlet temperature, fan speed, and
the air delivery mode. The system may also supply
cooler air to the side of the vehicle facing the sun.
The recirculation mode will also be used as needed
to maintain cool outlet temperatures.
245
Page 247 of 684
Notice:Do not use a razor blade or sharp
object to clear the inside rear window. Do not
adhere anything to the defogger grid lines
in the rear glass. These actions may damage
the rear defogger. Repairs would not be
covered by your warranty.
W(Heated Mirrors):If your vehicle has heated
outside rearview mirrors, the mirrors will heat
to help clear fog or frost from the surface of the
mirror when the rear window defog button is
pressed. SeeOutside Power Mirrors on page 178.
Outlet Adjustment
Use the air outlets located in the center and on
the side of the instrument panel to direct the
air�ow.
Operation Tips
Keep the hood and front air inlets free of ice,
snow, or any other obstruction, such as
leaves. The heater and defroster will work
better, reducing the chance of fogging
the inside of your windows.
When you enter a vehicle in cold weather, set
the fan speed to maximum air�ow for a few
moments before driving. This helps clear
the intake ducts of snow and moisture, and
reduces the chance of fogging the inside
of your windows.
Keep the air path under the front seats clear
of objects. This helps air to circulate
throughout your vehicle.
Adding outside equipment to the front of the
vehicle, such as hood-air de�ectors, may
affect the performance of the heating and air
conditioning system. Check with your
dealer before adding equipment to the outside
of your vehicle.
247