2007 CHEVROLET SILVERADO transmission
[x] Cancel search: transmissionPage 163 of 684
3. Start the vehicle or turn the ignition to RUN.
4. Put the transmission in NEUTRAL (N).
5. Shift the transfer case to
Two-Wheel Drive High.
6. Turn the transfer case dial clockwise to
NEUTRAL till it stops and hold it for
10 seconds. Then slowly release the dial to
the four low position. The NEUTRAL light will
come on when the transfer case shift to
NEUTRAL is complete.
7. If the engine is running, make sure that the
transmission is in NEUTRAL (N) by shifting
the transmission to REVERSE (R) for
one second, then shift the transmission to
DRIVE (D) for one second.
8. Turn the ignition to ACCESSORY, which will
turn the engine off.
9. Place the transmission shift lever in PARK (P).
10. Release the parking brake prior to moving
the vehicle.
11. Turn the ignition to LOCK.Shifting Out of NEUTRAL
To shift out of NEUTRAL do the following:
1. Set the parking brake and apply the regular
brake pedal.
2. Shift the transmission to NEUTRAL (N) and
turn the ignition to RUN with the engine off.
3. Turn the transfer case dial to Two-Wheel-Drive
High, Four-Wheel-Drive High, AUTO.
After the transfer case has shifted out of
NEUTRAL the NEUTRAL light will go out.
4. Release the parking brake prior to moving the
vehicle.
Notice:Shifting the transmission into gear
before the requested mode indicator light has
stopped �ashing could damage the transfer
case. To help avoid damaging your vehicle,
always wait for the mode indicator lights
to stop �ashing before shifting the
transmission into gear.
5. Start the engine and shift the transmission to
the desired position.
163
Page 167 of 684
Torque Lock
If you are parking on a hill and you do not shift
your transmission into PARK (P) properly,
the weight of the vehicle may put too much force
on the parking pawl in the transmission. You
may �nd it difficult to pull the shift lever out
of PARK (P). This is called torque lock. To prevent
torque lock, set the parking brake and then shift
into PARK (P) properly before you leave the
driver’s seat. To �nd out how, seeShifting Into
Park (P) on page 165.
When you are ready to drive, move the shift lever
out of PARK (P) before you release the parking
brake.
If torque lock does occur, you may need to have
another vehicle push yours a little uphill to
take some of the pressure from the parking pawl
in the transmission, then you will be able to
pull the shift lever out of PARK (P).
Shifting Out of Park (P)
Your vehicle has an automatic transmission shift
lock control system which locks the shift lever
in PARK (P) when the ignition is in the LOCK. You
have to fully apply your regular brakes before
you can shift from PARK (P) when the ignition is
in RUN. SeeAutomatic Transmission Operation on
page 140.
If you cannot shift out of PARK (P), ease pressure
on the shift lever and push the shift lever all the
way up into PARK (P) as you maintain brake
application. Move the shift lever into another gear.
167
Page 188 of 684
Read the instructions completely before attempting
to program the Universal Home Remote.
Because of the steps involved, it may be helpful to
have another person available to assist you in
the programming steps
Keep the original hand-held transmitter for use in
other vehicles as well as for future Universal Home
Remote programming. It is also recommended that
upon the sale of the vehicle, the programmed
Universal Home Remote buttons should be erased
for security purposes. See “Erasing Universal
Home Remote Buttons” later in section.
When programming a garage door, it is advised to
park outside of the garage. Be sure that people
and objects are clear of the garage door or
gate operator you are programming.
It is recommended that a new battery be installed in
your hand-held transmitter for quicker and more
accurate transmission of the radio-frequency signal.Programming the Universal Home
Remote System
Follow these steps to program up to three
devices:
1. Press and hold down the two outside
Universal Home Remote buttons, releasing
only when the Universal Home Remote
indicator light begins to �ash, after
20 seconds. Do not hold down the buttons for
longer than 30 seconds and do not repeat
this step to program a second and/or
third hand-held transmitter to the remaining
two Universal Home Remote buttons.
2. Hold the end of your hand-held transmitter
about 1 to 3 inches (3 to 8 cm) away from
the Universal Home Remote buttons
while keeping the indicator light in view.
3. At the same time, press and hold both the
desired Universal Home Remote button and
the hand-held transmitter button. Do not
release the buttons until Step 4 has been
completed.
Some entry gates and garage door openers
may require you to substitute Step 3 with
the procedure noted in “Gate Operator and
Canadian Programming” later in this section.
188
Page 190 of 684
Gate Operator and Canadian
Programming
Canadian radio-frequency laws require transmitter
signals to time out or quit after several seconds
of transmission. This may not be long enough
for Universal Home Remote to pick up the signal
during programming. Similarly, some U.S. gate
operators are manufactured to time out in
the same manner.
If you live in Canada, or you are having difficulty
programming a gate operator or garage door
opener by using the “Programming Universal
Home Remote” procedures, regardless of where
you live, replace Step 3 under “Programming
Universal Home Remote” with the following:
Continue to press and hold the Universal Home
Remote button while you press and release every
two seconds (cycle) the hand-held transmitter
button until the frequency signal has been
successfully accepted by the Universal Home
Remote. The Universal Home Remote indicator
light will �ash slowly at �rst and then rapidly.
Proceed with Step 4 under “Programming
Universal Home Remote” to complete.
Using Universal Home Remote
Press and hold the appropriate Universal Home
Remote button for at least half of a second.
The indicator light will come on while the signal is
being transmitted.
Erasing Universal Home Remote
Buttons
To erase programming from the three Universal
Home Remote buttons do the following:
1. Press and hold down the two outside buttons
until the indicator light begins to �ash, after
20 seconds. Do not hold the two outside
buttons for longer than 30 seconds.
2. Release both buttons.
The Universal Home Remote is now in the training
(learning) mode and can be programmed at any
time beginning with Step 2 under “Programming
Universal Home Remote” shown earlier in
this section.
Individual buttons cannot be erased, but they can
be reprogrammed. See “Reprogramming a Single
Universal Home Remote Button” following this
section.
190
Page 209 of 684
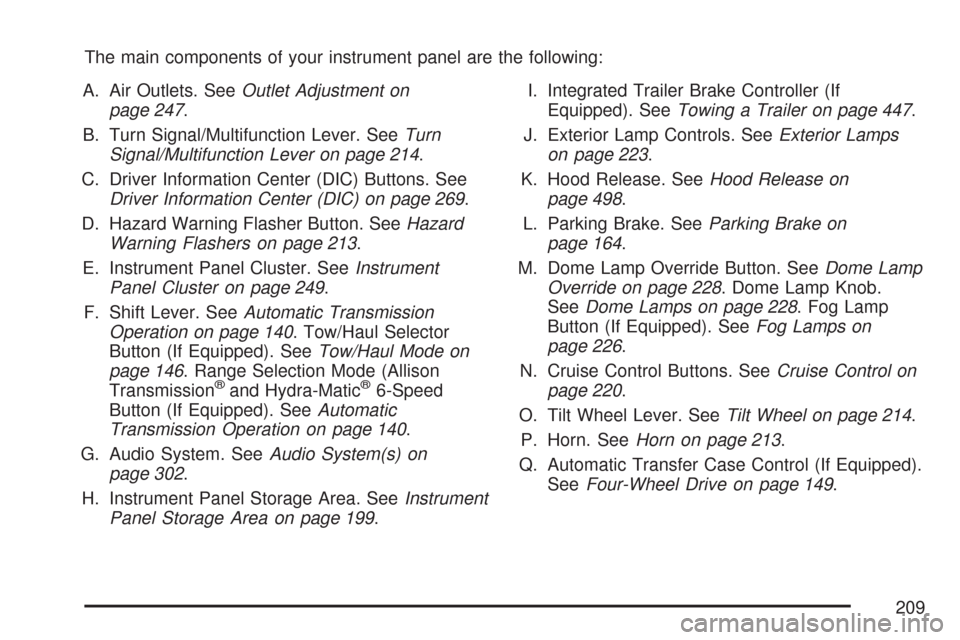
The main components of your instrument panel are the following:
A. Air Outlets. SeeOutlet Adjustment on
page 247.
B. Turn Signal/Multifunction Lever. SeeTurn
Signal/Multifunction Lever on page 214.
C. Driver Information Center (DIC) Buttons. See
Driver Information Center (DIC) on page 269.
D. Hazard Warning Flasher Button. SeeHazard
Warning Flashers on page 213.
E. Instrument Panel Cluster. SeeInstrument
Panel Cluster on page 249.
F. Shift Lever. SeeAutomatic Transmission
Operation on page 140. Tow/Haul Selector
Button (If Equipped). SeeTow/Haul Mode on
page 146. Range Selection Mode (Allison
Transmission
®and Hydra-Matic®6-Speed
Button (If Equipped). SeeAutomatic
Transmission Operation on page 140.
G. Audio System. SeeAudio System(s) on
page 302.
H. Instrument Panel Storage Area. SeeInstrument
Panel Storage Area on page 199.I. Integrated Trailer Brake Controller (If
Equipped). SeeTowing a Trailer on page 447.
J. Exterior Lamp Controls. SeeExterior Lamps
on page 223.
K. Hood Release. SeeHood Release on
page 498.
L. Parking Brake. SeeParking Brake on
page 164.
M. Dome Lamp Override Button. SeeDome Lamp
Override on page 228. Dome Lamp Knob.
SeeDome Lamps on page 228. Fog Lamp
Button (If Equipped). SeeFog Lamps on
page 226.
N. Cruise Control Buttons. SeeCruise Control on
page 220.
O. Tilt Wheel Lever. SeeTilt Wheel on page 214.
P. Horn. SeeHorn on page 213.
Q. Automatic Transfer Case Control (If Equipped).
SeeFour-Wheel Drive on page 149.
209
Page 212 of 684

E. Shift Lever. SeeAutomatic Transmission
Operation on page 140.
F. Tow/Haul Selector Button (If Equipped). See
Tow/Haul Mode on page 146.
G. Driver Information Center (DIC) Controls. See
Driver Information Center (DIC) on page 269.
H. Audio System. SeeAudio System(s) on
page 302.
I. Exterior Lamps Control. SeeExterior Lamps on
page 223.
J. Integrated Trailer Brake Controller (If
Equipped). SeeTowing a Trailer on page 447.
K. Dome Lamp Override Button. SeeDome
Lamp Override on page 228. Dome Lamp
Knob. SeeDome Lamps on page 228.
L. Automatic Transfer Case Control. (If Equipped).
SeeFour-Wheel Drive on page 149.
M. Hood Release. SeeHood Release on
page 498.
N. Parking Brake. SeeParking Brake on
page 164.
O. Cruise Control Buttons. SeeCruise Control on
page 220.
P. Tilt Wheel Lever. SeeTilt Wheel on page 214.Q. Horn. SeeHorn on page 213.
R. Audio Steering Wheel Controls. SeeAudio
Steering Wheel Controls on page 370.
S. Climate Controls. SeeClimate Control System
(With Air Conditioning ) on page 236or
Climate Control System (Heater Only) on
page 239or Dual Automatic Climate Controls
(If Equipped). SeeDual Automatic Climate
Control System on page 240.
T. Accessory Power Outlets. SeeAccessory
Power Outlet(s) on page 234. Cigarette Lighter
(If Equipped). SeeAshtray(s) and Cigarette
Lighter on page 235.
U. StabiliTrak
®Button (If Equipped). See
StabiliTrak®System on page 384. Pedal Adjust
Button (If Equipped). SeeAdjustable Throttle
and Brake Pedal on page 138. Rear Park Assist
Disable Button (If Equipped). SeeUltrasonic
Rear Parking Assist (URPA) on page 230.
Heated Windshield Washer Fluid Button
(If Equipped). SeeWindshield Washer on
page 219.
V. Passenger Airbag Off Control (If Equipped).
SeeAirbag Off Switch on page 95.
W. Glove Box. SeeGlove Box on page 198.
212
Page 220 of 684
Cruise Control
{CAUTION:
Cruise control can be dangerous where
you cannot drive safely at a steady speed.
So, do not use your cruise control on
winding roads or in heavy traffic.
Cruise control can be dangerous on
slippery roads. On such roads, fast
changes in tire traction can cause
excessive wheel slip, and you could lose
control. Do not use cruise control on
slippery roads.
With cruise control, you can maintain a speed of
about 25 mph (40 km/h) or more without
keeping your foot on the accelerator. This can
really help on long trips. Cruise control does not
work at speeds below about 25 mph (40 km/h).
When you apply your brakes, cruise control
is turned off.If your vehicle has an Allison
®automatic
transmission, see “Grade Braking and Cruise
Grade Braking (Allison Transmission
®) under
Tow/Haul Mode on page 146for an explanation of
how cruise control interacts with the Range
Selection Mode, tow/haul and grade braking
systems.
If your vehicle has the StabiliTrak
®™ system and
begins to limit wheel spin while you are using
cruise control, the cruise control will automatically
disengage. SeeStabiliTrak
®System on
page 384. When road conditions allow you to
safely use it again, you may turn the cruise control
back on.
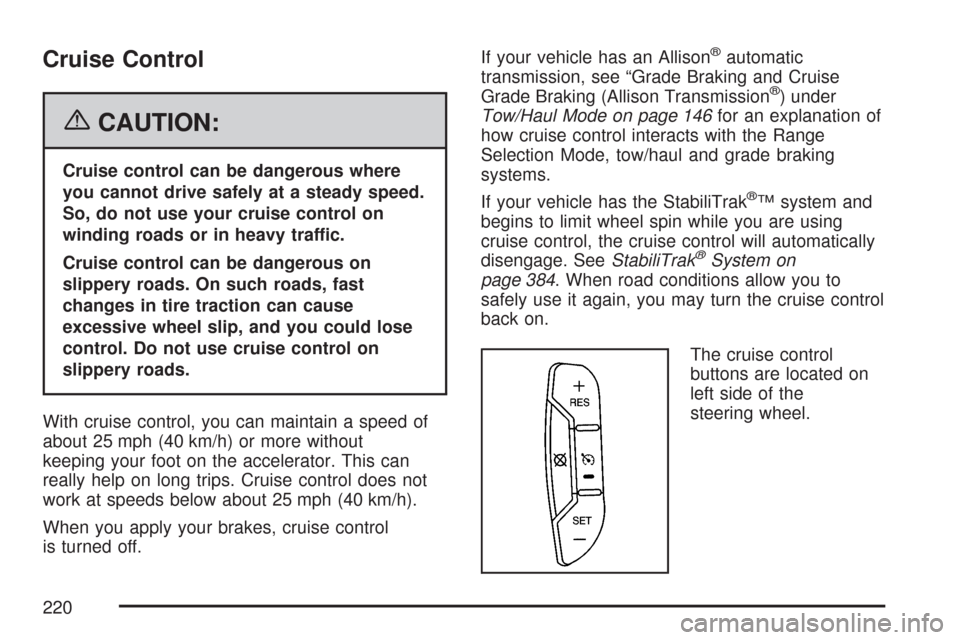
The cruise control
buttons are located on
left side of the
steering wheel.
220
Page 250 of 684
Speedometer and Odometer
Your speedometer lets you see your speed in both
miles per hour (mph) and kilometers per hour
(km/h). Your odometer shows how far your vehicle
has been driven, in either miles (used in the
United States) or kilometers (used in Canada).
Engine Hour Meter Display
The Driver Information Center (DIC) can also
display the number of hours the engine has run.
To display the engine hours, turn the ignition
off, press and hold the reset button for at least
four seconds. The hour meter will be displayed for
up to 30 seconds, or until the ignition is turned
on. SeeDIC Operation and Displays (With
DIC Buttons) on page 270orDIC Operation and
Displays (Without DIC Buttons) on page 277
for more information.
Trip Odometer
The trip odometer can tell you how far your
vehicle has been driven since you last set the trip
odometer to zero.
Press the reset button, located on the instrument
panel cluster next to the voltmeter, to toggle
between the trip odometer and the regular
odometer. Holding the reset button for
approximately one second while the trip odometer
is displayed will reset it.
To display the odometer reading with the ignition
off, press the reset button.
SeeDIC Operation and Displays (With DIC
Buttons) on page 270orDIC Operation and
Displays (Without DIC Buttons) on page 277for
more information.
Tachometer
Your tachometer displays the engine speed in
revolutions per minute (rpm). See “Grade Braking
(Allison Transmission
®)” underTow/Haul Mode
on page 146for more information.
250