2007 CHEVROLET MALIBU MAXX warning
[x] Cancel search: warningPage 132 of 510
Parking Brake
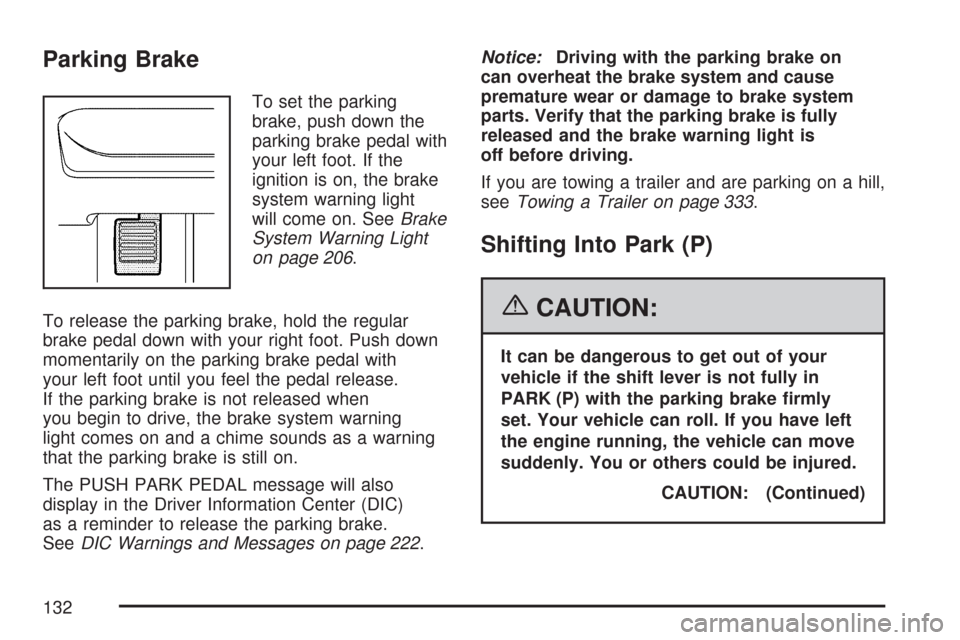
To set the parking
brake, push down the
parking brake pedal with
your left foot. If the
ignition is on, the brake
system warning light
will come on. SeeBrake
System Warning Light
on page 206.
To release the parking brake, hold the regular
brake pedal down with your right foot. Push down
momentarily on the parking brake pedal with
your left foot until you feel the pedal release.
If the parking brake is not released when
you begin to drive, the brake system warning
light comes on and a chime sounds as a warning
that the parking brake is still on.
The PUSH PARK PEDAL message will also
display in the Driver Information Center (DIC)
as a reminder to release the parking brake.
SeeDIC Warnings and Messages on page 222.Notice:Driving with the parking brake on
can overheat the brake system and cause
premature wear or damage to brake system
parts. Verify that the parking brake is fully
released and the brake warning light is
off before driving.
If you are towing a trailer and are parking on a hill,
seeTowing a Trailer on page 333.
Shifting Into Park (P)
{CAUTION:
It can be dangerous to get out of your
vehicle if the shift lever is not fully in
PARK (P) with the parking brake �rmly
set. Your vehicle can roll. If you have left
the engine running, the vehicle can move
suddenly. You or others could be injured.
CAUTION: (Continued)
132
Page 165 of 510
Instrument Panel Overview........................ 168
Hazard Warning Flashers.......................... 170
Other Warning Devices............................. 170
Horn.......................................................... 170
Tilt and Telescopic Steering Wheel............ 170
Turn Signal/Multifunction Lever.................. 171
Turn and Lane-Change Signals................. 172
Headlamp High/Low-Beam Changer.......... 172
Flash-to-Pass............................................ 173
Windshield Wipers..................................... 173
Windshield Washer.................................... 174
Rear Window Wiper/Washer
(MAXX Model)....................................... 175
Cruise Control........................................... 176
Exterior Lamps.......................................... 179
Headlamps on Reminder........................... 181
Headlamps Off in PARK (P)...................... 181
Delayed Headlamps.................................. 182
Daytime Running Lamps (DRL)................. 182
Automatic Headlamp System..................... 183
Fog Lamps................................................ 184
Instrument Panel Brightness...................... 184
Dome Lamp.............................................. 184
Entry/Exit Lighting...................................... 185Parade Dimming........................................ 185
Front Reading Lamps................................ 185
Rear Reading Lamps................................ 185
Trunk Lamp............................................... 185
Cargo Lamp.............................................. 186
Battery Run-Down Protection..................... 186
Accessory Power Outlet(s)........................ 186
Cigarette Lighter........................................ 187
Climate Controls......................................... 188
Climate Control System............................. 188
Automatic Climate Control System............. 192
Outlet Adjustment...................................... 197
Warning Lights, Gages, and Indicators..... 198
Instrument Panel Cluster........................... 198
Speedometer and Odometer...................... 200
Trip Odometer........................................... 200
Tachometer............................................... 201
Safety Belt Reminder Light........................ 201
Passenger Safety Belt Reminder Light....... 202
Airbag Readiness Light............................. 202
Passenger Airbag Status Indicator............. 203
Charging System Light.............................. 206
Brake System Warning Light..................... 206
Anti-Lock Brake System Warning Light...... 208
Section 3 Instrument Panel
165
Page 166 of 510
Traction Control System (TCS)
Warning Light........................................ 209
Traction Control System Active Light......... 209
Enhanced Traction System Warning Light.... 210
Enhanced Traction System Active Light....... 210
Engine Coolant Temperature
Warning Light........................................ 211
Engine Coolant Temperature Gage............ 211
Malfunction Indicator Lamp........................ 212
Oil Pressure Light..................................... 215
Security Light............................................ 216
Cruise Control Light.................................. 216
Highbeam On Light................................... 216
Fuel Gage................................................. 217
Driver Information Center (DIC).................. 218
DIC Operation and Displays...................... 218
DIC Warnings and Messages.................... 222
DIC Vehicle Personalization....................... 225
Audio System(s)......................................... 228
Setting the Time for Radios without
Radio Data Systems (RDS).................... 229
Setting the Time for Radios with
Radio Data Systems (RDS).................... 230Radio with CD (Base Level)...................... 230
Radio with CD (Uplevel)............................ 236
Radio with Six-Disc CD............................. 246
XM Radio Messages................................. 259
Rear Seat Entertainment System............... 261
Rear Seat Audio (RSA)
(Without Entertainment System)............. 278
Rear Seat Audio (RSA)
(With Entertainment System).................. 280
Theft-Deterrent Feature............................. 281
Audio Steering Wheel Controls
(Three Spoke)........................................ 282
Audio Steering Wheel Controls
(Four Spoke).......................................... 283
Radio Reception........................................ 284
Care of Your CDs and DVDs.................... 285
Care of the CD and DVD Player............... 285
Fixed Mast Antenna (MAXX Only)............. 285
Backglass Antenna (Sedan Only).............. 286
XM™ Satellite Radio Antenna System....... 286
Section 3 Instrument Panel
166
Page 169 of 510
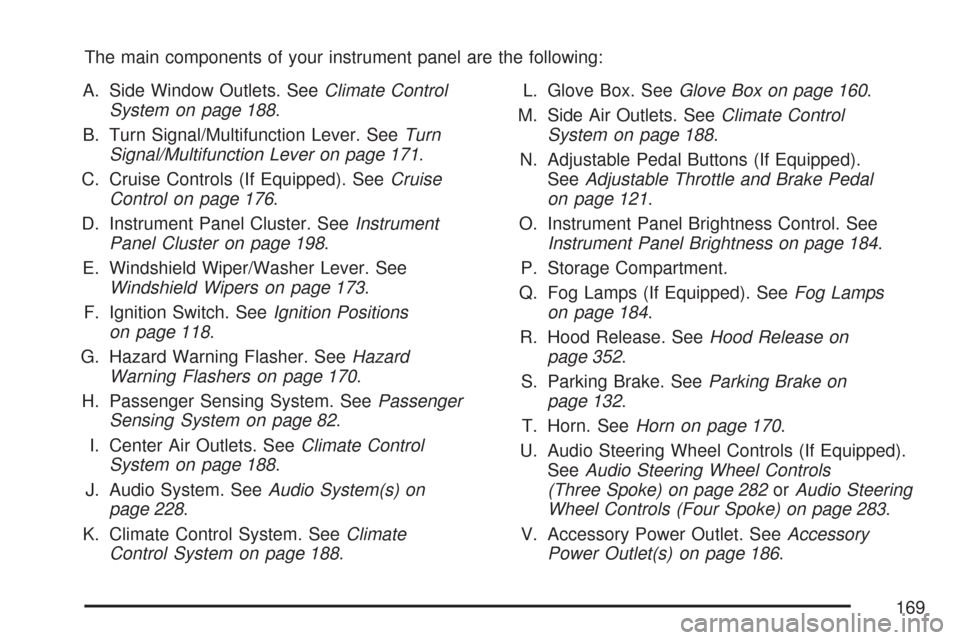
The main components of your instrument panel are the following:
A. Side Window Outlets. SeeClimate Control
System on page 188.
B. Turn Signal/Multifunction Lever. SeeTurn
Signal/Multifunction Lever on page 171.
C. Cruise Controls (If Equipped). SeeCruise
Control on page 176.
D. Instrument Panel Cluster. SeeInstrument
Panel Cluster on page 198.
E. Windshield Wiper/Washer Lever. See
Windshield Wipers on page 173.
F. Ignition Switch. SeeIgnition Positions
on page 118.
G. Hazard Warning Flasher. SeeHazard
Warning Flashers on page 170.
H. Passenger Sensing System. SeePassenger
Sensing System on page 82.
I. Center Air Outlets. SeeClimate Control
System on page 188.
J. Audio System. SeeAudio System(s) on
page 228.
K. Climate Control System. SeeClimate
Control System on page 188.L. Glove Box. SeeGlove Box on page 160.
M. Side Air Outlets. SeeClimate Control
System on page 188.
N. Adjustable Pedal Buttons (If Equipped).
SeeAdjustable Throttle and Brake Pedal
on page 121.
O. Instrument Panel Brightness Control. See
Instrument Panel Brightness on page 184.
P. Storage Compartment.
Q. Fog Lamps (If Equipped). SeeFog Lamps
on page 184.
R. Hood Release. SeeHood Release on
page 352.
S. Parking Brake. SeeParking Brake on
page 132.
T. Horn. SeeHorn on page 170.
U. Audio Steering Wheel Controls (If Equipped).
SeeAudio Steering Wheel Controls
(Three Spoke) on page 282orAudio Steering
Wheel Controls (Four Spoke) on page 283.
V. Accessory Power Outlet. SeeAccessory
Power Outlet(s) on page 186.
169
Page 170 of 510
W. Shift Lever. SeeShifting Into Park (P)
on page 132.
X. Center Console Storage Compartment. See
Center Console Storage Area on page 160.
Y. Traction Control Button or Enhanced Traction
System Button (If Equipped). SeeTraction
Control System (TCS) on page 295 Enhanced
Traction System (ETS) on page 297.
Z. Rear Wiper/Washer Controls (If Equipped).
SeeWindshield Washer on page 174.
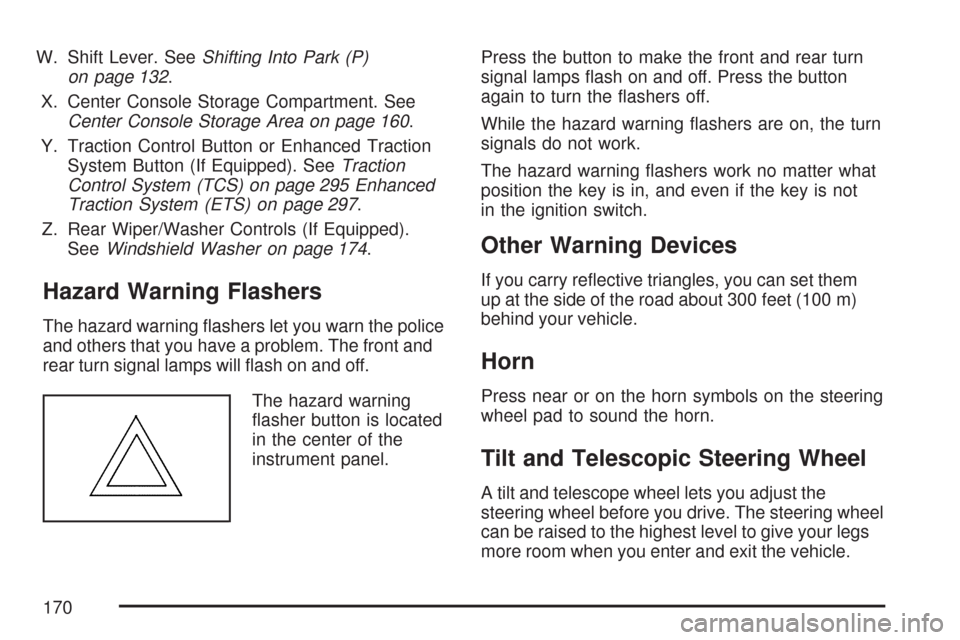
Hazard Warning Flashers
The hazard warning �ashers let you warn the police
and others that you have a problem. The front and
rear turn signal lamps will �ash on and off.
The hazard warning
�asher button is located
in the center of the
instrument panel.Press the button to make the front and rear turn
signal lamps �ash on and off. Press the button
again to turn the �ashers off.
While the hazard warning �ashers are on, the turn
signals do not work.
The hazard warning �ashers work no matter what
position the key is in, and even if the key is not
in the ignition switch.
Other Warning Devices
If you carry re�ective triangles, you can set them
up at the side of the road about 300 feet (100 m)
behind your vehicle.
Horn
Press near or on the horn symbols on the steering
wheel pad to sound the horn.
Tilt and Telescopic Steering Wheel
A tilt and telescope wheel lets you adjust the
steering wheel before you drive. The steering wheel
can be raised to the highest level to give your legs
more room when you enter and exit the vehicle.
170
Page 172 of 510
Turn and Lane-Change Signals
The turn signal has two upward (for right) and
two downward (for left) positions. These positions
allow you to signal a turn or a lane change.
To signal a turn, move the lever all the way up
or down to the latched position. When the turn is
�nished, the lever will return automatically.
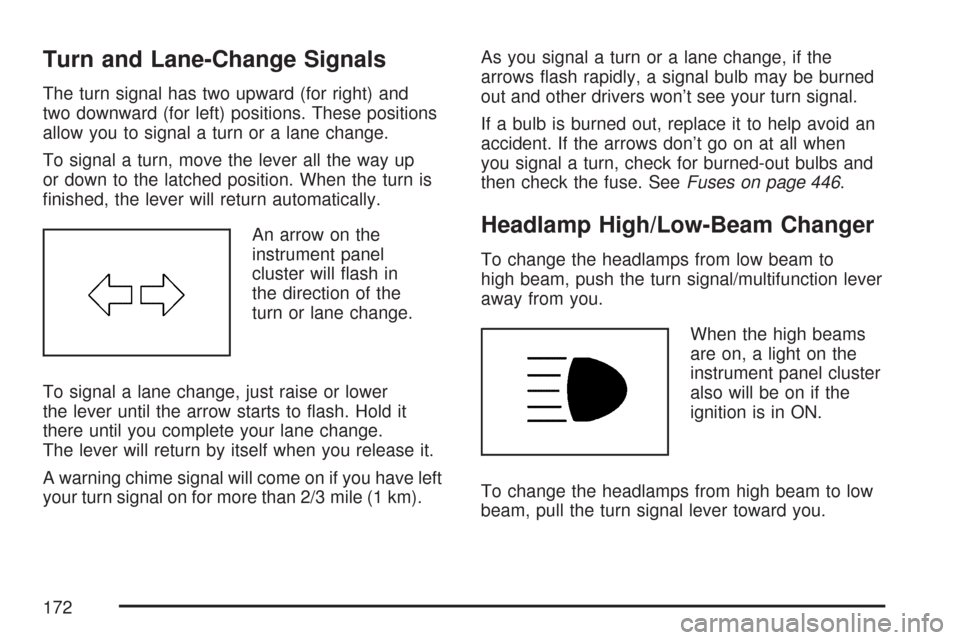
An arrow on the
instrument panel
cluster will �ash in
the direction of the
turn or lane change.
To signal a lane change, just raise or lower
the lever until the arrow starts to �ash. Hold it
there until you complete your lane change.
The lever will return by itself when you release it.
A warning chime signal will come on if you have left
your turn signal on for more than 2/3 mile (1 km).As you signal a turn or a lane change, if the
arrows �ash rapidly, a signal bulb may be burned
out and other drivers won’t see your turn signal.
If a bulb is burned out, replace it to help avoid an
accident. If the arrows don’t go on at all when
you signal a turn, check for burned-out bulbs and
then check the fuse. SeeFuses on page 446.
Headlamp High/Low-Beam Changer
To change the headlamps from low beam to
high beam, push the turn signal/multifunction lever
away from you.
When the high beams
are on, a light on the
instrument panel cluster
also will be on if the
ignition is in ON.
To change the headlamps from high beam to low
beam, pull the turn signal lever toward you.
172
Page 181 of 510
Canadian Exterior Lamp Positions for Daytime
LampsPAUTO;2
Headlamp DRL Mode DRL Mode DRL Mode ON
Parking Lamp OFF OFF ON ON
Taillamp OFF OFF ON ON
Canadian Exterior Lamp Positions for Nighttime
LampsPAUTO;2
Headlamp ON ON ON ON
Parking Lamp ON ON ON ON
Taillamp ON ON ON ON
Headlamps on Reminder
If you open the driver’s door and turn off the
ignition while leaving the lamps on, you will
hear a warning chime.
Headlamps Off in PARK (P)
This feature works when the ignition is ON and
it is dark outside. To turn the headlamps off when
it is dark outside but keep other exterior lights on,turn the exterior lamp control to the parking lamp
position. In this position, the parking lamps,
sidemarker lamps, taillamps, license plate lamps
and instrument panel lights are on, but the
headlamps are off.
To turn on the headlamps along with the other
lamps when it is dark outside, turn the exterior
lamp control to the AUTO or headlamp position.
This feature will not work for Canadian vehicles.
181
Page 198 of 510
Warning Lights, Gages,
and Indicators
This part describes the warning lights and
gages on your vehicle. The pictures help to
locate them.
Warning lights and gages can signal that
something is wrong before it becomes serious
enough to cause an expensive repair or
replacement. Paying attention to the warning
lights and gages could also save you or others
from injury.
Warning lights come on when there may be or
is a problem with one of your vehicle’s functions.
As the details show on the next few pages,
some warning lights come on brie�y when you
start the engine just to let you know they are
working. If you are familiar with this section,
you should not be alarmed when this happens.Gages can indicate when there may be or is a
problem with one of your vehicle’s functions.
Often gages and warning lights work together
to let you know when there is a problem with
your vehicle.
When one of the warning lights comes on and
stays on as you are driving, or when one of
the gages shows there may be a problem, check
the section that tells you what to do about it.
Please follow this manual’s advice. Waiting to
do repairs can be costly and even dangerous.
So please get to know your vehicle’s warning lights
and gages. They can be a big help.
Instrument Panel Cluster
Your instrument panel cluster is designed to let
you know at a glance how your vehicle is running.
You’ll know how fast you’re going, how much
fuel you’re using, and many other things you will
need to drive safely and economically.
198