2007 CHEVROLET MALIBU MAXX headlamp
[x] Cancel search: headlampPage 98 of 510
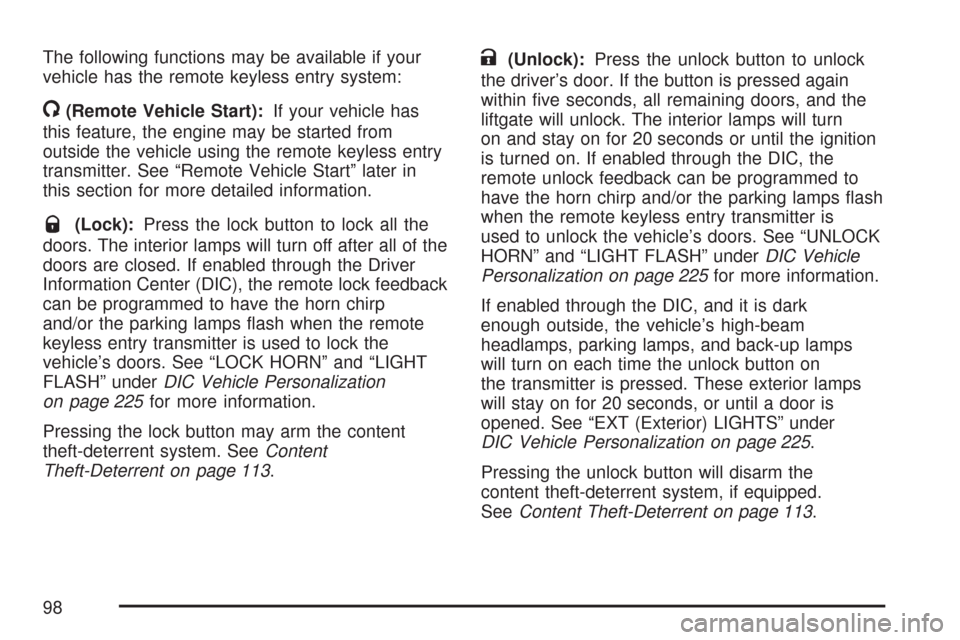
The following functions may be available if your
vehicle has the remote keyless entry system:
/(Remote Vehicle Start):If your vehicle has
this feature, the engine may be started from
outside the vehicle using the remote keyless entry
transmitter. See “Remote Vehicle Start” later in
this section for more detailed information.
Q(Lock):Press the lock button to lock all the
doors. The interior lamps will turn off after all of the
doors are closed. If enabled through the Driver
Information Center (DIC), the remote lock feedback
can be programmed to have the horn chirp
and/or the parking lamps �ash when the remote
keyless entry transmitter is used to lock the
vehicle’s doors. See “LOCK HORN” and “LIGHT
FLASH” underDIC Vehicle Personalization
on page 225for more information.
Pressing the lock button may arm the content
theft-deterrent system. SeeContent
Theft-Deterrent on page 113.
K(Unlock):Press the unlock button to unlock
the driver’s door. If the button is pressed again
within �ve seconds, all remaining doors, and the
liftgate will unlock. The interior lamps will turn
on and stay on for 20 seconds or until the ignition
is turned on. If enabled through the DIC, the
remote unlock feedback can be programmed to
have the horn chirp and/or the parking lamps �ash
when the remote keyless entry transmitter is
used to unlock the vehicle’s doors. See “UNLOCK
HORN” and “LIGHT FLASH” underDIC Vehicle
Personalization on page 225for more information.
If enabled through the DIC, and it is dark
enough outside, the vehicle’s high-beam
headlamps, parking lamps, and back-up lamps
will turn on each time the unlock button on
the transmitter is pressed. These exterior lamps
will stay on for 20 seconds, or until a door is
opened. See “EXT (Exterior) LIGHTS” under
DIC Vehicle Personalization on page 225.
Pressing the unlock button will disarm the
content theft-deterrent system, if equipped.
SeeContent Theft-Deterrent on page 113.
98
Page 99 of 510
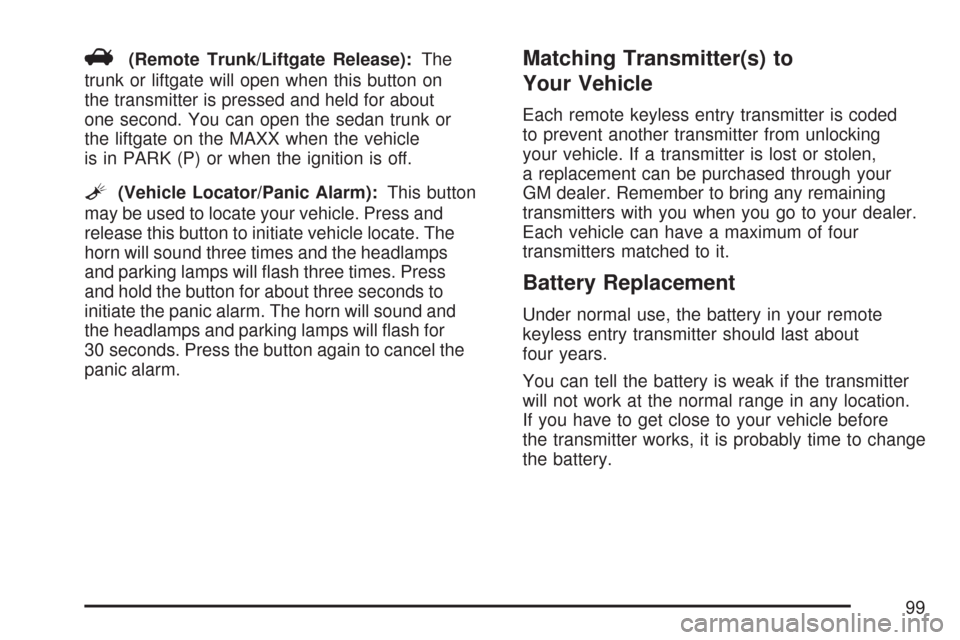
V(Remote Trunk/Liftgate Release):The
trunk or liftgate will open when this button on
the transmitter is pressed and held for about
one second. You can open the sedan trunk or
the liftgate on the MAXX when the vehicle
is in PARK (P) or when the ignition is off.
L(Vehicle Locator/Panic Alarm):This button
may be used to locate your vehicle. Press and
release this button to initiate vehicle locate. The
horn will sound three times and the headlamps
and parking lamps will �ash three times. Press
and hold the button for about three seconds to
initiate the panic alarm. The horn will sound and
the headlamps and parking lamps will �ash for
30 seconds. Press the button again to cancel the
panic alarm.
Matching Transmitter(s) to
Your Vehicle
Each remote keyless entry transmitter is coded
to prevent another transmitter from unlocking
your vehicle. If a transmitter is lost or stolen,
a replacement can be purchased through your
GM dealer. Remember to bring any remaining
transmitters with you when you go to your dealer.
Each vehicle can have a maximum of four
transmitters matched to it.
Battery Replacement
Under normal use, the battery in your remote
keyless entry transmitter should last about
four years.
You can tell the battery is weak if the transmitter
will not work at the normal range in any location.
If you have to get close to your vehicle before
the transmitter works, it is probably time to change
the battery.
99
Page 138 of 510
Mirrors
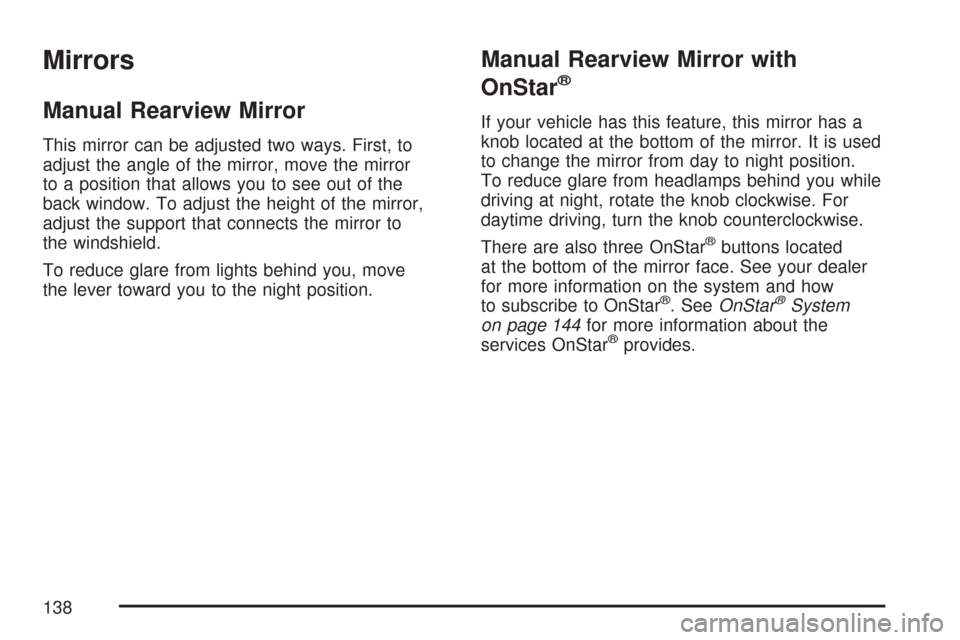
Manual Rearview Mirror
This mirror can be adjusted two ways. First, to
adjust the angle of the mirror, move the mirror
to a position that allows you to see out of the
back window. To adjust the height of the mirror,
adjust the support that connects the mirror to
the windshield.
To reduce glare from lights behind you, move
the lever toward you to the night position.
Manual Rearview Mirror with
OnStar
®
If your vehicle has this feature, this mirror has a
knob located at the bottom of the mirror. It is used
to change the mirror from day to night position.
To reduce glare from headlamps behind you while
driving at night, rotate the knob clockwise. For
daytime driving, turn the knob counterclockwise.
There are also three OnStar
®buttons located
at the bottom of the mirror face. See your dealer
for more information on the system and how
to subscribe to OnStar
®. SeeOnStar®System
on page 144for more information about the
services OnStar
®provides.
138
Page 141 of 510
Automatic Dimming Rearview Mirror
with Compass
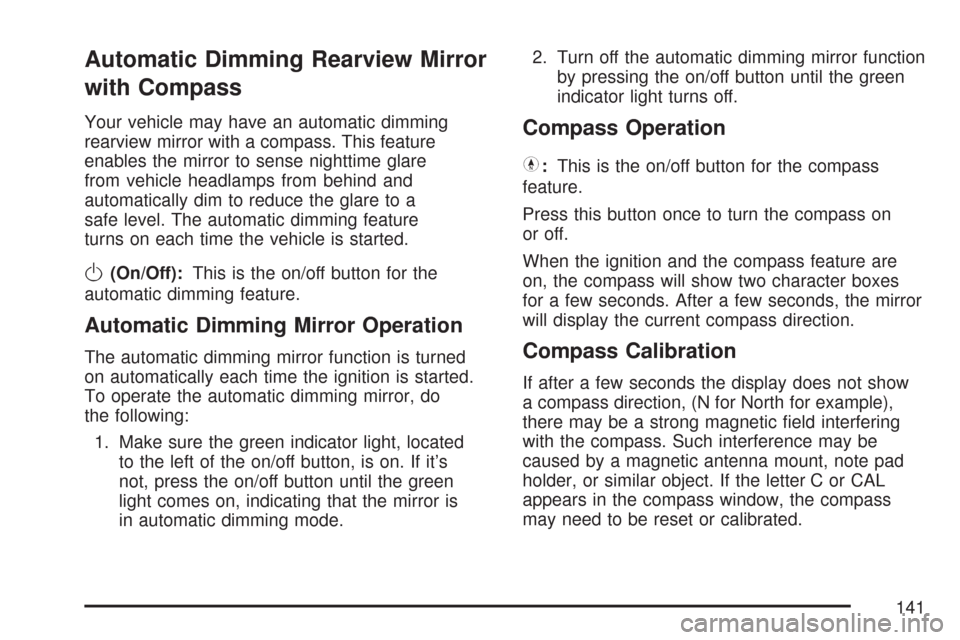
Your vehicle may have an automatic dimming
rearview mirror with a compass. This feature
enables the mirror to sense nighttime glare
from vehicle headlamps from behind and
automatically dim to reduce the glare to a
safe level. The automatic dimming feature
turns on each time the vehicle is started.
O(On/Off):This is the on/off button for the
automatic dimming feature.
Automatic Dimming Mirror Operation
The automatic dimming mirror function is turned
on automatically each time the ignition is started.
To operate the automatic dimming mirror, do
the following:
1. Make sure the green indicator light, located
to the left of the on/off button, is on. If it’s
not, press the on/off button until the green
light comes on, indicating that the mirror is
in automatic dimming mode.2. Turn off the automatic dimming mirror function
by pressing the on/off button until the green
indicator light turns off.
Compass Operation
Y
:This is the on/off button for the compass
feature.
Press this button once to turn the compass on
or off.
When the ignition and the compass feature are
on, the compass will show two character boxes
for a few seconds. After a few seconds, the mirror
will display the current compass direction.
Compass Calibration
If after a few seconds the display does not show
a compass direction, (N for North for example),
there may be a strong magnetic �eld interfering
with the compass. Such interference may be
caused by a magnetic antenna mount, note pad
holder, or similar object. If the letter C or CAL
appears in the compass window, the compass
may need to be reset or calibrated.
141
Page 165 of 510
Instrument Panel Overview........................ 168
Hazard Warning Flashers.......................... 170
Other Warning Devices............................. 170
Horn.......................................................... 170
Tilt and Telescopic Steering Wheel............ 170
Turn Signal/Multifunction Lever.................. 171
Turn and Lane-Change Signals................. 172
Headlamp High/Low-Beam Changer.......... 172
Flash-to-Pass............................................ 173
Windshield Wipers..................................... 173
Windshield Washer.................................... 174
Rear Window Wiper/Washer
(MAXX Model)....................................... 175
Cruise Control........................................... 176
Exterior Lamps.......................................... 179
Headlamps on Reminder........................... 181
Headlamps Off in PARK (P)...................... 181
Delayed Headlamps.................................. 182
Daytime Running Lamps (DRL)................. 182
Automatic Headlamp System..................... 183
Fog Lamps................................................ 184
Instrument Panel Brightness...................... 184
Dome Lamp.............................................. 184
Entry/Exit Lighting...................................... 185Parade Dimming........................................ 185
Front Reading Lamps................................ 185
Rear Reading Lamps................................ 185
Trunk Lamp............................................... 185
Cargo Lamp.............................................. 186
Battery Run-Down Protection..................... 186
Accessory Power Outlet(s)........................ 186
Cigarette Lighter........................................ 187
Climate Controls......................................... 188
Climate Control System............................. 188
Automatic Climate Control System............. 192
Outlet Adjustment...................................... 197
Warning Lights, Gages, and Indicators..... 198
Instrument Panel Cluster........................... 198
Speedometer and Odometer...................... 200
Trip Odometer........................................... 200
Tachometer............................................... 201
Safety Belt Reminder Light........................ 201
Passenger Safety Belt Reminder Light....... 202
Airbag Readiness Light............................. 202
Passenger Airbag Status Indicator............. 203
Charging System Light.............................. 206
Brake System Warning Light..................... 206
Anti-Lock Brake System Warning Light...... 208
Section 3 Instrument Panel
165
Page 171 of 510
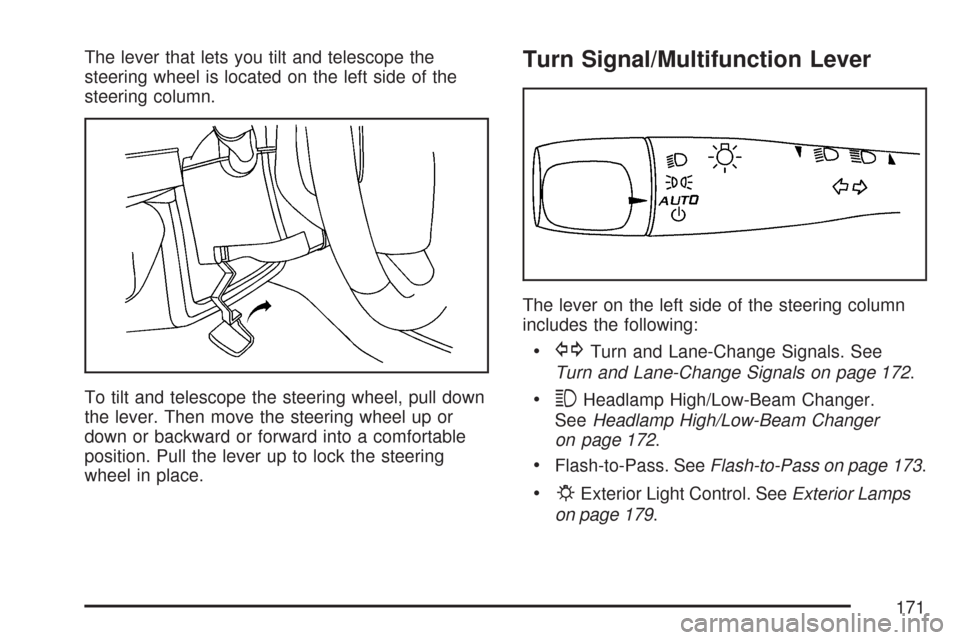
The lever that lets you tilt and telescope the
steering wheel is located on the left side of the
steering column.
To tilt and telescope the steering wheel, pull down
the lever. Then move the steering wheel up or
down or backward or forward into a comfortable
position. Pull the lever up to lock the steering
wheel in place.Turn Signal/Multifunction Lever
The lever on the left side of the steering column
includes the following:
GTurn and Lane-Change Signals. See
Turn and Lane-Change Signals on page 172.
3Headlamp High/Low-Beam Changer.
SeeHeadlamp High/Low-Beam Changer
on page 172.
Flash-to-Pass. SeeFlash-to-Pass on page 173.
PExterior Light Control. SeeExterior Lamps
on page 179.
171
Page 172 of 510
Turn and Lane-Change Signals
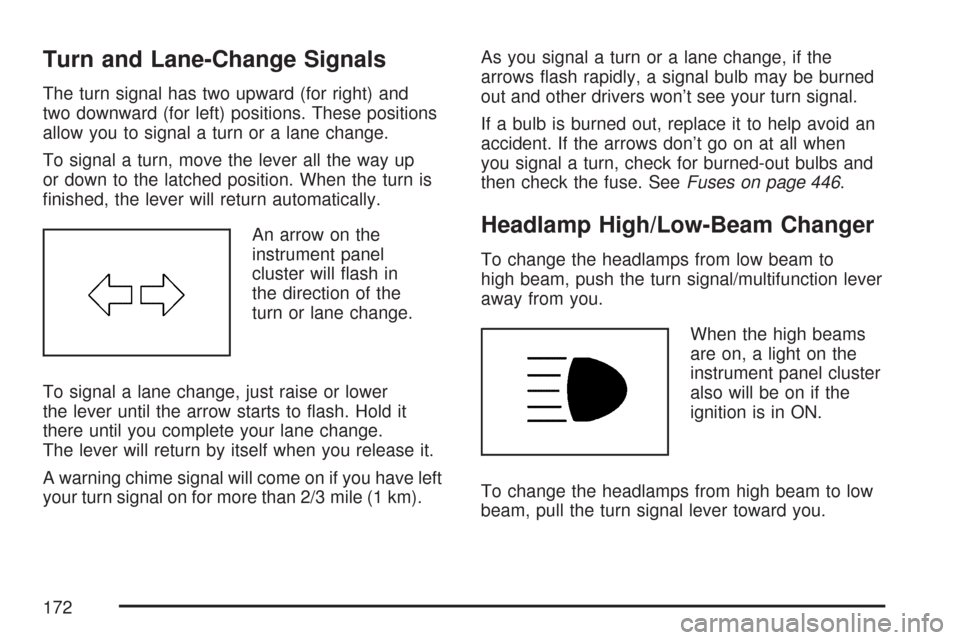
The turn signal has two upward (for right) and
two downward (for left) positions. These positions
allow you to signal a turn or a lane change.
To signal a turn, move the lever all the way up
or down to the latched position. When the turn is
�nished, the lever will return automatically.
An arrow on the
instrument panel
cluster will �ash in
the direction of the
turn or lane change.
To signal a lane change, just raise or lower
the lever until the arrow starts to �ash. Hold it
there until you complete your lane change.
The lever will return by itself when you release it.
A warning chime signal will come on if you have left
your turn signal on for more than 2/3 mile (1 km).As you signal a turn or a lane change, if the
arrows �ash rapidly, a signal bulb may be burned
out and other drivers won’t see your turn signal.
If a bulb is burned out, replace it to help avoid an
accident. If the arrows don’t go on at all when
you signal a turn, check for burned-out bulbs and
then check the fuse. SeeFuses on page 446.
Headlamp High/Low-Beam Changer
To change the headlamps from low beam to
high beam, push the turn signal/multifunction lever
away from you.
When the high beams
are on, a light on the
instrument panel cluster
also will be on if the
ignition is in ON.
To change the headlamps from high beam to low
beam, pull the turn signal lever toward you.
172
Page 173 of 510
Flash-to-Pass
This feature lets you use your high-beam
headlamps momentarily to signal a driver in
front of you that you want to pass.
To use it, pull the turn signal/multifunction lever
toward you until the high-beam headlamps
come on, then release the lever to turn them off.
Windshield Wipers
Be sure to clear ice and snow from the wiper
blades before using them. If the wiper blades
are frozen to the windshield, gently loosen or thaw
them. If the blades do become damaged, install
new blades or blade inserts. SeeWindshield Wiper
Blade Replacement on page 394.
Heavy snow or ice can overload the wiper motor.
A circuit breaker will stop the motor until it
cools down. Clear away snow or ice to prevent
an overload. If the wipers gets stuck, turn
the wipers off, clear away the snow or ice,
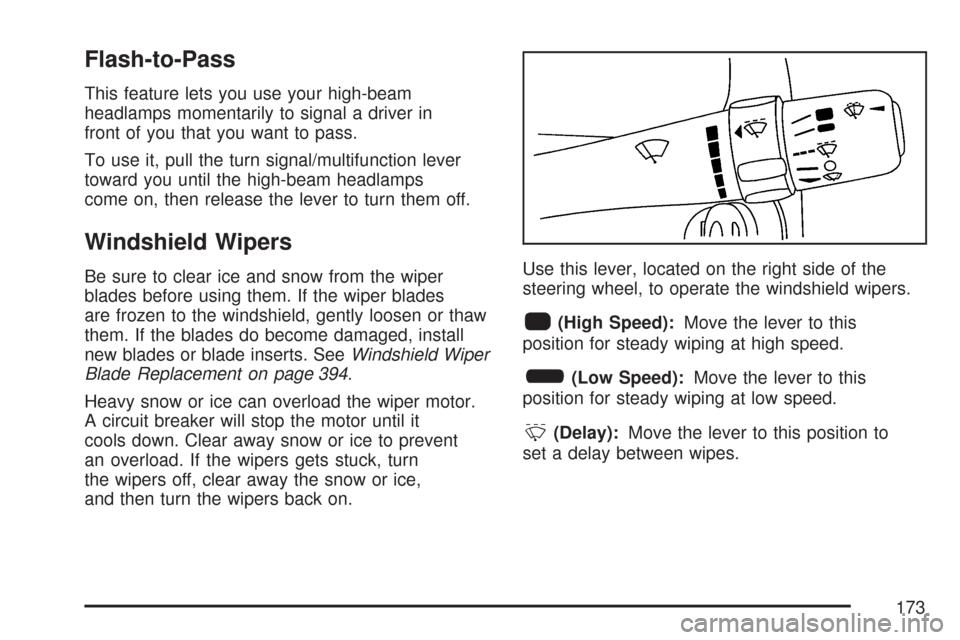
and then turn the wipers back on.Use this lever, located on the right side of the
steering wheel, to operate the windshield wipers.
1(High Speed):Move the lever to this
position for steady wiping at high speed.
6(Low Speed):Move the lever to this
position for steady wiping at low speed.
&(Delay):Move the lever to this position to
set a delay between wipes.
173