2007 CHEVROLET KODIAK oil
[x] Cancel search: oilPage 176 of 430

Low Oil Level Light
Your vehicle may have
a low oil level light.
This light should come on as a check, when you
start your engine. If the light fails to come on, have
it repaired as soon as possible so you will be
aware when the oil level is low.
Vehicles that have Caterpillar
®diesel engines may
not have a low oil level light. In this case, the light
will neither come on as a check when you start your
engine, nor will it come on to indicate a low oil level.
If this light comes on and stays on, it means your
engine is low on oil. You need to check the oil level
right away. SeeEngine Oil (Caterpillar
®DieselEngine) on page 268orEngine Oil (Gasoline
Engine) on page 268orEngine Oil (DURAMAX
®/
Isuzu Diesel Engine) on page 272for further
information.
Notice:Lack of proper engine oil maintenance
may damage the engine. The repairs would
not be covered by your warranty. Always follow
the maintenance schedule in this manual for
changing engine oil.
Change Engine Oil Light
The change engine oil
light should come on
briefly as a bulb
check when you start
the engine. If the
light does not come on,
have it serviced.
If the change engine oil light comes on and stays
on after you start the engine, have the oil
changed.
176
Page 177 of 430

For additional information on when to change
engine oil for gasoline engines or DURAMAX®
diesel engines, seeEngine Oil (Caterpillar®Diesel
Engine) on page 268orEngine Oil (Gasoline
Engine) on page 268orEngine Oil (DURAMAX
®/
Isuzu Diesel Engine) on page 272andScheduled
Maintenance on page 363. To reset the change
engine oil light, seeEngine Oil Life System
(Gasoline Engine) on page 276orEngine Oil Life
System (DURAMAX
®Diesel) on page 278or
Engine Oil Life System (Caterpillar®Diesel Engine)
on page 279.
Engine Overspeed Warning Light
If your vehicle has this
light, it will come on if
your engine is operating
at too many revolutions
per minute (rpm).
It will also come on for a moment as a check
when you start your engine.
If it comes on when you’re driving, reduce your
engine speed immediately.
Engine Shutdown Warning Light
If your vehicle has the
engine shutdown
feature, this light will
come on when engine
shutdown is active.
For more information, seeEngine Alarm and
Automatic ShutdownunderStarting the Diesel
Engine on page 100.
177
Page 178 of 430

Transmission Temperature Gage
If you have an automatic
transmission and this
gage, it is located above
the switchbank in the
center of the instrument
panel.
When your ignition is on, the gage shows the
temperature of the transmission oil. A reading in
the warning zone, the red area beginning at 300°F
(150°C), means you must stop driving and
check into the cause. One possible cause is a low
oil level in the transmission.
Notice:If you drive your vehicle with the
transmission temperature gage above normal
operating range, you can damage the
transmission. This could lead to costly repairs
that would not be covered by your warranty.
Do not drive your vehicle while the
transmission temperature gage reading is
above normal. See your dealer for service.
Exhaust Brake Indicator Light
If your vehicle is
equipped with an
exhaust brake, you will
have this light, located
above the climate
controls in the center of
the instrument panel.
The exhaust brake indicator light will come on and
stay on whenever the diesel engine exhaust brake
or exhaust restrictor is active. For more information,
seeDiesel Engine Exhaust Brake on page 112and
Exhaust Restrictor (Engine Warm-Up) on page 108.
Differential Lock Indicator Light
If your vehicle has this
feature, this light is
located in the center of
the instrument panel.
The light is on when the
rear differential lock
system is in use.
178
Page 180 of 430

Low Washer Fluid Warning Light
This light is located
above the climate
controls in the center of
the instrument panel.
This light will come on when your vehicle is low on
windshield washer fluid.
For more information, seeWindshield Washer
Fluid on page 296.
Check Gages Warning Light
This light will come on
as you’re starting the
engine, just as a check.
If this light comes on and stays on while you are
driving. It means that either your engine coolant
temperature gage or your engine oil pressure gage
may be showing a reading in the warning zone.
When the check gages light comes on, you
will also hear a warning tone. The tone and the
light will stay activated until the problem is
corrected.
This light may also come on if your vehicle is
equipped with the optional automatic engine
shutdown system and engine shutdown has
begun. SeeEngine Alarm and Automatic
ShutdownunderStarting the Diesel Engine on
page 100.
180
Page 198 of 430

Playing a CD
Insert a CD partway into the slot, label side up.
The player pulls it in and the CD should begin
playing. CD appears on the display. If you want to
insert a CD with the ignition off, first press the
eject button or the RCL knob.
If you insert a CD with the radio off and the
ignition on, it starts to play.
If the ignition or radio is turned off, with a CD in
the player, it stays in the player. When the ignition
or radio is turned on, the CD starts playing
where it stopped, if it was the last selected audio
source.
As each new track starts to play, the track number
appears on the display.The CD player can play the smaller 3 inch (8 cm)
single CDs with an adapter ring. Full-size CDs
and the smaller CDs are loaded in the same
manner.
If playing a CD-R, the sound quality may be
reduced due to CD-R quality, the method of
recording, the quality of the music that has been
recorded, and the way the CD-R has been
handled. There may be an increase in skipping,
difficulty in finding tracks, and/or difficulty in loading
and ejecting. If these problems occur, check the
bottom surface of the CD. If the surface of the CD
is damaged, such as cracked, broken, or
scratched, the CD will not play properly. If the
surface of the CD is soiled, seeCare of Your CDs
on page 203for more information.
If there is no apparent damage, try a known
good CD.
198
Page 203 of 430

A non-scrubbing action, wet-type cleaner which
uses a cassette with a fabric belt to clean the tape
head can be used. This type of cleaning cassette
will not eject on its own. A non-scrubbing action
cleaner may not clean as thoroughly as the
scrubbing type cleaner. The use of a non-scrubbing
action, dry-type cleaning cassette is not
recommended.
After the player is cleaned, press and hold the
eject button for three seconds to reset the
CLN indicator. The radio will display --- to show
the indicator was reset.
Cassettes are subject to wear and the sound
quality may degrade over time. Always make sure
the cassette tape is in good condition before
the tape player is serviced.Care of Your CDs
Handle CDs carefully. Store them in their original
cases or other protective cases and away from
direct sunlight and dust. The CD player scans the
bottom surface of the disc. If the surface of a
CD is damaged, such as cracked, broken,
or scratched, the CD will not play properly or not
at all. If the surface of a CD is soiled, take a
soft, lint free cloth or dampen a clean, soft cloth in
a mild, neutral detergent solution mixed with
water, and clean it. Make sure the wiping process
starts from the center to the edge.
Do not touch the bottom side of a CD while
handling it; this could damage the surface. Pick up
CDs by grasping the outer edges or the edge of
the hole and the outer edge.
203
Page 245 of 430

Service........................................................ 248
California Proposition 65 Warning.............. 248
Doing Your Own Service Work.................. 249
Engine Fan Breakage................................ 250
Fuel............................................................. 251
Gasoline Octane........................................ 251
Gasoline Specifications.............................. 251
Additives................................................... 252
Diesel Engine Fuel.................................... 253
What Fuel to Use...................................... 253
Very Cold Weather Operation.................... 256
Water in Fuel............................................ 256
Running Out of Fuel.................................. 262
Fuel Filter Replacement............................. 263
Fuels in Foreign Countries........................ 264
Filling the Tank......................................... 264
Filling a Portable Fuel Container............... 266Checking Things Under the Hood.............. 266
Hood Latches............................................ 267
Engine Oil (Caterpillar
®Diesel Engine)...... 268
Engine Oil (Gasoline Engine).................... 268
Engine Oil (DURAMAX
®/Isuzu Diesel
Engine).................................................. 272
Engine Oil Life System
(Gasoline Engine).................................. 276
Engine Oil Life System
(DURAMAX
®Diesel)............................... 278
Engine Oil Life System
(Caterpillar
®Diesel Engine).................... 279
Engine Air Cleaner/Filter............................ 280
Automatic Transmission Fluid.................... 282
Manual Transmission Fluid........................ 283
Engine Coolant (Gas and
DURAMAX
®/Isuzu Engines).................... 284
Engine Coolant (Caterpillar®Diesel
Engines)................................................ 287
Coolant Surge Tank Pressure Cap............ 288
Section 5 Service and Appearance Care
245
Page 246 of 430
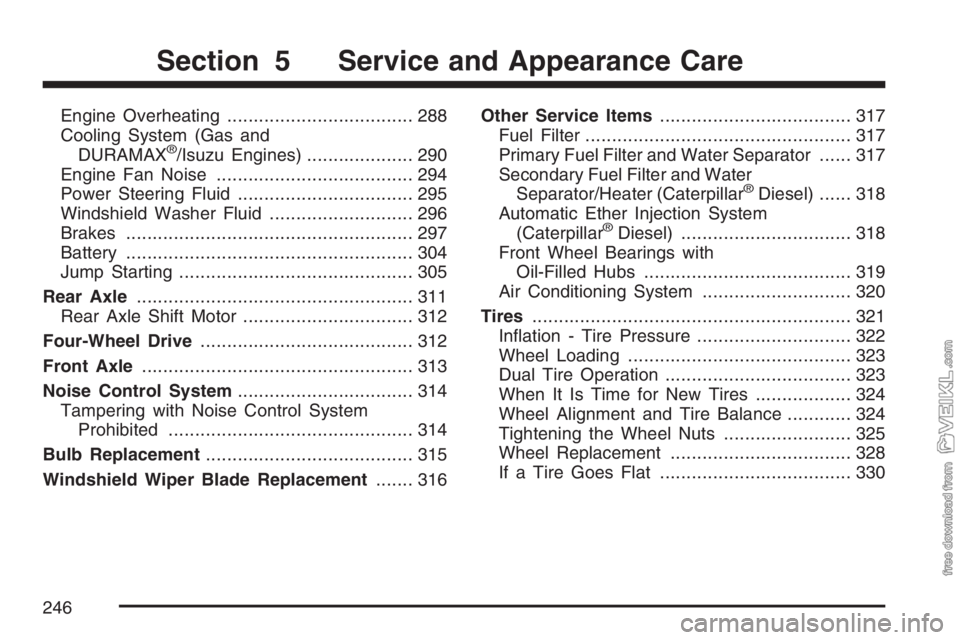
Engine Overheating................................... 288
Cooling System (Gas and
DURAMAX
®/Isuzu Engines).................... 290
Engine Fan Noise..................................... 294
Power Steering Fluid................................. 295
Windshield Washer Fluid........................... 296
Brakes...................................................... 297
Battery...................................................... 304
Jump Starting............................................ 305
Rear Axle.................................................... 311
Rear Axle Shift Motor................................ 312
Four-Wheel Drive........................................ 312
Front Axle................................................... 313
Noise Control System................................. 314
Tampering with Noise Control System
Prohibited.............................................. 314
Bulb Replacement....................................... 315
Windshield Wiper Blade Replacement....... 316Other Service Items.................................... 317
Fuel Filter.................................................. 317
Primary Fuel Filter and Water Separator...... 317
Secondary Fuel Filter and Water
Separator/Heater (Caterpillar
®Diesel)...... 318
Automatic Ether Injection System
(Caterpillar
®Diesel)................................ 318
Front Wheel Bearings with
Oil-Filled Hubs....................................... 319
Air Conditioning System............................ 320
Tires............................................................ 321
Inflation - Tire Pressure............................. 322
Wheel Loading.......................................... 323
Dual Tire Operation................................... 323
When It Is Time for New Tires.................. 324
Wheel Alignment and Tire Balance............ 324
Tightening the Wheel Nuts........................ 325
Wheel Replacement.................................. 328
If a Tire Goes Flat.................................... 330
Section 5 Service and Appearance Care
246