2007 CHEVROLET IMPALA change wheel
[x] Cancel search: change wheelPage 83 of 460

Adding Equipment to Your
Airbag-Equipped Vehicle
Q:Is there anything I might add to the front
or sides of the vehicle that could keep the
airbags from working properly?
A:Yes. If you add things that change your
vehicle’s frame, bumper system, height,
front end or side sheet metal, they may keep
the airbag system from working properly.
Also, the airbag system may not work properly
if you relocate any of the airbag sensors.
If you have any questions about this,
you should contact Customer Assistance
before you modify your vehicle. The phone
numbers and addresses for Customer
Assistance are in Step Two of the Customer
Satisfaction Procedure in this manual.
SeeCustomer Satisfaction Procedure
on page 426.
Q:Because I have a disability, I have to get
my vehicle modi�ed. How can I �nd out
whether this will affect my airbag system?
A:Changing or moving any parts of the
front seats, safety belts, the airbag sensing
and diagnostic module, steering wheel,
instrument panel, ceiling headliner, ceiling
and pillar garnish trim, roof-mounted airbag
modules, or airbag wiring can affect the
operation of the airbag system. If you
have questions, call Customer Assistance.
The phone numbers and addresses for
Customer Assistance are in Step Two of
the Customer Satisfaction Procedure in this
manual. SeeCustomer Satisfaction Procedure
on page 426.
83
Page 147 of 460

Instrument Panel Overview........................ 150
Hazard Warning Flashers.......................... 152
Other Warning Devices............................. 152
Horn.......................................................... 152
Tilt Wheel.................................................. 153
Turn Signal/Multifunction Lever.................. 153
Turn and Lane-Change Signals................. 154
Headlamp High/Low-Beam Changer.......... 155
Flash-to-Pass............................................ 155
Windshield Wipers..................................... 155
Windshield Washer.................................... 156
Cruise Control........................................... 157
Exterior Lamps.......................................... 160
Delayed Headlamps.................................. 162
Daytime Running Lamps (DRL)/
Automatic Headlamp System.................. 162
Fog Lamps................................................ 163
Instrument Panel Brightness...................... 163
Courtesy Lamps........................................ 163
Dome Lamp.............................................. 164
Entry Lighting............................................ 164
Delayed Entry Lighting.............................. 164
Delayed Exit Lighting................................. 165
Parade Dimming........................................ 165
Reading Lamps......................................... 165Electric Power Management...................... 165
Battery Run-Down Protection..................... 166
Accessory Power Outlet(s)........................ 167
Ashtray(s) and Cigarette Lighter................ 168
Climate Controls......................................... 168
Climate Control System............................. 168
Outlet Adjustment...................................... 172
Passenger Compartment Air Filter............. 173
Warning Lights, Gages, and Indicators..... 174
Instrument Panel Cluster........................... 175
Speedometer and Odometer...................... 176
Tachometer............................................... 176
Safety Belt Reminder Light........................ 177
Passenger Safety Belt Reminder Light....... 177
Airbag Readiness Light............................. 178
Passenger Airbag Status Indicator............. 179
Charging System Light.............................. 181
Brake System Warning Light..................... 181
Anti-Lock Brake System Warning Light...... 182
Traction Control System (TCS)
Warning Light........................................ 183
Engine Coolant Temperature
Warning Light........................................ 183
Engine Coolant Temperature Gage............ 184
Section 3 Instrument Panel
147
Page 153 of 460

Tilt Wheel
A tilt wheel allows you to adjust the steering wheel
before you drive. The steering wheel can be
raised to the highest level to give your legs more
room when you enter and exit the vehicle.
The tilt wheel lever is located on the left side of
the steering column.
To tilt the wheel, hold the wheel and pull the lever.
Then move the wheel to a comfortable position
and release the lever to lock the wheel in place.
Turn Signal/Multifunction Lever
The lever on the left side of the steering column
includes the following:
GTurn and Lane Change Signals. See
Turn and Lane-Change Signals on page 154.
2Headlamp High/Low-Beam Changer.
SeeHeadlamp High/Low-Beam Changer on
page 155.
Flash-to-Pass. SeeFlash-to-Pass on page 155.
NWindshield Wipers. SeeWindshield Wipers
on page 155.
LQWindshield Washer. SeeWindshield
Washer on page 156.
For information on the headlamps, seeExterior
Lamps on page 160.
153
Page 157 of 460
Cruise Control
With cruise control, you can maintain a speed of
about 25 mph (40 km/h) or more without
keeping your foot on the accelerator. This can
really help on long trips. Cruise control does not
work at speeds below about 25 mph (40 km/h).
{CAUTION:
Cruise control can be dangerous where
you cannot drive safely at a steady speed.
So, do not use your cruise control on
winding roads or in heavy traffic.
CAUTION: (Continued)
CAUTION: (Continued)
Cruise control can be dangerous on
slippery roads. On such roads, fast
changes in tire traction can cause
excessive wheel slip, and you could lose
control. Do not use cruise control on
slippery roads.
If your vehicle is in cruise control when the
Traction Control System (TCS), if your vehicle
has this feature, begins to limit wheel spin,
the cruise control will automatically disengage.
SeeTraction Control System (TCS) on page 256.
When road conditions allow you to safely use
it again, the cruise control can be turned back on.
157
Page 172 of 460
Rear Window Defogger
The rear window defogger uses a warming grid to
remove fog from the rear window.
<(Rear Window Defogger):The rear window
defogger will turn off automatically after it has
been activated for 10 minutes. It can be turned off
manually, by pressing the button again or by
turning the ignition to the OFF position. If additional
window clearing is required, the rear window
defogger can be turned on again for additional
window clearing. The length of defogger operation
will increase if the vehicle is being driven.
If your vehicle has heated outside rearview mirrors,
the mirrors will heat to help clear fog or frost
from the surface of the mirror when the rear
window defog button is pressed. SeeOutside
Power Mirrors on page 127.
Do not drive the vehicle until all the windows
are clear.
Notice:Do not use anything sharp on the
inside of the rear window. If you do, you could
cut or damage the warming grid, and the repairs
would not be covered by your warranty. Do not
attach a temporary vehicle license, tape, a decal
or anything similar to the defogger grid.
Outlet Adjustment
Use the thumbwheel located below or to the side of
the outlet, to change the direction of the air �ow.
Operation Tips
Clear away any ice, snow or leaves from the
air inlets at the base of the windshield that
may block the �ow of air into your vehicle.
Use of non-GM approved hood de�ectors may
adversely affect the performance of the
system.
Keep the path under the front seats clear of
objects to help circulate the air inside your
vehicle more effectively.
If the air�ow seems low when the fan is at the
highest setting, the passenger compartment
air �lter, if equipped, may need to replaced.
For more information, seePassenger
Compartment Air Filter on page 173and
Scheduled Maintenance on page 408.
If fogging reoccurs while in vent or bi-level
modes with mild temperature throughout
the vehicle, turn on the air conditioner
to reduce windshield fogging.
172
Page 254 of 460
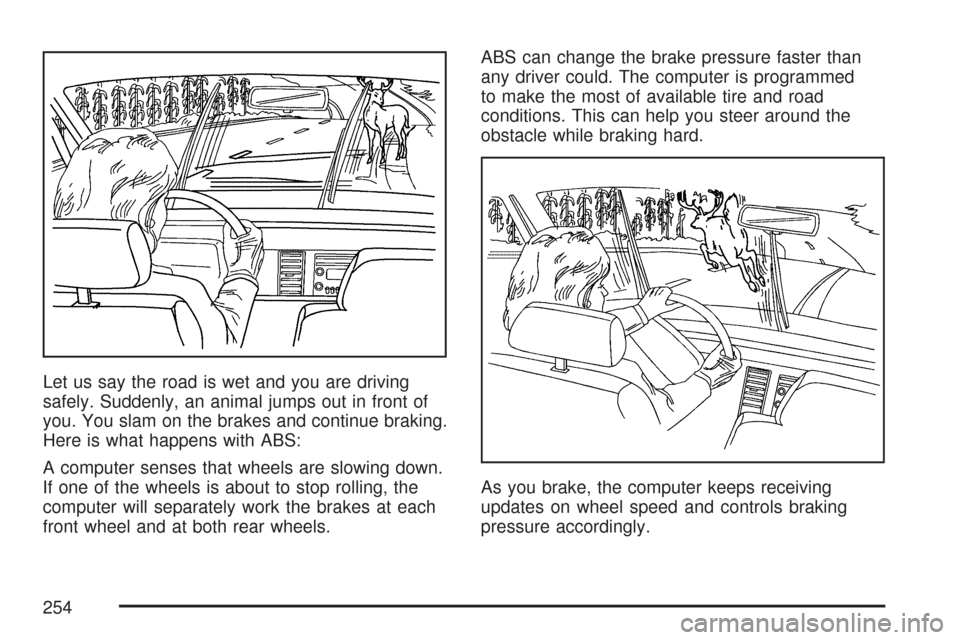
Let us say the road is wet and you are driving
safely. Suddenly, an animal jumps out in front of
you. You slam on the brakes and continue braking.
Here is what happens with ABS:
A computer senses that wheels are slowing down.
If one of the wheels is about to stop rolling, the
computer will separately work the brakes at each
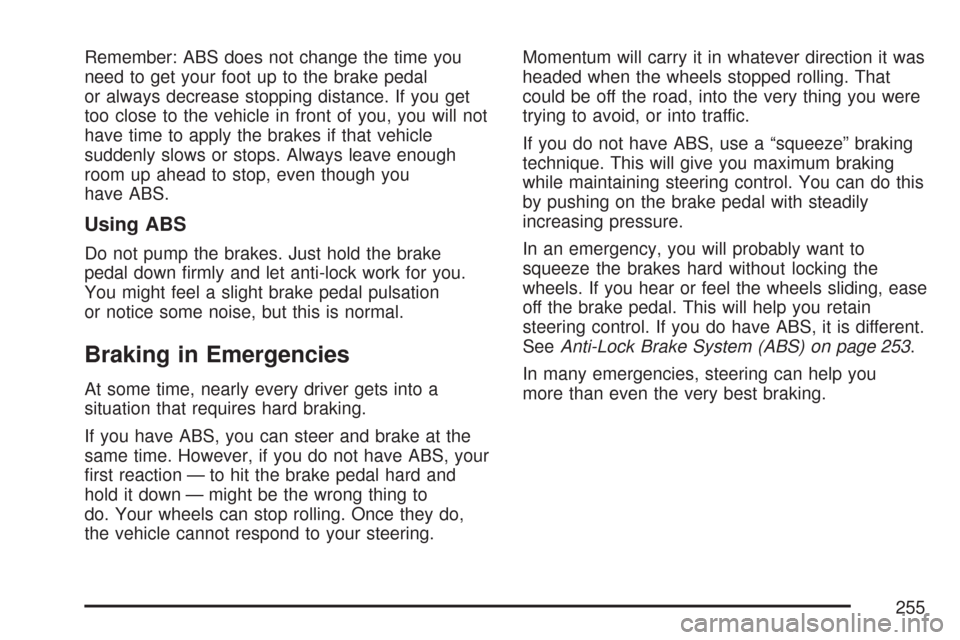
front wheel and at both rear wheels.ABS can change the brake pressure faster than
any driver could. The computer is programmed
to make the most of available tire and road
conditions. This can help you steer around the
obstacle while braking hard.
As you brake, the computer keeps receiving
updates on wheel speed and controls braking
pressure accordingly.
254
Page 255 of 460
Remember: ABS does not change the time you
need to get your foot up to the brake pedal
or always decrease stopping distance. If you get
too close to the vehicle in front of you, you will not
have time to apply the brakes if that vehicle
suddenly slows or stops. Always leave enough
room up ahead to stop, even though you
have ABS.
Using ABS
Do not pump the brakes. Just hold the brake
pedal down �rmly and let anti-lock work for you.
You might feel a slight brake pedal pulsation
or notice some noise, but this is normal.
Braking in Emergencies
At some time, nearly every driver gets into a
situation that requires hard braking.
If you have ABS, you can steer and brake at the
same time. However, if you do not have ABS, your
�rst reaction — to hit the brake pedal hard and
hold it down — might be the wrong thing to
do. Your wheels can stop rolling. Once they do,
the vehicle cannot respond to your steering.Momentum will carry it in whatever direction it was
headed when the wheels stopped rolling. That
could be off the road, into the very thing you were
trying to avoid, or into traffic.
If you do not have ABS, use a “squeeze” braking
technique. This will give you maximum braking
while maintaining steering control. You can do this
by pushing on the brake pedal with steadily
increasing pressure.
In an emergency, you will probably want to
squeeze the brakes hard without locking the
wheels. If you hear or feel the wheels sliding, ease
off the brake pedal. This will help you retain
steering control. If you do have ABS, it is different.
SeeAnti-Lock Brake System (ABS) on page 253.
In many emergencies, steering can help you
more than even the very best braking.
255
Page 257 of 460
SeeRocking Your Vehicle to Get It Out on
page 277andIf Your Vehicle is Stuck in Sand,
Mud, Ice, or Snow on page 276for more
information.
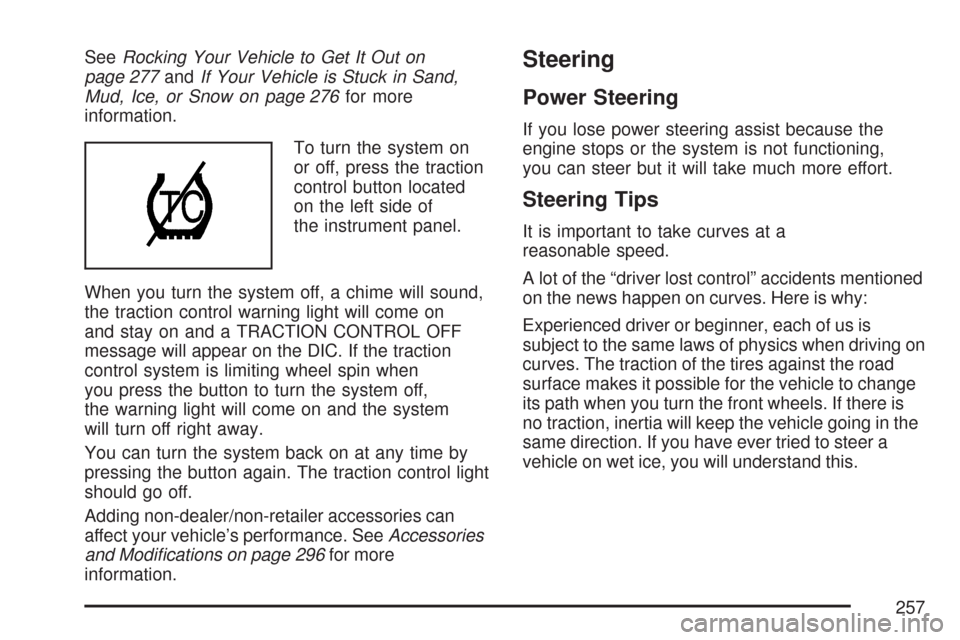
To turn the system on
or off, press the traction
control button located
on the left side of
the instrument panel.
When you turn the system off, a chime will sound,
the traction control warning light will come on
and stay on and a TRACTION CONTROL OFF
message will appear on the DIC. If the traction
control system is limiting wheel spin when
you press the button to turn the system off,
the warning light will come on and the system
will turn off right away.
You can turn the system back on at any time by
pressing the button again. The traction control light
should go off.
Adding non-dealer/non-retailer accessories can
affect your vehicle’s performance. SeeAccessories
and Modi�cations on page 296for more
information.Steering
Power Steering
If you lose power steering assist because the
engine stops or the system is not functioning,
you can steer but it will take much more effort.
Steering Tips
It is important to take curves at a
reasonable speed.
A lot of the “driver lost control” accidents mentioned
on the news happen on curves. Here is why:
Experienced driver or beginner, each of us is
subject to the same laws of physics when driving on
curves. The traction of the tires against the road
surface makes it possible for the vehicle to change
its path when you turn the front wheels. If there is
no traction, inertia will keep the vehicle going in the
same direction. If you have ever tried to steer a
vehicle on wet ice, you will understand this.
257