2007 CHEVROLET HHR steering
[x] Cancel search: steeringPage 163 of 446
Erasing Speed Memory
When you turn off the cruise control or the ignition,
your cruise control set speed memory is erased.
Headlamps
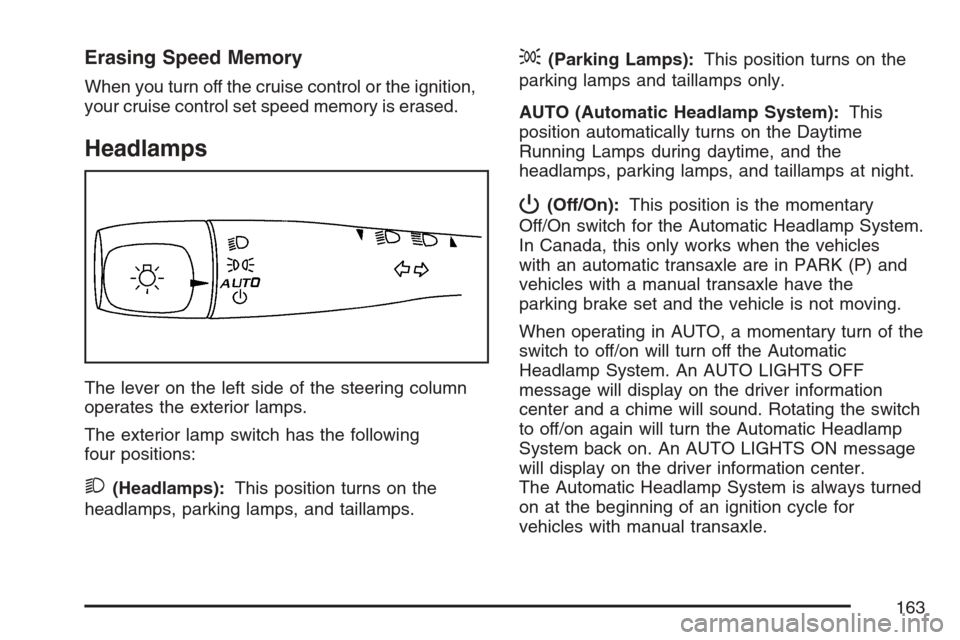
The lever on the left side of the steering column
operates the exterior lamps.
The exterior lamp switch has the following
four positions:
2(Headlamps):This position turns on the
headlamps, parking lamps, and taillamps.
;(Parking Lamps):This position turns on the
parking lamps and taillamps only.
AUTO (Automatic Headlamp System):This
position automatically turns on the Daytime
Running Lamps during daytime, and the
headlamps, parking lamps, and taillamps at night.
P(Off/On):This position is the momentary
Off/On switch for the Automatic Headlamp System.
In Canada, this only works when the vehicles
with an automatic transaxle are in PARK (P) and
vehicles with a manual transaxle have the
parking brake set and the vehicle is not moving.
When operating in AUTO, a momentary turn of the
switch to off/on will turn off the Automatic
Headlamp System. An AUTO LIGHTS OFF
message will display on the driver information
center and a chime will sound. Rotating the switch
to off/on again will turn the Automatic Headlamp
System back on. An AUTO LIGHTS ON message
will display on the driver information center.
The Automatic Headlamp System is always turned
on at the beginning of an ignition cycle for
vehicles with manual transaxle.
163
Page 166 of 446
Fog Lamps
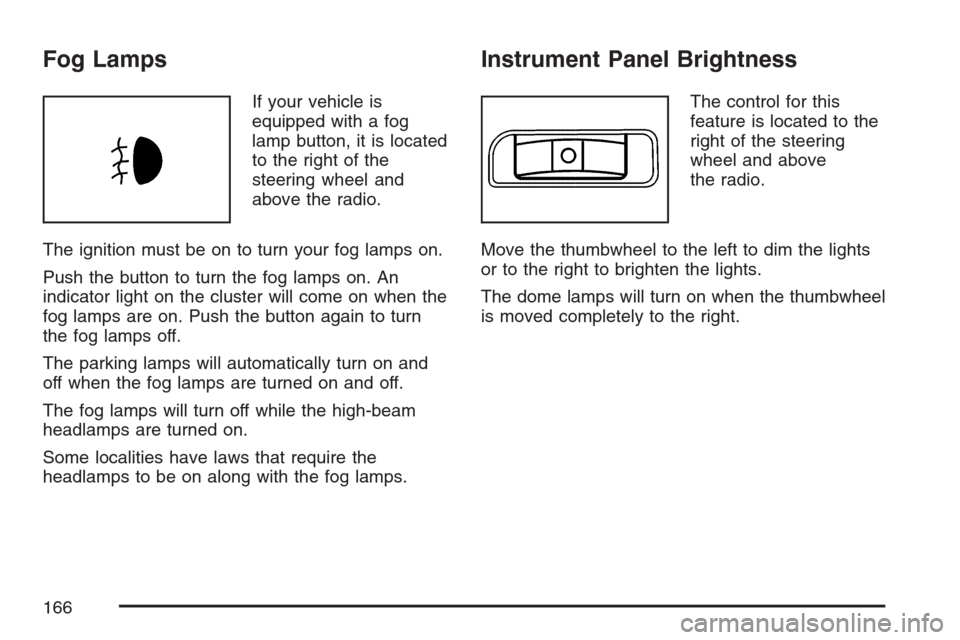
If your vehicle is
equipped with a fog
lamp button, it is located
to the right of the
steering wheel and
above the radio.
The ignition must be on to turn your fog lamps on.
Push the button to turn the fog lamps on. An
indicator light on the cluster will come on when the
fog lamps are on. Push the button again to turn
the fog lamps off.
The parking lamps will automatically turn on and
off when the fog lamps are turned on and off.
The fog lamps will turn off while the high-beam
headlamps are turned on.
Some localities have laws that require the
headlamps to be on along with the fog lamps.
Instrument Panel Brightness
The control for this
feature is located to the
right of the steering
wheel and above
the radio.
Move the thumbwheel to the left to dim the lights
or to the right to brighten the lights.
The dome lamps will turn on when the thumbwheel
is moved completely to the right.
166
Page 194 of 446
Here are four things that some owners ask about.
None of these show a problem with your fuel gage:
At the service station, the gas pump shuts off
before the gage reads full.
It takes a little more or less fuel to �ll up than
the gage indicated. For example, the gage may
have indicated the tank was half full, but it
actually took a little more or less than half the
tank’s capacity to �ll the tank.
The gage moves a little when you turn a corner
or speed up.
The gage doesn’t go back to empty when you
turn off the ignition.
For your fuel tank capacity, seeCapacities and
Specifications on page 386.
Driver Information Center (DIC)
Your vehicle has a Driver Information Center (DIC).
The DIC display gives you the status of many of
your vehicle’s systems. The DIC is also used to
display driver personalization menu modes and
warning/status messages. All messages will appear
in the DIC display, located at the bottom of the
instrument panel cluster.
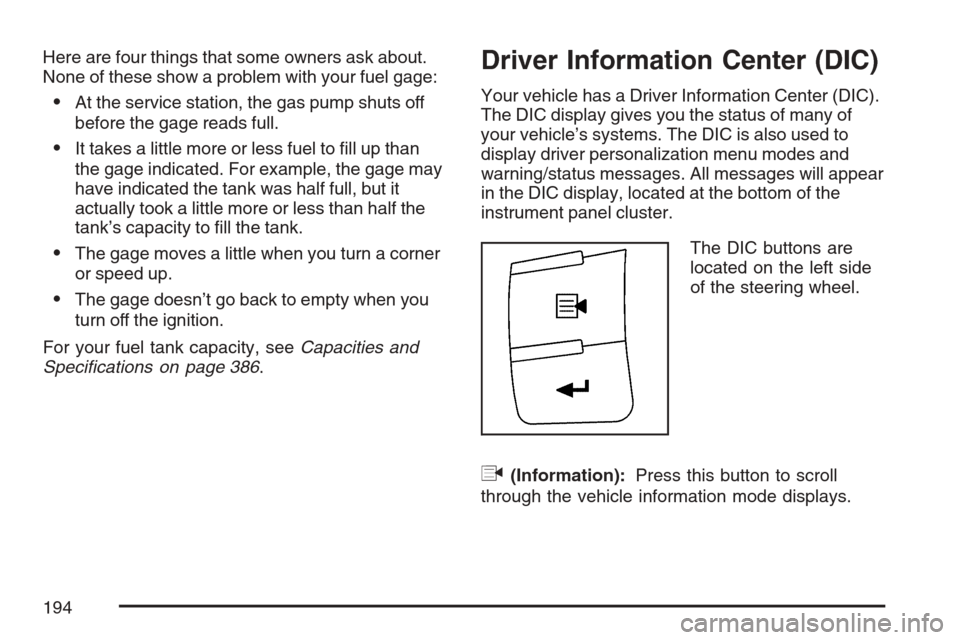
The DIC buttons are
located on the left side
of the steering wheel.
q(Information):Press this button to scroll
through the vehicle information mode displays.
194
Page 200 of 446
PARKING BRAKE
This message displays if the parking brake is left
engaged. SeeParking Brake on page 127for
more information.
POWER STEERING
This message displays if a problem has been
detected with the electric power steering. Have
your vehicle serviced by your dealer immediately.
SERVICE AIR BAG
This message displays when there is a problem
with the airbag system. Have your vehicle serviced
by your dealer immediately.
DIC Vehicle Personalization
Your vehicle has personalization capabilities that
allow you to program certain features to a
preferred setting. All of the features listed may not
be available on your vehicle. Only the features
available will be displayed on the DIC.
The default settings for the features were set
when your vehicle left the factory, but may have
been changed from their default state since
that time.To change feature settings, use the following
procedure:
Entering Personalization Menu
1. Turn the ignition on while the vehicle is
stopped.
To avoid excessive drain on the battery, it is
recommended that the headlamps are
turned off.
2. Press and hold the information and reset
buttons at the same time for one second, then
release to enter the personalization menu.
If the vehicle speed is greater than 2 mph
(3 km/h), only the UNITS menu will be
accessible.
3. Press the information button to scroll through
the available personalization menu modes.
Press the reset button to scroll through
the available settings for each mode.
If you do not make a selection within ten
seconds, the display will go back to the
previous information displayed.
200
Page 206 of 446
Exiting Personalization Menu
The personalization menu will be exited when any
of the following conditions occur:
A ten second time period has elapsed.
The ignition is turned off.
The end of the personalization menu list is
reached.
Audio System(s)
Determine which radio your vehicle has and then
read the pages following to familiarize yourself
with its features.
Driving without distraction is a necessity for a
safer driving experience. SeeDefensive Driving on
page 238. By taking a few moments to read this
manual and get familiar with your vehicle’s
audio system, you can use it with less effort, as
well as take advantage of its features. While your
vehicle is parked, set up your audio system by
presetting your favorite radio stations, setting the
tone and adjusting the speakers. Then, when
driving conditions permit, you can tune to
your favorite stations using the presets and
steering wheel controls if the vehicle has them.
{CAUTION:
This system provides you with a far greater
access to audio stations and song listings.
Giving extended attention to entertainment
tasks while driving can cause a crash and
you or others can be injured or killed.
Always keep your eyes on the road and
your mind on the drive — avoid engaging
in extended searching while driving.
Keeping your mind on the drive is important for
safe driving. For more information, seeDefensive
Driving on page 238.
Here are some ways in which you can help avoid
distraction while driving.
While your vehicle is parked:
Familiarize yourself with all of its controls.
Familiarize yourself with its operation.
206
Page 207 of 446
Set up your audio system by presetting your
favorite radio stations, setting the tone, and
adjusting the speakers. Then, when driving
conditions permit, you can tune to your favorite
radio stations using the presets and steering
wheel controls if the vehicle has them.
Notice:Before adding any sound equipment to
your vehicle, such as an audio system, CD
player, CB radio, mobile telephone, or two-way
radio, make sure that it can be added by
checking with your dealer. Also, check federal
rules covering mobile radio and telephone
units. If sound equipment can be added, it is
very important to do it properly. Added sound
equipment may interfere with the operation of
your vehicle’s engine, radio, or other systems,
and even damage them. Your vehicle’s systems
may interfere with the operation of sound
equipment that has been added.
Your vehicle has a feature called Retained
Accessory Power (RAP). With RAP, the audio
system can be played even after the ignition is
turned off. SeeRetained Accessory Power (RAP)
on page 119for more information.Setting the Time
(Without Date Display)
If your vehicle has an AM/FM base radio with a
single CD player and preset buttons numbered one
through six, the radio will have a clock button
for setting the time. You can set the time by
following these steps:
1. Turn the ignition key to ACC (accessory) or
RUN. Press the power knob, located in the
center of the radio, to turn the radio on.
2. Press the clock button until the hour numbers
begin �ashing on the display. Press the clock
button a second time and the minute
numbers will begin �ashing on the display.
3. While either the hour or the minute numbers
are �ashing, turn the tune knob, located on
the upper right side of the radio, clockwise or
counterclockwise to increase or decrease
the time.
4. Press the clock button again until the clock
display stops �ashing to set the currently
displayed time; otherwise, the �ashing will stop
after �ve seconds and the current time
displayed will be automatically set.
207
Page 217 of 446
Finding a Station
BAND:Press this button to switch between AM,
FM, or XM™ (if equipped). The selection displays.
f(Tune):Turn this knob to select radio
stations.
©SEEK¨:Press the right or left SEEK arrow
to go to the next or to the previous station and
stay there.
To scan stations, press and hold either SEEK
arrow for a few seconds until a beep sounds. The
radio goes to a station, plays for a few seconds,
then goes on to the next station. Press either
SEEK arrow again to stop scanning.
The radio only seeks and scans stations with a
strong signal that are in the selected band.
4(Information) (XM™ Satellite Radio Service,
MP3, and RDS Features):Press the information
button to display additional text information
related to the current FM-RDS or XM™ station, or
MP3 song. A choice of additional information
such as: Channel, Song, Artist, and CAT
(category) can display. Continue pressing the
information button to highlight the desired label, or
press the pushbutton positioned under any one
of the labels and the information about that
label displays.
While information is not available, No Info displays.
Storing a Radio Station as a Favorite
Drivers are encouraged to set up their radio station
favorites while the vehicle is parked. Tune to
your favorite stations using the presets, favorites
button, and steering wheel controls if the
vehicle has this feature. SeeDefensive Driving on
page 238.
217
Page 234 of 446
Audio Steering Wheel Controls
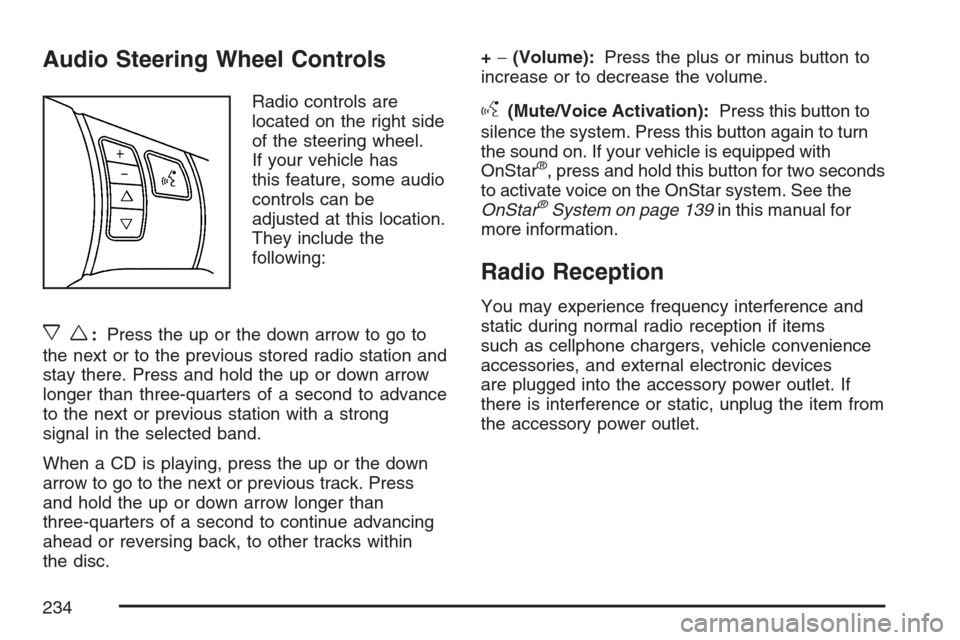
Radio controls are
located on the right side
of the steering wheel.
If your vehicle has
this feature, some audio
controls can be
adjusted at this location.
They include the
following:
xw:Press the up or the down arrow to go to
the next or to the previous stored radio station and
stay there. Press and hold the up or down arrow
longer than three-quarters of a second to advance
to the next or previous station with a strong
signal in the selected band.
When a CD is playing, press the up or the down
arrow to go to the next or previous track. Press
and hold the up or down arrow longer than
three-quarters of a second to continue advancing
ahead or reversing back, to other tracks within
the disc.+−(Volume):Press the plus or minus button to
increase or to decrease the volume.
g(Mute/Voice Activation):Press this button to
silence the system. Press this button again to turn
the sound on. If your vehicle is equipped with
OnStar
®, press and hold this button for two seconds
to activate voice on the OnStar system. See the
OnStar
®System on page 139in this manual for
more information.
Radio Reception
You may experience frequency interference and
static during normal radio reception if items
such as cellphone chargers, vehicle convenience
accessories, and external electronic devices
are plugged into the accessory power outlet. If
there is interference or static, unplug the item from
the accessory power outlet.
234