2007 CHEVROLET EXPRESS PASSANGER radiator
[x] Cancel search: radiatorPage 320 of 458

{CAUTION:
You can be burned if you spill coolant
on hot components in the engine
compartment. Coolant contains ethylene
glycol, and it will burn if the engine parts
are hot enough. Do not spill coolant on a
hot engine or components in the engine
compartment.
When the coolant in the coolant recovery tank
is at the COLD FILL mark, start your vehicle.
If the overheat warning continues, there is
one more thing you can try. You can add the
proper coolant mixture directly to the radiator,
but be sure the cooling system is cool before
you do it.
{CAUTION:
Steam and scalding liquids from a hot
cooling system can blow out and burn
you badly. They are under pressure,
and if you turn the radiator pressure
cap — even a little — they can come out
at high speed. Never turn the cap when
the cooling system, including the radiator
pressure cap, is hot. Wait for the cooling
system and radiator pressure cap to cool
if you ever have to turn the pressure cap.
How to Add Coolant to the Radiator
for Gasoline Engines
If your vehicle has a diesel engine, see
“How to Add Coolant to the Radiator” under
“Van Models” in the Cooling System section
of the DURAMAX
®Diesel Supplement for the
proper radiator fill procedure.
320
Page 321 of 458

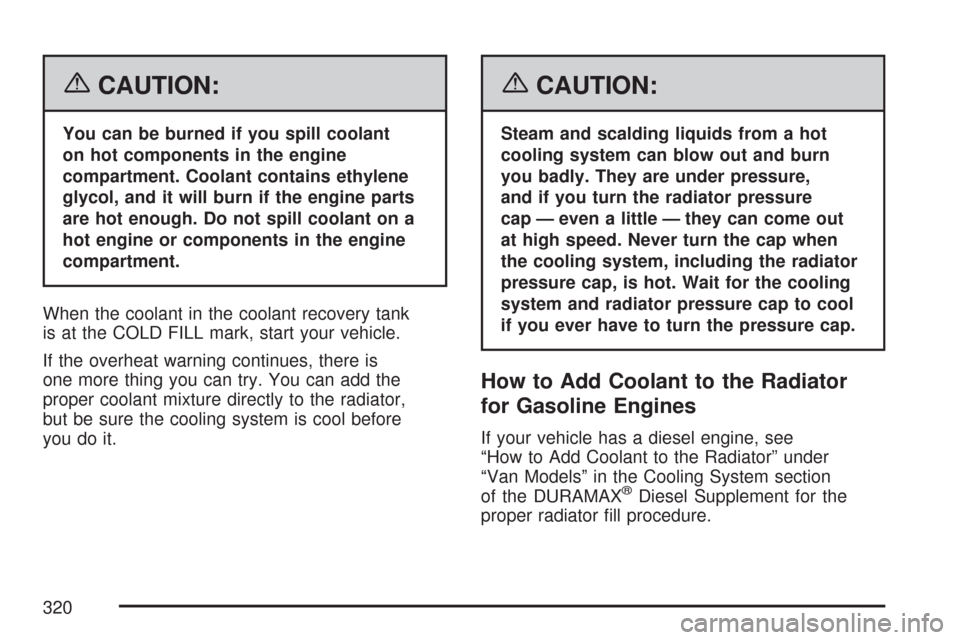
1. You can remove the radiator pressure cap
when the cooling system, including the radiator
pressure cap and upper radiator hose, is no
longer hot. Turn the pressure cap slowly
counterclockwise until it first stops. Do not
press down while turning the pressure cap.
If you hear a hiss, wait for that to stop.
A hiss means there is still some pressure left.
2. Then keep turning the pressure cap, but
now push down as you turn it. Remove
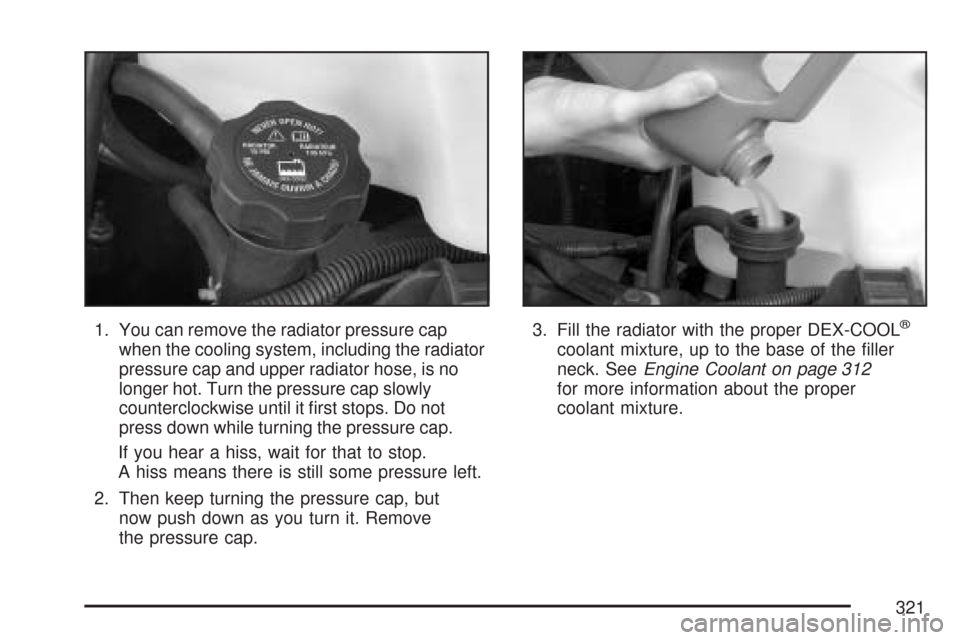
the pressure cap.3. Fill the radiator with the proper DEX-COOL®
coolant mixture, up to the base of the filler
neck. SeeEngine Coolant on page 312
for more information about the proper
coolant mixture.
321
Page 322 of 458

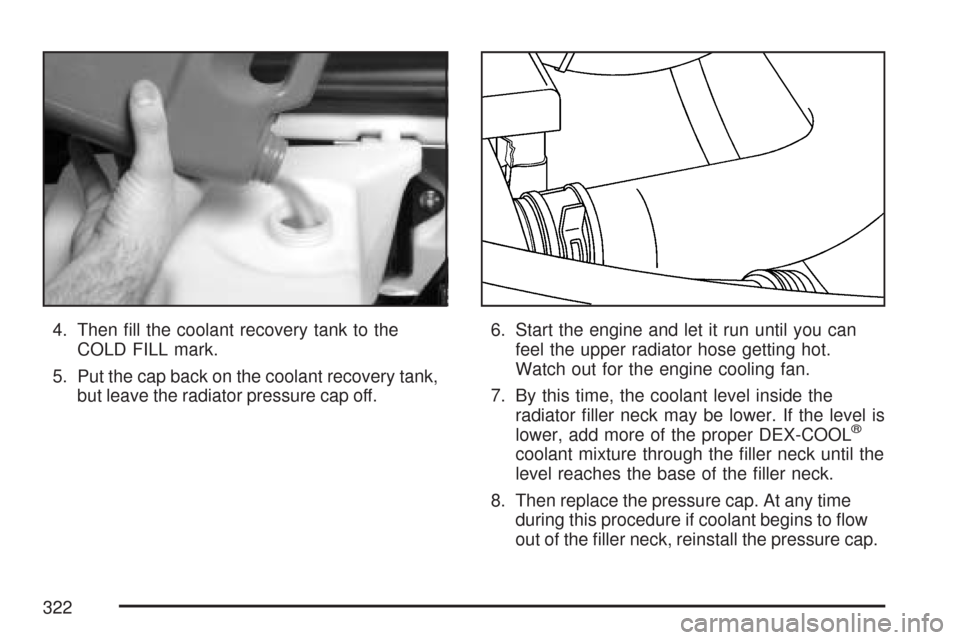
4. Then fill the coolant recovery tank to the
COLD FILL mark.
5. Put the cap back on the coolant recovery tank,
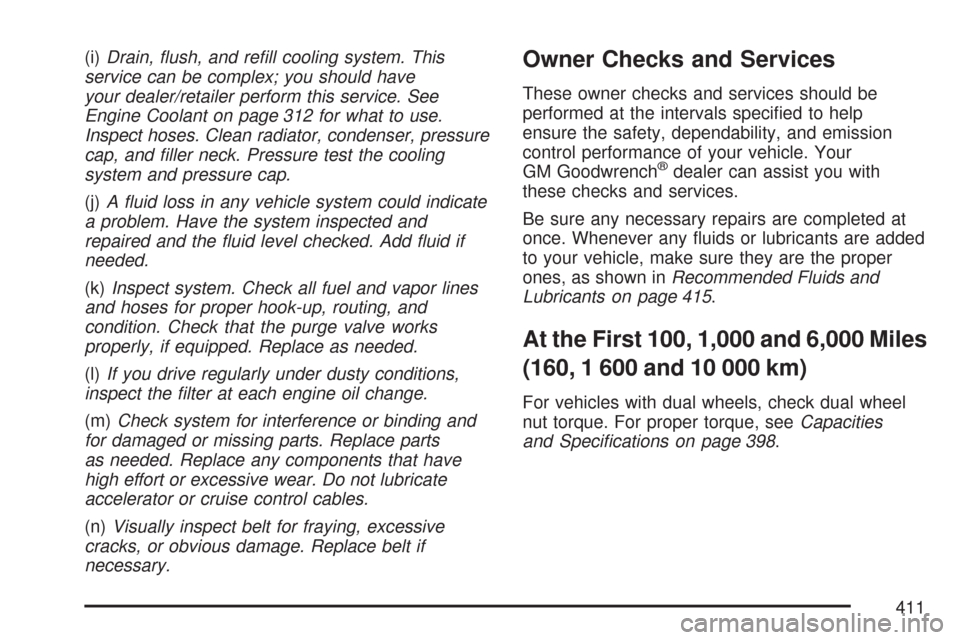
but leave the radiator pressure cap off.6. Start the engine and let it run until you can
feel the upper radiator hose getting hot.
Watch out for the engine cooling fan.
7. By this time, the coolant level inside the
radiator filler neck may be lower. If the level is
lower, add more of the proper DEX-COOL
®
coolant mixture through the filler neck until the
level reaches the base of the filler neck.
8. Then replace the pressure cap. At any time
during this procedure if coolant begins to flow
out of the filler neck, reinstall the pressure cap.
322
Page 341 of 458

4. Lift the inboard side of the headlamp to
release the inboard tab from the radiator
support.
5. Lift the outboard side of the headlamp to
release the outboard tab from the radiator
support.
6. Lower the headlamp to allow the vertical
adjustor to clear the tie bar.
7. Turn the headlamp forward and upward to
remove it from the grille.
8. Turn the bulb connector counterclockwise
and pull it out of the housing.
9. Without removing the headlamp assembly
itself, remove the bulb socket from the back
of the headlamp on the driver’s side.
10. Turn the bulb counterclockwise one quarter
turn to remove it from the socket.
11. On the passenger’s side, turn the bulb
clockwise one turn.12. Install the new bulb into the socket then
reinstall it into the headlamp assembly.
13. Reverse the steps to reinstall the headlamp
assembly.
341
Page 410 of 458

(c)Visually inspect hoses and have them replaced
if they are cracked, swollen, or deteriorated.
Inspect all pipes, �ttings, and clamps; replace with
genuine parts as needed. To help ensure proper
operation, a pressure test of the cooling system
and pressure cap and cleaning the outside of the
radiator and air conditioning condenser is
recommended at least once a year.
(d)Inspect wiper blades for wear, cracking,
or contamination. Clean the windshield and wiper
blades, if contaminated. Replace wiper blades
that are worn or damaged. See Windshield Wiper
Blade Replacement on page 344 and Windshield
and Wiper Blades on page 387 for more
information.
(e)Make sure the safety belt reminder light and
all belts, buckles, latch plates, retractors, and
anchorages are working properly. Look for
any other loose or damaged safety belt system
parts. If you see anything that might keep a safety
belt system from doing its job, have it repaired.
Have any torn or frayed safety belts replaced.
Also look for any opened or broken airbag
coverings, and have them repaired or replaced.
The airbag system does not need regular
maintenance.(f)Lubricate all key lock cylinders, hood hinges,
hood prop rod pivot, hood latch assembly,
secondary latch, pivots, spring anchor, release
pawl, rear compartment hinges, latches, locks, fuel
door hinge, and any moving seat hardware. More
frequent lubrication may be required when exposed
to a corrosive environment. Applying silicone grease
on weatherstrips with a clean cloth will make them
last longer, seal better, and not stick or squeak.
(g)Vehicles with Gross Vehicle Weight Rating
(GVWR) above 10,000 lbs (4 536 kg) only: Inspect
shields for damage or looseness. Adjust or
replace as required. This is a Noise Emission
Control Service. Applicable to vehicles sold in the
United States and recommended for vehicles
sold in Canada.
(h)Change automatic transmission �uid and �lter
if the vehicle is mainly driven under one or
more of these conditions:
-In heavy city traffic where the outside
temperature regularly reaches 90°F (32°C)
or higher.
-In hilly or mountainous terrain.
-When doing frequent trailer towing.
-Uses such as found in taxi, police,
or delivery service.
410
Page 411 of 458

(i)Drain, �ush, and re�ll cooling system. This
service can be complex; you should have
your dealer/retailer perform this service. See
Engine Coolant on page 312 for what to use.
Inspect hoses. Clean radiator, condenser, pressure
cap, and �ller neck. Pressure test the cooling
system and pressure cap.
(j)A �uid loss in any vehicle system could indicate
a problem. Have the system inspected and
repaired and the �uid level checked. Add �uid if
needed.
(k)Inspect system. Check all fuel and vapor lines
and hoses for proper hook-up, routing, and
condition. Check that the purge valve works
properly, if equipped. Replace as needed.
(l)If you drive regularly under dusty conditions,
inspect the �lter at each engine oil change.
(m)Check system for interference or binding and
for damaged or missing parts. Replace parts
as needed. Replace any components that have
high effort or excessive wear. Do not lubricate
accelerator or cruise control cables.
(n)Visually inspect belt for fraying, excessive
cracks, or obvious damage. Replace belt if
necessary.Owner Checks and Services
These owner checks and services should be
performed at the intervals specified to help
ensure the safety, dependability, and emission
control performance of your vehicle. Your
GM Goodwrench
®dealer can assist you with
these checks and services.
Be sure any necessary repairs are completed at
once. Whenever any fluids or lubricants are added
to your vehicle, make sure they are the proper
ones, as shown inRecommended Fluids and
Lubricants on page 415.
At the First 100, 1,000 and 6,000 Miles
(160, 1 600 and 10 000 km)
For vehicles with dual wheels, check dual wheel
nut torque. For proper torque, seeCapacities
and Speci�cations on page 398.
411
Page 454 of 458

Parking
Brake....................................................... 128
Over Things That Burn............................ 131
Passenger Airbag Status Indicator............... 172
Passenger Sensing System........................... 89
Passing....................................................... 241
Passlock
®.................................................... 118
Power
Door Locks.............................................. 109
Reduced Engine Light.............................. 184
Retained Accessory (RAP)....................... 121
Seat.......................................................... 10
Steering Fluid.......................................... 323
Windows.................................................. 116
Pretensioners, Safety Belt............................. 40
Privacy........................................................ 441
Event Data Recorders.............................. 442
Navigation System................................... 443
OnStar..................................................... 443
Radio Frequency Identification.................. 443
Q
Questions and Answers About Safety Belts ... 21
R
Radiator Pressure Cap................................ 315
Radio Frequency Identification (RFID),
Privacy..................................................... 443
Radios........................................................ 187
AM-FM Radio.......................................... 190
Care of Your Cassette Tape Player.......... 224
Care of Your CD Player........................... 226
Care of Your CDs.................................... 225
Radio with Cassette and CD.................... 198
Radio with CD......................................... 193
Radio with Six-Disc CD............................ 211
Setting the Time with Radio Data
Systems (RDS)..................................... 189
Setting the Time without Radio Data
Systems (RDS)..................................... 189
Theft-Deterrent......................................... 223
Understanding Reception ......................... 224
Reading Lamps........................................... 158
Rear Air Conditioning and Heating
System.................................................... 164
Rear Axle.................................................... 337
Locking.................................................... 235
Rear Door Security Locks........................... 110
Rear Doors................................................. 114
Rear Heating System.................................. 163
454