2007 CHEVROLET EXPRESS PASSANGER ECO mode
[x] Cancel search: ECO modePage 215 of 458

Finding a Program Type (PTY) Station
To select and find a desired PTY perform the
following:
1. Press the TYPE button to activate program
type select mode. P-TYPE and the last
selected PTY appears on the display.
2. Turn the TYPE knob or press and release the
TYPE button to select a PTY.
3. Once the desired PTY is displayed, press
either the TYPE or the SEEK arrows to select
and to take you to the PTY’s first station.
4. To cancel the seek, press any of the TYPE
or SEEK arrows. This also exits the program
type seek mode and returns to the last
tuned station.
SCAN:Scan the stations within a PTY by
performing the following:
1. Press the TYPE button to activate program
type select mode. P-TYPE and the last
selected PTY appears on the display.
2. Turn the TYPE knob or press and release the
TYPE button to select a PTY.3. Once the desired PTY is displayed, press and
hold either the TYPE or the SCAN arrows for
two seconds, and the radio begins scanning
the stations in the PTY.
4. Press either the TYPE or the SCAN arrows to
stop scanning.
BAND (Alternate Frequency):Alternate
frequency allows the radio to switch to a stronger
station with the same program type. To turn
alternate frequency on, press and hold BAND for
two seconds. AF ON appears on the display.
The radio may switch to stations with a stronger
frequency.
To turn alternate frequency off, press and hold
BAND again for two seconds. AF OFF appears
on the display. The radio does not switch to
other stations.
215
Page 216 of 458

Setting Preset PTYs (RDS Only)
These pushbuttons have factory PTY presets. Up
to 12 PTYs (six FM1 and six FM2), can be
programmed on the six numbered pushbuttons, by
performing the following steps:
1. Press BAND to select FM1 or FM2.
2. Press the TYPE button to activate program
type select mode. P-TYPE and the last
selected PTY appears on the display.
3. Turn the TYPE knob or press and release the
TYPE button to select a PTY.
4. Press and hold one of the six numbered
pushbuttons until you hear a beep.
Whenever that numbered pushbutton is
pressed, the PTY that was set returns.
5. Repeat the steps for each pushbutton.
RDS Messages
INFO (Information):If the current station has a
message, INFO appears on the display. Press this
button to see the message. The message may
display the artist, song title, call in phone
numbers, etc.If the entire message is not displayed, parts of the
message appears every three seconds. To scroll
through the message, press and release the INFO
button. A new group of words appears on the
display after every press of this button. Once the
complete message has been displayed, INFO
disappears from the display until another new
message is received. The last message can be
displayed by pressing the INFO button. You can
view the last message until a new message is
received or a different station is tuned to.
Radio Messages
CAL ERR (Calibration Error):The audio system
has been calibrated for your vehicle from the
factory. If CAL ERR appears on the display, it
means that the radio has not been configured
properly for the vehicle and must be returned to
your dealer for service.
LOCKED:This message is displayed when the
THEFTLOCK
®system has locked up. Take
the vehicle to your dealer for service.
If any error occurs repeatedly, or if an error cannot
be corrected, contact your dealer.
216
Page 218 of 458

LOAD:Press this button to load CDs into the CD
player. This CD player holds up to six CDs.
To insert one CD, do the following:
1. Turn the ignition on.
2. Press and release the LOAD button.
3. Wait for the indicator light, located to the right
of the slot, to turn green.
4. Load a CD. Insert the CD partway into the slot,
label side up. The player pulls the CD in.
To insert multiple CDs, do the following:
1. Turn the ignition on.
2. Press and hold the LOAD button for
two seconds.
You will hear a beep and the indicator light,
located to the right of the slot, begins to flash
and MULTI LOAD # appears on the display.
3. Once the light stops flashing and turns green,
INSERT CD # appears on the display, load a
CD. Insert the CD partway into the slot,
label side up. The player pulls the CD in.
Once the CD is loaded, the indicator
light begins flashing again. Once the light
stops flashing and turns green, you can load
another CD. The CD player takes up to
six CDs. Do not try to load more than six.To load more than one CD but less than six,
complete Steps 1 through 3. When finished loading
CDs, press the LOAD button to cancel the
loading function. The radio begins to play the last
CD loaded.
If more than one CD has been loaded, a number
for each CD appears on the display.
Playing a Speci�c Loaded CD
For every CD loaded, a number appears on the
display. To play a specific CD, first press the
CD AUX button (if not already in CD mode), then
press the numbered pushbutton that corresponds
to the CD. A small bar appears under the CD
number that is playing and the track number
appears on the display.
If an error appears on the display, see “CD
Messages” later in this section.
218
Page 221 of 458

INFO (Information):Press this knob to see how
long the current track has been playing. To change
the default on the display, track or elapsed time,
press the knob until you see the desired display,
then press and hold the knob until the radio beeps.
The selected display is now the default.
BAND:Press this button to listen to the radio
when a CD is playing. The inactive CD(s) remains
safely inside the radio for future listening.
Using Song List Mode
The six-disc CD changer has a feature called
song list. This feature is capable of saving
20 track selections.
To save tracks into the song list feature, perform
the following steps:
1. Turn the CD player on and load it with at least
one CD. See “LOAD CD” listed previously in
this section for more information.
2. Check to see that the CD changer is not in
song list mode. S-LIST should not appear on
the display. If S-LIST is present, press the
SONG LIST button to turn it off.3. Select the desired CD by pressing the
numbered pushbutton and then use the SEEK
or TYPE right arrow to locate the track to
be saved. The track begins to play.
4. Press and hold the SONG LIST button to
save the track into memory. When SONG
LIST is pressed, one beep will sound.
After two seconds of continuously pressing
the SONG LIST button, two beeps will sound
to confirm the track has been saved.
5. Repeat Steps 3 and 4 for saving other
selections.
S-LIST FULL appears on the display if you try to
save more than 20 selections.
To play the song list, press the SONG LIST
button. One beep will sound and S-LIST appears
on the display. The recorded tracks begins to
play in the order they were saved.
Seek through the song list by using the SEEK or
TYPE arrows. Seeking past the last saved
track returns to the first saved track.
221
Page 222 of 458

To delete tracks from the song list, perform the
following steps:
1. Turn the CD player on.
2. Press the SONG LIST button to turn song list
on. S-LIST appears on the display.
3. Press either SEEK or TYPE arrow to select
the desired track to be deleted.
4. Press and hold the SONG LIST button for
two seconds. When SONG LIST is pressed,
one beep will sound. After two seconds
of continuously pressing the SONG LIST
button, two beeps will sound to confirm that
the track has been deleted.
After a track has been deleted, the remaining
tracks are moved up the list. When another track
is added to the song list, the track is added to
the end of the list.To delete the entire song list, perform the
following steps:
1. Turn the CD player on.
2. Press the SONG LIST button to turn song list
on. S-LIST appears on the display.
3. Press and hold the SONG LIST button for more
than four seconds. One beep will sound,
followed by two beeps after two seconds, and a
final beep will sound after four seconds. S-LIST
EMPTY appears on the display indicating the
song list has been deleted.
If a CD is ejected, and the song list contains
saved tracks from that CD, those tracks are
automatically deleted from the song list. Any tracks
saved to the song list again are added to the
bottom of the list.
To end song list mode, press the SONG LIST
button. One beep will sound and S-LIST is
removed from the display.
222
Page 271 of 458

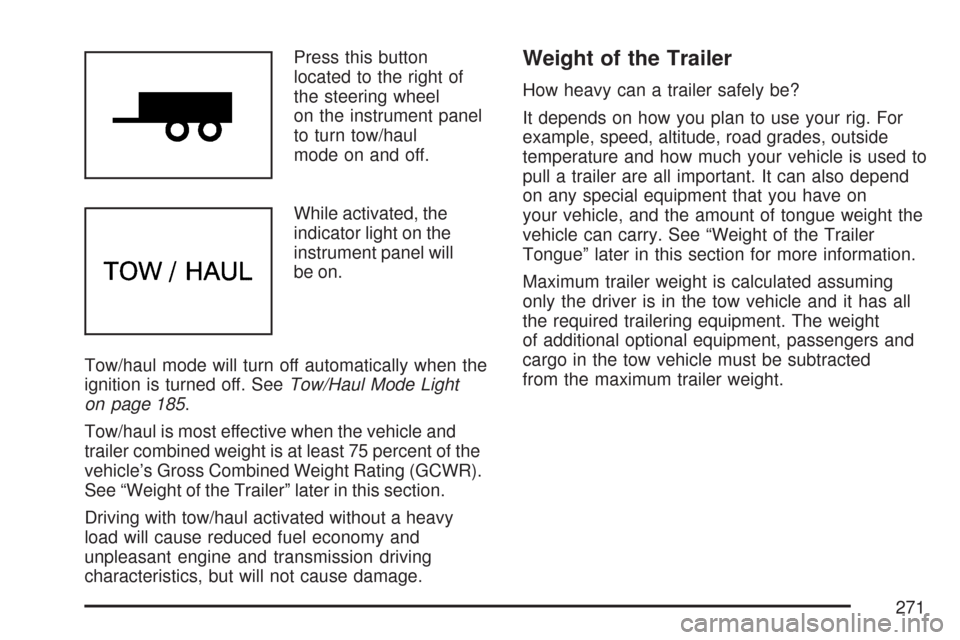
Press this button
located to the right of
the steering wheel
on the instrument panel
to turn tow/haul
mode on and off.
While activated, the
indicator light on the
instrument panel will
be on.
Tow/haul mode will turn off automatically when the
ignition is turned off. SeeTow/Haul Mode Light
on page 185.
Tow/haul is most effective when the vehicle and
trailer combined weight is at least 75 percent of the
vehicle’s Gross Combined Weight Rating (GCWR).
See “Weight of the Trailer” later in this section.
Driving with tow/haul activated without a heavy
load will cause reduced fuel economy and
unpleasant engine and transmission driving
characteristics, but will not cause damage.Weight of the Trailer
How heavy can a trailer safely be?
It depends on how you plan to use your rig. For
example, speed, altitude, road grades, outside
temperature and how much your vehicle is used to
pull a trailer are all important. It can also depend
on any special equipment that you have on
your vehicle, and the amount of tongue weight the
vehicle can carry. See “Weight of the Trailer
Tongue” later in this section for more information.
Maximum trailer weight is calculated assuming
only the driver is in the tow vehicle and it has all
the required trailering equipment. The weight
of additional optional equipment, passengers and
cargo in the tow vehicle must be subtracted
from the maximum trailer weight.
271
Page 314 of 458

Checking Coolant for Gasoline Engines
If your vehicle has a diesel engine, see
“Checking Coolant” under “Van Models” in the
DURAMAX
®Diesel Supplement for information
on checking your vehicle’s coolant.
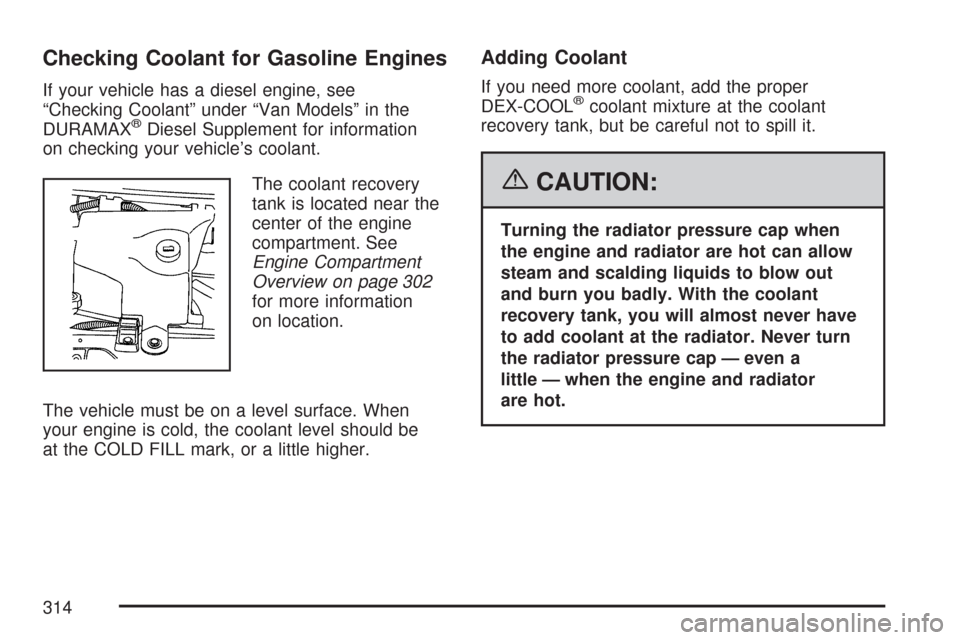
The coolant recovery
tank is located near the
center of the engine
compartment. See
Engine Compartment
Overview on page 302
for more information
on location.
The vehicle must be on a level surface. When
your engine is cold, the coolant level should be
at the COLD FILL mark, or a little higher.
Adding Coolant
If you need more coolant, add the proper
DEX-COOL®coolant mixture at the coolant
recovery tank, but be careful not to spill it.
{CAUTION:
Turning the radiator pressure cap when
the engine and radiator are hot can allow
steam and scalding liquids to blow out
and burn you badly. With the coolant
recovery tank, you will almost never have
to add coolant at the radiator. Never turn
the radiator pressure cap — even a
little — when the engine and radiator
are hot.
314
Page 317 of 458

If you no longer have the overheat warning,
you can drive. Just to be safe, drive slower for
about 10 minutes. If the warning does not
come back on, you can drive normally.
If the warning continues, and you have not
stopped, pull over, stop, and park your vehicle
right away.
If there is still no sign of steam, push down the
accelerator until the engine speed is about
twice as fast as normal idle speed for at least
three minutes while you are parked. If you
still have the warning, turn off the engine and get
everyone out of the vehicle until it cools down.
You may decide not to lift the hood but to
get service help right away.
Cooling System
If your vehicle has a diesel engine, see
“Van Models” under “Cooling System” in
the DURAMAX
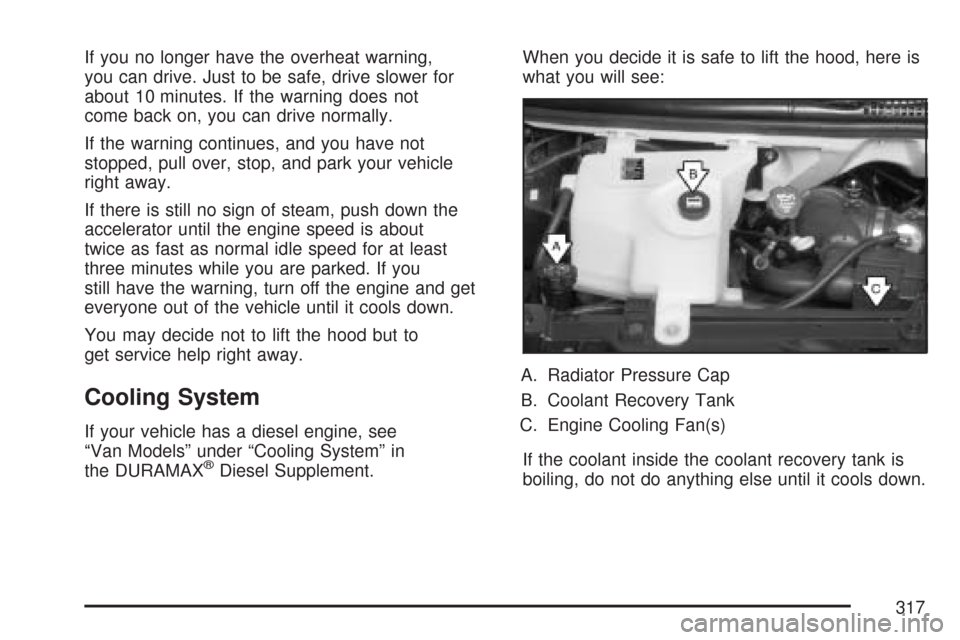
®Diesel Supplement.When you decide it is safe to lift the hood, here is
what you will see:
A. Radiator Pressure Cap
B. Coolant Recovery Tank
C. Engine Cooling Fan(s)
If the coolant inside the coolant recovery tank is
boiling, do not do anything else until it cools down.
317