2007 CHEVROLET EQUINOX clock setting
[x] Cancel search: clock settingPage 10 of 492
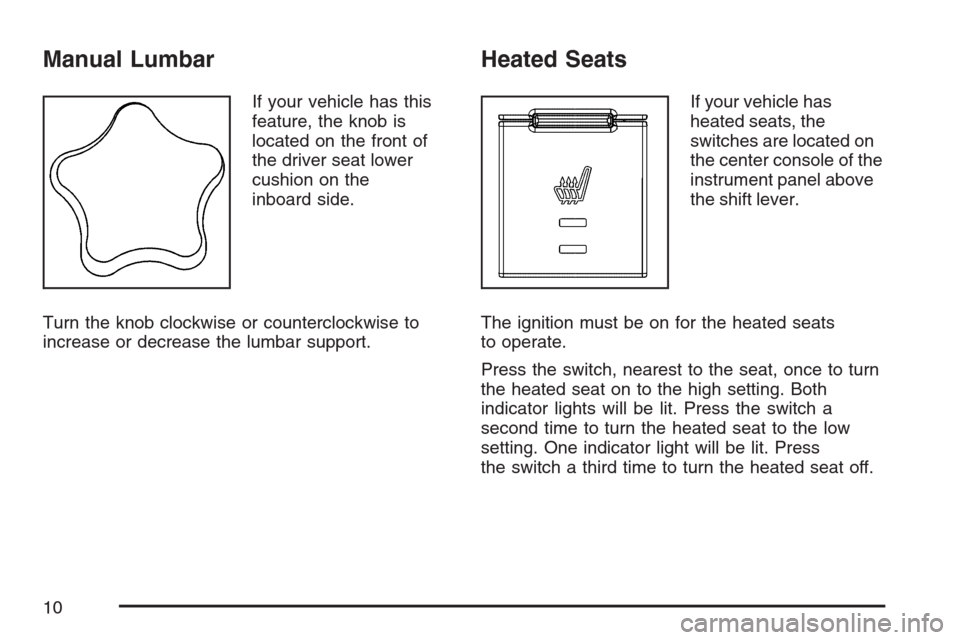
Manual Lumbar
If your vehicle has this
feature, the knob is
located on the front of
the driver seat lower
cushion on the
inboard side.
Turn the knob clockwise or counterclockwise to
increase or decrease the lumbar support.
Heated Seats
If your vehicle has
heated seats, the
switches are located on
the center console of the
instrument panel above
the shift lever.
The ignition must be on for the heated seats
to operate.
Press the switch, nearest to the seat, once to turn
the heated seat on to the high setting. Both
indicator lights will be lit. Press the switch a
second time to turn the heated seat to the low
setting. One indicator light will be lit. Press
the switch a third time to turn the heated seat off.
10
Page 166 of 492
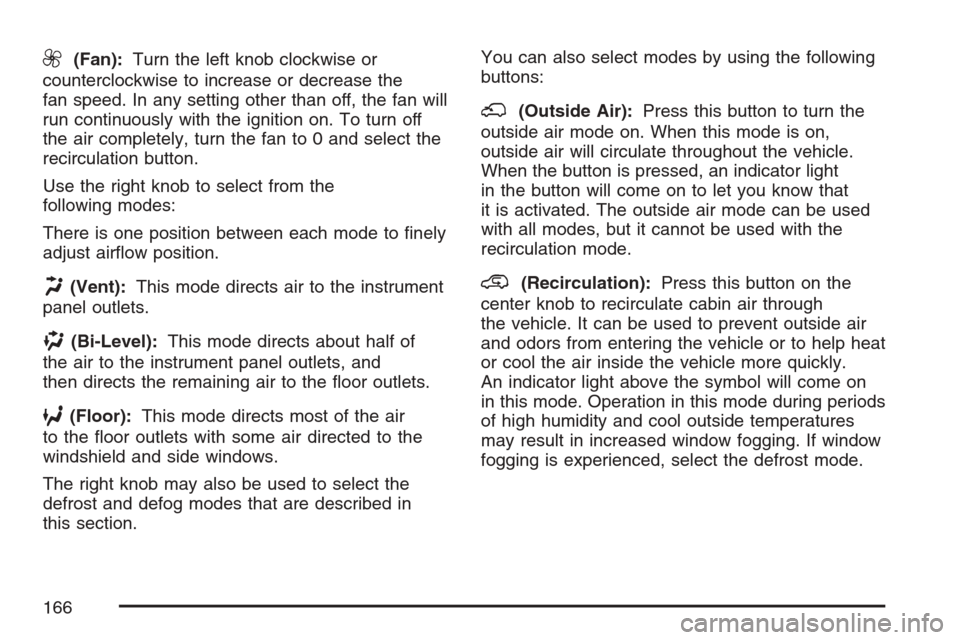
9(Fan):Turn the left knob clockwise or
counterclockwise to increase or decrease the
fan speed. In any setting other than off, the fan will
run continuously with the ignition on. To turn off
the air completely, turn the fan to 0 and select the
recirculation button.
Use the right knob to select from the
following modes:
There is one position between each mode to �nely
adjust air�ow position.
H(Vent):This mode directs air to the instrument
panel outlets.
)(Bi-Level):This mode directs about half of
the air to the instrument panel outlets, and
then directs the remaining air to the �oor outlets.
6(Floor):This mode directs most of the air
to the �oor outlets with some air directed to the
windshield and side windows.
The right knob may also be used to select the
defrost and defog modes that are described in
this section.You can also select modes by using the following
buttons:
;(Outside Air):Press this button to turn the
outside air mode on. When this mode is on,
outside air will circulate throughout the vehicle.
When the button is pressed, an indicator light
in the button will come on to let you know that
it is activated. The outside air mode can be used
with all modes, but it cannot be used with the
recirculation mode.
@(Recirculation):Press this button on the
center knob to recirculate cabin air through
the vehicle. It can be used to prevent outside air
and odors from entering the vehicle or to help heat
or cool the air inside the vehicle more quickly.
An indicator light above the symbol will come on
in this mode. Operation in this mode during periods
of high humidity and cool outside temperatures
may result in increased window fogging. If window
fogging is experienced, select the defrost mode.
166
Page 216 of 492
Here are some ways in which you can help avoid
distraction while driving.
While your vehicle is parked:
Familiarize yourself with all of its controls.
Familiarize yourself with its operation.
Set up your audio system by presetting your
favorite radio stations, setting the tone, and
adjusting the speakers. Then, when driving
conditions permit, you can tune to your favorite
radio stations using the presets and steering
wheel controls if the vehicle has them.
Notice:Before adding any sound equipment to
your vehicle, such as an audio system, CD
player, CB radio, mobile telephone, or two-way
radio, make sure that it can be added by
checking with your dealer. Also, check federal
rules covering mobile radio and telephone
units. If sound equipment can be added, it is
very important to do it properly. Added sound
equipment may interfere with the operation of
your vehicle’s engine, radio, or other systems,
and even damage them. Your vehicle’s systems
may interfere with the operation of sound
equipment that has been added.Your vehicle has a feature called Retained
Accessory Power (RAP). With RAP, the
audio system can be played even after the
ignition is turned off. SeeRetained Accessory
Power (RAP) on page 116for more information.Setting the Time (Without Date
Display)
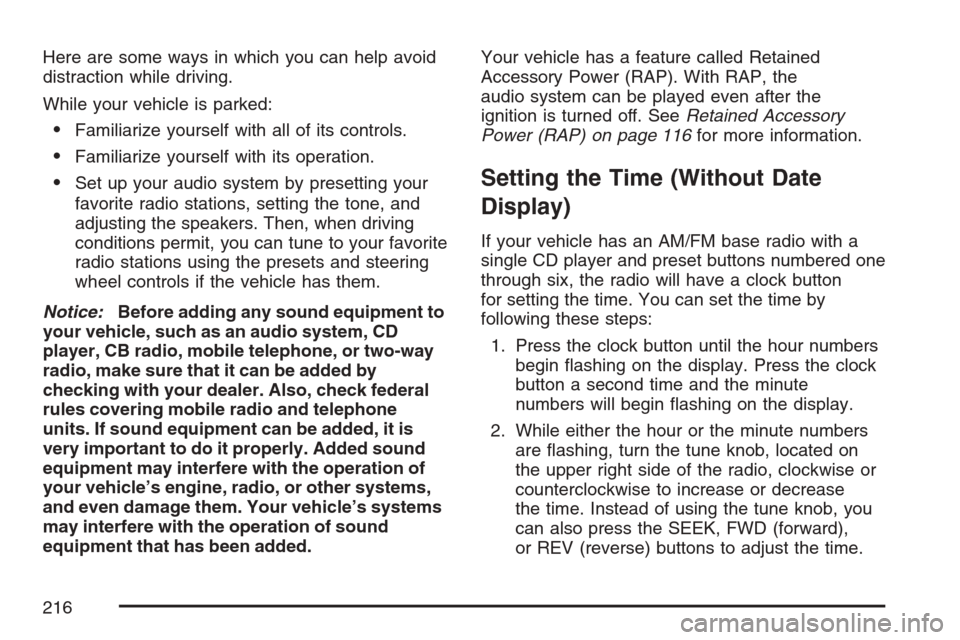
If your vehicle has an AM/FM base radio with a
single CD player and preset buttons numbered one
through six, the radio will have a clock button
for setting the time. You can set the time by
following these steps:
1. Press the clock button until the hour numbers
begin �ashing on the display. Press the clock
button a second time and the minute
numbers will begin �ashing on the display.
2. While either the hour or the minute numbers
are �ashing, turn the tune knob, located on
the upper right side of the radio, clockwise or
counterclockwise to increase or decrease
the time. Instead of using the tune knob, you
can also press the SEEK, FWD (forward),
or REV (reverse) buttons to adjust the time.
216
Page 217 of 492
3. Press the clock button again until the clock
display stops �ashing to set the currently
displayed time; otherwise, the �ashing will stop
after �ve seconds and the current time
displayed will be automatically set.
To change the time default setting from 12 hour to
24 hour, press the clock button and then the
pushbutton located under the forward arrow label.
Once the time 12H and 24H are displayed,
press the pushbutton located under the desired
option to select the default. Press the clock button
again to apply the selected default, or let the
screen time out.
Setting the Time (With Date Display)
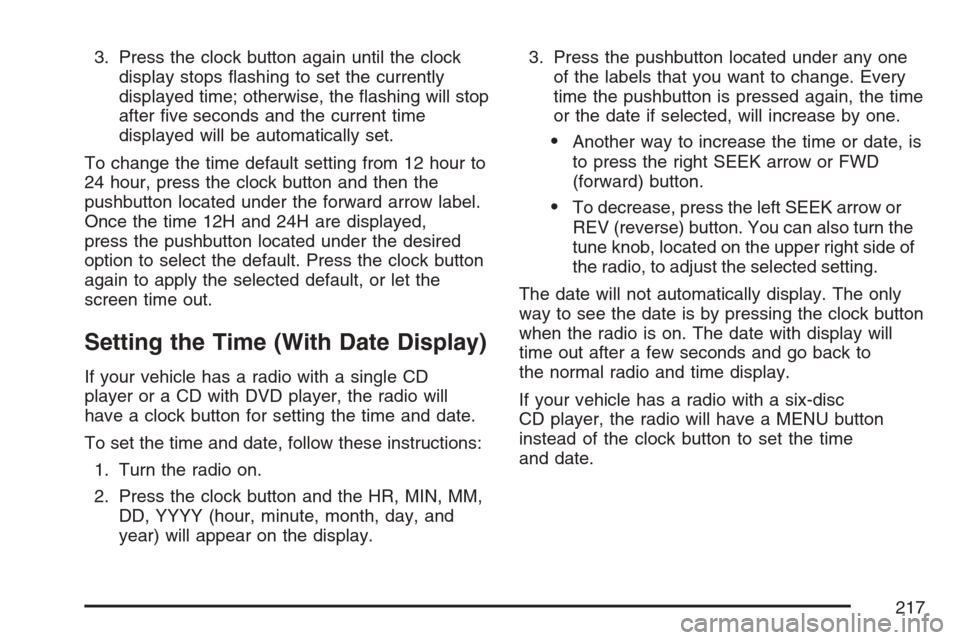
If your vehicle has a radio with a single CD
player or a CD with DVD player, the radio will
have a clock button for setting the time and date.
To set the time and date, follow these instructions:
1. Turn the radio on.
2. Press the clock button and the HR, MIN, MM,
DD, YYYY (hour, minute, month, day, and
year) will appear on the display.3. Press the pushbutton located under any one
of the labels that you want to change. Every
time the pushbutton is pressed again, the time
or the date if selected, will increase by one.
Another way to increase the time or date, is
to press the right SEEK arrow or FWD
(forward) button.
To decrease, press the left SEEK arrow or
REV (reverse) button. You can also turn the
tune knob, located on the upper right side of
the radio, to adjust the selected setting.
The date will not automatically display. The only
way to see the date is by pressing the clock button
when the radio is on. The date with display will
time out after a few seconds and go back to
the normal radio and time display.
If your vehicle has a radio with a six-disc
CD player, the radio will have a MENU button
instead of the clock button to set the time
and date.
217
Page 218 of 492
To set the time and date, follow these instructions:
1. Turn the radio on.
2. Press the MENU button. Once the clock
option is displayed.
3. Press the pushbutton located under that label.
The HR, MIN, MM, DD, YYYY will appear on
the display.
4. Press the pushbutton located under any one
of the labels that you want to change. Every
time the pushbutton is pressed again, the time
or the date if selected, will increase by one.
Another way to increase the time or date, is
to press the right SEEK arrow or FWD
(forward) button.
To decrease, press the left SEEK arrow or
REV (reverse) button. You can also turn the
tune knob, located on the upper right side of
the radio, to adjust the selected setting.The date will not automatically display. The only
way to see the date is by pressing the MENU
button and then the clock button when the radio is
on. The date with display will time out after a
few seconds and go back to the normal radio and
time display.
To change the time default setting from 12 hour to
24 hour or to change the date default setting
from month/day/year to day/month/year, follow
these instructions:
1. Press the clock button and then the
pushbutton located under the forward arrow
label. Once the time 12H and 24H, and
the date MM/DD/YYYY (month, day, and year)
and DD/MM/YYYY (day, month, and year)
are displayed.
2. Press the pushbutton located under the
desired option.
3. Press the clock or MENU button again to
apply the selected default, or let the screen
time out.
218
Page 219 of 492
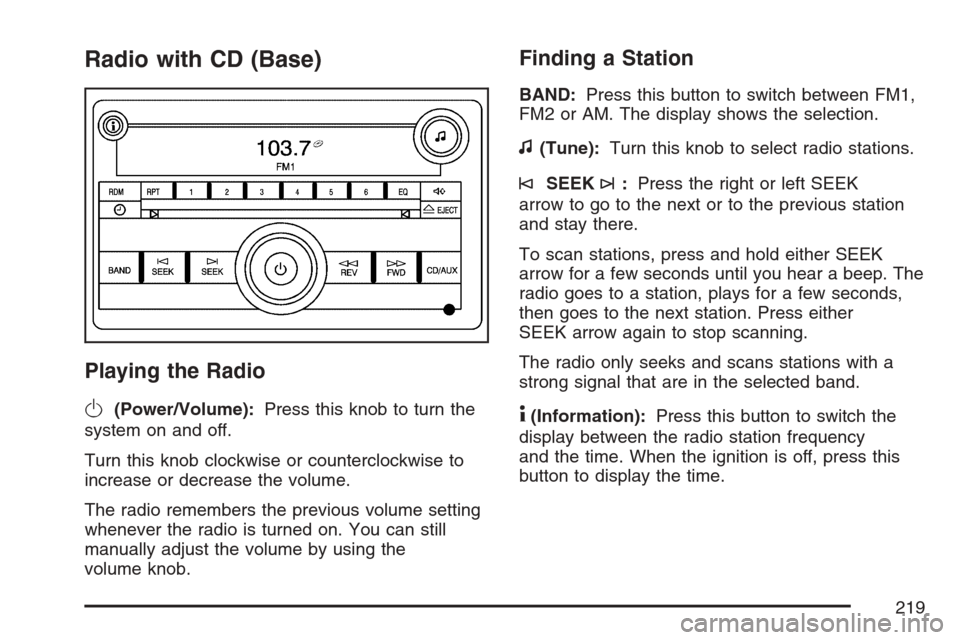
Radio with CD (Base)
Playing the Radio
O
(Power/Volume):Press this knob to turn the
system on and off.
Turn this knob clockwise or counterclockwise to
increase or decrease the volume.
The radio remembers the previous volume setting
whenever the radio is turned on. You can still
manually adjust the volume by using the
volume knob.
Finding a Station
BAND:Press this button to switch between FM1,
FM2 or AM. The display shows the selection.
f(Tune):Turn this knob to select radio stations.
©SEEK¨:Press the right or left SEEK
arrow to go to the next or to the previous station
and stay there.
To scan stations, press and hold either SEEK
arrow for a few seconds until you hear a beep. The
radio goes to a station, plays for a few seconds,
then goes to the next station. Press either
SEEK arrow again to stop scanning.
The radio only seeks and scans stations with a
strong signal that are in the selected band.
4(Information):Press this button to switch the
display between the radio station frequency
and the time. When the ignition is off, press this
button to display the time.
219
Page 220 of 492
Setting Preset Stations
Up to 18 stations (six FM1, six FM2, and six AM),
can be programmed on the six numbered
pushbuttons, by performing the following steps:
1. Turn the radio on.
2. Press BAND to select FM1, FM2, or AM.
3. Tune in the desired station.
4. Press and hold one of the six numbered
pushbuttons for three seconds until you
hear a beep. Whenever that pushbutton is
pressed and released, the station that was
set returns.
5. Repeat the Steps 2-4 for each pushbutton.
Setting the Tone (Bass/Treble)
EQ (Equalization):To adjust the bass or treble,
press the tune knob or EQ button until the
desired tone control label appears on the display.
Turn the tune knob clockwise or counterclockwise
to increase or decrease the setting. The display
shows the current bass or treble level. If a station’s
frequency is weak, or if there is static, decrease
the treble.
Adjusting the Speakers (Balance/Fade)
`
BAL/FADE (Balance/Fade):To adjust the
balance or fade, press this button or the tune knob
until the desired speaker control label appears
on the display. Turn the tune knob clockwise
or counterclockwise to adjust the setting.
Radio Messages
Calibration Error:The audio system has been
calibrated for your vehicle from the factory. If
Calibration Error appears on the display, it means
that the radio has not been con�gured properly
for your vehicle and it must be returned to
your dealer for service.
Loc (Locked):This message is displayed when
the THEFTLOCK
®system has locked up the radio.
Take the vehicle to your dealer for service.
If any error occurs repeatedly or if an error cannot
be corrected, contact your dealer.
220
Page 225 of 492
This system relies upon receiving speci�c
information from these stations and only works
when the information is available. While the
radio is tuned to an FM-RDS station, the station
name or call letters appear on the display. In rare
cases, a radio station may broadcast incorrect
information that causes the radio features to
work improperly. If this happens, contact the
radio station.
XM™ Satellite Radio Service
XM™ is a satellite radio service that is based in
the 48 contiguous United States and Canada.
XM™ offers a large variety of coast-to-coast
channels including music, news, sports, talk,
traffic/weather (U.S. subscribers), and children’s
programming. XM™ provides digital quality
audio and text information that includes song title
and artist name. A service fee is required in
order to receive the XM™ service. For more
information, contact XM™; In the U.S. at
www.xmradio.com or call 1-800-852-XMXM (9696)
or in Canada at www.xmradio.ca or call
1-877-GET-XMSR (438-9677).
Playing the Radio
O
(Power/Volume):Press this knob to turn the
system on and off.
Turn this knob clockwise or counterclockwise to
increase or decrease the volume.
Speed Compensated Volume (SCV):The radio
is also equipped with Speed Compensated
Volume (SCV). When SCV is on, the radio volume
automatically adjusts to compensate for road and
wind noise as you speed up or slow down while
driving. That way, the volume level should sound
about the same as you drive. To activate SCV:
1. Set the radio volume to the desired level.
2. Press the MENU button to display the radio
setup menu.
3. Press the pushbutton under the AUTO
VOLUM (volume) label on the radio display.
4. Press the pushbutton under the desired Speed
Compensated Volume setting (OFF, Low,
Med (medium), or High) to select the level of
radio volume compensation. The display times
out after approximately 10 seconds. Each
higher setting allows for more radio volume
compensation at faster vehicle speeds.
225