2007 CHEVROLET CORVETTE power steering
[x] Cancel search: power steeringPage 7 of 488
Front Seats..................................................... 8
Manual Seats................................................ 8
Power Seats................................................. 8
Power Lumbar and Side Bolsters.................. 9
Heated Seats.............................................. 10
Memory Seat, Mirrors and Steering Wheel..... 10
Reclining Seatbacks.................................... 13
Seatback Latches........................................ 15
Safety Belts.................................................. 16
Safety Belts: They Are for Everyone........... 16
Questions and Answers About Safety Belts.... 20
How to Wear Safety Belts Properly............. 21
Driver Position............................................. 22
Safety Belt Use During Pregnancy.............. 29
Passenger Position...................................... 30
Safety Belt Pretensioners............................ 30
Safety Belt Extender................................... 30
Child Restraints............................................ 31
Older Children............................................. 31
Infants and Young Children......................... 34
Child Restraint Systems.............................. 37Lower Anchors and Tethers for
Children (LATCH) (Z06 Models Only)......... 42
Lower Anchors and Tethers for
Children (LATCH) (Coupe and
Convertible Models Only).......................... 46
Securing a Child Restraint in the
Passenger Seat Position.......................... 46
Airbag System.............................................. 50
Where Are the Airbags?.............................. 53
When Should an Airbag In�ate?.................. 55
What Makes an Airbag In�ate?................... 57
How Does an Airbag Restrain?................... 57
What Will You See After an Airbag In�ates? ... 58
Passenger Sensing System......................... 59
Servicing Your Airbag-Equipped Vehicle...... 64
Adding Equipment to Your
Airbag-Equipped Vehicle.......................... 65
Restraint System Check............................... 66
Checking the Restraint Systems.................. 66
Replacing Restraint System Parts
After a Crash........................................... 67
Section 1 Seats and Restraint Systems
7
Page 9 of 488
Your preferred seat position can be stored and
recalled if you have the memory option. See
Memory Seat, Mirrors and Steering Wheel
on page 10.
Power Lumbar and Side Bolsters
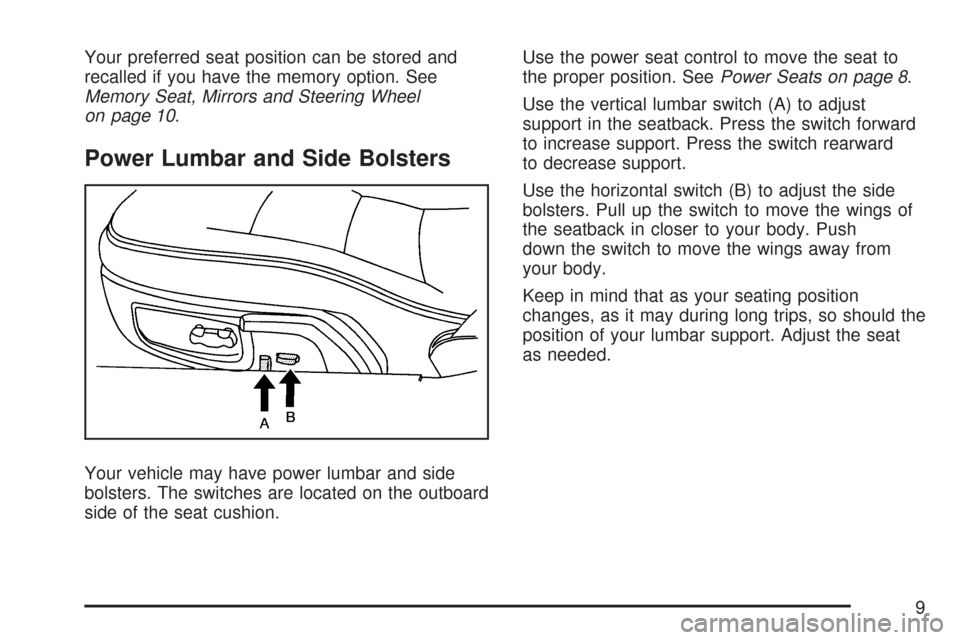
Your vehicle may have power lumbar and side
bolsters. The switches are located on the outboard
side of the seat cushion.Use the power seat control to move the seat to
the proper position. SeePower Seats on page 8.
Use the vertical lumbar switch (A) to adjust
support in the seatback. Press the switch forward
to increase support. Press the switch rearward
to decrease support.
Use the horizontal switch (B) to adjust the side
bolsters. Pull up the switch to move the wings of
the seatback in closer to your body. Push
down the switch to move the wings away from
your body.
Keep in mind that as your seating position
changes, as it may during long trips, so should the
position of your lumbar support. Adjust the seat
as needed.
9
Page 11 of 488
To program each button, use the following steps:
1. Adjust the settings for the driver’s seat
position, both outside mirrors, and the
telescopic steering column position to a
comfortable driving position.
2. Press and hold button 1 until two beeps are
heard, then release the button.
Your settings are now programmed.
A second seating, mirror, and telescopic steering
column position can be programmed by
repeating the above steps and pressing button 2
for driver 2.
To recall a memory position, do one of the
following:
If you have an automatic transmission vehicle,
press and release the desired button 1 or 2
while the vehicle is in PARK (P).
A single beep will sound and the memory
position will be recalled after a brief delay.
If the vehicle is not in PARK (P), three beeps
will sound and the memory position will
not be recalled.
If you have a manual transmission vehicle,
press and release the desired button 1 or 2.
If the vehicle is on, the parking brake needs to
be set to recall the memory position.
A single beep will sound and the memory
position will be recalled after a brief delay.
If the vehicle is on and the parking brake is not
set, three beeps will sound and the memory
position will not be recalled.
If your vehicle has the Auto Memory Recall
feature and it is turned on in the Driver Information
Center (DIC), the seat, mirrors, and telescopic
steering column position will automatically adjust
to their programmed positions when the engine
is started. See “Auto Memory Recall” under
DIC Vehicle Personalization on page 234for more
information.
To stop recall movement of the memory feature at
any time, press one of the power seat controls,
power mirror control buttons, memory buttons, or
the telescopic steering column switch.
11
Page 97 of 488
DRIVE (D):This position is for normal driving.
It provide the best fuel economy for your vehicle.
If you need more power for passing, and you are:
Going less than about 35 mph (56 km/h), push
the accelerator pedal about halfway down.
Going about 35 mph (56 km/h) or more, push
the accelerator all the way down.
Downshifting the transmission in slippery road
conditions could result in skidding, see “Skidding”
underLoss of Control on page 291.
SPORT MODE (S):When in SPORT MODE (S),
the transmission will work as an automatic
until you use the Manual Paddle Shift Controls,
which activates the driver manual gear selection.
See Manual Paddle Shift later in this section.
While in automatic SPORT MODE (S), the
transmission computer determines when the
vehicle is being driven in a competitive manner
and will select and hold the transmission in lower
gears and have more noticeable upshifts for
sportier vehicle performance.
Manual Paddle Shift
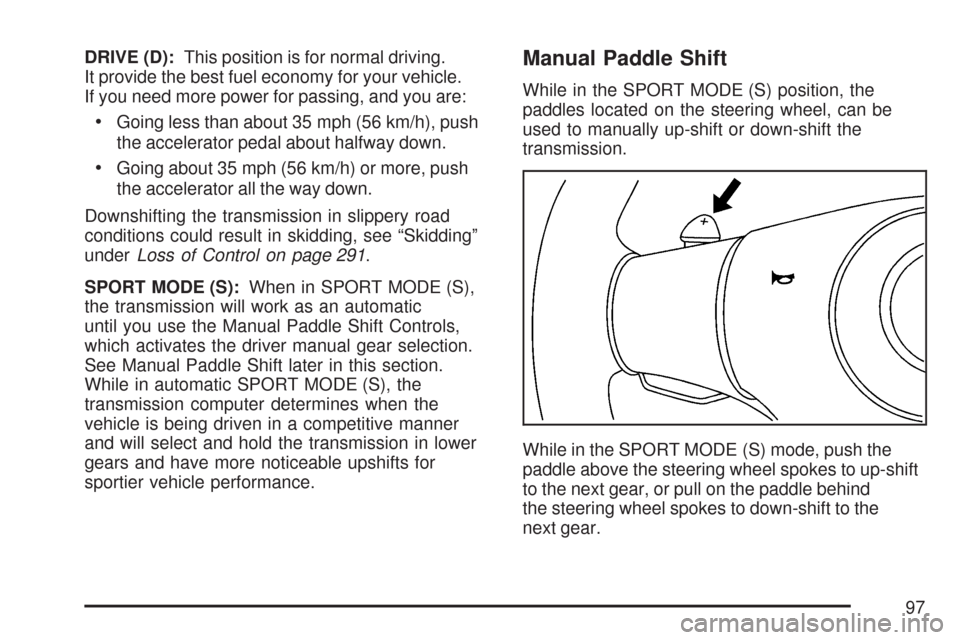
While in the SPORT MODE (S) position, the
paddles located on the steering wheel, can be
used to manually up-shift or down-shift the
transmission.
While in the SPORT MODE (S) mode, push the
paddle above the steering wheel spokes to up-shift
to the next gear, or pull on the paddle behind
the steering wheel spokes to down-shift to the
next gear.
97
Page 113 of 488
Cleaning the Mirror
When cleaning the mirror, use a paper towel or
similar material dampened with glass cleaner.
Do not spray glass cleaner directly on the mirror
as that may cause the liquid cleaner to enter
the mirror housing.
Outside Power Heated Mirrors
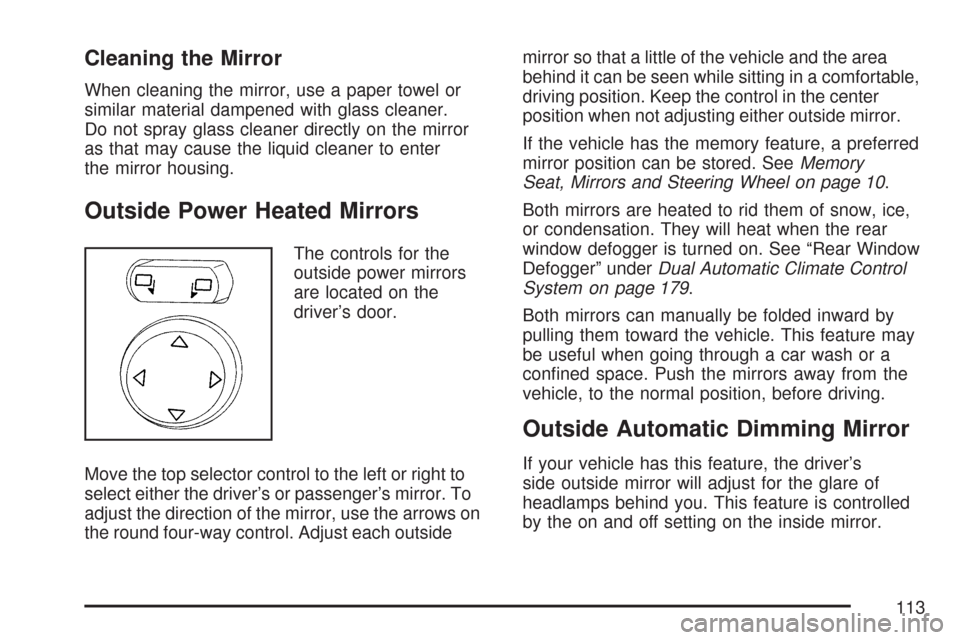
The controls for the
outside power mirrors
are located on the
driver’s door.
Move the top selector control to the left or right to
select either the driver’s or passenger’s mirror. To
adjust the direction of the mirror, use the arrows on
the round four-way control. Adjust each outsidemirror so that a little of the vehicle and the area
behind it can be seen while sitting in a comfortable,
driving position. Keep the control in the center
position when not adjusting either outside mirror.
If the vehicle has the memory feature, a preferred
mirror position can be stored. SeeMemory
Seat, Mirrors and Steering Wheel on page 10.
Both mirrors are heated to rid them of snow, ice,
or condensation. They will heat when the rear
window defogger is turned on. See “Rear Window
Defogger” underDual Automatic Climate Control
System on page 179.
Both mirrors can manually be folded inward by
pulling them toward the vehicle. This feature may
be useful when going through a car wash or a
con�ned space. Push the mirrors away from the
vehicle, to the normal position, before driving.
Outside Automatic Dimming Mirror
If your vehicle has this feature, the driver’s
side outside mirror will adjust for the glare of
headlamps behind you. This feature is controlled
by the on and off setting on the inside mirror.
113
Page 148 of 488
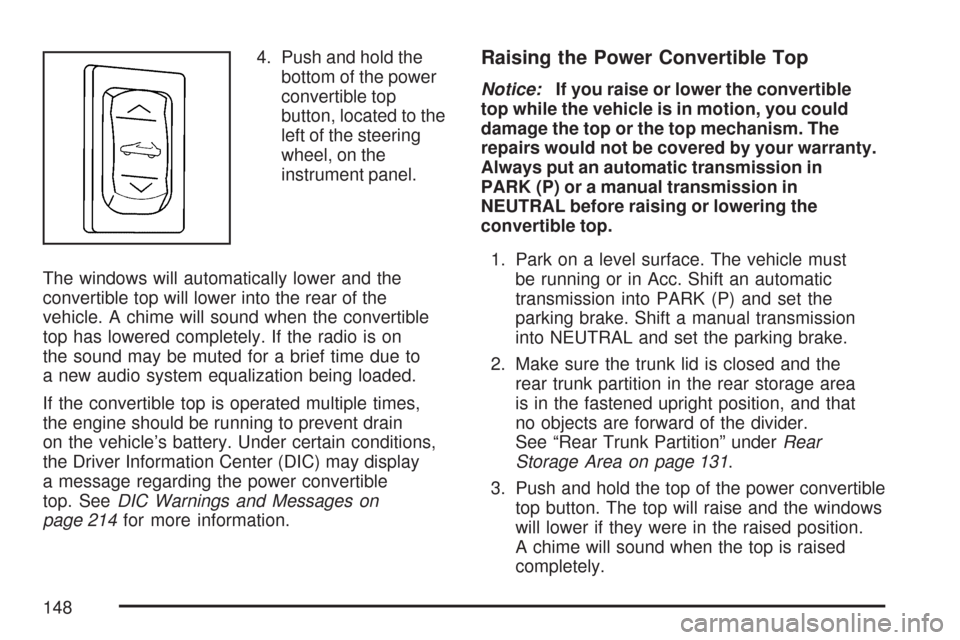
4. Push and hold the
bottom of the power
convertible top
button, located to the
left of the steering
wheel, on the
instrument panel.
The windows will automatically lower and the
convertible top will lower into the rear of the
vehicle. A chime will sound when the convertible
top has lowered completely. If the radio is on
the sound may be muted for a brief time due to
a new audio system equalization being loaded.
If the convertible top is operated multiple times,
the engine should be running to prevent drain
on the vehicle’s battery. Under certain conditions,
the Driver Information Center (DIC) may display
a message regarding the power convertible
top. SeeDIC Warnings and Messages on
page 214for more information.Raising the Power Convertible Top
Notice:If you raise or lower the convertible
top while the vehicle is in motion, you could
damage the top or the top mechanism. The
repairs would not be covered by your warranty.
Always put an automatic transmission in
PARK (P) or a manual transmission in
NEUTRAL before raising or lowering the
convertible top.
1. Park on a level surface. The vehicle must
be running or in Acc. Shift an automatic
transmission into PARK (P) and set the
parking brake. Shift a manual transmission
into NEUTRAL and set the parking brake.
2. Make sure the trunk lid is closed and the
rear trunk partition in the rear storage area
is in the fastened upright position, and that
no objects are forward of the divider.
See “Rear Trunk Partition” underRear
Storage Area on page 131.
3. Push and hold the top of the power convertible
top button. The top will raise and the windows
will lower if they were in the raised position.
A chime will sound when the top is raised
completely.
148
Page 157 of 488

The main components of your instrument panel are the following:
A. Air Outlet. SeeOutlet Adjustment on page 186.
B. Head-Up Display Controls (If Equipped).
SeeHead-Up Display (HUD) on page 174.
C. Turn Signal/Multifunction Lever. SeeTurn
Signal/Multifunction Lever on page 160. Cruise
Control. SeeCruise Control on page 164.
Fog Lamps. SeeFog Lamps on page 171.
Headlamp Controls. SeeExterior Lamps
on page 168.
D. Manual Shift Paddles (If Equipped). See
Automatic Transmission Operation on page 95.
E. Driver Information Center (DIC). SeeDriver
Information Center (DIC) on page 207.
F. Instrument Panel Cluster. SeeInstrument
Panel Cluster on page 189.
G. Audio Steering Wheel Controls (If Equipped).
SeeAudio Steering Wheel Controls on
page 269.
H. Windshield Wiper/Washer Lever. See
Windshield Wipers on page 162and
Windshield Washer on page 163.
I. Driver Information Center (DIC) Controls.
SeeDIC Controls and Displays on page 208.J. Center Air Outlets. SeeOutlet Adjustment
on page 186.
K. Hazard Warning Flasher Button. SeeHazard
Warning Flashers on page 158.
L. Audio System. SeeAudio System(s) on
page 244.
M. Climate Controls. SeeDual Automatic Climate
Control System on page 179.
N. Fuel Door Release Button. SeeFilling the Tank
on page 324. Hatch/Trunk Release Button.
See “Hatch/Trunk Lid Release” under
Hatch/Trunk on page 82.
O. Instrument Panel Brightness Control. See
Instrument Panel Brightness on page 172.
P. Power Folding Top Switch (If Equipped).
SeeConvertible Top (Manual) on page 139
orConvertible Top (Power) on page 146.
Q. Tilt Wheel Lever. SeeTilt Wheel on page 159.
R. Telescopic Wheel Button (If Equipped).
SeeTilt Wheel on page 159.
S. Ignition Switch. SeeIgnition Positions
on page 90.
157
Page 227 of 488
When this message is displayed, the computer
controlled systems will not assist the driver
in controlling the vehicle. Have the system repaired
by your dealer as soon as possible. Adjust your
driving accordingly. SeeTraction Control System
(TCS) on page 281for more information.
To acknowledge the message, press the RESET
button.
SERVICE TRANSMISSION
This message displays when there is a problem
with the transmission. See your dealer for service.
SERVICE VEHICLE SOON
This message displays and a chime sounds when
there may be an electrical or another system
problem with your vehicle. Have your vehicle
checked by your dealer if this message keeps
appearing.
SET PARK BRAKE FOR SEAT RECALL
If your vehicle has a manual transmission,
this message displays if you try to recall the
memory positions when the ignition is on and
the parking brake is not set. If the vehicle is on,
you must set the parking brake in order for
the memory positions to recall. SeeMemory
Seat, Mirrors and Steering Wheel on page 10for
more information.
SET PARK BRAKE TO MOVE TOP
If your vehicle has a manual transmission, this
message displays and a chime sounds if you try to
operate the power convertible top without �rst
setting the parking brake. Set the parking brake
before trying to operate the power convertible top.
SeeConvertible Top (Manual) on page 139or
Convertible Top (Power) on page 146for
more information.
227