2007 CHEVROLET CORVETTE change wheel
[x] Cancel search: change wheelPage 9 of 488
Your preferred seat position can be stored and
recalled if you have the memory option. See
Memory Seat, Mirrors and Steering Wheel
on page 10.
Power Lumbar and Side Bolsters
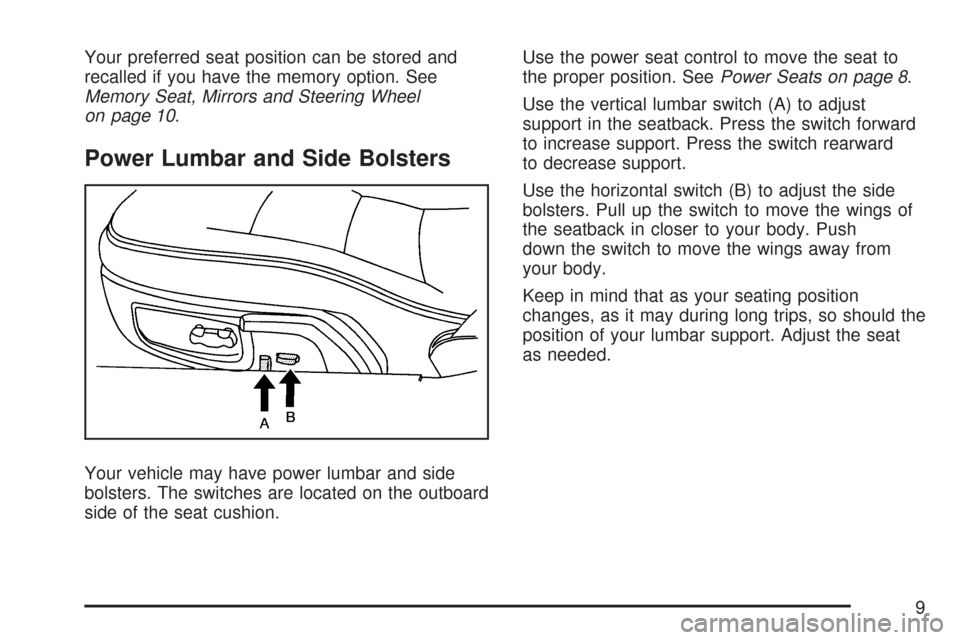
Your vehicle may have power lumbar and side
bolsters. The switches are located on the outboard
side of the seat cushion.Use the power seat control to move the seat to
the proper position. SeePower Seats on page 8.
Use the vertical lumbar switch (A) to adjust
support in the seatback. Press the switch forward
to increase support. Press the switch rearward
to decrease support.
Use the horizontal switch (B) to adjust the side
bolsters. Pull up the switch to move the wings of
the seatback in closer to your body. Push
down the switch to move the wings away from
your body.
Keep in mind that as your seating position
changes, as it may during long trips, so should the
position of your lumbar support. Adjust the seat
as needed.
9
Page 153 of 488

Instrument Panel Overview........................ 156
Hazard Warning Flashers.......................... 158
Other Warning Devices............................. 159
Horn.......................................................... 159
Tilt Wheel.................................................. 159
Turn Signal/Multifunction Lever.................. 160
Turn and Lane-Change Signals
(Auto Signal).......................................... 161
Headlamp High/Low-Beam Changer.......... 162
Flash-to-Pass............................................ 162
Windshield Wipers..................................... 162
Windshield Washer.................................... 163
Cruise Control........................................... 164
Exterior Lamps.......................................... 168
Wiper Activated Headlamps....................... 169
Headlamps on Reminder........................... 169
Daytime Running Lamps (DRL)................. 169
Fog Lamps................................................ 171
Twilight Sentinel
®...................................... 171
Exterior Lighting Battery Saver.................. 172
Instrument Panel Brightness...................... 172
Courtesy Lamps........................................ 173
Entry/Exit Lighting...................................... 173
Reading Lamps......................................... 173
Battery Run-Down Protection..................... 173Head-Up Display (HUD)............................ 174
Accessory Power Outlet(s)........................ 178
Ashtray(s) and Cigarette Lighter................ 179
Climate Controls......................................... 179
Dual Automatic Climate Control System.... 179
Outlet Adjustment...................................... 186
Passenger Compartment Air Filter............. 186
Warning Lights, Gages, and Indicators..... 188
Instrument Panel Cluster........................... 189
Speedometer and Odometer...................... 190
Tachometer............................................... 190
Safety Belt Reminder Light........................ 190
Airbag Readiness Light............................. 191
Passenger Airbag Status Indicator............. 192
Voltmeter Gage......................................... 194
One-to-Four Shift Light
(Manual Transmission)........................... 195
Brake System Warning Light..................... 196
Anti-Lock Brake System Warning Light...... 197
Traction Control System (TCS)
Warning Light........................................ 197
Active Handling System Light.................... 198
Engine Coolant Temperature Gage............ 199
Section 3 Instrument Panel
153
Page 160 of 488

Telescopic Steering Column
If your vehicle has this feature, the telescopic
steering column will allow you to adjust the
distance the steering wheel is from the
instrument panel.
The telescopic steering
column switch is located
on the right side of
the steering column.
To operate the telescopic steering column, push
the switch forward and the wheel will move
away from you. Pull the switch rearward and the
wheel will move toward you
The telescopic steering column position can be
stored with your memory settings. SeeMemory
Seat, Mirrors and Steering Wheel on page 10
for more information.
Turn Signal/Multifunction Lever
The lever on the left side of the steering column
includes the following:
GTurn and Lane-Change Signals.
SeeTurn and Lane-Change Signals
(Auto Signal) on page 161.
3Headlamp High/Low-Beam Changer.
SeeHeadlamp High/Low-Beam Changer
on page 162.
-Fog Lamps. SeeFog Lamps on page 171.
Flash-to-Pass Feature. SeeFlash-to-Pass
on page 162.
160
Page 164 of 488
Cruise Control
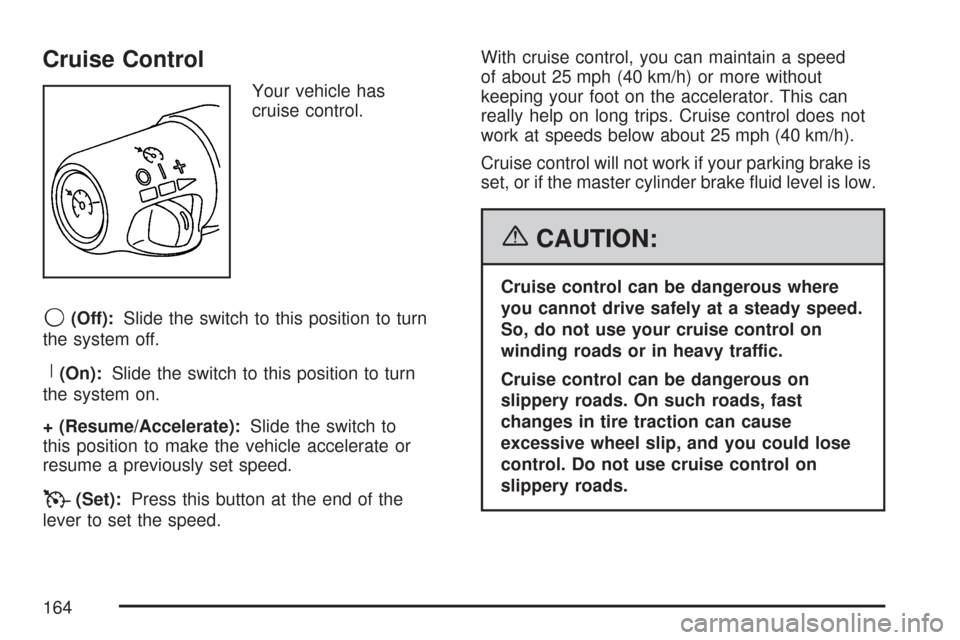
Your vehicle has
cruise control.
9(Off):Slide the switch to this position to turn
the system off.
R(On):Slide the switch to this position to turn
the system on.
+ (Resume/Accelerate):Slide the switch to
this position to make the vehicle accelerate or
resume a previously set speed.
T(Set):Press this button at the end of the
lever to set the speed.With cruise control, you can maintain a speed
of about 25 mph (40 km/h) or more without
keeping your foot on the accelerator. This can
really help on long trips. Cruise control does not
work at speeds below about 25 mph (40 km/h).
Cruise control will not work if your parking brake is
set, or if the master cylinder brake �uid level is low.
{CAUTION:
Cruise control can be dangerous where
you cannot drive safely at a steady speed.
So, do not use your cruise control on
winding roads or in heavy traffic.
Cruise control can be dangerous on
slippery roads. On such roads, fast
changes in tire traction can cause
excessive wheel slip, and you could lose
control. Do not use cruise control on
slippery roads.
164
Page 245 of 488

While your vehicle is parked:
Familiarize yourself with all of its controls.
Familiarize yourself with its operation.
Set up your audio system by presetting your
favorite radio stations, setting the tone, and
adjusting the speakers. Then, when driving
conditions permit, you can tune to your favorite
radio stations using the presets and steering
wheel controls if the vehicle has them.
Notice:Before adding any sound equipment
to your vehicle, such as an audio system,
CD player, CB radio, mobile telephone,
or two-way radio, make sure that it can be
added by checking with your dealer/retailer.
Also, check federal rules covering mobile radio
and telephone units. If sound equipment can
be added, it is very important to do it properly.
Added sound equipment may interfere with
the operation of your vehicle’s engine, radio,
or other systems, and even damage them.
Your vehicle’s systems may interfere with
the operation of sound equipment that
has been added.Your vehicle has a feature called Retained
Accessory Power (RAP). With RAP, the audio
system can be played even after the ignition
is turned off. SeeRetained Accessory Power
(RAP) on page 91for more information.
Setting the Time
With the ignition on and the radio off, press
the H or the M button to enter clock mode.
Press and hold H until the correct hour appears
on the display. Press and hold M until the
correct minute appears on the display.
To change the time default setting from 12 hour
to 24 hour, press either the H or the M button
to enter the clock mode. Press the tune knob
to select between the 12 or 24 hour display format.
The clock mode automatically times out with
the changed display format set as the current
default setting.
245
Page 280 of 488
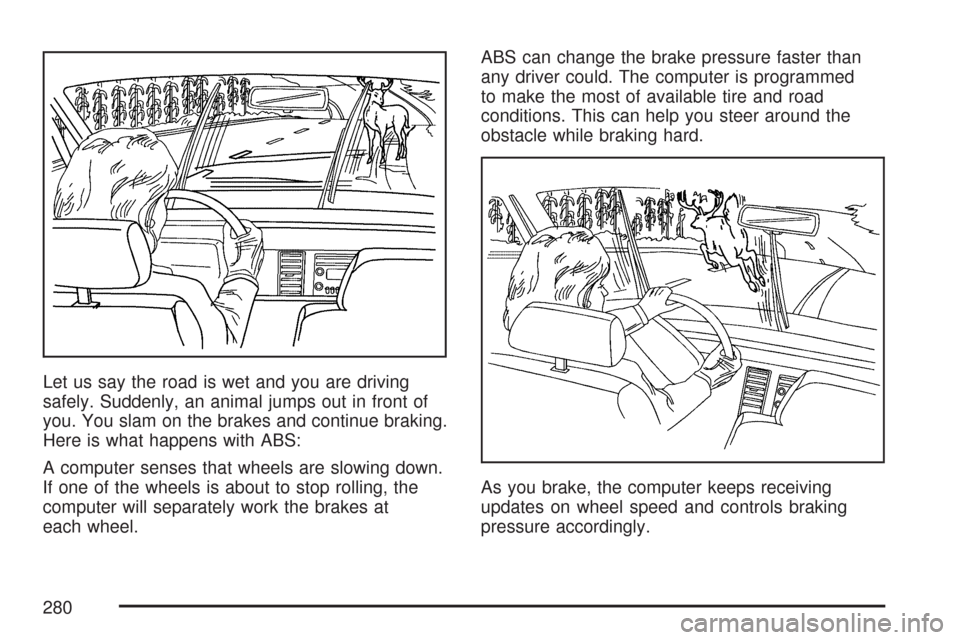
Let us say the road is wet and you are driving
safely. Suddenly, an animal jumps out in front of
you. You slam on the brakes and continue braking.
Here is what happens with ABS:
A computer senses that wheels are slowing down.
If one of the wheels is about to stop rolling, the
computer will separately work the brakes at
each wheel.ABS can change the brake pressure faster than
any driver could. The computer is programmed
to make the most of available tire and road
conditions. This can help you steer around the
obstacle while braking hard.
As you brake, the computer keeps receiving
updates on wheel speed and controls braking
pressure accordingly.
280
Page 281 of 488
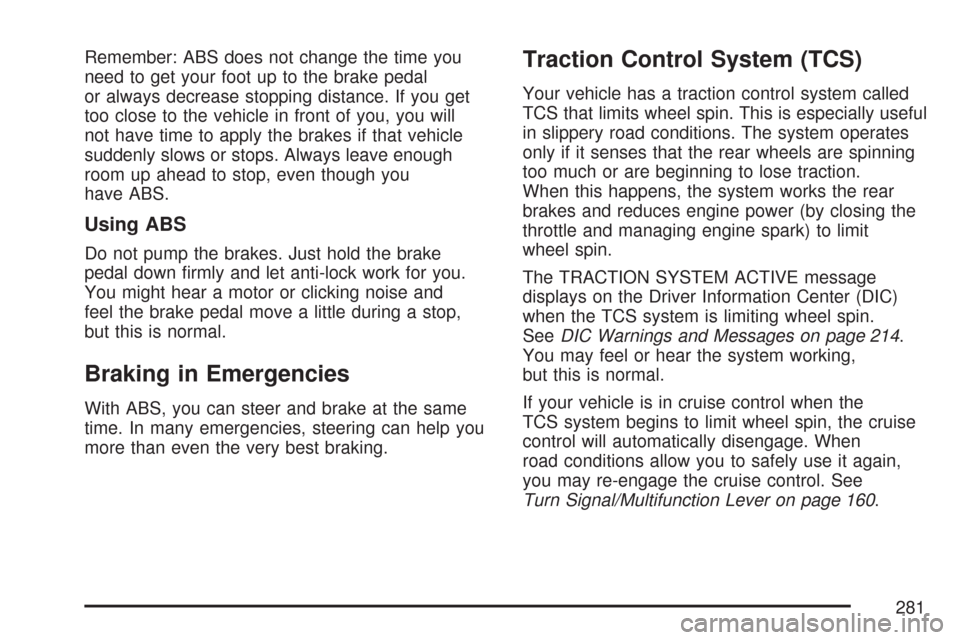
Remember: ABS does not change the time you
need to get your foot up to the brake pedal
or always decrease stopping distance. If you get
too close to the vehicle in front of you, you will
not have time to apply the brakes if that vehicle
suddenly slows or stops. Always leave enough
room up ahead to stop, even though you
have ABS.
Using ABS
Do not pump the brakes. Just hold the brake
pedal down �rmly and let anti-lock work for you.
You might hear a motor or clicking noise and
feel the brake pedal move a little during a stop,
but this is normal.
Braking in Emergencies
With ABS, you can steer and brake at the same
time. In many emergencies, steering can help you
more than even the very best braking.
Traction Control System (TCS)
Your vehicle has a traction control system called
TCS that limits wheel spin. This is especially useful
in slippery road conditions. The system operates
only if it senses that the rear wheels are spinning
too much or are beginning to lose traction.
When this happens, the system works the rear
brakes and reduces engine power (by closing the
throttle and managing engine spark) to limit
wheel spin.
The TRACTION SYSTEM ACTIVE message
displays on the Driver Information Center (DIC)
when the TCS system is limiting wheel spin.
SeeDIC Warnings and Messages on page 214.
You may feel or hear the system working,
but this is normal.
If your vehicle is in cruise control when the
TCS system begins to limit wheel spin, the cruise
control will automatically disengage. When
road conditions allow you to safely use it again,
you may re-engage the cruise control. See
Turn Signal/Multifunction Lever on page 160.
281
Page 286 of 488
Selective Ride Control
You may have a ride control system on your
vehicle called Magnetic Selective Ride Control.
The system provides the following performance
bene�ts:
Reduced Impact Harshness
Improved Road Isolation
Improved High-Speed Stability
Improved Handling Response
Better Control of Body Ride Motions
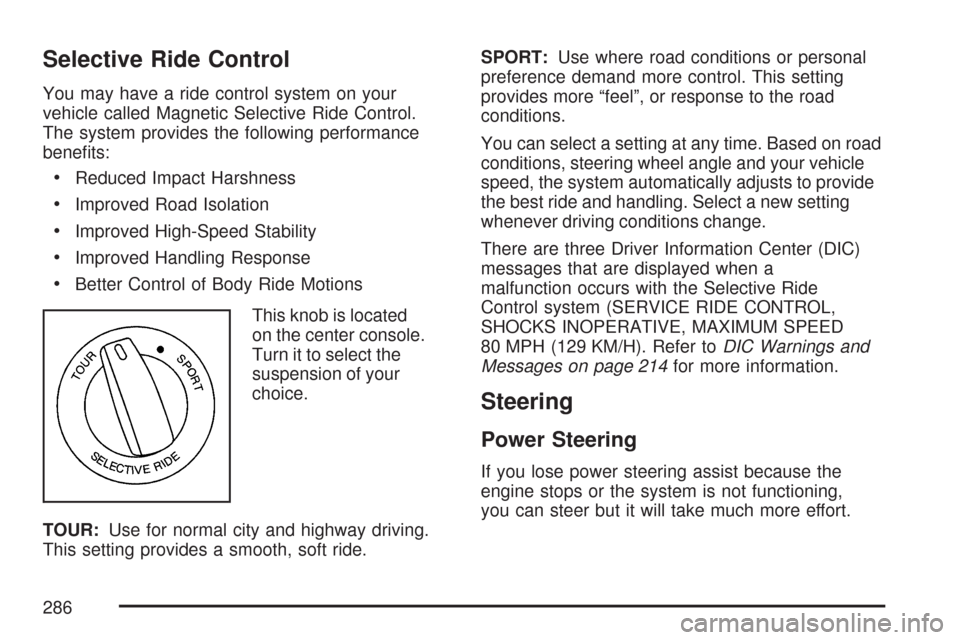
This knob is located
on the center console.
Turn it to select the
suspension of your
choice.
TOUR:Use for normal city and highway driving.
This setting provides a smooth, soft ride.SPORT:Use where road conditions or personal
preference demand more control. This setting
provides more “feel”, or response to the road
conditions.
You can select a setting at any time. Based on road
conditions, steering wheel angle and your vehicle
speed, the system automatically adjusts to provide
the best ride and handling. Select a new setting
whenever driving conditions change.
There are three Driver Information Center (DIC)
messages that are displayed when a
malfunction occurs with the Selective Ride
Control system (SERVICE RIDE CONTROL,
SHOCKS INOPERATIVE, MAXIMUM SPEED
80 MPH (129 KM/H). Refer toDIC Warnings and
Messages on page 214for more information.
Steering
Power Steering
If you lose power steering assist because the
engine stops or the system is not functioning,
you can steer but it will take much more effort.
286