Page 161 of 436
If the airbag readiness light stays on after you
start the vehicle or comes on when you are driving,
your airbag system may not work properly.
Have your vehicle serviced right away.
{CAUTION:
If the airbag readiness light stays on after
you start your vehicle, it means the airbag
system may not be working properly. The
airbags in your vehicle may not in�ate in
a crash, or they could even in�ate without
a crash. To help avoid injury to yourself
or others, have your vehicle serviced right
away if the airbag readiness light stays on
after you start your vehicle.
The airbag readiness light should flash for a few
seconds when you turn the ignition key to RUN. If
the light does not come on then, have it fixed
so it will be ready to warn you if there is a problem.
Passenger Airbag Status Indicator
(Sedan)
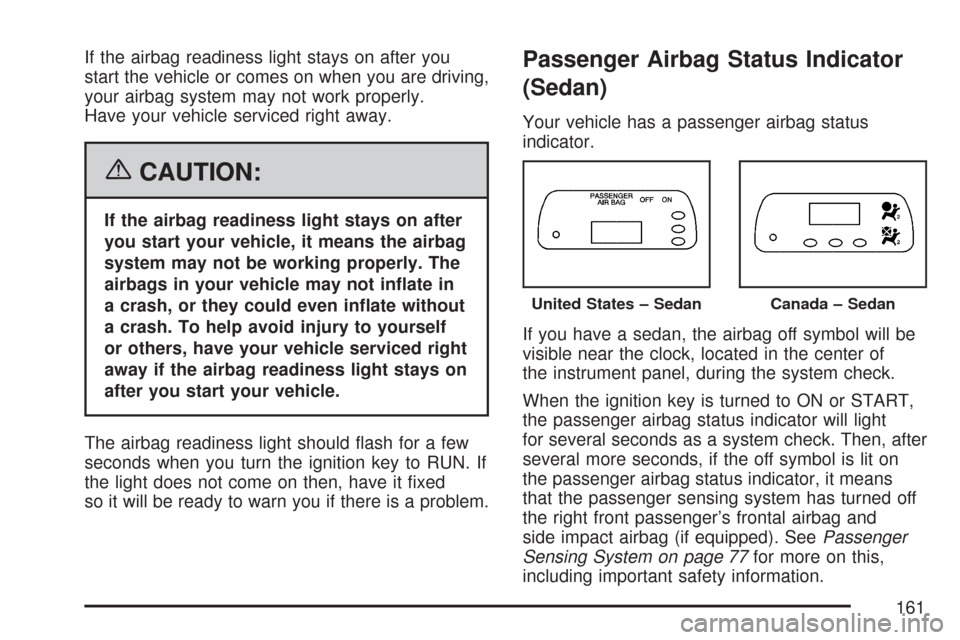
Your vehicle has a passenger airbag status
indicator.
If you have a sedan, the airbag off symbol will be
visible near the clock, located in the center of
the instrument panel, during the system check.
When the ignition key is turned to ON or START,
the passenger airbag status indicator will light
for several seconds as a system check. Then, after
several more seconds, if the off symbol is lit on
the passenger airbag status indicator, it means
that the passenger sensing system has turned off
the right front passenger’s frontal airbag and
side impact airbag (if equipped). SeePassenger
Sensing System on page 77for more on this,
including important safety information.
United States – SedanCanada – Sedan
161
Page 162 of 436
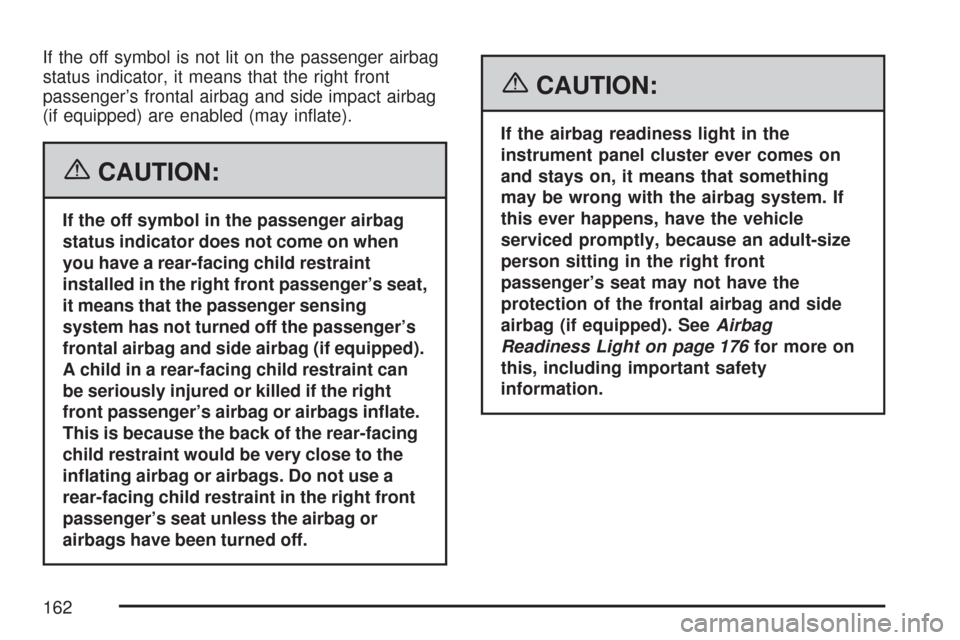
If the off symbol is not lit on the passenger airbag
status indicator, it means that the right front
passenger’s frontal airbag and side impact airbag
(if equipped) are enabled (may inflate).
{CAUTION:
If the off symbol in the passenger airbag
status indicator does not come on when
you have a rear-facing child restraint
installed in the right front passenger’s seat,
it means that the passenger sensing
system has not turned off the passenger’s
frontal airbag and side airbag (if equipped).
A child in a rear-facing child restraint can
be seriously injured or killed if the right
front passenger’s airbag or airbags in�ate.
This is because the back of the rear-facing
child restraint would be very close to the
in�ating airbag or airbags. Do not use a
rear-facing child restraint in the right front
passenger’s seat unless the airbag or
airbags have been turned off.
{CAUTION:
If the airbag readiness light in the
instrument panel cluster ever comes on
and stays on, it means that something
may be wrong with the airbag system. If
this ever happens, have the vehicle
serviced promptly, because an adult-size
person sitting in the right front
passenger’s seat may not have the
protection of the frontal airbag and side
airbag (if equipped). SeeAirbag
Readiness Light on page 176for more on
this, including important safety
information.
162
Page 175 of 436
The secondary information center (SIC) displays
some of the warning lights and indicators. The SIC
is located in the center of the instrument panel,
above the center air outlets. The digital clock
is also located in the center of the SIC. SeeClock
(Hatchback Only) on page 174andInstrument
Panel Overview on page 132for more information.
Clock (Hatchback Only)
Your vehicle has a digital clock. The clock is
located in the secondary instrument cluster on
the center of the instrument panel, above
the center air outlets. When the ignition is turned
to ACC or ON, the time is displayed in the
digital clock. There are two adjusting buttons for
the digital clock:
H (Hour):To go forward one hour, press the
H button once. To go forward more than one hour,
press and hold the button until the correct hour
is reached.M (Minute):To go forward one minute, press
the M button once. To go forward more than
one minute, press and hold the button until the
correct minute is reached.
After disconnecting the battery or replacing the
fuse, reset the clock.
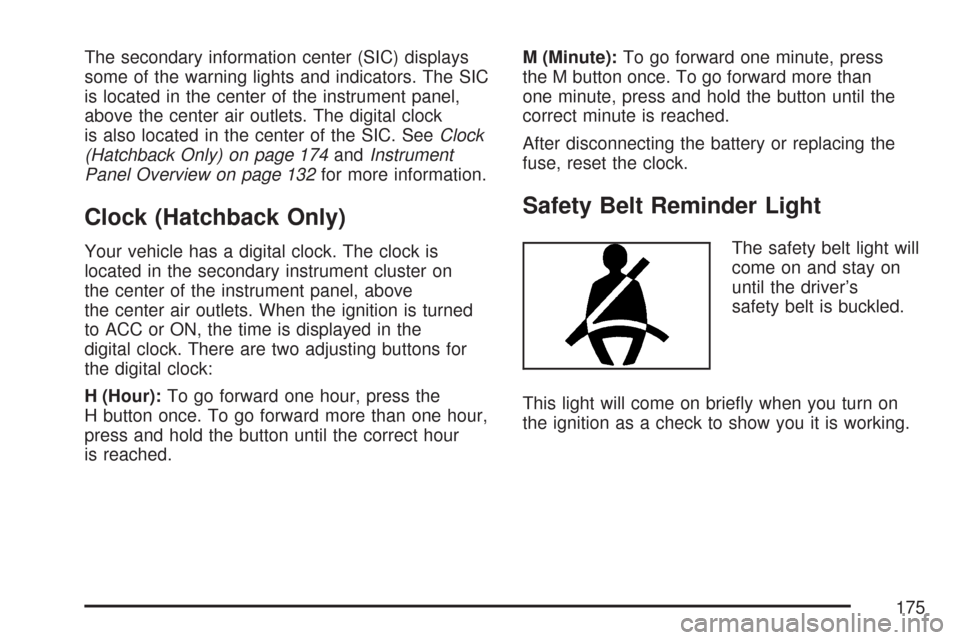
Safety Belt Reminder Light
The safety belt light will
come on and stay on
until the driver’s
safety belt is buckled.
This light will come on briefly when you turn on
the ignition as a check to show you it is working.
175
Page 178 of 436
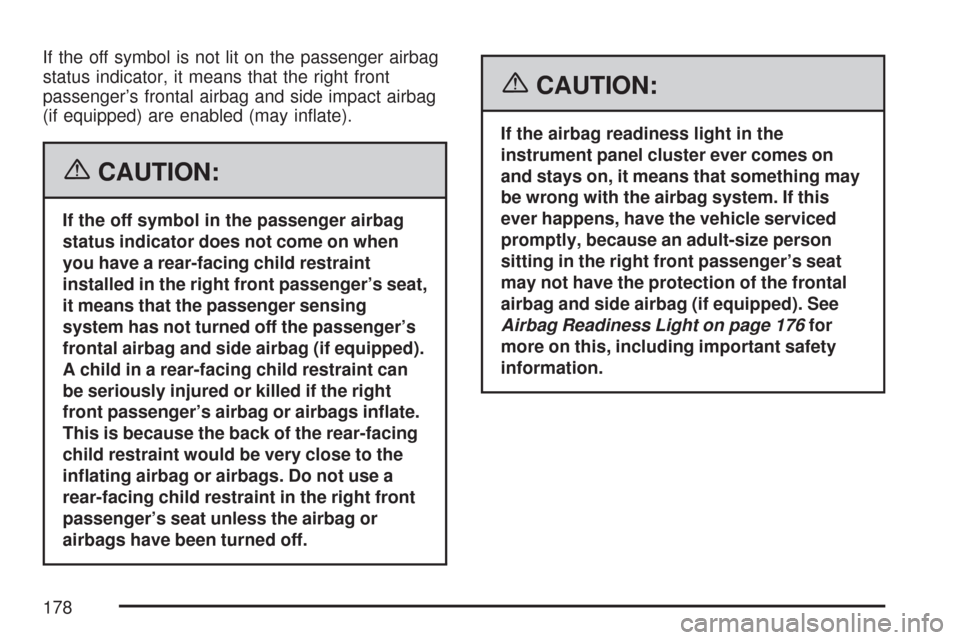
If the off symbol is not lit on the passenger airbag
status indicator, it means that the right front
passenger’s frontal airbag and side impact airbag
(if equipped) are enabled (may inflate).
{CAUTION:
If the off symbol in the passenger airbag
status indicator does not come on when
you have a rear-facing child restraint
installed in the right front passenger’s seat,
it means that the passenger sensing
system has not turned off the passenger’s
frontal airbag and side airbag (if equipped).
A child in a rear-facing child restraint can
be seriously injured or killed if the right
front passenger’s airbag or airbags in�ate.
This is because the back of the rear-facing
child restraint would be very close to the
in�ating airbag or airbags. Do not use a
rear-facing child restraint in the right front
passenger’s seat unless the airbag or
airbags have been turned off.
{CAUTION:
If the airbag readiness light in the
instrument panel cluster ever comes on
and stays on, it means that something may
be wrong with the airbag system. If this
ever happens, have the vehicle serviced
promptly, because an adult-size person
sitting in the right front passenger’s seat
may not have the protection of the frontal
airbag and side airbag (if equipped). See
Airbag Readiness Light on page 176for
more on this, including important safety
information.
178
Page 225 of 436
Avoid needless heavy braking. Some people drive
in spurts — heavy acceleration followed by heavy
braking — rather than keeping pace with traffic.
This is a mistake. The brakes may not have time to
cool between hard stops. The brakes will wear out
much faster if you do a lot of heavy braking. If you
keep pace with the traffic and allow realistic
following distances, you will eliminate a lot of
unnecessary braking. That means better braking
and longer brake life.
If your vehicle’s engine ever stops while you are
driving, brake normally but do not pump the
brakes. If you do, the pedal may get harder to
push down. If the engine stops, you will still have
some power brake assist. But you will use it
when you brake. Once the power assist is used
up, it may take longer to stop and the brake pedal
will be harder to push.
Adding non-GM accessories can affect your
vehicle’s performance. SeeAccessories and
Modifications on page 264.Anti-Lock Brake System (ABS)
Your vehicle might have the Anti-Lock Brake
System (ABS), an advanced electronic braking
system that will help prevent a braking skid.
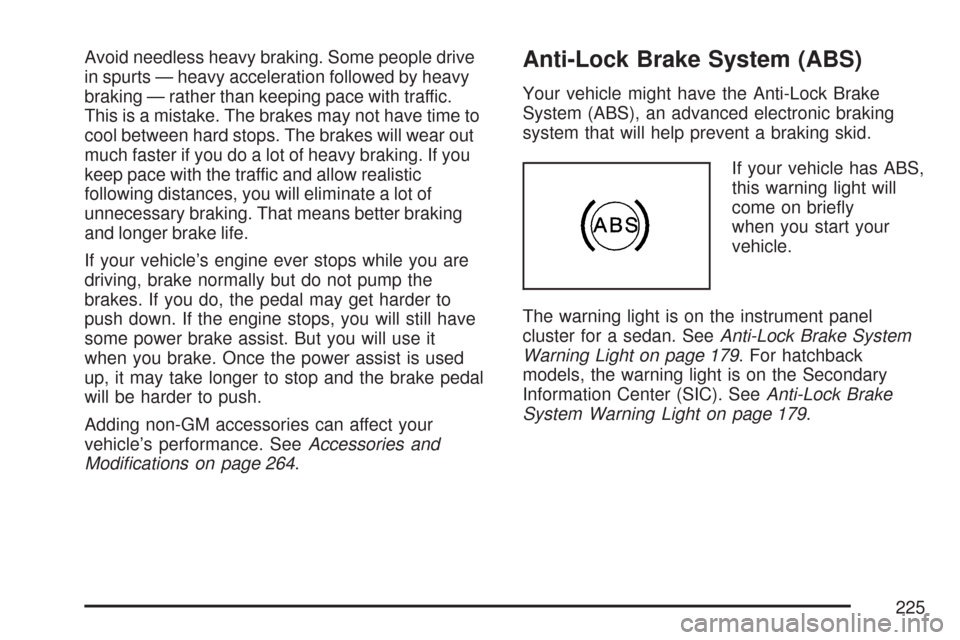
If your vehicle has ABS,
this warning light will
come on briefly
when you start your
vehicle.
The warning light is on the instrument panel
cluster for a sedan. SeeAnti-Lock Brake System
Warning Light on page 179. For hatchback
models, the warning light is on the Secondary
Information Center (SIC). SeeAnti-Lock Brake
System Warning Light on page 179.
225
Page 262 of 436
Turn Signal Lamps (Side).......................... 314
Center High-Mounted Stoplamp
(CHMSL) (Sedan).................................. 315
Taillamps, Turn Signal, Stoplamps
and Back-up Lamps............................... 316
License Plate Lamp................................... 317
Replacement Bulbs................................... 317
Windshield Wiper Blade Replacement....... 318
Tires............................................................ 319
Tire Sidewall Labeling............................... 320
Tire Terminology and Definitions............... 323
Inflation - Tire Pressure............................. 326
Tire Inspection and Rotation...................... 327
When It Is Time for New Tires.................. 329
Buying New Tires...................................... 330
Different Size Tires and Wheels................ 331
Uniform Tire Quality Grading..................... 332
Wheel Alignment and Tire Balance............ 333
Wheel Replacement.................................. 333
Tire Chains............................................... 335
If a Tire Goes Flat.................................... 335Changing a Flat Tire................................. 336
Removing the Spare Tire and Tools.......... 337
Removing the Flat Tire and Installing
the Spare Tire....................................... 339
Storing a Flat or Spare Tire and Tools...... 344
Compact Spare Tire.................................. 344
Appearance Care........................................ 345
Cleaning the Inside of Your Vehicle.......... 345
Fabric/Carpet............................................. 346
Leather...................................................... 347
Instrument Panel, Vinyl, and Other
Plastic Surfaces..................................... 348
Care of Safety Belts.................................. 348
Weatherstrips............................................ 348
Washing Your Vehicle............................... 349
Cleaning Exterior Lamps/Lenses................ 349
Finish Care............................................... 349
Windshield and Wiper Blades.................... 350
Aluminum Wheels...................................... 350
Tires......................................................... 351
Sheet Metal Damage................................. 351
Section 5 Service and Appearance Care
262
Page 263 of 436
Finish Damage.......................................... 352
Underbody Maintenance............................ 352
Chemical Paint Spotting............................ 352
Vehicle Care/Appearance Materials............ 353
Vehicle Identi�cation.................................. 354
Vehicle Identification Number (VIN)........... 354
Service Parts Identification Label............... 354
Electrical System........................................ 355
Add-On Electrical Equipment..................... 355
Headlamp Wiring....................................... 355Windshield Wiper Fuses............................ 355
Power Windows and Other Power
Options.................................................. 356
Fuses and Circuit Breakers....................... 356
Instrument Panel Fuse Block..................... 357
Engine Compartment Fuse Block............... 361
Capacities and Speci�cations.................... 368
Normal Maintenance Replacement Parts..... 369
Engine Drive Belt Routing......................... 370
Section 5 Service and Appearance Care
263
Page 274 of 436
Hood Release
To open the hood, do the following:
1. Pull the hood
release handle
inside the vehicle. It
is located on the
lower left side of the
instrument panel.
2. Then go to the front of the vehicle and lift up
on the secondary hood release lever, located
under the front center of the hood.
3. Lift the hood and release the hood prop from its
retainer located on the underside of the hood.
274