Page 135 of 436
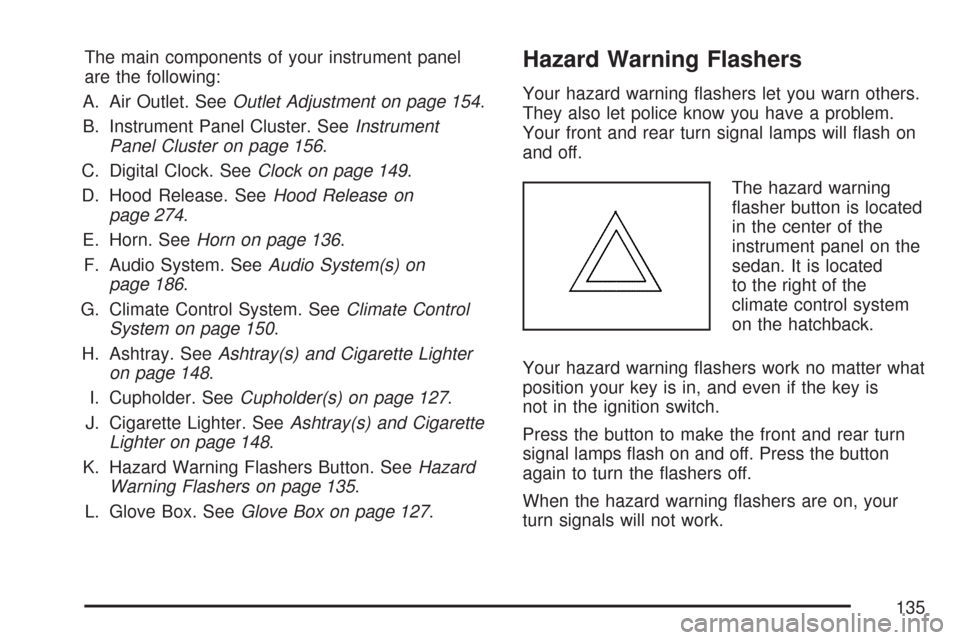
The main components of your instrument panel
are the following:
A. Air Outlet. SeeOutlet Adjustment on page 154.
B. Instrument Panel Cluster. SeeInstrument
Panel Cluster on page 156.
C. Digital Clock. SeeClock on page 149.
D. Hood Release. SeeHood Release on
page 274.
E. Horn. SeeHorn on page 136.
F. Audio System. SeeAudio System(s) on
page 186.
G. Climate Control System. SeeClimate Control
System on page 150.
H. Ashtray. SeeAshtray(s) and Cigarette Lighter
on page 148.
I. Cupholder. SeeCupholder(s) on page 127.
J. Cigarette Lighter. SeeAshtray(s) and Cigarette
Lighter on page 148.
K. Hazard Warning Flashers Button. SeeHazard
Warning Flashers on page 135.
L. Glove Box. SeeGlove Box on page 127.Hazard Warning Flashers
Your hazard warning flashers let you warn others.
They also let police know you have a problem.
Your front and rear turn signal lamps will flash on
and off.
The hazard warning
flasher button is located
in the center of the
instrument panel on the
sedan. It is located
to the right of the
climate control system
on the hatchback.
Your hazard warning flashers work no matter what
position your key is in, and even if the key is
not in the ignition switch.
Press the button to make the front and rear turn
signal lamps flash on and off. Press the button
again to turn the flashers off.
When the hazard warning flashers are on, your
turn signals will not work.
135
Page 149 of 436
Clock
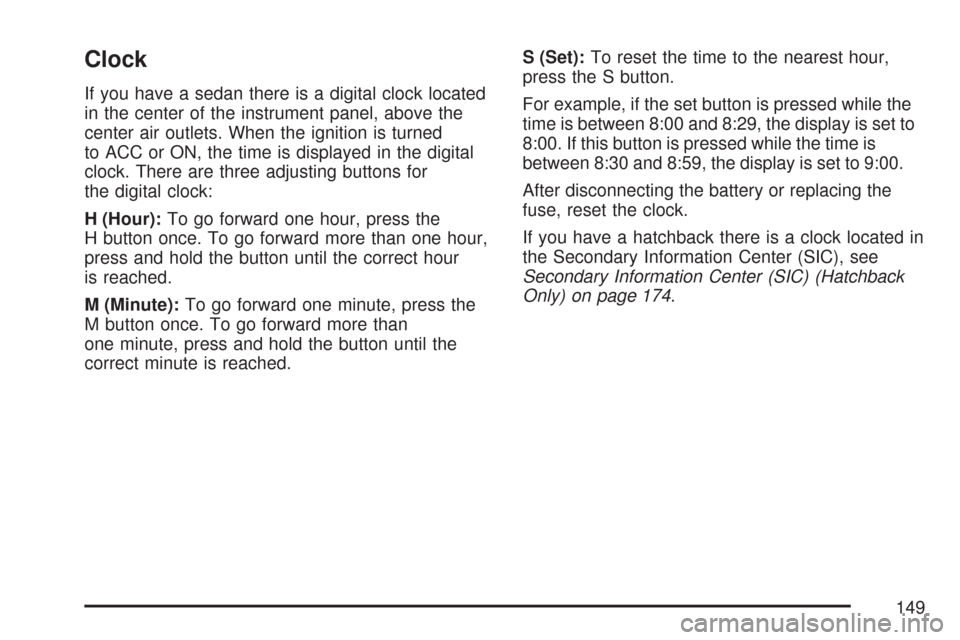
If you have a sedan there is a digital clock located
in the center of the instrument panel, above the
center air outlets. When the ignition is turned
to ACC or ON, the time is displayed in the digital
clock. There are three adjusting buttons for
the digital clock:
H (Hour):To go forward one hour, press the
H button once. To go forward more than one hour,
press and hold the button until the correct hour
is reached.
M (Minute):To go forward one minute, press the
M button once. To go forward more than
one minute, press and hold the button until the
correct minute is reached.S (Set):To reset the time to the nearest hour,
press the S button.
For example, if the set button is pressed while the
time is between 8:00 and 8:29, the display is set to
8:00. If this button is pressed while the time is
between 8:30 and 8:59, the display is set to 9:00.
After disconnecting the battery or replacing the
fuse, reset the clock.
If you have a hatchback there is a clock located in
the Secondary Information Center (SIC), see
Secondary Information Center (SIC) (Hatchback
Only) on page 174.
149
Page 150 of 436
Climate Controls
Climate Control System
With this system you can control the heating,
cooling and ventilation for your vehicle.
Temperature Control:Turn the left knob
clockwise or counterclockwise to manually
increase or decrease the temperature inside your
vehicle. Turn the knob to the blue area for cool
air and to the red area for warm air.
9(Fan):Turn the middle knob clockwise or
counterclockwise to increase or decrease the fan
speed. In any setting other than off, the fan
will run continuously with the ignition on. The fan
must be on in order for the air conditioning
compressor to run.Uplevel shown, Base similar, Hatchback only
Uplevel shown, Base similar, Sedan only
150
Page 152 of 436
On hot days, open the windows to let hot inside
air escape; then close them. This helps to reduce
the time it takes for your vehicle to cool down.
It also helps the system to operate more efficiently.
For quick cool down on hot days, do the
following:
1. Select the vent mode.
2. Select the highest fan speed.
3. Press the A/C button.
4. Select the recirculation mode.
5. Select the coolest temperature.
Using these settings together for long periods of
time may cause the air inside of your vehicle
to become too dry. To prevent this from
happening, after the air in your vehicle has cooled,
turn the recirculation mode off.
The air conditioning system removes moisture
from the air, so you may sometimes notice a small
amount of water dripping underneath your
vehicle while idling or after turning off the engine.
This is normal.Defogging and Defrosting
Fog on the inside of windows is a result of high
humidity or moisture condensing on the cool
window glass. This can be minimized if the climate
control system is used properly. There are two
modes to clear fog or frost from your windshield.
Use the defog mode to clear the windows of
fog or moisture and warm the passengers. Use
the defrost mode to remove fog or frost from
the windshield more quickly.
For best results, clear all snow and ice from the
windshield before defrosting.
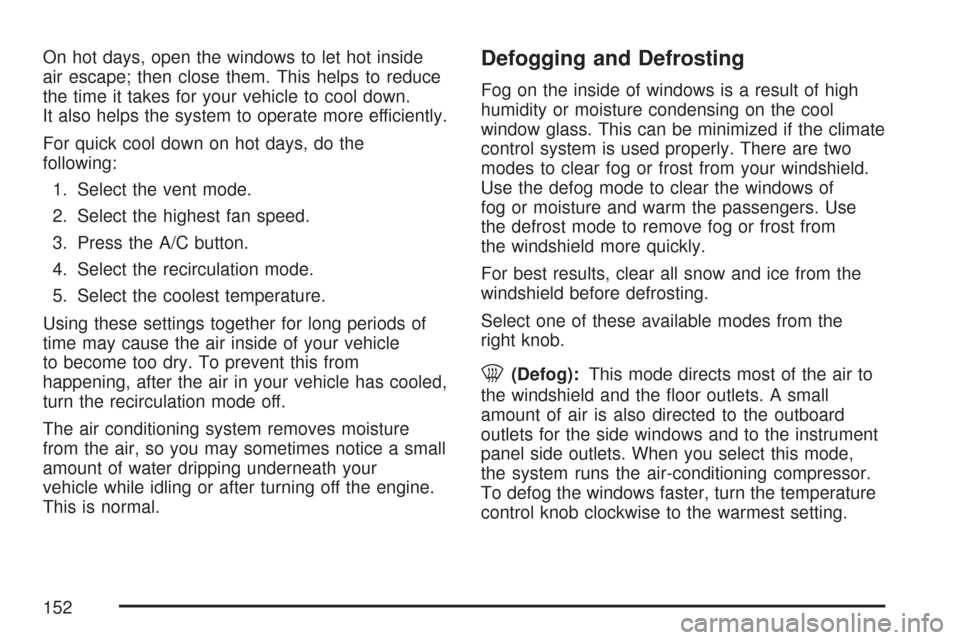
Select one of these available modes from the
right knob.
0(Defog):This mode directs most of the air to
the windshield and the floor outlets. A small
amount of air is also directed to the outboard
outlets for the side windows and to the instrument
panel side outlets. When you select this mode,
the system runs the air-conditioning compressor.
To defog the windows faster, turn the temperature
control knob clockwise to the warmest setting.
152
Page 153 of 436
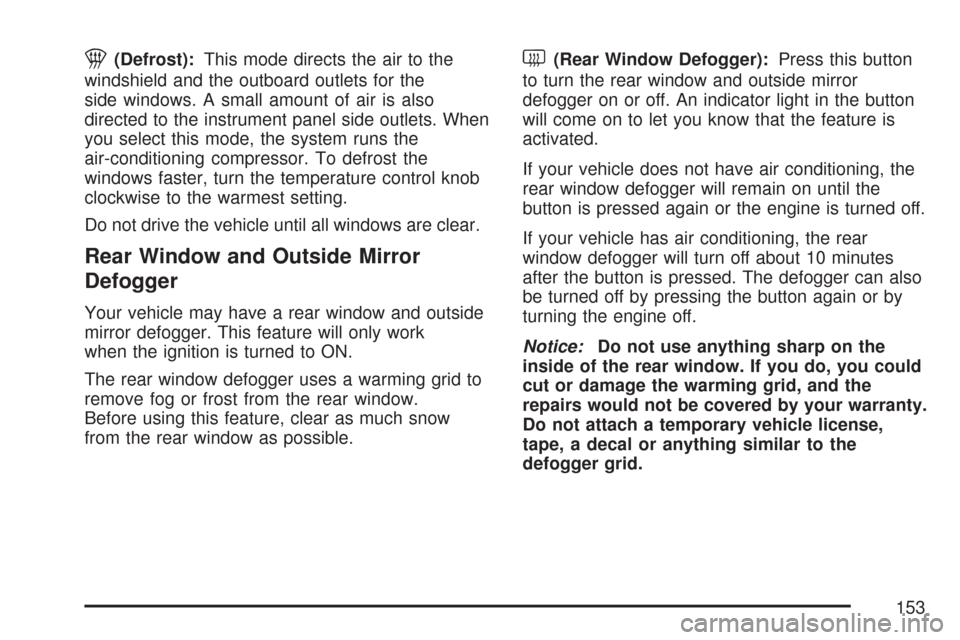
1(Defrost):This mode directs the air to the
windshield and the outboard outlets for the
side windows. A small amount of air is also
directed to the instrument panel side outlets. When
you select this mode, the system runs the
air-conditioning compressor. To defrost the
windows faster, turn the temperature control knob
clockwise to the warmest setting.
Do not drive the vehicle until all windows are clear.
Rear Window and Outside Mirror
Defogger
Your vehicle may have a rear window and outside
mirror defogger. This feature will only work
when the ignition is turned to ON.
The rear window defogger uses a warming grid to
remove fog or frost from the rear window.
Before using this feature, clear as much snow
from the rear window as possible.
<(Rear Window Defogger):Press this button
to turn the rear window and outside mirror
defogger on or off. An indicator light in the button
will come on to let you know that the feature is
activated.
If your vehicle does not have air conditioning, the
rear window defogger will remain on until the
button is pressed again or the engine is turned off.
If your vehicle has air conditioning, the rear
window defogger will turn off about 10 minutes
after the button is pressed. The defogger can also
be turned off by pressing the button again or by
turning the engine off.
Notice:Do not use anything sharp on the
inside of the rear window. If you do, you could
cut or damage the warming grid, and the
repairs would not be covered by your warranty.
Do not attach a temporary vehicle license,
tape, a decal or anything similar to the
defogger grid.
153
Page 161 of 436
If the airbag readiness light stays on after you
start the vehicle or comes on when you are driving,
your airbag system may not work properly.
Have your vehicle serviced right away.
{CAUTION:
If the airbag readiness light stays on after
you start your vehicle, it means the airbag
system may not be working properly. The
airbags in your vehicle may not in�ate in
a crash, or they could even in�ate without
a crash. To help avoid injury to yourself
or others, have your vehicle serviced right
away if the airbag readiness light stays on
after you start your vehicle.
The airbag readiness light should flash for a few
seconds when you turn the ignition key to RUN. If
the light does not come on then, have it fixed
so it will be ready to warn you if there is a problem.
Passenger Airbag Status Indicator
(Sedan)
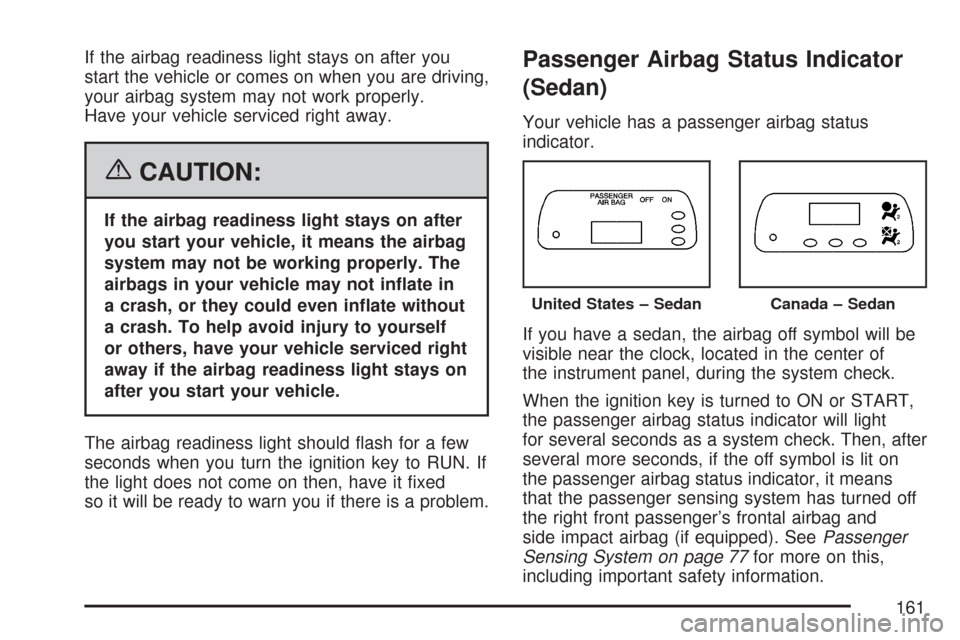
Your vehicle has a passenger airbag status
indicator.
If you have a sedan, the airbag off symbol will be
visible near the clock, located in the center of
the instrument panel, during the system check.
When the ignition key is turned to ON or START,
the passenger airbag status indicator will light
for several seconds as a system check. Then, after
several more seconds, if the off symbol is lit on
the passenger airbag status indicator, it means
that the passenger sensing system has turned off
the right front passenger’s frontal airbag and
side impact airbag (if equipped). SeePassenger
Sensing System on page 77for more on this,
including important safety information.
United States – SedanCanada – Sedan
161
Page 175 of 436
The secondary information center (SIC) displays
some of the warning lights and indicators. The SIC
is located in the center of the instrument panel,
above the center air outlets. The digital clock
is also located in the center of the SIC. SeeClock
(Hatchback Only) on page 174andInstrument
Panel Overview on page 132for more information.
Clock (Hatchback Only)
Your vehicle has a digital clock. The clock is
located in the secondary instrument cluster on
the center of the instrument panel, above
the center air outlets. When the ignition is turned
to ACC or ON, the time is displayed in the
digital clock. There are two adjusting buttons for
the digital clock:
H (Hour):To go forward one hour, press the
H button once. To go forward more than one hour,
press and hold the button until the correct hour
is reached.M (Minute):To go forward one minute, press
the M button once. To go forward more than
one minute, press and hold the button until the
correct minute is reached.
After disconnecting the battery or replacing the
fuse, reset the clock.
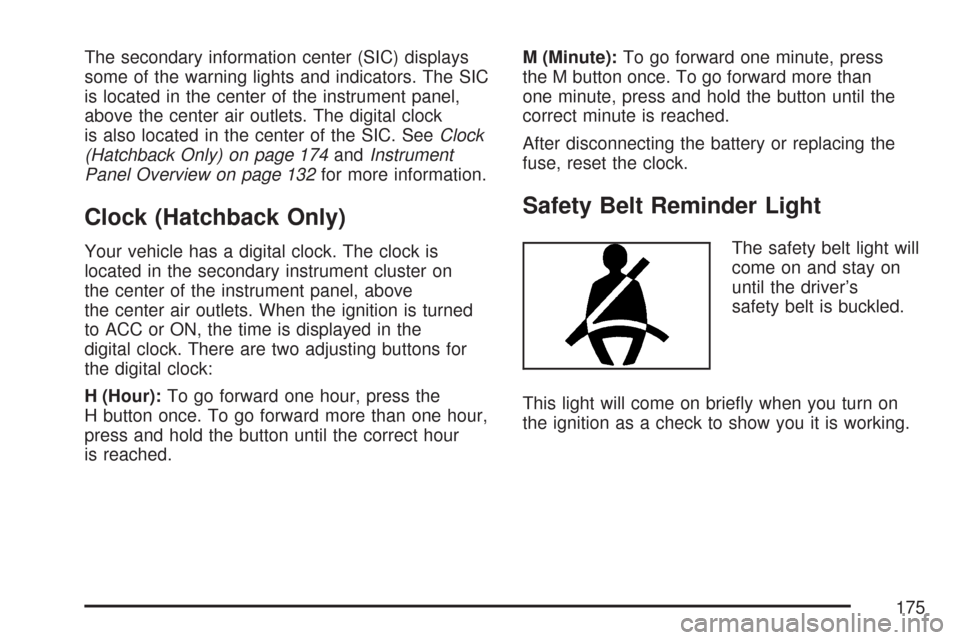
Safety Belt Reminder Light
The safety belt light will
come on and stay on
until the driver’s
safety belt is buckled.
This light will come on briefly when you turn on
the ignition as a check to show you it is working.
175
Page 189 of 436
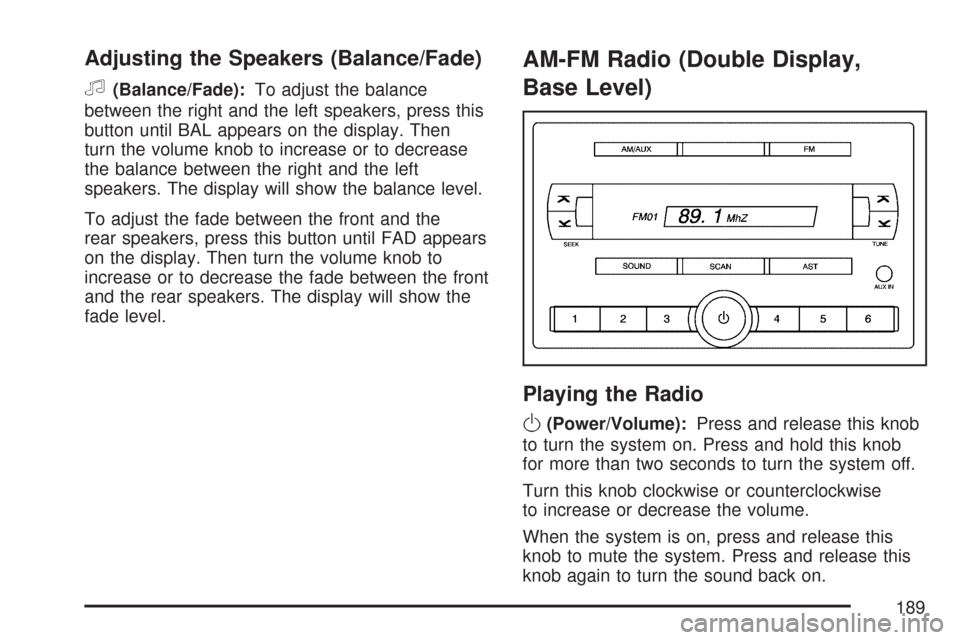
Adjusting the Speakers (Balance/Fade)
f
(Balance/Fade):To adjust the balance
between the right and the left speakers, press this
button until BAL appears on the display. Then
turn the volume knob to increase or to decrease
the balance between the right and the left
speakers. The display will show the balance level.
To adjust the fade between the front and the
rear speakers, press this button until FAD appears
on the display. Then turn the volume knob to
increase or to decrease the fade between the front
and the rear speakers. The display will show the
fade level.
AM-FM Radio (Double Display,
Base Level)
Playing the Radio
O
(Power/Volume):Press and release this knob
to turn the system on. Press and hold this knob
for more than two seconds to turn the system off.
Turn this knob clockwise or counterclockwise
to increase or decrease the volume.
When the system is on, press and release this
knob to mute the system. Press and release this
knob again to turn the sound back on.
189