Page 61 of 168

switching the ignition off and
then on again.An ASC fault has occurred
if the ASC warning light
shows when the motorcycle ac-
celerates to a speed in excess
of 10 km/h after the ignition was
switched off and then on again.ClutchAdjusting clutch lever
If the position of the clutch
fluid reservoir is changed,
air can enter the clutch system.
Do not twist the handlebar fitting
or the handlebars.
Attempting to adjust the
clutch lever while riding the
motorcycle can lead to accidents.
Do not attempt to adjust the
clutch lever unless the motor-
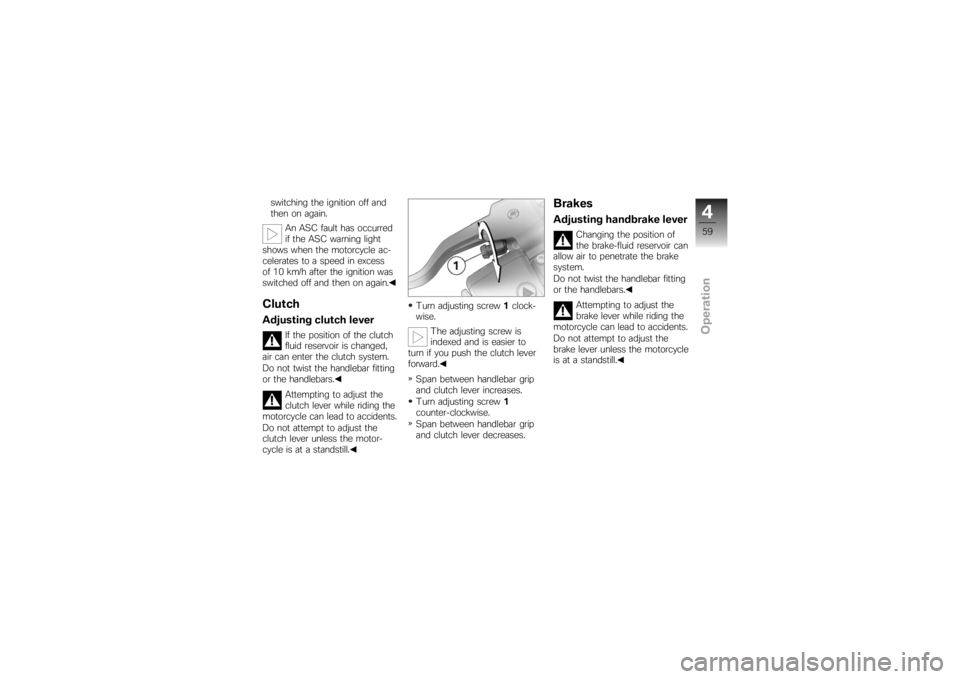
cycle is at a standstill. Turn adjusting screw
1clock-
wise.
The adjusting screw is
indexed and is easier to
turn if you push the clutch lever
forward.
Span between handlebar grip
and clutch lever increases.
Turn adjusting screw 1
counter-clockwise.
Span between handlebar grip
and clutch lever decreases.
BrakesAdjusting handbrake lever
Changing the position of
the brake-fluid reservoir can
allow air to penetrate the brake
system.
Do not twist the handlebar fitting
or the handlebars.
Attempting to adjust the
brake lever while riding the
motorcycle can lead to accidents.
Do not attempt to adjust the
brake lever unless the motorcycle
is at a standstill.
459zOperation
Page 62 of 168
Turn adjusting screw1clock-
wise.
The adjusting screw is in-
dexed and is easier to turn
if you push the handbrake lever
forward.
Span between handlebar grip
and handbrake lever increases.
Turn adjusting screw 1
counter-clockwise.
Span between handlebar grip
and handlebar lever decreases.
MirrorsAdjusting mirrorsTurn the mirror to the correct
position.
Adjusting mirror armPush the protective cap up
over the threaded fastener on
the mirror arm.
Slacken nut 1(left-hand
thread).
Turn the mirror arm to the ap-
propriate position.
Tighten nut 1to the specified
tightening torque, while holding
the mirror arm to ensure that it
does not move out of position.
Mirror to clamping piece
22 Nm
460zOperation
Page 68 of 168
Headlight beam throw and
spring preloadHeadlight beam throw is kept
constant when spring preload is
adjusted to suit load.Consult a specialist work-
shop, preferably an au-
thorised BMW Motorrad deal-
er, if you are unsure whether
the headlight basic setting is
correct.SeatRemoving seatMake sure the ground is level
and firm and place the motor-
cycle on its stand. Turn the key counter-clockwise
in the seat lock.
Press the seat down at the
same time.Lift the rear of the seat.
The seat can be damaged
at the edges if it is placed
on a rough surface.
Lay the seat upholstered side
down on a smooth, clean sur-
face, such as the fuel tank.
Release the key and pull the
seat back out of its holder.
466zOperation
Page 81 of 168

Refuelling
Fuel is highly flammable. A
naked flame close to the
fuel tank can cause a fire or ex-
plosion.
Do not smoke. Never bring a
naked flame near the fuel tank.
Fuel expands when hot.
Fuel escaping from an
overfilled tank could make its way
onto the rear tyre. This could
cause a fall.
Do not fill the tank past the bot-
tom edge of the filler neck.
Fuel attacks plastics, which
become dull or unsightly.
Wipe off plastic parts immediately
if they come into contact with
fuel.
Fuel can attack the material
of the windscreen, which
becomes dull or unsightly.
Wipe off the windscreen immedi- ately if it comes into contact with
fuel.
Leaded fuel will destroy the
catalytic converter.
Use only unleaded fuel.
Make sure the ground is level
and firm and place the motor-
cycle on its stand.
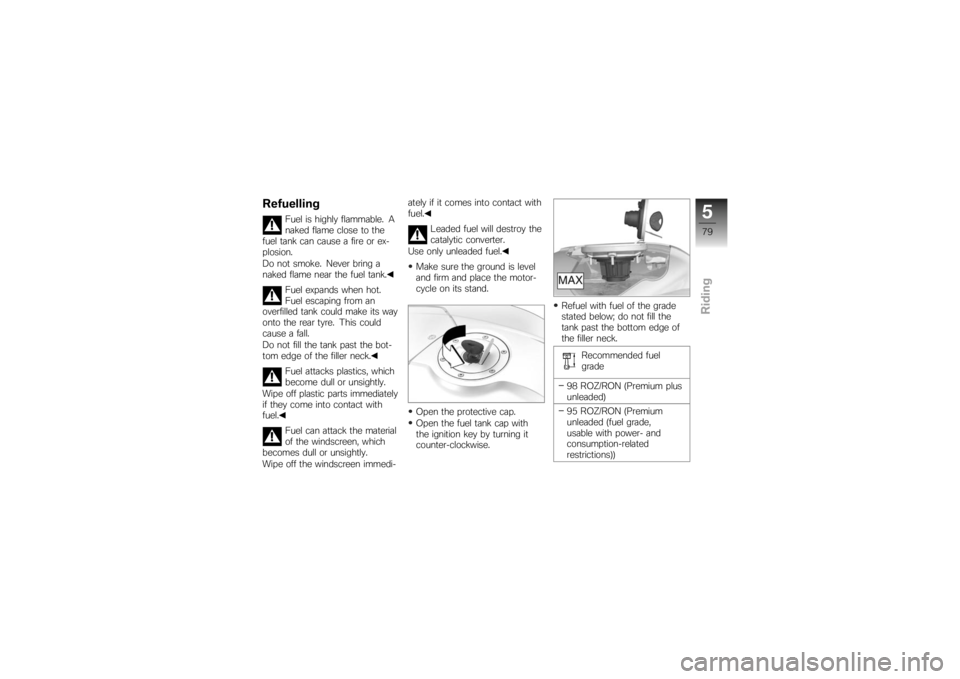
Open the protective cap.
Open the fuel tank cap with
the ignition key by turning it
counter-clockwise. Refuel with fuel of the grade
stated below; do not fill the
tank past the bottom edge of
the filler neck.
Recommended fuel
grade
98 ROZ/RON (Premium plus
unleaded)
95 ROZ/RON (Premium
unleaded (fuel grade,
usable with power- and
consumption-related
restrictions))
579zRiding
Page 102 of 168
Switch off the ignition.
Check the oil level in oil-level
indicator1. Engine oil, specified level
Between MIN and MAX
marks
If the oil level is below the MIN
mark: Top up the engine oil ( 100)
If the oil level is above the MAX
mark: Drain the engine oil ( 101)
Topping up engine oilRemove the seat ( 66) Damage to the engine
can result if it is operated
without enough oil, but the same
also applies if the oil level is too
high.
Always make sure that the oil
level is correct.
Wipe the area around the filler
neck clean.
Remove cap of oil filler neck 1
by turning it counter-clockwise.
Top up the engine oil to the
specified level.
Check the engine oil level
( 99)
8100zMaintenance
Page 103 of 168

Install cap of oil filler neck1
and turn it clockwise to close.
Install the seat ( 67)Draining engine oilRemove the seat ( 66)
Damage to the engine
can result if it is operated
without enough oil, but the same
also applies if the oil level is too
high.
Always make sure that the oil
level is correct.
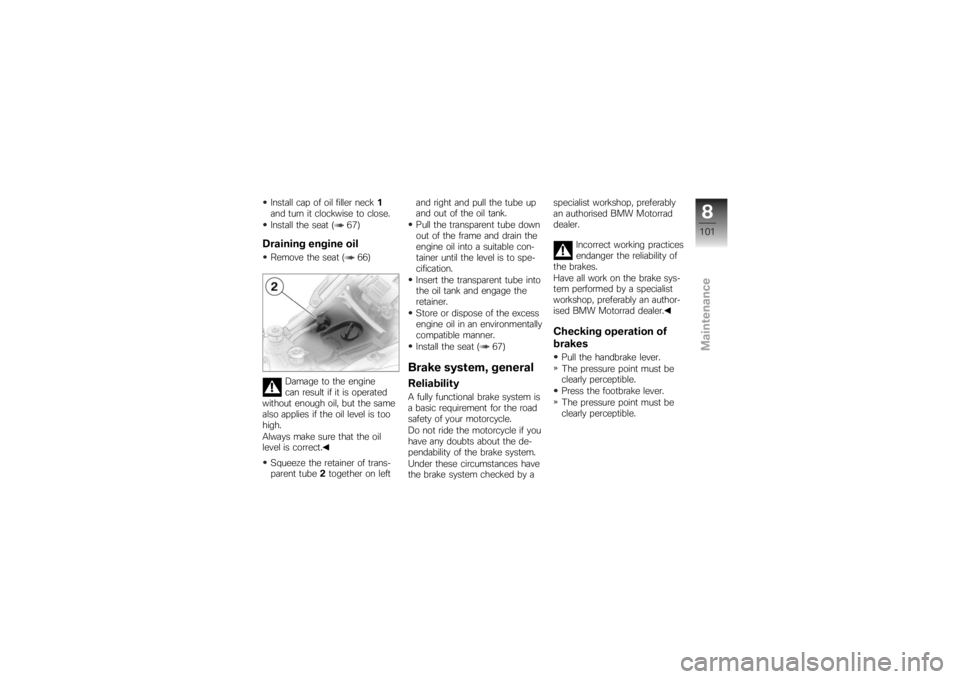
Squeeze the retainer of trans-
parent tube 2together on left and right and pull the tube up
and out of the oil tank.
Pull the transparent tube down
out of the frame and drain the
engine oil into a suitable con-
tainer until the level is to spe-
cification.
Insert the transparent tube into
the oil tank and engage the
retainer.
Store or dispose of the excess
engine oil in an environmentally
compatible manner.
Install the seat ( 67)
Brake system, generalReliabilityA fully functional brake system is
a basic requirement for the road
safety of your motorcycle.
Do not ride the motorcycle if you
have any doubts about the de-
pendability of the brake system.
Under these circumstances have
the brake system checked by a specialist workshop, preferably
an authorised BMW Motorrad
dealer.
Incorrect working practices
endanger the reliability of
the brakes.
Have all work on the brake sys-
tem performed by a specialist
workshop, preferably an author-
ised BMW Motorrad dealer.
Checking operation of
brakesPull the handbrake lever.
The pressure point must be
clearly perceptible.
Press the footbrake lever.
The pressure point must be
clearly perceptible.
8101zMaintenance
Page 121 of 168
Remove cover1(high-beam
headlight) or cover 2(low-beam
headlight) by turning cover
counter-clockwise.
Disconnect plug 3. Disengage spring clip
4from
the latches and swing it up.
The spring clip might face
in a direction other than
that shown here, depending on
the light. Remove bulb
5.
Replace the defective bulb.
Bulb for high-beam
headlight
H7/12V/55W Bulb for low-beam head-
light
H7/12V/55W
8119zMaintenance
Page 122 of 168
Install bulb5. When installing,
make sure that tab 6is point-
ing up.
Engage spring retainer 4in the
catches. Connect plug
3.
Install cover 1(high-beam
headlight) or cover 2(low-beam
headlight) by turning cover
clockwise.
Replacing parking-light
bulb
If it is not standing firmly,
the motorcycle could topple
in the course of the operations
described below.
Always make sure that the
motorcycle is stable and firmly
supported.
Make sure the ground is level
and firm and place the motor-
cycle on its stand.
Switch off the ignition.
8120zMaintenance