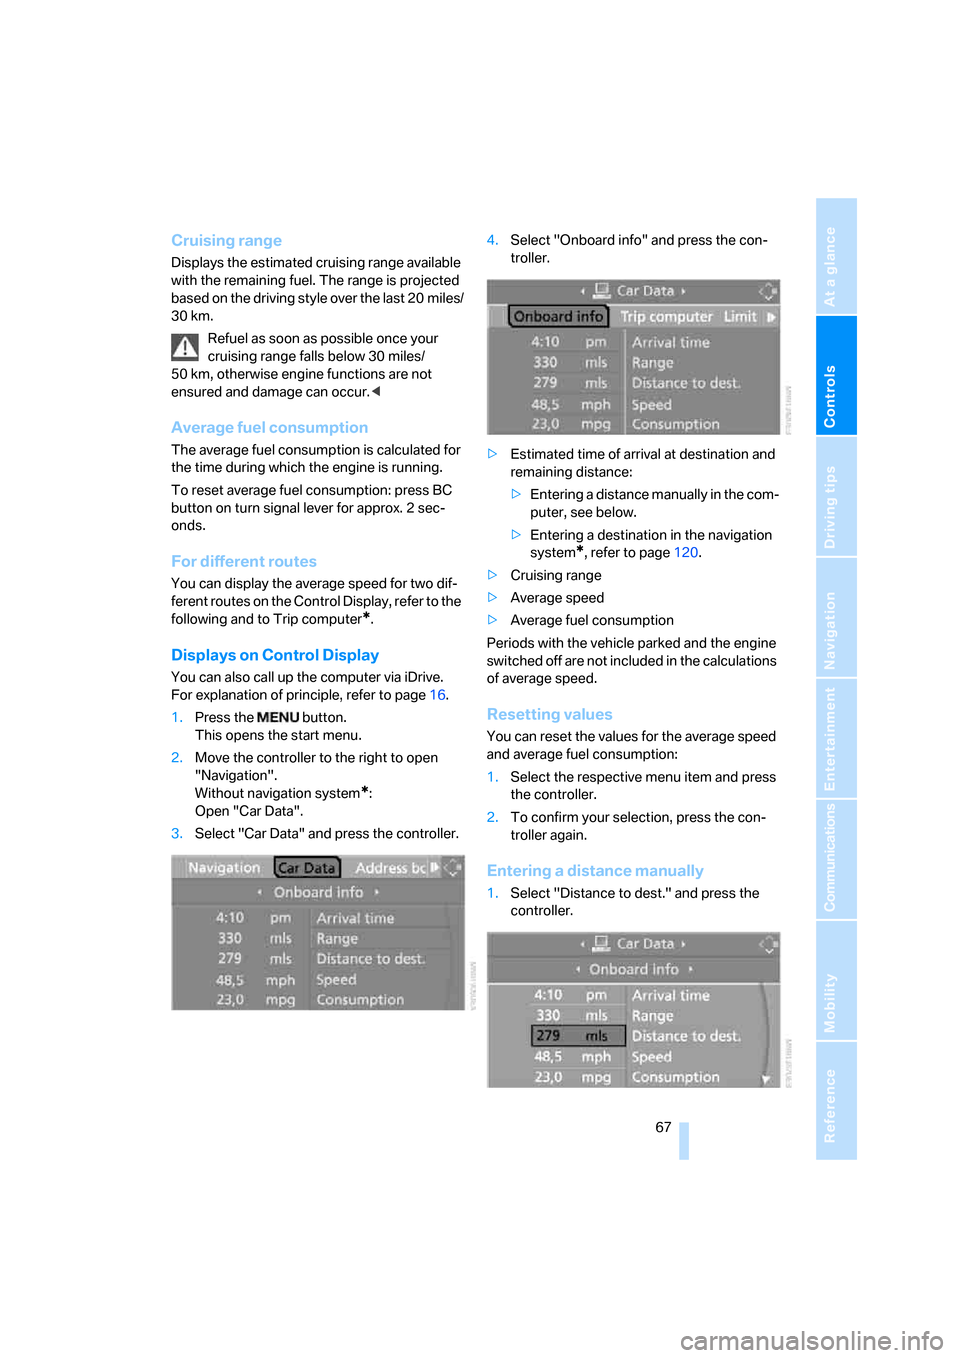
2007 BMW M5 SEDAN fuel
[x] Cancel search: fuelPage 63 of 256

Controls
61Reference
At a glance
Driving tips
Communications
Navigation
Entertainment
Mobility
Selecting driving program via button
on steering wheel
You can also activate your preferred driving pro-
gram with the button on the steering wheel,
refer to MDrive on page50.
With the ignition switched on you can set
MDrive on the Control Display.
iDrive, for explanation of principle, refer to
page16.
1.Open the start menu.
2.Press the controller to open the menu.
3.Select "MDrive" and press the controller.
4.Select "SMG Drivelogic" and press the con-
troller. The first setting is selected.
5.Turn controller to set Drive mode or
Sequential mode.
"Unchanged" retains the current settings
made outside of MDrive.
6.Press controller to select driving programs.
7.Turn controller to set driving program.
8.Press the controller.
Shift lights
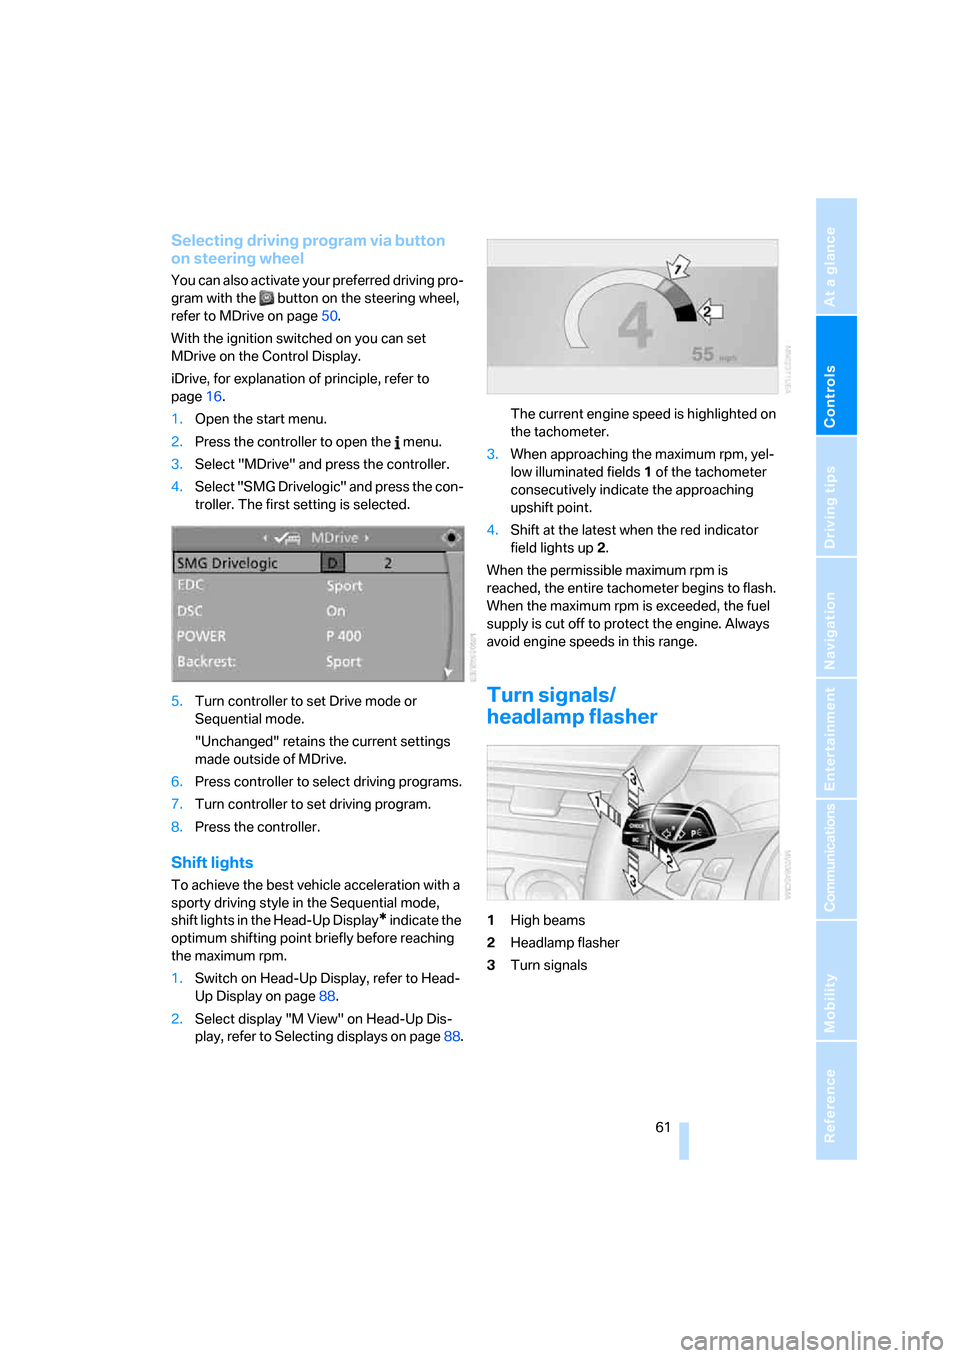
To achieve the best vehicle acceleration with a
sporty driving style in the Sequential mode,
shift lights in the Head-Up Display
* indicate the
optimum shifting point briefly before reaching
the maximum rpm.
1.Switch on Head-Up Display, refer to Head-
Up Display on page88.
2.Select display "M View" on Head-Up Dis-
play, refer to Selecting displays on page88.The current engine speed is highlighted on
the tachometer.
3.When approaching the maximum rpm, yel-
low illuminated fields1 of the tachometer
consecutively indicate the approaching
upshift point.
4.Shift at the latest when the red indicator
field lights up2.
When the permissible maximum rpm is
reached, the entire tachometer begins to flash.
When the maximum rpm is exceeded, the fuel
supply is cut off to protect the engine. Always
avoid engine speeds in this range.
Turn signals/
headlamp flasher
1High beams
2Headlamp flasher
3Turn signals
ba8_m5us.book Seite 61 Montag, 5. Februar 2007 12:03 12
Page 67 of 256

Controls
65Reference
At a glance
Driving tips
Communications
Navigation
Entertainment
Mobility
Everything under control
Odometer, outside
temperature display, clock
1Time, outside temperature, refer to Com-
puter on page66
2Odometer and trip odometer
3Press button:
>with ignition switched on, trip odometer
is reset
>with ignition switched off, odometer is
briefly displayed
Tachometer
The advance warning field, arrow1, and the red
warning field, arrow2, change depending on
the engine temperature. As the engine temper-
ature rises, the permissible engine speed also
increases. Avoid allowing the engine speed to
rise as far as the orange warning field whenever
possible.
Be sure to avoid engine speeds in the red warn-
ing field. In this range, the fuel supply is inter-
rupted to protect the engine.
Coolant temperature
Should the coolant, and with it the engine
become too hot, a warning lamp lights up. In
addition, a message appears on the Control
Display.
Checking coolant level, refer to page206.
ba8_m5us.book Seite 65 Montag, 5. Februar 2007 12:03 12
Page 68 of 256

Everything under control
66
Engine oil thermometer
The general operating temperature lies
between 1757/806 and 2507/1206. Do
not exceed a value of approx. 2657/1306.
If the engine oil temperature is too high, the per-
missible engine speed, and with it the available
engine output is reduced.
Fuel gauge
Fuel tank capacity: approx. 18.5 US gal/
70 liters. You will find information on refueling
on page196.
If the tilt of the vehicle varies for a longer period,
when you are driving in mountainous areas, for
example, the indicator may fluctuate slightly.
Reserve
After the reserve quantity has been reached, a
message briefly appears on the Control Display;
the remaining range is shown in the computer.
Below a range of approx. 30 miles/50 km, the
message remains on the Control Display.
Refuel as soon as possible once your
cruising range falls below 30 miles/
50 km, otherwise engine functions are not
ensured and damage can occur.<
Computer
Displays in instrument cluster
To display the information, press the BC button
on the turn signal lever.
The following information is displayed in the
specified order:
>Time and outside temperature
>Cruising range
>Average fuel consumption
>Oil level, refer to Checking engine oil level
on page204
Manual transmission:
The cruising range, average fuel con-
sumption and oil level are shown in the lower
display in place of the gear indicator.
It is possible to change between the time and
data display by pressing the CHECK button.<
Time
Setting the time, refer to page74.
Outside temperature warning
If the display drops to +377/+36, a signal
sounds and a warning lamp lights up. A mes-
sage appears on the Control Display. There is
an increased danger of ice.
Even at temperatures above +377/
+36 ice can form. Therefore, drive care-
fully, e.g. on bridges and sections of road in the
shade, otherwise there is an increased accident
risk.<
You can set the unit of measure 7 or 6 on the
Control Display, refer to Units of measure on
page75.
ba8_m5us.book Seite 66 Montag, 5. Februar 2007 12:03 12
Page 69 of 256

Controls
67Reference
At a glance
Driving tips
Communications
Navigation
Entertainment
Mobility
Cruising range
Displays the estimated cruising range available
with the remaining fuel. The range is projected
based on the driving style over the last 20 miles/
30 km.
Refuel as soon as possible once your
cruising range falls below 30 miles/
50 km, otherwise engine functions are not
ensured and damage can occur.<
Average fuel consumption
The average fuel consumption is calculated for
the time during which the engine is running.
To reset average fuel consumption: press BC
button on turn signal lever for approx. 2 sec-
onds.
For different routes
You can display the average speed for two dif-
ferent routes on the Control Display, refer to the
following and to Trip computer
*.
Displays on Control Display
You can also call up the computer via iDrive.
For explanation of principle, refer to page16.
1.Press the button.
This opens the start menu.
2.Move the controller to the right to open
"Navigation".
Without navigation system
*:
Open "Car Data".
3.Select "Car Data" and press the controller.4.Select "Onboard info" and press the con-
troller.
>Estimated time of arrival at destination and
remaining distance:
>Entering a distance manually in the com-
puter, see below.
>Entering a destination in the navigation
system
*, refer to page120.
>Cruising range
>Average speed
>Average fuel consumption
Periods with the vehicle parked and the engine
switched off are not included in the calculations
of average speed.
Resetting values
You can reset the values for the average speed
and average fuel consumption:
1.Select the respective menu item and press
the controller.
2.To confirm your selection, press the con-
troller again.
Entering a distance manually
1.Select "Distance to dest." and press the
controller.
ba8_m5us.book Seite 67 Montag, 5. Februar 2007 12:03 12
Page 70 of 256

Everything under control
68 2.Turn the controller to select the distance to
your destination. If needed, hold it against a
slight resistance to enter a larger differ-
ence.
3.Press the controller to apply the setting.
The distance is automatically preset during the
destination guidance of the navigation sys-
tem
*.
Trip computer
The trip computer is suitable, for example, for a
vacation trip.
1.Open the start menu.
2.Open "Navigation".
Without navigation system
*:
Open "Car Data".
3.Select "Car Data" and press the controller.
4.Select "Trip computer" and press the con-
troller.
>Departure time
>Driving time
>Distance traveled
>Average speed
>Average fuel consumption
Starting or stopping the trip computer, or reset-
ting all values:
1.Select "Set" and press the controller.
2.Select the desired menu item.
3.Press the controller.
Display options
You can display the computer or the trip com-
puter in the assistance window.
1.Move the controller to the right to change to
the assistance window and press the con-
troller.
2.Select "Onboard info" or "Trip computer".
3.Press the controller.
Service requirements
The remaining driving distance and the date for
the next maintenance are displayed briefly with
the ignition switched on.
The first oil change displayed at approx.
1,200 miles/2,000 km signals that the break-in
check is due.
ba8_m5us.book Seite 68 Montag, 5. Februar 2007 12:03 12
Page 87 of 256

Controls
85Reference
At a glance
Driving tips
Communications
Navigation
Entertainment
Mobility
works according to BMW repair procedures
with correspondingly trained personnel.
Malfunction
The yellow warning lamp flashes and
then lights up continuously. The tires
are shown in gray on the Control Dis-
play and a message is displayed. No flat tire can
be detected.
A message like this is displayed in the following
situations:
>In case of a malfunction;
have the system checked.
>If a wheel is mounted without TPM elec-
tronics
>If TPM is temporarily interfered with by
other systems or devices which use the
same radio frequency.
Declaration according to NHTSA/
FMVSS 138 Tire Pressure Monitoring
Systems
Each tire, including the spare*, should be
checked monthly when cold and inflated to the
inflation pressure recommended by the vehicle
manufacturer on the vehicle placard or tire infla-
tion pressure label. If your vehicle has tires of a
different size than the size indicated on the
vehicle placard or tire inflation pressure label,
you should determine the proper tire inflation
pressure for those tires. As an added safety fea-
ture, your vehicle has been equipped with a tire
pressure monitoring system, TPMS, that illumi-
nates a low tire pressure telltale when one or
more of your tires are significantly under-
inflated. Accordingly, when the low tire pres-
sure telltale illuminates, you should stop and
check your tires as soon as possible, and inflate
them to the proper pressure. Driving on a signif-
icantly under-inflated tire causes the tire to
overheat and can lead to tire failure. Under-
inflation also reduces fuel efficiency and tire
tread life, and may affect the vehicle's handling
and stopping ability. Please note that the TPMS
is not a substitute for proper tire maintenance,
and it is the driver's responsibility to maintain
correct tire pressure, even if under-inflation has not reached the level to trigger illumination of
the TPMS low tire pressure telltale.
The TPMS malfunction indicator is combined
with the low tire pressure telltale. When the sys-
tem detects a malfunction, the telltale will flash
for approximately one minute and then remain
continuously illuminated. This sequence will
continue upon subsequent vehicle startups as
long as the malfunction exists. When the mal-
function indicator lights up, the system may not
be able to detect or signal low tire pressure as
intended. TPMS malfunctions may occur for a
variety of reasons, including the installation of
replacement or alternate tires or wheels on the
vehicle that prevent the TPMS from functioning
properly. Always check the TPMS malfunction
telltale after replacing one or more tires or
wheels on your vehicle to ensure that the
replacement or alternate tires and wheels allow
the TPMS to continue to function properly.
Brake force display
On the left: normal braking.
On the right: heavy braking.
ba8_m5us.book Seite 85 Montag, 5. Februar 2007 12:03 12
Page 197 of 256

Mobility
This section helps you maintain your
mobility by supplying important information
on vital topics including fuels and lubricants,
wheels and tires, service, maintenance
and breakdown assistance.
Mobility
ba8_m5us.book Seite 195 Montag, 5. Februar 2007 12:03 12
Page 198 of 256

Refueling
196
Refueling
Switch off the engine before refueling,
otherwise no fuel can be filled into the
tank and a message is displayed.<
When handling fuel, always observe all
applicable precautionary measures and
regulations. Never transport reserve fuel con-
tainers in the vehicle. These could become
leaky and cause an explosion or a fire in an acci-
dent.<
Fuel filler door
To open and close: press the rear edge of the
fuel filler door.
Manual release
If an electrical malfunction should occur, you
can unlock the fuel filler door manually.
1.In the cargo bay, raise the floor mat and the
cover located beneath it.
2.Open the snap fasteners of the right side
panel and take off the side panel.
3.Pull the knob with the gas pump symbol.
Observe the following when refueling
When handling fuels always observe any
safety guidelines posted at the service
station.<
Place the fuel filler cap in the bracket attached
to the fuel filler door.
When refueling, insert the filler nozzle com-
pletely into the filler pipe. Avoid raising the filler
nozzle during refueling, otherwise this leads to
>premature pump shutoff
>a reduced efficiency of the fuel-vapor
recovery system.
The fuel tank is full when the filler nozzle clicks
off the first time.
Fuel tank capacity
Approx. 18.5 US gal/70 liters, including the
reserve capacity of approx.4 US gal/15 liters.
Refuel as soon as possible once your
cruising range falls below 30 miles/
50 km, otherwise engine functions are not
ensured and damage can occur.<
Fuel filler cap
Closing
Fit the cap and turn it clockwise until you clearly
hear a click.
Do not jam the strap attached to the fuel
filler cap between the fuel filler cap and
the vehicle. A message
* is displayed if the cap
is loose or missing.<
ba8_m5us.book Seite 196 Montag, 5. Februar 2007 12:03 12