2007 BMW 750I engine
[x] Cancel search: enginePage 214 of 254

Maintenance
212
Socket for OBD Onboard
Diagnostics
Components which are decisive for the
exhaust-gas composition can be checked via
the OBD socket with a device.
This socket is located to the left on the driver's
side, on the underside of the instrument panel
under a cover.
Emissions values
The warning lamp lights up. The emis-
sions values are deteriorating. Have the
vehicle checked as soon as possible.
Display of the previously described
malfunction on Canadian models.
Under certain circumstances, the warning lamp
will flash. This is a sign of excessive misfiring of
the engine. In this case you should reduce
speed and drive to the nearest BMW center as
soon as possible. Serious engine misfiring,
even for only a short period of time, can seri-
ously damage emission control components,
especially the catalytic converter.
If the fuel filler cap is not properly tight-
ened, the OBD system can detect the
vapor leak and the indicator lamp will light up. If
the cap is then tightened, the display should go
out within a few days.<
Event Data Recorders
Your vehicle may be equipped with one or sev-
eral measuring and diagnosis modules, or with a
device for recording or transmitting certain
vehicle data or information. If you have also
signed a contract of participation for BMW
Assist, certain vehicle data can be transmitted
or recorded to enable corresponding services.
Care
You can find useful information on caring for
your BMW in the Caring for your vehicle bro-
chure.
Page 216 of 254

Replacing components
214
Turn signals, front
The illustration shows the left side of the engine
compartment.
Two 21-watt bulbs: P21W or PY21W
*
1.Turn the bulb holder to the left and remove.
2.Apply gentle pressure to the bulb while
turning it to the left for removal and replace-
ment.
Side-mounted turn signals
5-watt bulb, W5W
1.Press against the front edge of the lamp
with the tip of your finger, then push it to the
rear and release the detent at the front.
2.Turn the lamp by 903 and remove.
3.Turn the bulb holder to the left and remove.
4.Extract the bulb for replacement.
Side marker lamps, front and rear
Please contact your BMW center for replace-
ment.
Tail lamps
>Turn signals:
21-watt bulb, P21W or PY21W
*
>Backup lamp:
16-watt bulb, W16W
1Brake lamp
2Rear lamp
3Backup lamp
4Reflector
5Turn signals
Tail and brake lamps
These lights are made using LED technology. If
a defect occurs, please contact your BMW cen-
ter or a repair shop that works in accordance
with BMW guidelines and uses appropriately
trained personnel.
Fender-mounted lamps
Rear turn signals
The illustration shows the left part of the lug-
gage compartment.
21-watt bulb, P21W or PY21W
*
1.Use the handle at the top to fold down the
side trim panel.
2.Turn the bulb holder to the left and remove.
Page 217 of 254

Mobility
215Reference
At a glance
Controls
Driving tips
Communications
Navigation
Entertainment
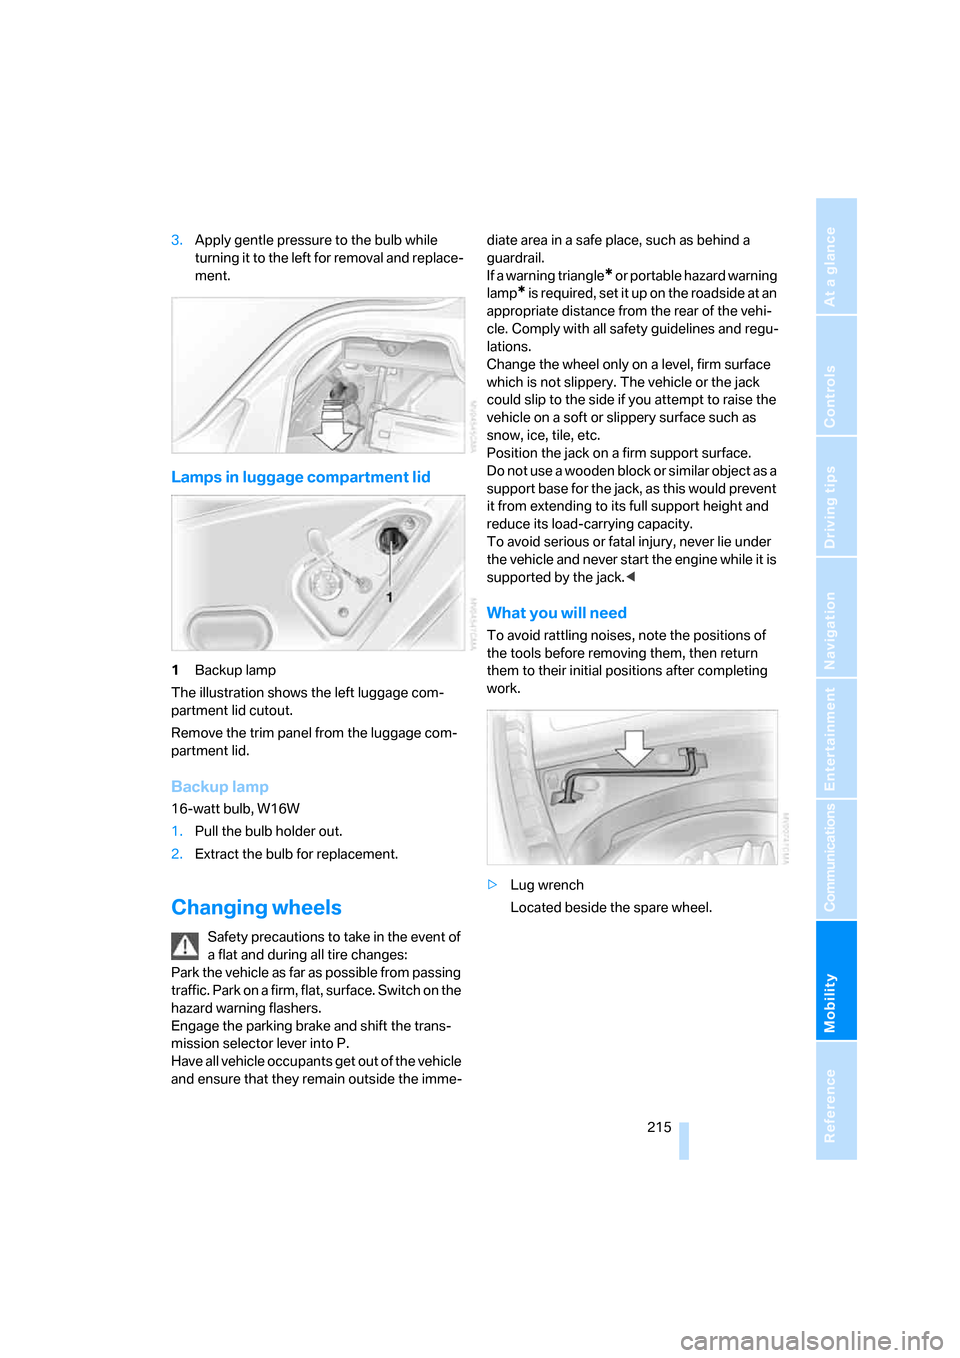
3.Apply gentle pressure to the bulb while
turning it to the left for removal and replace-
ment.
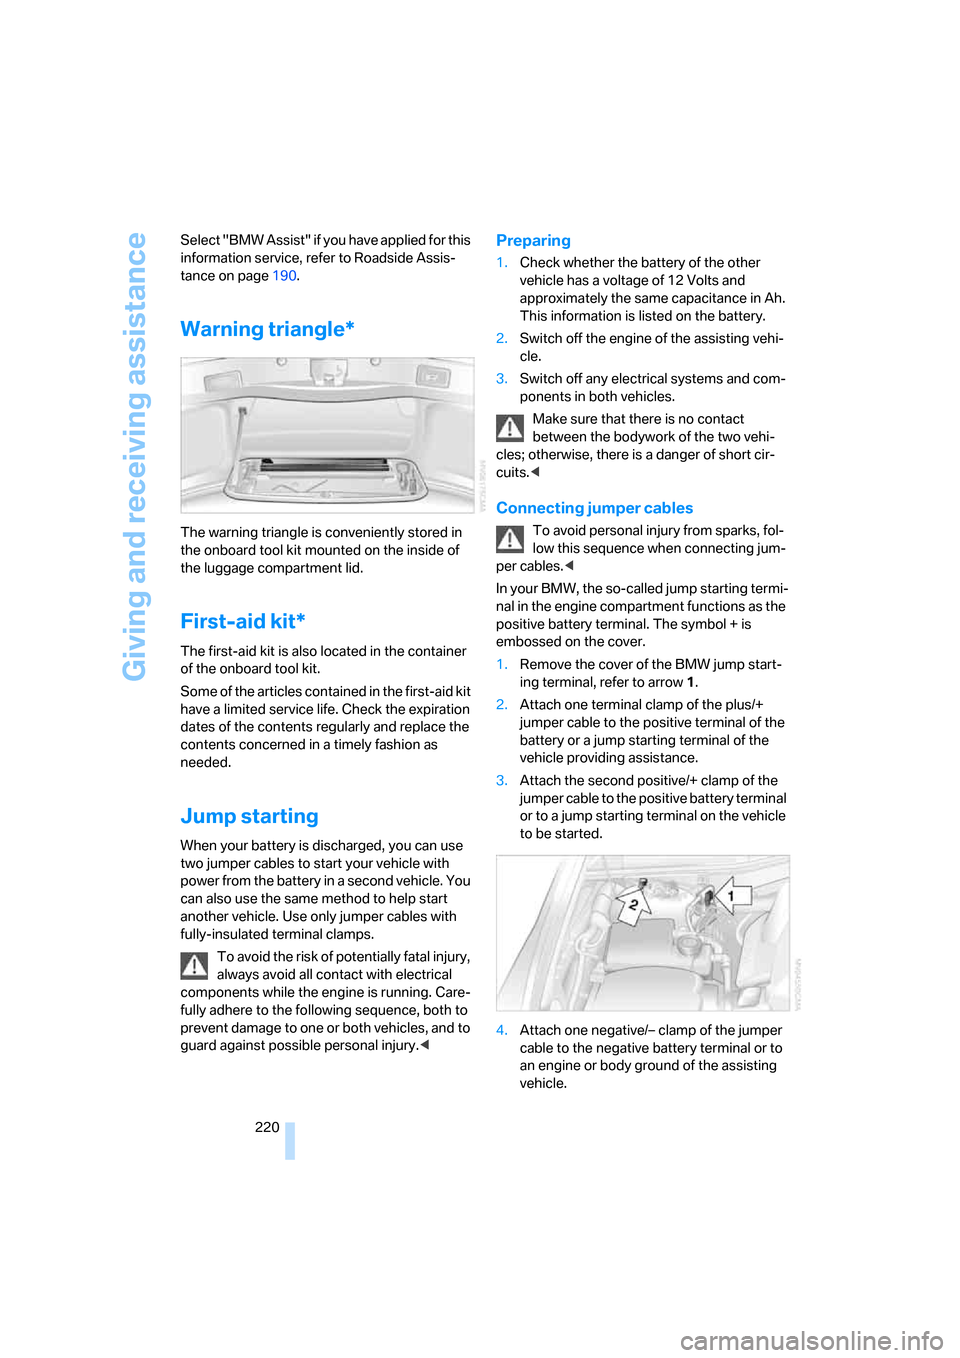
Lamps in luggage compartment lid
1Backup lamp
The illustration shows the left luggage com-
partment lid cutout.
Remove the trim panel from the luggage com-
partment lid.
Backup lamp
16-watt bulb, W16W
1.Pull the bulb holder out.
2.Extract the bulb for replacement.
Changing wheels
Safety precautions to take in the event of
a flat and during all tire changes:
Park the vehicle as far as possible from passing
traffic. Park on a firm, flat, surface. Switch on the
hazard warning flashers.
Engage the parking brake and shift the trans-
mission selector lever into P.
Have all vehicle occupants get out of the vehicle
and ensure that they remain outside the imme-diate area in a safe place, such as behind a
guardrail.
If a warning triangle
* or portable hazard warning
lamp
* is r e q u ir e d , s et i t up o n t h e ro a d s id e a t a n
appropriate distance from the rear of the vehi-
cle. Comply with all safety guidelines and regu-
lations.
Change the wheel only on a level, firm surface
which is not slippery. The vehicle or the jack
could slip to the side if you attempt to raise the
vehicle on a soft or slippery surface such as
snow, ice, tile, etc.
Position the jack on a firm support surface.
Do not use a wooden block or similar object as a
support base for the jack, as this would prevent
it from extending to its full support height and
reduce its load-carrying capacity.
To avoid serious or fatal injury, never lie under
the vehicle and never start the engine while it is
supported by the jack.<
What you will need
To avoid rattling noises, note the positions of
the tools before removing them, then return
them to their initial positions after completing
work.
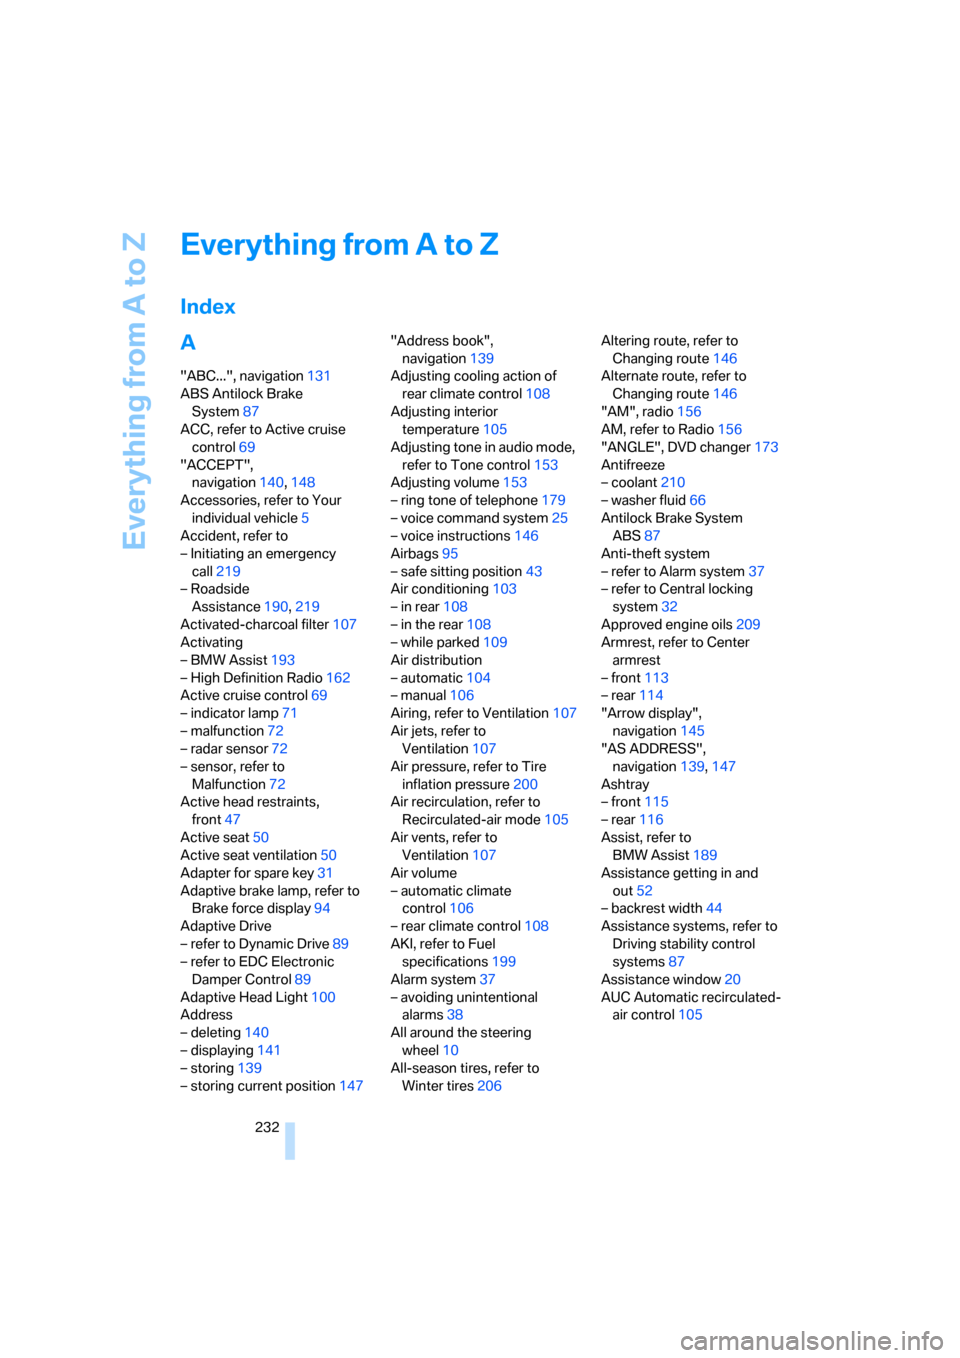
>Lug wrench
Located beside the spare wheel.
Page 219 of 254

Mobility
217Reference
At a glance
Controls
Driving tips
Communications
Navigation
Entertainment
2.Guide the jack head into the rectangular
recess of the jacking point when cranking
up the jack, refer to section of illustration.
3.Jack the vehicle up until the wheel you are
changing is raised from the ground.
Mounting a wheel
1.Unscrew the lug bolts and remove the
wheel.
2.Remove accumulations of mud or dirt from
the mounting surfaces of the wheel and
hub. Clean the lug bolts.
3.Position the new wheel or spare tire on the
hub and screw in at least two bolts diago-
nally.
When you mount wheels other than Genu-
ine BMW light-alloy wheels, different lug
bolts may also be required.
4.Screw in the remaining lug bolts. Tighten all
the bolts securely in a diagonal pattern.
5.Lower the vehicle and remove the jack from
beneath the vehicle.
After mounting
1.Tighten the lug bolts in a diagonal pattern.
To ensure safety, always have the
lug bolts checked with a calibrated
torque wrench as soon as possible to
ensure that they are tightened to the speci-
fied torque. The tightening torque is
100lbft/140Nm.<
2.Reverse the removal sequence when stor-
ing the wheel and tools in the vehicle.3.Check and correct the tire inflation pressure
at the earliest opportunity.
Use valve stem seal caps to protect
valve stems from dirt and contamina-
tion. Dirt in valve stems is a frequent source
of gradual air loss.<
4.Reinitialize the Flat Tire Monitor, refer to
page90, or reset the Tire Pressure Monitor,
refer to page92.
5.Replace the damaged tire as soon as possi-
ble and have the new wheel/tire balanced.
Driving with spare tire
On certain wheel-tire combinations, the
size of the spare tire differs from that of
the rest of the tires. The spare tire is fully capa-
ble of running in all load and speed ranges.
However, to recreate the original conditions,
the tire should be replaced as soon as possi-
ble.<
Vehicle battery
Maintenance
The battery is 100 % maintenance-free, i.e., the
electrolyte will last for the life of the battery
when the vehicle is operated in a temperate cli-
mate. Your BMW center will be happy to advise
you on all questions concerning the battery.
Charging battery
Charge the battery in the vehicle only via the
terminals in the engine compartment and with
the engine off. Connections, refer to Jump
starting on page220.
Page 222 of 254

Giving and receiving assistance
220 Select "BMW Assist" if you have applied for this
information service, refer to Roadside Assis-
tance on page190.
Warning triangle*
The warning triangle is conveniently stored in
the onboard tool kit mounted on the inside of
the luggage compartment lid.
First-aid kit*
The first-aid kit is also located in the container
of the onboard tool kit.
Some of the articles contained in the first-aid kit
have a limited service life. Check the expiration
dates of the contents regularly and replace the
contents concerned in a timely fashion as
needed.
Jump starting
When your battery is discharged, you can use
two jumper cables to start your vehicle with
power from the battery in a second vehicle. You
can also use the same method to help start
another vehicle. Use only jumper cables with
fully-insulated terminal clamps.
To avoid the risk of potentially fatal injury,
always avoid all contact with electrical
components while the engine is running. Care-
fully adhere to the following sequence, both to
prevent damage to one or both vehicles, and to
guard against possible personal injury.<
Preparing
1.Check whether the battery of the other
vehicle has a voltage of 12 Volts and
approximately the same capacitance in Ah.
This information is listed on the battery.
2.Switch off the engine of the assisting vehi-
cle.
3.Switch off any electrical systems and com-
ponents in both vehicles.
Make sure that there is no contact
between the bodywork of the two vehi-
cles; otherwise, there is a danger of short cir-
cuits.<
Connecting jumper cables
To avoid personal injury from sparks, fol-
low this sequence when connecting jum-
per cables.<
In your BMW, the so-called jump starting termi-
nal in the engine compartment functions as the
positive battery terminal. The symbol + is
embossed on the cover.
1.Remove the cover of the BMW jump start-
ing terminal, refer to arrow1.
2.Attach one terminal clamp of the plus/+
jumper cable to the positive terminal of the
battery or a jump starting terminal of the
vehicle providing assistance.
3.Attach the second positive/+ clamp of the
jumper cable to the positive battery terminal
or to a jump starting terminal on the vehicle
to be started.
4.Attach one negative/– clamp of the jumper
cable to the negative battery terminal or to
an engine or body ground of the assisting
vehicle.
Page 223 of 254

Mobility
221Reference
At a glance
Controls
Driving tips
Communications
Navigation
Entertainment
Your BMW has a special nut that serves as a
body ground or negative terminal, refer to
arrow2.
5.Attach the second negative/– clamp of the
jumper cable to the negative battery termi-
nal or to an engine or body ground on the
vehicle to be started.
Starting engine
1.Start the engine of the assisting vehicle and
allow it to run for several minutes at a fast
idle.
2.Start the engine on the other vehicle in the
usual way.
If the first start attempt is not successful,
wait a few minutes before another attempt
in order to allow the discharged battery to
recharge.
3.Allow the engines to run for several min-
utes.
4.Disconnect the jumper cables again in the
reverse sequence.
If need be, have the battery checked and
recharged.
Never use spray fluids to start the
engine.<
Towing and tow starting
Observe applicable laws and regulations
for tow starting and towing.<
Do not transport any passengers other
than the driver in a vehicle that is being
towed.<
Using tow fitting
The threaded tow fitting is stored in the
onboard tool kit and must always remain in the
vehicle. It can be screwed in at the front or rear
of the BMW.
Only use the tow fitting that comes with
the vehicle and screw it in as far as it will
go. Use the tow fitting for towing only on roads.
Avoid lateral loading of the tow fitting, e.g. do not lift the vehicle by the tow fitting. Otherwise,
damage to the tow fitting and the vehicle can
occur.<
Access to screw thread
Press the arrow symbol to push out the cover.
Being towed
Do not tow the vehicle by the rear axle;
because there is no steering lock, the
wheels could turn to an extreme angle during
towing. There is no power assist with the
engine stopped. This then requires increased
effort for braking and steering.<
Switch on the hazard warning flashers depend-
ing on the local regulations. If the electrical sys-
tem fails, mark the vehicle to be towed, e.g. with
a sign or warning triangle in the rear window.
Selector lever in position N. Releasing
shiftlock manually, refer to page64. To
avoid damaging the automatic transmission, do
not exceed a towing speed of 45 mph/70 km/h
and a towing distance of 95 miles/150 km.<
Towing methods
In some countries, towing with tow bars or
ropes in public traffic is not permitted.
Familiarize yourself with the regulations on tow-
ing in the respective country.
With tow bar
The towing vehicle must not be lighter
than the vehicle to be towed; otherwise,
it will no longer be possible to control vehicle
response.<
Page 228 of 254

Technical data
226
Technical data
Engine specifications
750i/Li760i/Li
Displacement
Number of cylinders cu in/cmµ292.8/4,799
8364.4/5,972
12
Maximum output
at engine speed hp
rpm 360
6,300438
6,000
Maximum torque
at engine speed lb ft/Nm
rpm 360/488
3,400444/600
3,950
Page 234 of 254

Everything from A to Z
232
Everything from A to Z
Index
A
"ABC...", navigation131
ABS Antilock Brake
System87
ACC, refer to Active cruise
control69
"ACCEPT",
navigation140,148
Accessories, refer to Your
individual vehicle5
Accident, refer to
– Initiating an emergency
call219
– Roadside
Assistance190,219
Activated-charcoal filter107
Activating
– BMW Assist193
– High Definition Radio162
Active cruise control69
– indicator lamp71
– malfunction72
– radar sensor72
– sensor, refer to
Malfunction72
Active head restraints,
front47
Active seat50
Active seat ventilation50
Adapter for spare key31
Adaptive brake lamp, refer to
Brake force display94
Adaptive Drive
– refer to Dynamic Drive89
– refer to EDC Electronic
Damper Control89
Adaptive Head Light100
Address
– deleting140
– displaying141
– storing139
– storing current position147"Address book",
navigation139
Adjusting cooling action of
rear climate control108
Adjusting interior
temperature105
Adjusting tone in audio mode,
refer to Tone control153
Adjusting volume153
– ring tone of telephone179
– voice command system25
– voice instructions146
Airbags95
– safe sitting position43
Air conditioning103
– in rear108
– in the rear108
– while parked109
Air distribution
– automatic104
– manual106
Airing, refer to Ventilation107
Air jets, refer to
Ventilation107
Air pressure, refer to Tire
inflation pressure200
Air recirculation, refer to
Recirculated-air mode105
Air vents, refer to
Ventilation107
Air volume
– automatic climate
control106
– rear climate control108
AKI, refer to Fuel
specifications199
Alarm system37
– avoiding unintentional
alarms38
All around the steering
wheel10
All-season tires, refer to
Winter tires206Altering route, refer to
Changing route146
Alternate route, refer to
Changing route146
"AM", radio156
AM, refer to Radio156
"ANGLE", DVD changer173
Antifreeze
– coolant210
– washer fluid66
Antilock Brake System
ABS87
Anti-theft system
– refer to Alarm system37
– refer to Central locking
system32
Approved engine oils209
Armrest, refer to Center
armrest
– front113
– rear114
"Arrow display",
navigation145
"AS ADDRESS",
navigation139,147
Ashtray
– front115
– rear116
Assist, refer to
BMW Assist189
Assistance getting in and
out52
– backrest width44
Assistance systems, refer to
Driving stability control
systems87
Assistance window20
AUC Automatic recirculated-
air control
105