2007 BMW 525XI TOURING ESP
[x] Cancel search: ESPPage 44 of 286

Opening and closing
42
Raising
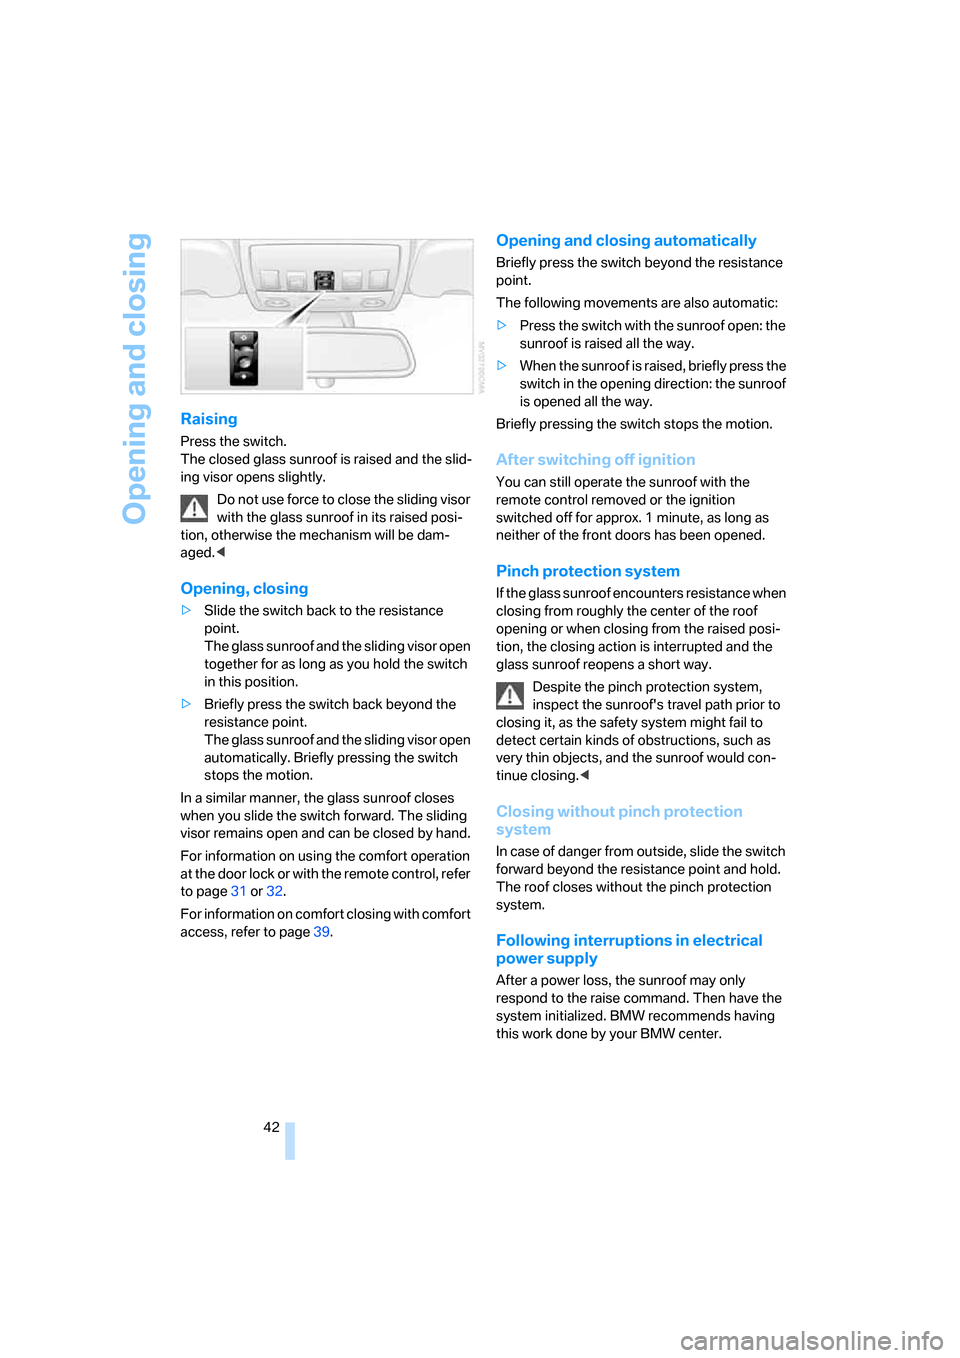
Press the switch.
The closed glass sunroof is raised and the slid-
ing visor opens slightly.
Do not use force to close the sliding visor
with the glass sunroof in its raised posi-
tion, otherwise the mechanism will be dam-
aged.<
Opening, closing
>Slide the switch back to the resistance
point.
The glass sunroof and the sliding visor open
together for as long as you hold the switch
in this position.
>Briefly press the switch back beyond the
resistance point.
The glass sunroof and the sliding visor open
automatically. Briefly pressing the switch
stops the motion.
In a similar manner, the glass sunroof closes
when you slide the switch forward. The sliding
visor remains open and can be closed by hand.
For information on using the comfort operation
at the door lock or with the remote control, refer
to page31 or32.
For information on comfort closing with comfort
access, refer to page39.
Opening and closing automatically
Briefly press the switch beyond the resistance
point.
The following movements are also automatic:
>Press the switch with the sunroof open: the
sunroof is raised all the way.
>When the sunroof is raised, briefly press the
switch in the opening direction: the sunroof
is opened all the way.
Briefly pressing the switch stops the motion.
After switching off ignition
You can still operate the sunroof with the
remote control removed or the ignition
switched off for approx. 1 minute, as long as
neither of the front doors has been opened.
Pinch protection system
If the glass sunroof encounters resistance when
closing from roughly the center of the roof
opening or when closing from the raised posi-
tion, the closing action is interrupted and the
glass sunroof reopens a short way.
Despite the pinch protection system,
inspect the sunroof's travel path prior to
closing it, as the safety system might fail to
detect certain kinds of obstructions, such as
very thin objects, and the sunroof would con-
tinue closing.<
Closing without pinch protection
system
In case of danger from outside, slide the switch
forward beyond the resistance point and hold.
The roof closes without the pinch protection
system.
Following interruptions in electrical
power supply
After a power loss, the sunroof may only
respond to the raise command. Then have the
system initialized. BMW recommends having
this work done by your BMW center.
Page 46 of 286

Opening and closing
44
Opening and closing sunroof and
sliding visor together
Briefly press the switch beyond the resistance
point twice consecutively.
Briefly pressing the switch stops the motion.
Comfort modes
>Press the switch twice with the sunroof
open:
The sunroof is raised.
>When the sunroof is raised, briefly press the
switch twice in the opening direction:
The sunroof is opened all the way.
Comfort position
The sunroof is not completely open in the com-
fort position. This reduces the wind noises in
the interior.
Each time the panorama glass sunroof is com-
pletely opened or closed, it stops in the comfort
position. If desired, continue the motion follow-
ing this with the switch.
After switching off ignition
You can still operate the sunroof with the
remote control removed or the ignition
switched off for approx. 1 minute, as long as
neither of the front doors has been opened.
Pinch protection system
If the panorama glass sunroof or sliding visor
encounter resistance when closing from
roughly one third of the sunroof opening or
when closing from the raised position, the clos-
ing action is interrupted and the panorama
glass sunroof and sliding visor reopen a little.
Despite the pinch protection system,
inspect the sunroof's travel path prior to
closing it, as the safety system might fail to
detect certain kinds of obstructions, such as
very thin objects, and the sunroof would con-
tinue closing.<
Closing without pinch protection
system
In case of danger from outside, slide the switch
forward beyond the resistance point and hold.
The roof closes without the pinch protection
system.
Following interruptions in electrical
power supply
After a power loss, the sunroof may only
respond to the raise command. Then have the
system initialized. BMW recommends having
this work done by your BMW center.
Moving manually
In the event of an electrical malfunction, you can
move the sunroof manually.
1.Fold back the cover, using the screwdriver
from the toolkit at the points indicated if
necessary, refer to page234.
2.Remove the Allen key from the mounting
next to the toolkit and insert it in the open-
ing provided. Move the sunroof in the
desired direction. The arrow below indi-
cates the rotation direction for closing.
Page 48 of 286

Adjusting
46
Seats
Note before adjusting
Never attempt to adjust your seat while
the vehicle is moving. The seat could
respond with unexpected movement, and the
ensuing loss of vehicle control could lead to an
accident.
Also on the passenger side, do not incline the
backrest too far to the rear while the vehicle is
being driven, otherwise there is a danger in the
event of an accident of sliding under the safety
belt, eliminating the protection normally pro-
vided by the belt.<
Please observe the information on damage to
safety belts provided on page50 and the infor-
mation on the active front
head restraints* on
page49.
Adjusting seat
To ensure that the safety systems con-
tinue to provide optimized protection,
please observe the adjustment instructions on
page45.<
1Longitudinal direction
2Height
3Angle4Backrest
Adjusting comfort seat*
In this seat, you can also adjust:
1Backrest width
2Shoulder support
3Thigh support
4Lumbar support
*
Shoulder support
the adjustable upper backrest also supports the
back in the shoulder region. This provides a
relaxed driving position and helps relieve stress
on the shoulder muscles.
Page 52 of 286

Adjusting
50
Removing
1.Pull the head restraint upward to the stop.
2.Press the button, arrow1, and pull the head
restraint all the way out.
Safety belts
To ensure that the safety systems con-
tinue to provide optimized protection,
please observe the adjustment instructions on
page45.<
Before every drive, make sure that safety belts
are being worn at all of the occupied seats. Air-
bags complement the safety belt as an addi-
tional safety device, but they do not represent a
substitute.
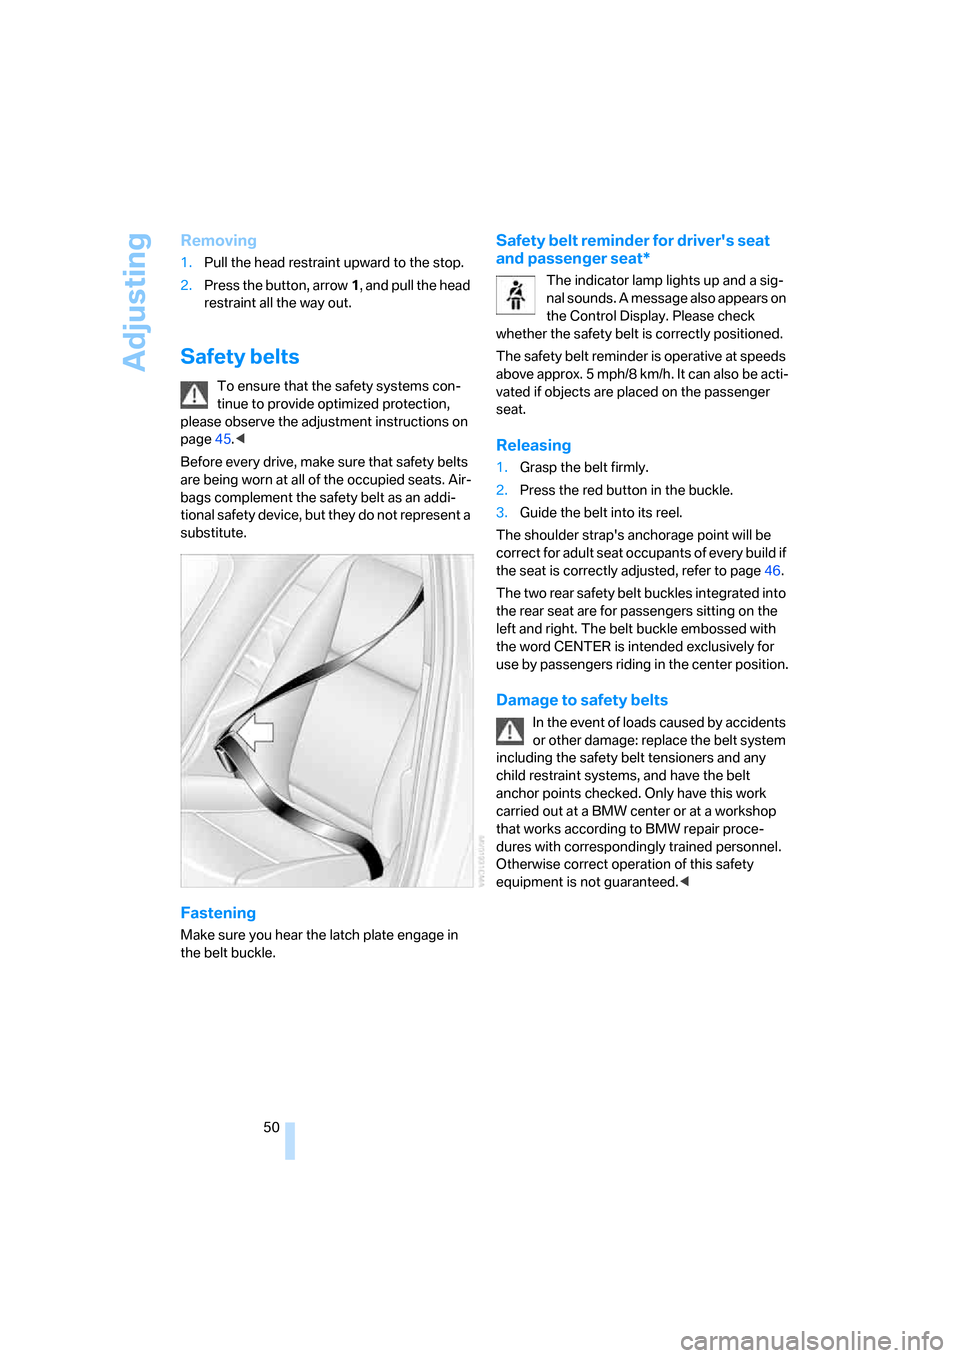
Fastening
Make sure you hear the latch plate engage in
the belt buckle.
Safety belt reminder for driver's seat
and passenger seat*
The indicator lamp lights up and a sig-
nal sounds. A message also appears on
the Control Display. Please check
whether the safety belt is correctly positioned.
The safety belt reminder is operative at speeds
above approx. 5 mph/8 km/h. It can also be acti-
vated if objects are placed on the passenger
seat.
Releasing
1.Grasp the belt firmly.
2.Press the red button in the buckle.
3.Guide the belt into its reel.
The shoulder strap's anchorage point will be
correct for adult seat occupants of every build if
the seat is correctly adjusted, refer to page46.
The two rear safety belt buckles integrated into
the rear seat are for passengers sitting on the
left and right. The belt buckle embossed with
the word CENTER is intended exclusively for
use by passengers riding in the center position.
Damage to safety belts
In the event of loads caused by accidents
or other damage: replace the belt system
including the safety belt tensioners and any
child restraint systems, and have the belt
anchor points checked. Only have this work
carried out at a BMW center or at a workshop
that works according to BMW repair proce-
dures with correspondingly trained personnel.
Otherwise correct operation of this safety
equipment is not guaranteed.<
Page 53 of 286

Controls
51Reference
At a glance
Driving tips
Communications
Navigation
Entertainment
Mobility
Seat heating*
Front
The appearance and arrangement of the but-
tons may vary depending on the equipment.
1Seat heating, three LEDs
2Seat heating, one LED
3Seat heating with active seat ventilation
*
Press the respective button once per tempera-
ture level. The temperature level is shown on
the Control Display with buttons2 and3. The
maximum temperature is supplied when three
LEDs are lit.
To switch off: press button longer.
Temperature distribution without
active seat ventilation
The heat output can be distributed variously in
the seat cushion and the backrest.
iDrive, for explanation of principle, refer to
page16.
1.Open the start menu.
2.Move the controller to the left to open "Cli-
mate".
3.Select "Seat heater distribution" and press
the controller.4.Move the controller to the left or right to
select "Driver" or "Passenger".
5.Turn the controller to adjust the distribu-
tion.
The setting is applied.
Temperature distribution with active
seat ventilation
The heat output can be distributed variously in
the seat cushion and the backrest.
iDrive, for explanation of principle, refer to
page16.
1.Open the start menu.
2.Move the controller to the left to open "Cli-
mate".
3.Select "Driver's seat climate" or "Passen-
ger's seat climate" and press the controller.
Turn the controller to adjust the distribution.
The setting is applied.
Page 54 of 286

Adjusting
52
Rear
Operation similar to front seat heating; two tem-
perature levels, without temperature distribu-
tion.
Active seat ventilation*
The appearance and arrangement of the but-
tons may vary depending on the equipment.
1Active seat ventilation
2Active seat ventilation with seat heating
Press the respective button once per ventila-
tion level. The ventilation level appears on the
Control Display. The maximum level is supplied
when three LEDs are lit.
To switch off: press button longer.
The highest level is used for rapid cooling,
e.g. when the vehicle has become heated
up. After a short time, the system is automati-
cally switched down one level in order to pre-
vent excessive cooling.<
Active seat*
The seat cushion is actively varied by alter-
nately raising and lowering the right and left half
of the seat cushion. This reduces muscular ten-
sion and fatigue to help prevent lower back
pain.
Press the button to switch on; the LED lights
up.
If you switch off the active seat, it can take up
to 1 minute before the two halves of the seat
cushion have returned to their initial position.
Mirrors
Exterior mirrors
The mirror on the passenger's side is
more curved than the driver's mirror.
Objects reflected in the mirror are closer than
they appear. Do not estimate the distance of
following traffic based on what you see in the
mirrors, otherwise there is an increased acci-
dent risk.<
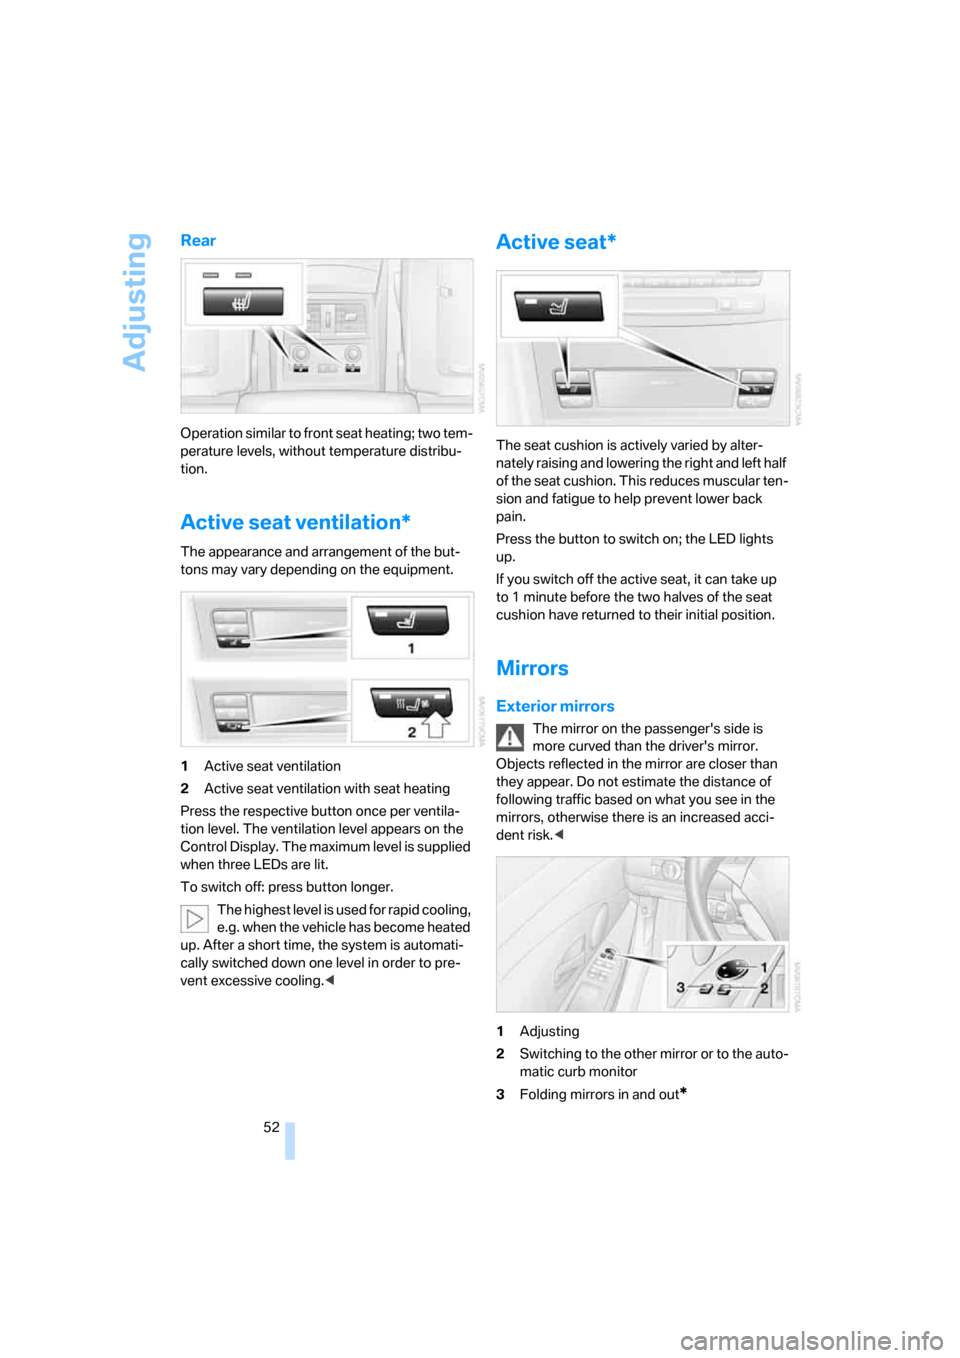
1Adjusting
2Switching to the other mirror or to the auto-
matic curb monitor
3Folding mirrors in and out
*
Page 57 of 286

Controls
55Reference
At a glance
Driving tips
Communications
Navigation
Entertainment
Mobility
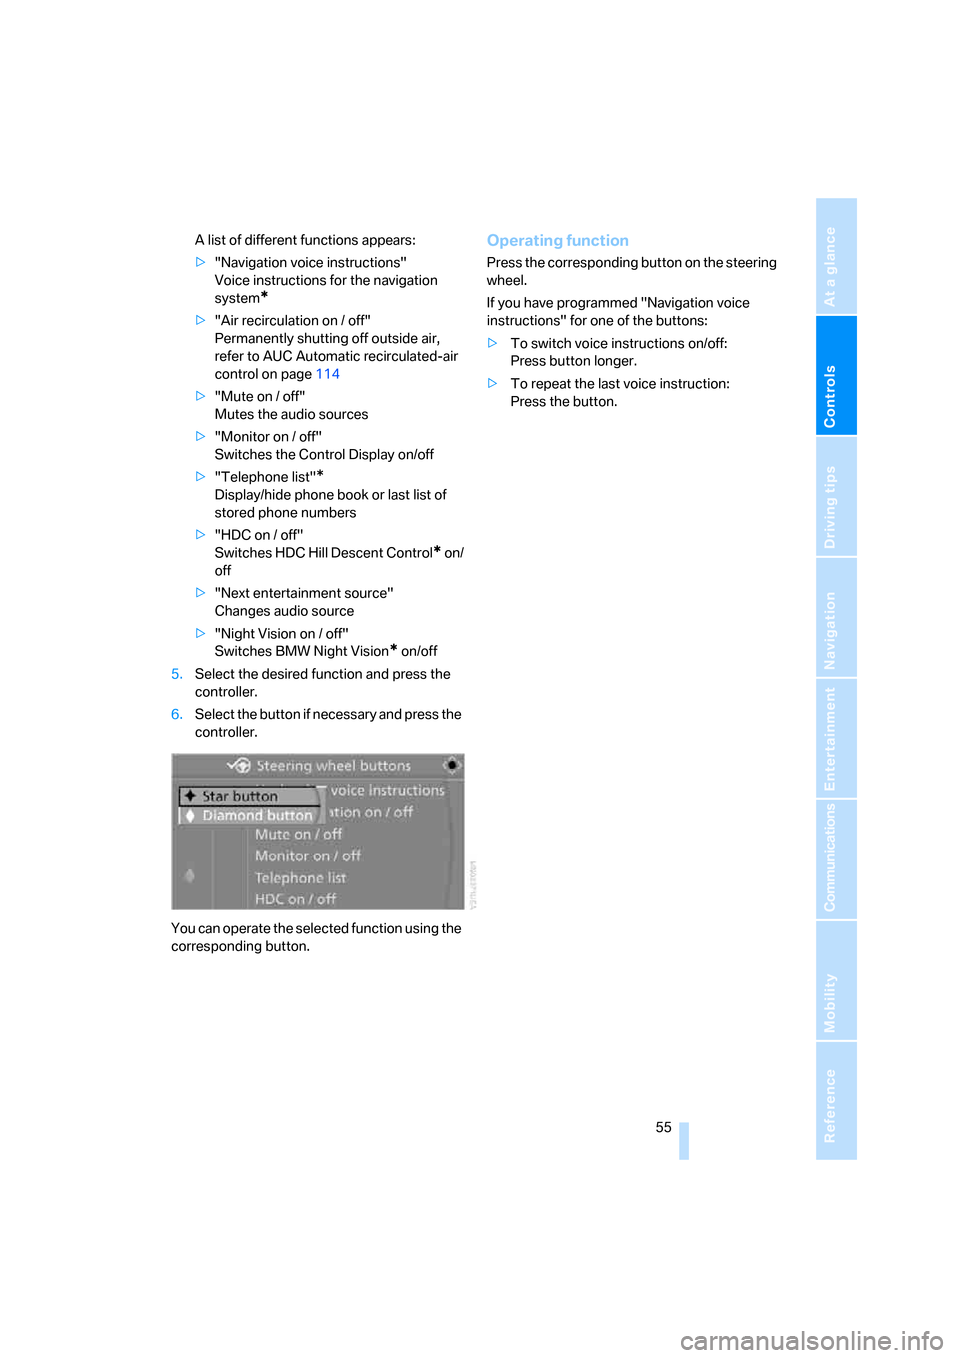
A list of different functions appears:
>"Navigation voice instructions"
Voice instructions for the navigation
system
*
>"Air recirculation on / off"
Permanently shutting off outside air,
refer to AUC Automatic recirculated-air
control on page114
>"Mute on / off"
Mutes the audio sources
>"Monitor on / off"
Switches the Control Display on/off
>"Telephone list"
*
Display/hide phone book or last list of
stored phone numbers
>"HDC on / off"
Switches HDC Hill Descent Control
* on/
off
>"Next entertainment source"
Changes audio source
>"Night Vision on / off"
Switches BMW Night Vision
* on/off
5.Select the desired function and press the
controller.
6.Select the button if necessary and press the
controller.
You can operate the selected function using the
corresponding button.
Operating function
Press the corresponding button on the steering
wheel.
If you have programmed "Navigation voice
instructions" for one of the buttons:
>To switch voice instructions on/off:
Press button longer.
>To repeat the last voice instruction:
Press the button.
Page 58 of 286

Transporting children safely
56
Transporting children safely
The right place for children
Do not leave children unattended in the
vehicle, otherwise they could endanger
themselves and other persons, e.g. by opening
the doors.<
Children always in the rear
Accident research shows that the safest place
for children is on the rear seat.
Children younger than 13 years of age or
with a height under 5 ft/150 cm may only
be transported in the rear in child restraint sys-
tems which correspond to the age, weight and
height of the child. Otherwise there is an
increased danger of injury in an accident.<
Children 13 years of age or older must wear a
safety belt as soon as a suitable child restraint
system can no longer be used due to their age,
size and weight.
Exception for front passenger seat
Should it be necessary to use a child
restraint system on the front passenger
seat, the front and side airbags on the passen-
ger side must be deactivated. Otherwise, there
is an increased risk of injury for the child if the
airbags are triggered, even with a child restraint
system.<
For more information on automatic deactivation
of the front passenger airbags, refer to
page100.
Installing child restraint
systems
Observe the child restraint system manu-
facturer's instructions for selection,
installation and use of the child restraint sys-
tems. Otherwise the degree of protection may
be reduced.<
On front passenger seat
After mounting a child restraint system on
the front passenger seat, make sure that
the front and side airbags on the front passen-
ger side are deactivated, as otherwise there is
an increased risk of injury if the airbags are trig-
gered.<
Backrest width*
Before mounting a child restraint system
on the front passenger seat, the backrest
width adjustment must be open completely.
After mounting the child's seat, no memory
position may be called up and the active back-
rest width adjustment must be deactivated,
otherwise the stability of the child's seat on the
front passenger seat is limited.<
1.After unlocking the vehicle, sit on the front
passenger seat and close the door to call up
the memory position.
2.Completely open the backrest width adjust-
ment, refer to page46.
3.Deactivate active backrest width adjust-
ment, refer to page47.
4.Install child's seat.
Child seat security
All rear safety belts and the safety belt for the
front passenger can be locked against pulling
out to secure child restraint systems.