2007 BMW 525XI navigation system
[x] Cancel search: navigation systemPage 57 of 273

Controls
55Reference
At a glance
Driving tips
Communications
Navigation
Entertainment
Mobility
Transporting children safely
The right place for children
Do not leave children unattended in the
vehicle, otherwise they could endanger
themselves and other persons, e.g. by opening
the doors.<
Children always in the rear
Accident research shows that the safest place
for children is on the rear seat.
Children younger than 13 years of age or
with a height under 5 ft/150 cm may only
be transported in the rear in child restraint sys-
tems which correspond to the age, weight and
height of the child. Otherwise there is an
increased danger of injury in an accident.<
Children 13 years of age or older must wear a
safety belt as soon as a suitable child restraint
system can no longer be used due to their age,
size and weight.
With the exception of the driver's seat, all seats
in your BMW comply with the recommenda-
tions of the standard SAE J1819 for the safe
securing of child restraint systems in motor
vehicles.
Exception for front passenger seat
Should it be necessary to use a child
restraint system on the front passenger
seat, the front and side airbags on the passen-
ger side must be deactivated. Otherwise, there
is an increased risk of injury for the child if the
airbags are triggered, even with a child restraint
system. Your BMW center will be glad to advise
you.<
For more information on automatic deactivation
of the front passenger airbags, refer to page97.
Installing child restraint
systems
Observe the child restraint system manu-
facturer's instructions for selection,
installation and use of the child restraint sys-
tems. Otherwise the degree of protection may
be reduced.<
Backrest width* on front passenger
seat
Before mounting a child restraint system
on the front passenger seat, the backrest
width adjustment must be open completely.
After mounting the child's seat, no memory
position may be called up and the active back-
rest width adjustment must be deactivated,
otherwise the stability of the child's seat on the
front passenger seat is limited.<
1.After unlocking the vehicle, sit on the front
passenger seat and close the door to call up
the memory position.
2.Completely open the backrest width adjust-
ment, refer to page46.
3.Deactivate active backrest width adjust-
ment, refer to page47.
4.Install child's seat.
Child seat security
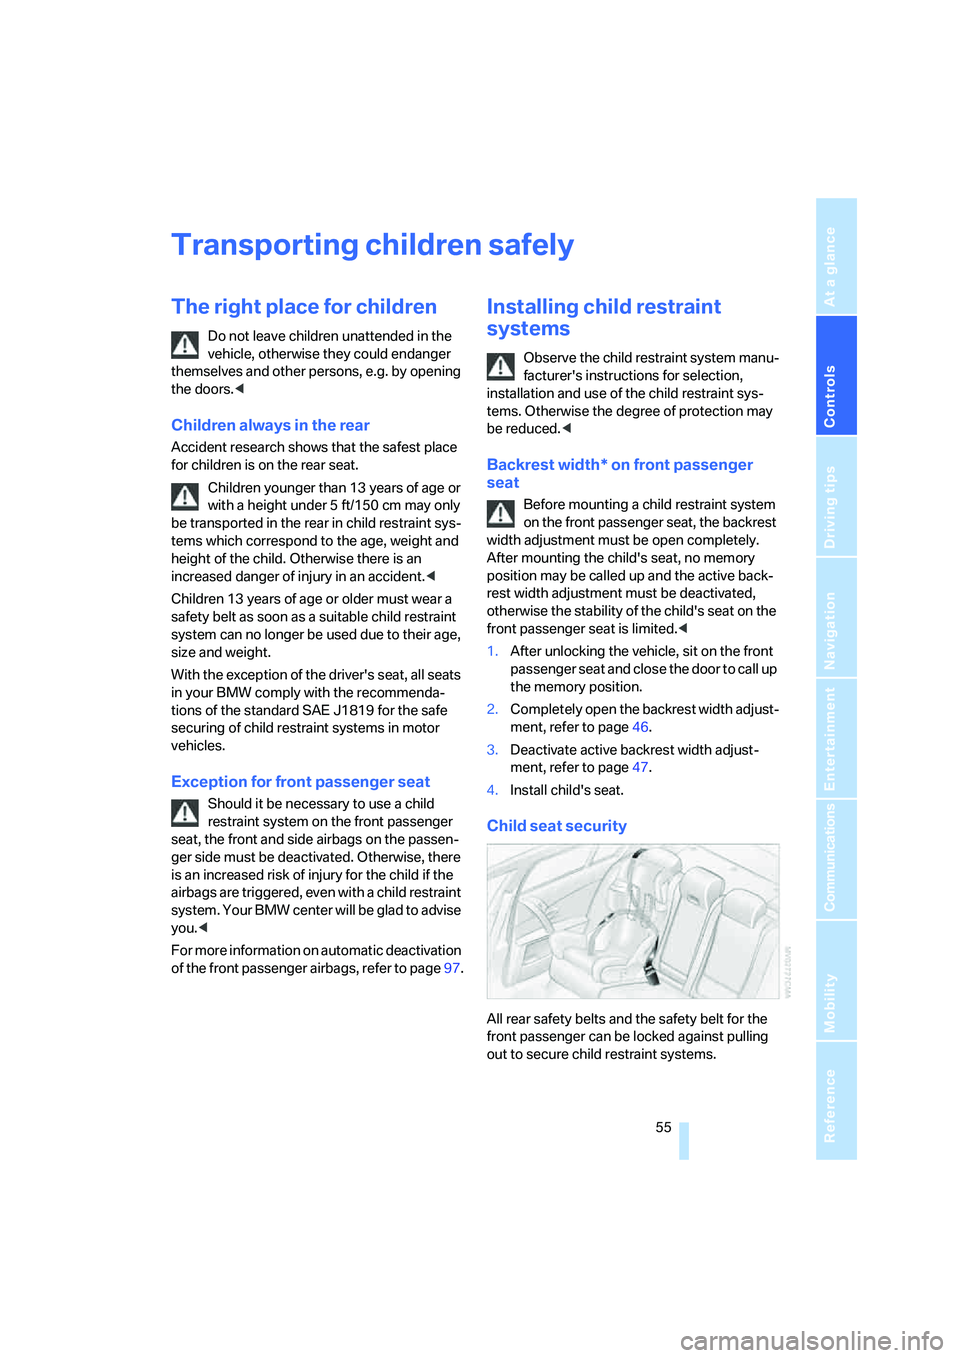
All rear safety belts and the safety belt for the
front passenger can be locked against pulling
out to secure child restraint systems.
Page 59 of 273

Controls
57Reference
At a glance
Driving tips
Communications
Navigation
Entertainment
Mobility
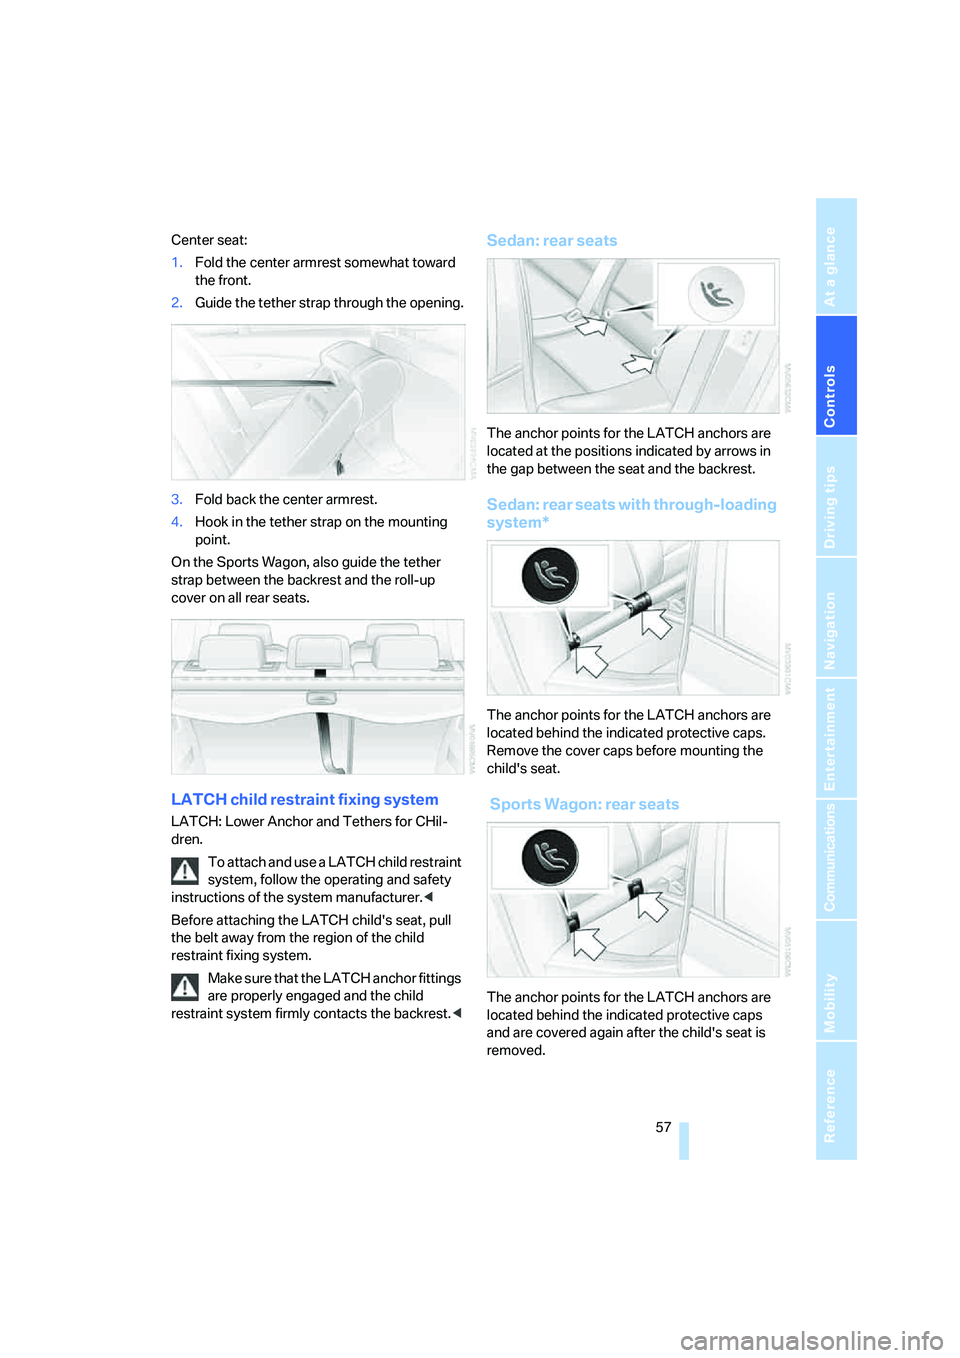
Center seat:
1.Fold the center armrest somewhat toward
the front.
2.Guide the tether strap through the opening.
3.Fold back the center armrest.
4.Hook in the tether strap on the mounting
point.
On the Sports Wagon, also guide the tether
strap between the backrest and the roll-up
cover on all rear seats.
LATCH child restraint fixing system
LATCH: Lower Anchor and Tethers for CHil-
dren.
To attach and use a LATCH child restraint
system, follow the operating and safety
instructions of the system manufacturer.<
Before attaching the LATCH child's seat, pull
the belt away from the region of the child
restraint fixing system.
Make sure that the LATCH anchor fittings
are properly engaged and the child
restraint system firmly contacts the backrest.<
Sedan: rear seats
The anchor points for the LATCH anchors are
located at the positions indicated by arrows in
the gap between the seat and the backrest.
Sedan: rear seats with through-loading
system*
The anchor points for the LATCH anchors are
located behind the indicated protective caps.
Remove the cover caps before mounting the
child's seat.
Sports Wagon: rear seats
The anchor points for the LATCH anchors are
located behind the indicated protective caps
and are covered again after the child's seat is
removed.
Page 61 of 273

Controls
59Reference
At a glance
Driving tips
Communications
Navigation
Entertainment
Mobility
Driving
Ignition lock
Insert the remote control as far as possible into
the ignition lock.
>Radio readiness switches on.
Some electronic systems/consumers are
ready for operation.
>The electric steering-wheel lock audibly
unlocks.
Before moving the vehicle, insert the
remote control into the ignition lock;
otherwise, the electric steering-wheel lock will
not be unlocked and the vehicle cannot be
steered.<
Removing remote control from ignition
lock
Briefly press in the remote control; it is pushed
out somewhat.
>The ignition is switched off if it was still
switched on.
>The electric steering-wheel lock audibly
locks.
Automatic transmission
The remote control can only be removed when
selector lever position P is selected: interlock.
Start/Stop button
Briefly pressing the Start/Stop button several
times switches the radio readiness or the igni-
tion on and off.
Briefly pressing the Start/Stop button
with the brake or clutch pedal depressed
starts the engine.<
Radio readiness
Some electronic systems/consumers are ready
for operation. The time and outside tempera-
ture are displayed in the instrument cluster.
Radio readiness is automatically switched off:
>when the remote control is removed from
the ignition lock
>with comfort access
* by touching the sen-
sitive surface on the door handle, refer to
Locking on page39
Ignition on
All electronic systems/consumers are ready for
operation. The odometer and the trip odometer
are displayed in the instrument cluster, refer to
page75.
Please switch off the ignition and the
electronic systems/consumers which are
not required when the engine is not running to
save the battery.<
Page 65 of 273

Controls
63Reference
At a glance
Driving tips
Communications
Navigation
Entertainment
Mobility
Shiftlock
Press the brake pedal before shifting out of N;
the shift command will not be executed unless
the brake is applied.
R Reverse
Select only when the vehicle is stationary.
Sequential mode
After every engine start, as soon as the selector
lever is pushed to the right and the brake pedal
is depressed, the Sequential mode is activated.
You can shift up and down using the shift pad-
dles or the selector lever. You do not need to
remove your foot from the accelerator to do so.
It is also possible to start off in second gear, e. g.
in slippery conditions.
In the following situations, SMG thinks for you:
>Upshifts and downshifts are executed only
when they will result in a plausible combina-
tion of engine and vehicle speed; thus, for
example, a downshift that would cause the
engine to overrev will not be executed by
the system.
>When the vehicle is stationary, the trans-
mission automatically downshifts into first
gear.
>Shortly before dropping below a gear-
dependent minimum speed, the transmis-
sion downshifts automatically even without
your intervention.
D Drive mode
In the Drive mode, all forward gears are shifted
automatically.
Shifting from Sequential mode to Drive mode:
press selector lever to the right toward D.
Kick-down: for rapid acceleration, e. g. when
passing, press the accelerator pedal as far
down as it will go. You achieve maximum accel-
eration.
To switch back into the Sequential mode: press
selector lever to the right again toward D or shift
using the shift paddles or the selector lever.Start off quickly on slopes. Do not hold
the vehicle on a hill by pressing the accel-
erator, but apply the handbrake instead. Other-
wise overheating can occur in the transmission
region.<
Gear changes
Using selector lever
>To upshift, pull the selector lever back.
>To downshift, push the selector lever for-
ward.
Using shift paddles on steering wheel
>To upshift, pull one of the shift paddles.
>To downshift, press.
Dynamic Driving Control
The Dynamic Driving Control makes it possible
for your BMW to react in an even more perfor-
mance-oriented manner at the push of a button:
>The engine responds more spontaneously
to accelerator pedal movements.
>Gearshifts are faster.
>The engine speed range is used optimally in
the Drive mode.
>Cruise control
*:
The stored speed is reached more quickly
when it is requested.
Page 67 of 273

Controls
65Reference
At a glance
Driving tips
Communications
Navigation
Entertainment
Mobility
N Neutral
Can, for example, be engaged in automatic car
washes. The vehicle can roll.
D Drive, automatic position
Position for normal vehicle operation. All for-
ward gears are available.
Under normal operating conditions, the fuel
consumption is lowest when driving in posi-
tion D.
Kick-down
The kick-down mode provides maximum accel-
eration: press the accelerator pedal beyond the
full-throttle resistance point.
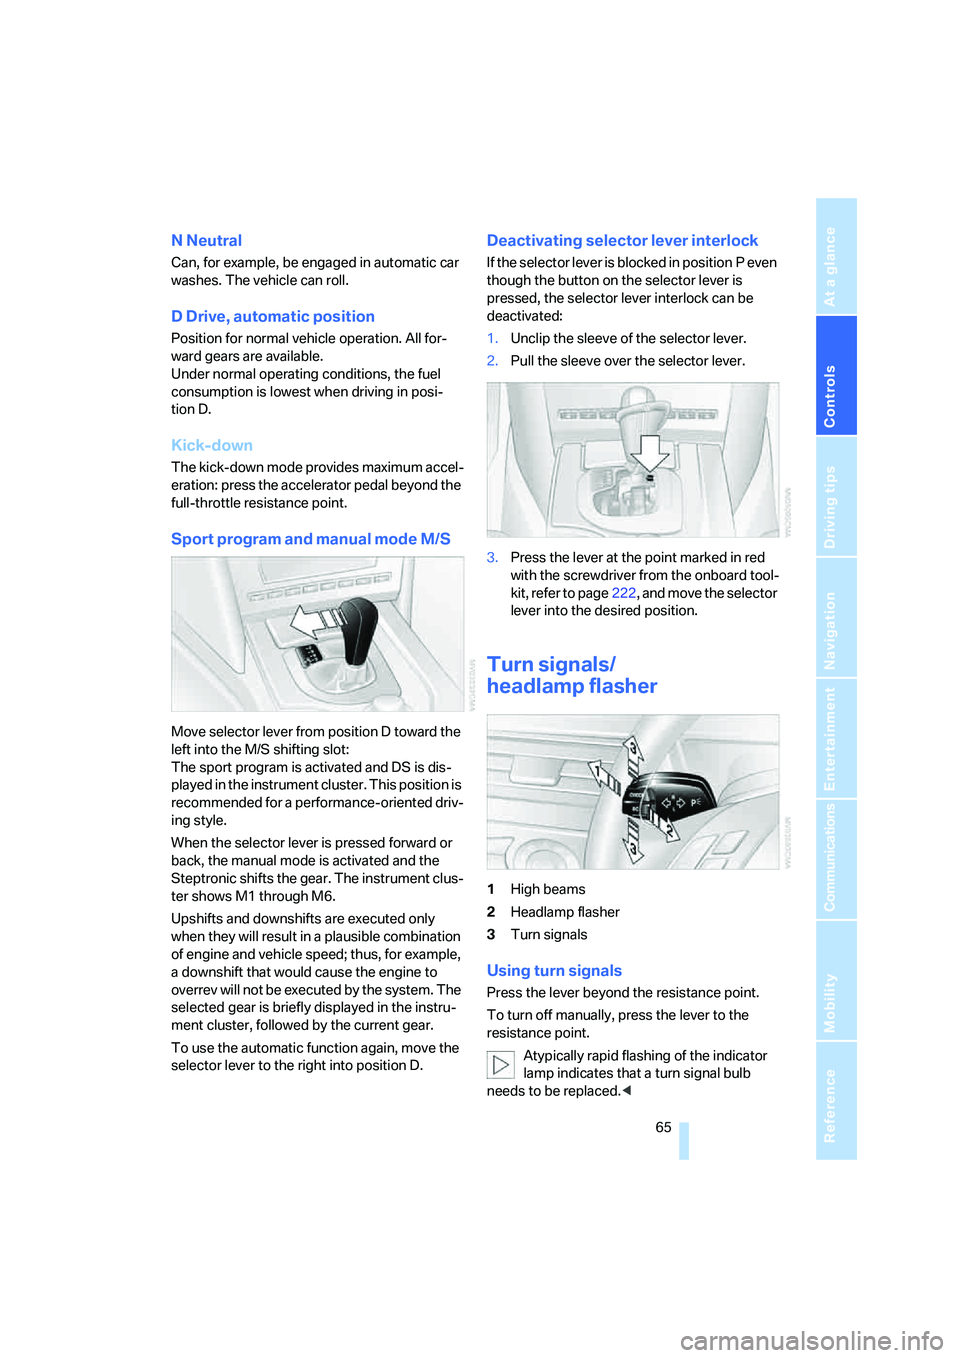
Sport program and manual mode M/S
Move selector lever from position D toward the
left into the M/S shifting slot:
The sport program is activated and DS is dis-
played in the instrument cluster. This position is
recommended for a performance-oriented driv-
ing style.
When the selector lever is pressed forward or
back, the manual mode is activated and the
Steptronic shifts the gear. The instrument clus-
ter shows M1 through M6.
Upshifts and downshifts are executed only
when they will result in a plausible combination
of engine and vehicle speed; thus, for example,
a downshift that would cause the engine to
overrev will not be executed by the system. The
selected gear is briefly displayed in the instru-
ment cluster, followed by the current gear.
To use the automatic function again, move the
selector lever to the right into position D.
Deactivating selector lever interlock
If the selector lever is blocked in position P even
though the button on the selector lever is
pressed, the selector lever interlock can be
deactivated:
1.Unclip the sleeve of the selector lever.
2.Pull the sleeve over the selector lever.
3.Press the lever at the point marked in red
with the screwdriver from the onboard tool-
kit, refer to page222, and move the selector
lever into the desired position.
Turn signals/
headlamp flasher
1High beams
2Headlamp flasher
3Turn signals
Using turn signals
Press the lever beyond the resistance point.
To turn off manually, press the lever to the
resistance point.
Atypically rapid flashing of the indicator
lamp indicates that a turn signal bulb
needs to be replaced.<
Page 69 of 273

Controls
67Reference
At a glance
Driving tips
Communications
Navigation
Entertainment
Mobility
Activating rain sensor
Press the button, arrow3. The LED in the but-
ton lights up.
Adjusting rain sensor sensitivity level
Turn the knurled wheel5.
Deactivating rain sensor
Press the button again, arrow3. The LED goes
out.
Deactivate the rain sensor when passing
through an automatic car wash. Failure to
do so could result in damage caused by undes-
ired wiper activation.<
Cleaning windshield, headlamps* and
BMW Night Vision camera*
Pull the lever, arrow4.
The system sprays washer fluid against the
windshield and activates the wipers for a brief
period.
With the vehicle lighting switched on, the head-
lamps and the BMW Night Vision camera are
also cleaned simultaneously at suitable inter-
vals.
Do not use the washing mechanisms if
there is any danger that the fluid will
freeze on the windshield. If you do so, your
vision could be obscured. To avoid freezing,
use a washer fluid antifreeze, refer to Washer
fluid. Do not use washing mechanisms when
the washer fluid reservoir is empty, otherwise
you will damage the washer pump.<
Windshield washer nozzles
Both windshield washer nozzles are automati-
cally heated with the engine running or the igni-
tion switched on.
Sports Wagon:
Rear window wiper
1Intermittent mode. When reverse gear is
engaged, continuous operation is switched
on automatically
2Cleaning the rear window
Do not use washing mechanisms when
the washer fluid reservoir is empty, other-
wise you will damage the washer pump.<
Washer fluid
Washer fluid antifreeze is flammable.
Always keep it well away from sparks and
open flames, and store it in tightly closed con-
tainers well out of the reach of children. Always
observe the instructions for use provided on the
containers.<
Washer fluid reservoir
All washer nozzles are supplied from one reser-
voir.
Page 71 of 273

Controls
69Reference
At a glance
Driving tips
Communications
Navigation
Entertainment
Mobility
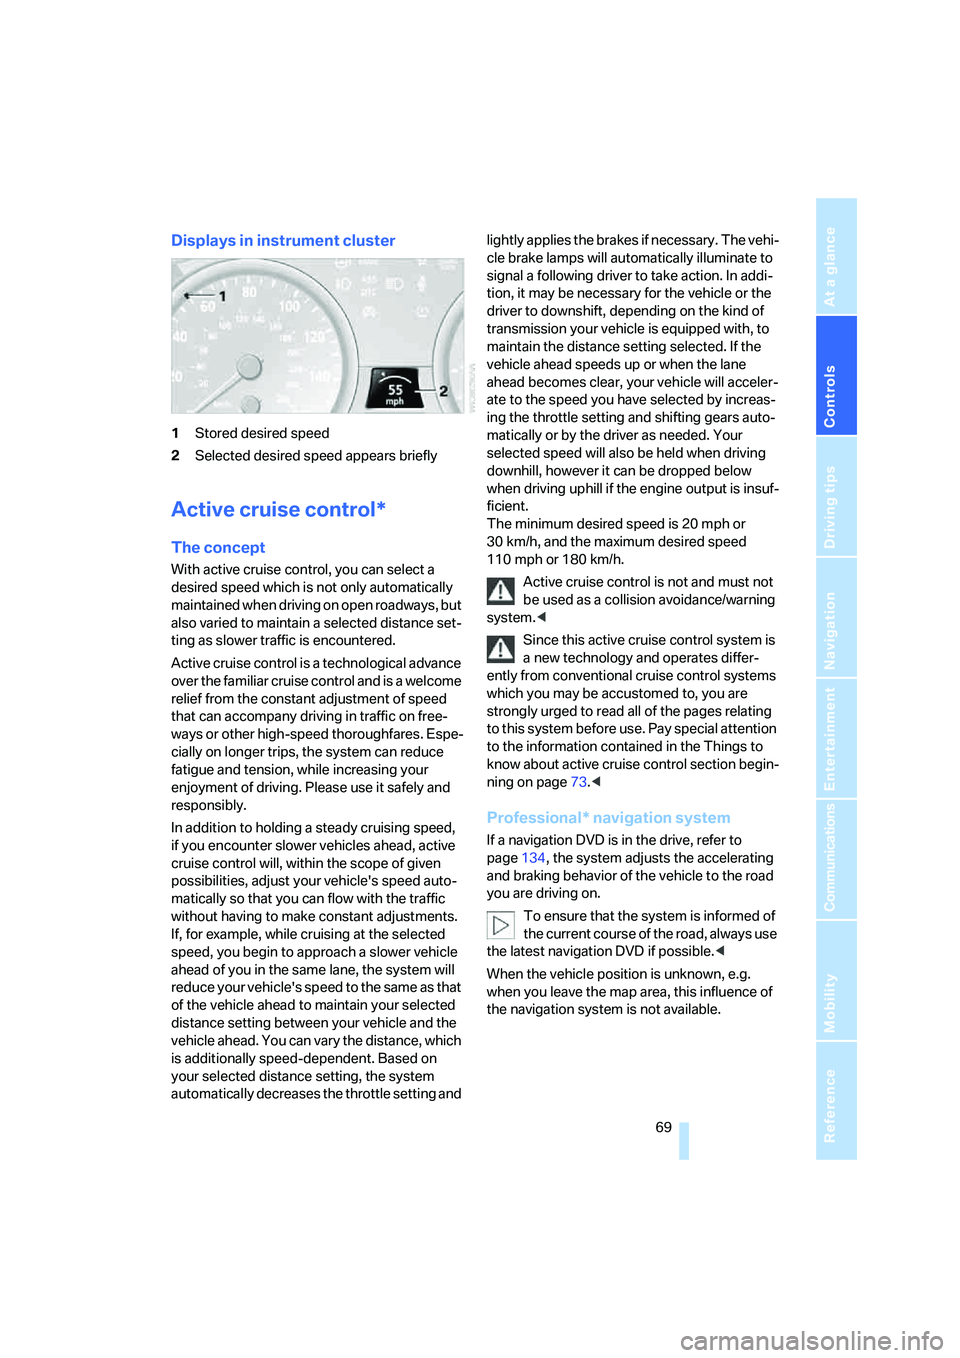
Displays in instrument cluster
1Stored desired speed
2Selected desired speed appears briefly
Active cruise control*
The concept
With active cruise control, you can select a
desired speed which is not only automatically
maintained when driving on open roadways, but
also varied to maintain a selected distance set-
ting as slower traffic is encountered.
Active cruise control is a technological advance
over the familiar cruise control and is a welcome
relief from the constant adjustment of speed
that can accompany driving in traffic on free-
ways or other high-speed thoroughfares. Espe-
cially on longer trips, the system can reduce
fatigue and tension, while increasing your
enjoyment of driving. Please use it safely and
responsibly.
In addition to holding a steady cruising speed,
if you encounter slower vehicles ahead, active
cruise control will, within the scope of given
possibilities, adjust your vehicle's speed auto-
matically so that you can flow with the traffic
without having to make constant adjustments.
If, for example, while cruising at the selected
speed, you begin to approach a slower vehicle
ahead of you in the same lane, the system will
reduce your vehicle's speed to the same as that
of the vehicle ahead to maintain your selected
distance setting between your vehicle and the
vehicle ahead. You can vary the distance, which
is additionally speed-dependent. Based on
your selected distance setting, the system
automatically decreases the throttle setting and lightly applies the brakes if necessary. The vehi-
cle brake lamps will automatically illuminate to
signal a following driver to take action. In addi-
tion, it may be necessary for the vehicle or the
driver to downshift, depending on the kind of
transmission your vehicle is equipped with, to
maintain the distance setting selected. If the
vehicle ahead speeds up or when the lane
ahead becomes clear, your vehicle will acceler-
ate to the speed you have selected by increas-
ing the throttle setting and shifting gears auto-
matically or by the driver as needed. Your
selected speed will also be held when driving
downhill, however it can be dropped below
when driving uphill if the engine output is insuf-
ficient.
The minimum desired speed is 20 mph or
30 km/h, and the maximum desired speed
110 mph or 180 km/h.
Active cruise control is not and must not
be used as a collision avoidance/warning
system.<
Since this active cruise control system is
a new technology and operates differ-
ently from conventional cruise control systems
which you may be accustomed to, you are
strongly urged to read all of the pages relating
to this system before use. Pay special attention
to the information contained in the Things to
know about active cruise control section begin-
ning on page73.<
Professional* navigation system
If a navigation DVD is in the drive, refer to
page134, the system adjusts the accelerating
and braking behavior of the vehicle to the road
you are driving on.
To ensure that the system is informed of
the current course of the road, always use
the latest navigation DVD if possible.<
When the vehicle position is unknown, e.g.
when you leave the map area, this influence of
the navigation system is not available.
Page 73 of 273

Controls
71Reference
At a glance
Driving tips
Communications
Navigation
Entertainment
Mobility
Selecting distance
>Downward:
Increase distance.
>Upward:
Decrease distance.
The selected distance is displayed in the instru-
ment cluster.
Use good judgment to select the appro-
priate following distance given road con-
ditions, traffic, applicable laws and driving rec-
ommendations for a safe following distance.<
Deactivating system
Press the lever up or down. The displays in the
instrument cluster disappear.
You also deactivate the system when you
brake, shift very slowly or into neutral, or
engage selector lever position N. In addition,
the system is deactivated automatically:
>When you activate DTC Dynamic Traction
Control
>When you deactivate DSC Dynamic Stabil-
ity Control
>When the system does not recognize any
objects for a longer time, e. g. on infre-
quently traveled roads without a shoulder or
guard rails, or if the radar sensor is covered
with dirt, refer to page72
>When the speed is reduced to below
20 mph/30 km/h due to a traffic situation
The system deactivates automatically
when the speed is set to below 20 mph/
30 km/h. A signal sounds and a message
appears on the Control Display. The active
intervention of the driver is required, otherwise
accidents can occur.<
Resuming stored desired speed and
distance
Press button 4.
The displays appear in the instrument cluster.
When you switch off the ignition, the stored
desired speed is deleted. Distance 1
Distance 2
Distance 3
This distance is set when the sys-
tem is used for the first time after
starting the engine.
Distance 4