2007 BMW 328I SEDAN Warning lamp
[x] Cancel search: Warning lampPage 71 of 268

Controls
69Reference
At a glance
Driving tips
Communications
Navigation
Entertainment
Mobility
4Selected desired speed is temporarily dis-
played
If --- mph or --- km/h temporarily appears
in the instrument cluster display, it is pos-
sible that the system prerequisites for operation
are currently not met. Calling up Check Control
messages, refer to page83.<
Warning lamps
The indicator2 flashes in red; a
signal sounds.
The system indicates that you
must brake and/or maneuver the
vehicle yourself. Active cruise con-
trol cannot automatically restore the distance to
the vehicle ahead.
This indicator does not release you from your
responsibility to adapt your desired speed and
driving style to prevailing driving conditions.
The indicator 2 flashes in yellow.
The prerequisites for operating
active cruise control are not met,
e.g. as a result of ABS or DSC
interventions. Active cruise control
is deactivated. You can reactivate the system, if
desired, by tapping or pulling the lever when road and traffic conditions permit. It is not pos-
sible to resume a stored speed.
Radar sensor
The sensor's ability to detect vehicles ahead
may be restricted as a result of heavy rain, dirt,
snow or ice. If necessary, clean the radar sensor
located in the front bumper, see arrow. Be sure
to use particular care when removing any layers
of snow or ice from the sensor.
When the radar sensor is not properly posi-
tioned, active cruise control cannot be activated
at all.
Malfunction
The warning lamp comes on when
the system has failed. A message
appears on the Control Display. You
can find more information starting on page82.
System limitations
Always remember that the range and abil-
ity of the system does have physical limi-
tations. It will not apply the brakes or decelerate
your vehicle when there is a slow-moving vehi-
cle, stopped vehicle or stationary object ahead
of you, as for example, at a traffic light or a
parked vehicle. Also, the system does not react to oncoming traffic, pedestrians or other types
of potential traffic such as a rider on horseback.
It is also possible that the system may not
detect smaller moving objects such as motor-
cycles or bicycles. Be especially alert when
encountering any of these situations as the sys-
tem will neither automatically brake, nor provide
Page 74 of 268

Everything under control
72
Everything under control
Odometer, outside
temperature display, clock
1Knob in the instrument cluster
2Outside temperature display and clock
3Odometer and trip odometer
Knob in the instrument cluster
>To reset the trip odometer while the ignition
is switched on
>To display the time, outside temperature
and odometer briefly while the ignition is
switched off
Units of measure
To select the respective units of measure, miles
or km for the odometer as well as 7 or 6 for
the outside temperature, refer to page77.
The setting is stored for the remote control cur-
rently in use.
Time, outside temperature display
Setting the time, refer to page80.
Outside temperature warning
When the displayed temperature sinks to
approx. +377/+36, a signal sounds and a
warning lamp lights up. There is an increased
risk of black ice.
Black ice can also form at temperatures
above +377/+36. You should there-
fore drive carefully on bridges and shaded roads, for example, otherwise there is an
increased risk of an accident.<
Odometer and trip odometer
Resetting trip odometer:
With the ignition switched on, press button1 in
the instrument cluster.
When the vehicle is parked
If you still want to view the time, outside tem-
perature and odometer reading briefly after the
remote control has been taken out of the igni-
tion lock:
Press button 1 in the instrument cluster.
Tachometer
Never force the engine speed up into the red
warning field, see arrow. In this range, the fuel
supply is interrupted to protect the engine.
Page 75 of 268

Controls
73Reference
At a glance
Driving tips
Communications
Navigation
Entertainment
Mobility
Coolant temperature
A warning lamp will come on if the coolant, and
therefore the engine, becomes too hot. In addi-
tion, a message will appear on the Control Dis-
play.
Check coolant level, refer to page218.
Energy Control*
Displays the current fuel consumption. This
allows you to see whether your current driving
style is conducive to fuel economy with mini-
mum exhaust emissions.
Engine oil temperature*
During standard operation, the engine oil tem-
perature is between approx. 1207 and approx.
3007/approx. 506 and approx. 1506. If the
engine oil temperature is too high, a message
will appear on the Control Display.
Fuel gauge
Fuel tank capacity: approx. 15.9 US gallons/
60 liters.
You can find information on refueling on
page201.
If the tilt of the vehicle varies for a longer period,
when you are driving in mountainous areas, for
example, the indicator may fluctuate slightly.
Reserve
Once the fuel level has fallen to the reserve
zone, a message briefly appears on the Control
Display and the cruising range for the remaining
amount of fuel is displayed on the computer.
Under a cruising range of approx. 30 miles/
50 km, the message remains in the Control Dis-
play.
Refuel as soon as possible once your
cruising range falls below 30 miles/
50 km, otherwise engine functions are not
ensured and damage can occur.<
Page 84 of 268

Everything under control
82 6.Press button 2.
The system stores the new date.
Via iDrive
iDrive, for operating principle refer to page16.
1.Open the start menu.
2.Press the controller to open the menu.
3.Turn the controller until "Settings" is
selected and press the controller.
4.Select "Date" and press the controller.
5.Select "Set date" and press the controller.
The first date display setting is selected.
6.Turn the controller to make the adjustment.
7.Press the controller to apply the setting.
The next setting is highlighted.
8.Make the remaining adjustments. After the
last adjustment, the date is stored.
Setting the date format
1.Open the start menu.
2.Press the controller to open the menu.
3.Turn the controller until "Settings" is
selected and press the controller.
4.Turn the controller until "Time / Date" is
selected and press the controller.
5.Select "Date format" and press the control-
ler.
6.Select the desired format and press the
controller.
Check Control
The concept
The Check Control monitors vehicle functions
and alerts you to any malfunctions in the sys-
tems monitored. Such a Check Control mes-
sage includes indicator and warning lamps in
the instrument cluster and, in some circum-
stances, an acoustic signal as well as text mes-
sages at the bottom of the Control Display.
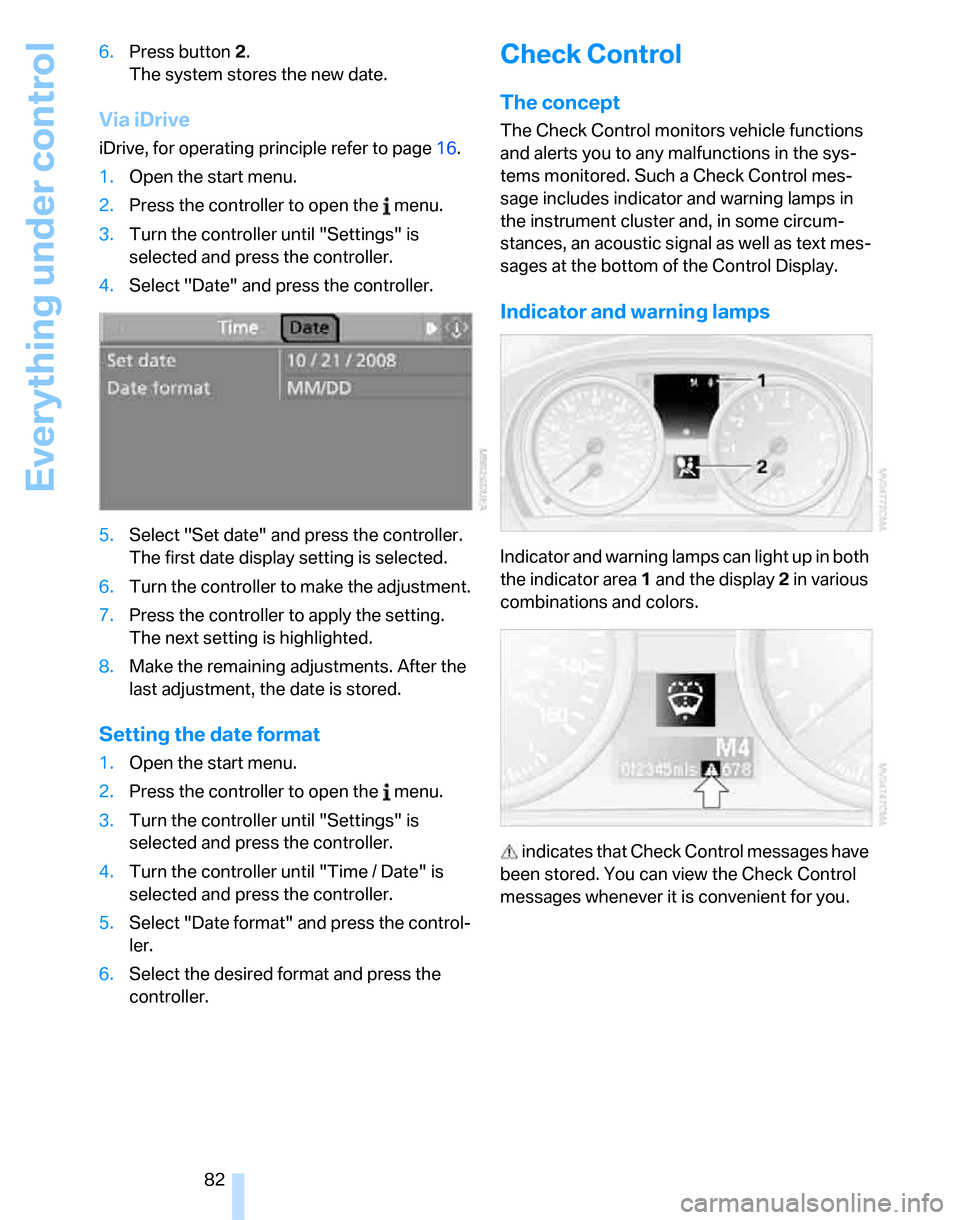
Indicator and warning lamps
Indicator and warning lamps can light up in both
the indicator area 1 and the display 2 in various
combinations and colors.
indicates that Check Control messages have
been stored. You can view the Check Control
messages whenever it is convenient for you.
Page 85 of 268

Controls
83Reference
At a glance
Driving tips
Communications
Navigation
Entertainment
Mobility
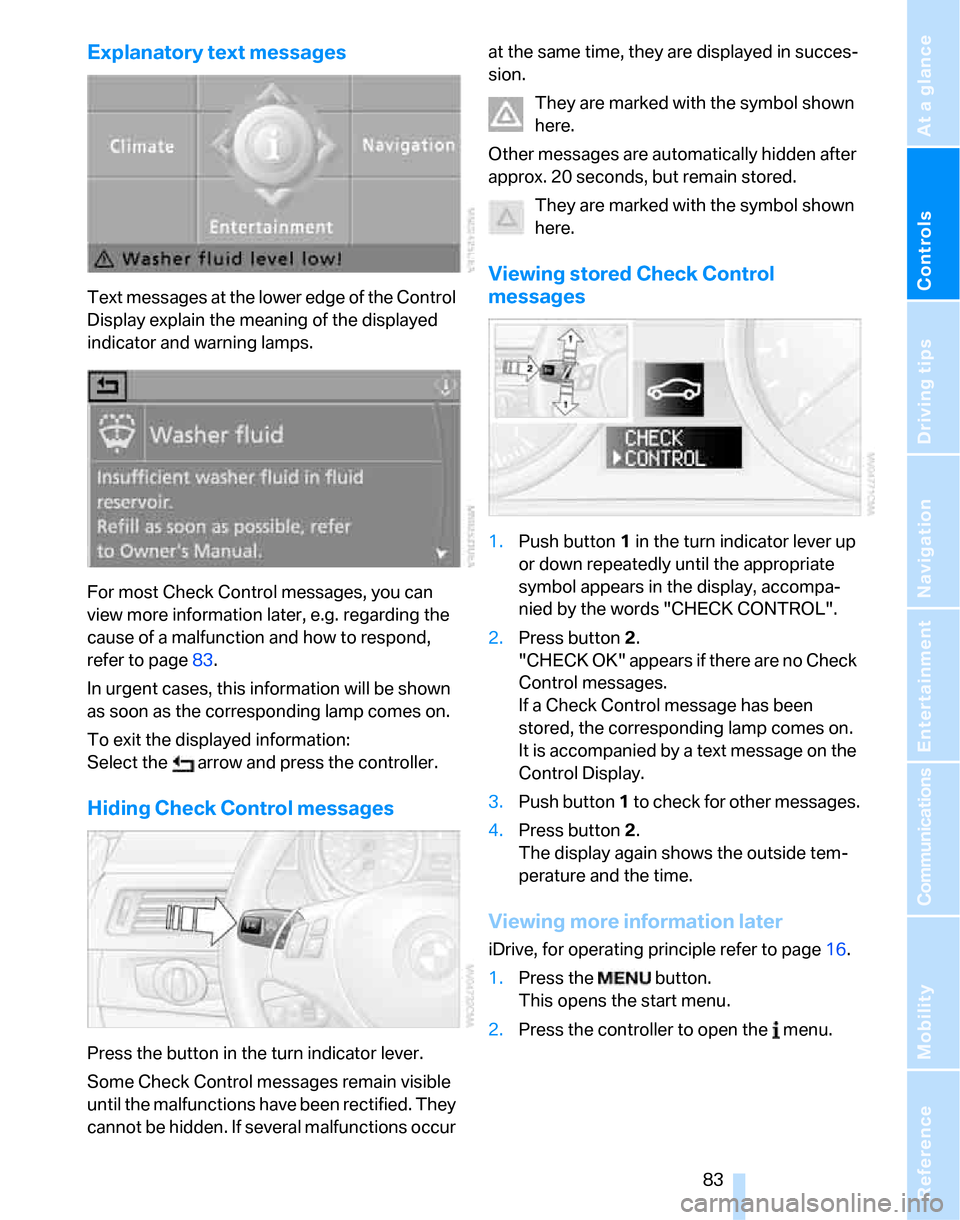
Explanatory text messages
Text messages at the lower edge of the Control
Display explain the meaning of the displayed
indicator and warning lamps.
For most Check Control messages, you can
view more information later, e.g. regarding the
cause of a malfunction and how to respond,
refer to page83.
In urgent cases, this information will be shown
as soon as the corresponding lamp comes on.
To exit the displayed information:
Select the arrow and press the controller.
Hiding Check Control messages
Press the button in the turn indicator lever.
Some Check Control messages remain visible
until the malfunctions have been rectified. They
cannot be hidden. If several malfunctions occur at the same time, they are displayed in succes-
sion.
They are marked with the symbol shown
here.
Other messages are automatically hidden after
approx. 20 seconds, but remain stored.
They are marked with the symbol shown
here.
Viewing stored Check Control
messages
1.Push button 1 in the turn indicator lever up
or down repeatedly until the appropriate
symbol appears in the display, accompa-
nied by the words "CHECK CONTROL".
2.Press button 2.
"CHECK OK" appears if there are no Check
Control messages.
If a Check Control message has been
stored, the corresponding lamp comes on.
It is accompanied by a text message on the
Control Display.
3.Push button 1 to check for other messages.
4.Press button 2.
The display again shows the outside tem-
perature and the time.
Viewing more information later
iDrive, for operating principle refer to page16.
1.Press the button.
This opens the start menu.
2.Press the controller to open the menu.
Page 88 of 268

Technology for driving comfort and safety
86
Technology for driving comfort and safety
PDC Park Distance Control*
The concept
The PDC assists you with maneuvering in tight
parking spaces. Acoustic signals and a visual
indicator
warn you of the presence of an object
behind your vehicle. To measure the distance,
there are four ultrasonic sensors in either
bumper.
These sensors have a range of approx. 6.5 ft/
2 m. However, an acoustic warning does not
sound until an object is approx. 24 in/60 cm
from the corner sensors, or approx. 5 ft/1.50 m
from the center sensors.
PDC is a parking aid that can indicate
objects when they are approached
slowly, as is usually the case when parking.
Avoid approaching an object at high speed, oth-
erwise physical circumstances may lead to the
system warning being issued too late.<
Switching on automatically
With the engine running or the ignition switched
on, the system is activated automatically after
approx. 1 second when you engage reverse
gear or move the automatic transmission selec-
tor lever to position R. Wait this short period
before driving.
Signal tones
When nearing an object, its position is indicated
correspondingly by an interval tone. As the dis-
tance between vehicle and object decreases,
the intervals between the tones become
shorter. If the distance to the nearest object
falls to below roughly 1 ft/30 cm, then a contin-
uous tone sounds.
An interval tone is interrupted after approx.
3seconds
>if you remain in front of an object that has
been detected by only one of the corner
sensors
>if you are driving parallel to a wall.
Malfunction
The indicator lamp in the instrument
cluster comes on. PDC is malfunc-
tioning. A message appears on the
Control Display. Have the system checked.
To avoid this problem, keep the sensors clean
and free of ice or snow in order to ensure that
they will continue to operate effectively. When
using a high-pressure cleaner, do not spray the
sensors for extended periods of time and only
from a distance of at least 4 in/10 cm.
PDC with visual warning
You can also have the system show distances
to objects on the Control Display. The contours
of distant objects are shown on the Control Dis-
play even before the acoustic signal sounds.
The setting is stored for the remote control cur-
rently in use.
iDrive, for operating principle refer to page16.
1.Open the start menu.
2.Press the controller to open the menu.
3.Select "Settings" and press the controller.
4.Select "Vehicle / Tires" and press the con-
troller.
5.If necessary, move the highlight marker to
the uppermost field. Turn the controller
Page 93 of 268

Controls
91Reference
At a glance
Driving tips
Communications
Navigation
Entertainment
Mobility
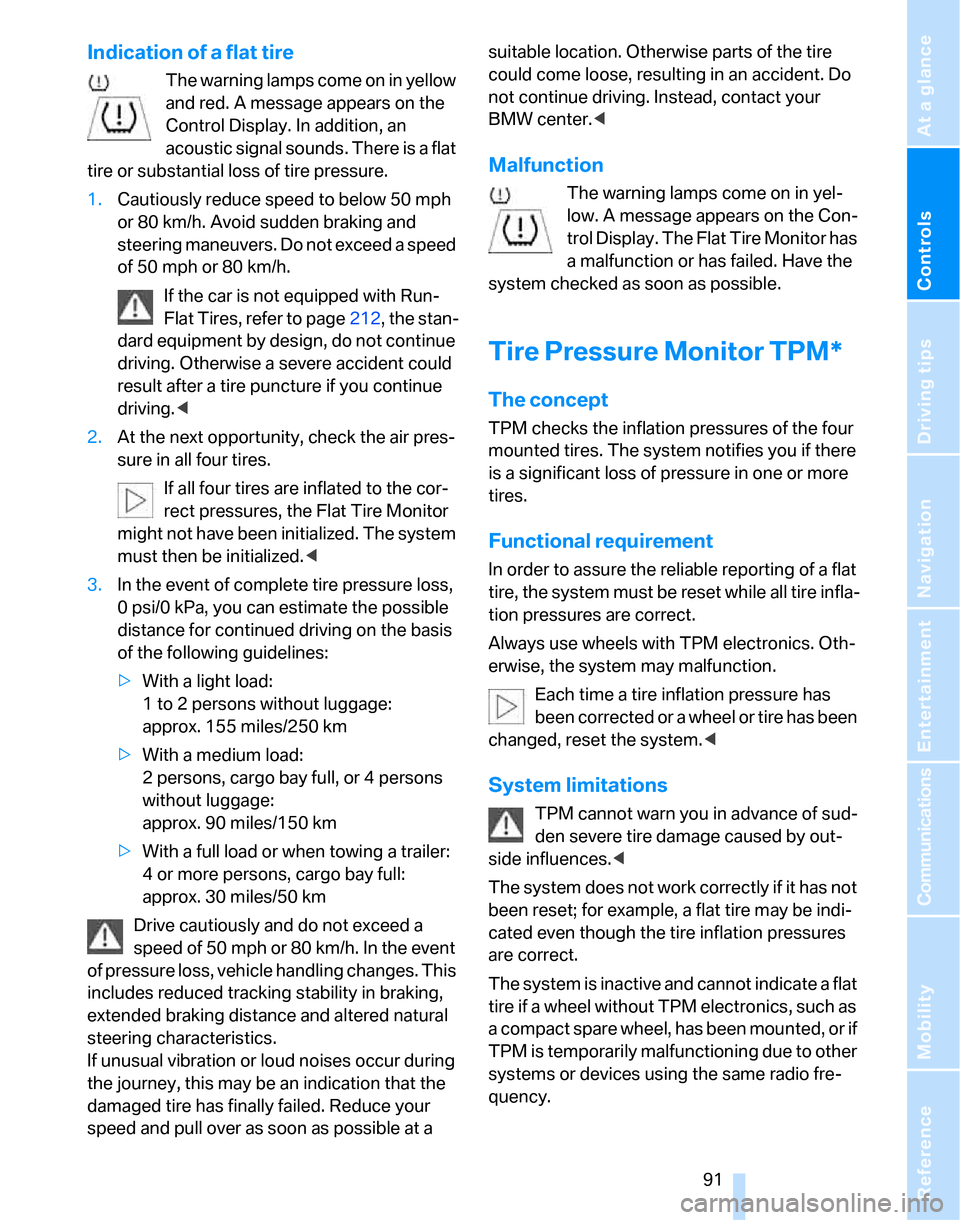
Indication of a flat tire
The warning lamps come on in yellow
and red. A message appears on the
Control Display. In addition, an
acoustic signal sounds. There is a flat
tire or substantial loss of tire pressure.
1.Cautiously reduce speed to below 50 mph
or 80 km/h. Avoid sudden braking and
steering maneuvers. Do not exceed a speed
of 50 mph or 80 km/h.
If the car is not equipped with Run-
Flat Tires, refer to page212, the stan-
dard equipment by design, do not continue
driving. Otherwise a severe accident could
result after a tire puncture if you continue
driving.<
2.At the next opportunity, check the air pres-
sure in all four tires.
If all four tires are inflated to the cor-
rect pressures, the Flat Tire Monitor
might not have been initialized. The system
must then be initialized.<
3.In the event of complete tire pressure loss,
0 psi/0 kPa, you can estimate the possible
distance for continued driving on the basis
of the following guidelines:
>With a light load:
1 to 2 persons without luggage:
approx. 155 miles/250 km
>With a medium load:
2 persons, cargo bay full, or 4 persons
without luggage:
approx. 90 miles/150 km
>With a full load or when towing a trailer:
4 or more persons, cargo bay full:
approx. 30 miles/50 km
Drive cautiously and do not exceed a
speed of 50 mph or 80 km/h. In the event
of pressure loss, vehicle handling changes. This
includes reduced tracking stability in braking,
extended braking distance and altered natural
steering characteristics.
If unusual vibration or loud noises occur during
the journey, this may be an indication that the
damaged tire has finally failed. Reduce your
speed and pull over as soon as possible at a suitable location. Otherwise parts of the tire
could come loose, resulting in an accident. Do
not continue driving. Instead, contact your
BMW center.<
Malfunction
The warning lamps come on in yel-
low. A message appears on the Con-
trol Display. The Flat Tire Monitor has
a malfunction or has failed. Have the
system checked as soon as possible.
Tire Pressure Monitor TPM*
The concept
TPM checks the inflation pressures of the four
mounted tires. The system notifies you if there
is a significant loss of pressure in one or more
tires.
Functional requirement
In order to assure the reliable reporting of a flat
tire, the system must be reset while all tire infla-
tion pressures are correct.
Always use wheels with TPM electronics. Oth-
erwise, the system may malfunction.
Each time a tire inflation pressure has
been corrected or a wheel or tire has been
changed, reset the system.<
System limitations
TPM cannot warn you in advance of sud-
den severe tire damage caused by out-
side influences.<
The system does not work correctly if it has not
been reset; for example, a flat tire may be indi-
cated even though the tire inflation pressures
are correct.
The system is inactive and cannot indicate a flat
tire if a wheel without TPM electronics, such as
a compact spare wheel, has been mounted, or if
TPM is temporarily malfunctioning due to other
systems or devices using the same radio fre-
quency.
Page 95 of 268

Controls
93Reference
At a glance
Driving tips
Communications
Navigation
Entertainment
Mobility
rupted at any time. When driving resumes, the
reset is continued automatically. On the Control
Display, the tires are shown in green and "Sta-
tus: TPM active" is shown again.
If a flat tire is detected while the system is
resetting and determining the inflation
pressures, all tires on the Control Display are
displayed in yellow. The message "Tire low!" is
shown.<
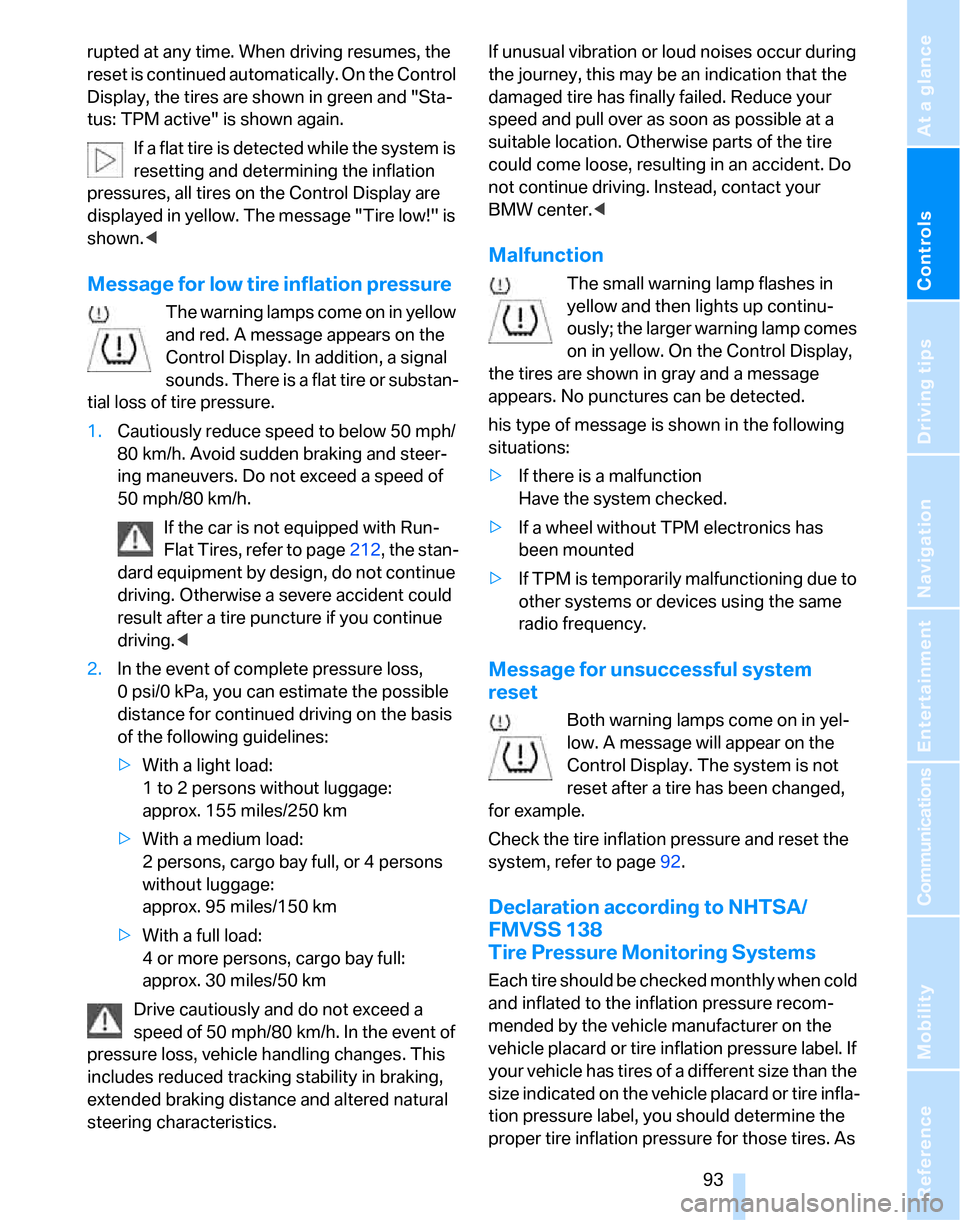
Message for low tire inflation pressure
The warning lamps come on in yellow
and red. A message appears on the
Control Display. In addition, a signal
sounds. There is a flat tire or substan-
tial loss of tire pressure.
1.Cautiously reduce speed to below 50 mph/
80 km/h. Avoid sudden braking and steer-
ing maneuvers. Do not exceed a speed of
50 mph/80 km/h.
If the car is not equipped with Run-
Flat Tires, refer to page212, the stan-
dard equipment by design, do not continue
driving. Otherwise a severe accident could
result after a tire puncture if you continue
driving.<
2.In the event of complete pressure loss,
0 psi/0 kPa, you can estimate the possible
distance for continued driving on the basis
of the following guidelines:
>With a light load:
1 to 2 persons without luggage:
approx. 155 miles/250 km
>With a medium load:
2 persons, cargo bay full, or 4 persons
without luggage:
approx. 95 miles/150 km
>With a full load:
4 or more persons, cargo bay full:
approx. 30 miles/50 km
Drive cautiously and do not exceed a
speed of 50 mph/80 km/h. In the event of
pressure loss, vehicle handling changes. This
includes reduced tracking stability in braking,
extended braking distance and altered natural
steering characteristics.If unusual vibration or loud noises occur during
the journey, this may be an indication that the
damaged tire has finally failed. Reduce your
speed and pull over as soon as possible at a
suitable location. Otherwise parts of the tire
could come loose, resulting in an accident. Do
not continue driving. Instead, contact your
BMW center.<
Malfunction
The small warning lamp flashes in
yellow and then lights up continu-
ously; the larger warning lamp comes
on in yellow. On the Control Display,
the tires are shown in gray and a message
appears. No punctures can be detected.
his type of message is shown in the following
situations:
>If there is a malfunction
Have the system checked.
>If a wheel without TPM electronics has
been mounted
>If TPM is temporarily malfunctioning due to
other systems or devices using the same
radio frequency.
Message for unsuccessful system
reset
Both warning lamps come on in yel-
low. A message will appear on the
Control Display. The system is not
reset after a tire has been changed,
for example.
Check the tire inflation pressure and reset the
system, refer to page92.
Declaration according to NHTSA/
FMVSS 138
Tire Pressure Monitoring Systems
Each tire should be checked monthly when cold
and inflated to the inflation pressure recom-
mended by the vehicle manufacturer on the
vehicle placard or tire inflation pressure label. If
your vehicle has tires of a different size than the
size indicated on the vehicle placard or tire infla-
tion pressure label, you should determine the
proper tire inflation pressure for those tires. As