Page 89 of 369

�µ
�µ �µ
Push
down on the
lever to signal a left turn and up to
signal a right turn. To signal a lane
ch ange, push lightly on the lever,
and hold it. The lever will return to
center when you release it or
complete a turn.
Turn Signal
Off
Parking and instrument panel
AUTO
Headlights on
Fog lights off
Fog lights on
High beams
Flashhighbeams Turning
switch to the
‘‘ ’’ position turns on the parking
lights, taillights, instrument panel
lights, side-marker lights, and rear
license plate lights. Turning the
switch to the ‘‘ ’’ position turns
on the headlights. If you leave the
lights on with the key removed from
the ignition switch, you will hear a
reminder tone when you open the
driver’s door. When
the light switch is in either of
th ese positions, the lights on
indicator comes on as a reminder.
This indicator stays on if you leave
the lights on and turn the ignition
swit ch to the ACCESSORY (I) or
LOCK (0) position.
To switch f rom low
beams to high beams, push the lef t
lever f orward until you hear a click.
The high beam indicator will come
on (see page ). Pull it back to
return to low beams. To flash the
high beams, pull the lever back
lightly, then release it. The high
beams will stay on as long as you
hold the lever back.
1.
2.
3.
4.
5.
6.
7.
8.
9. 62
Turn Signal
Headlights
High Beams
Turn Signals and Headlights
86
�����—�����—�
���y���
�����������y���
�(���%�������y�������
�y
Page 90 of 369

�µ
To turn on automatic lighting, turn
the light switch to AUTO at any time.
The lights will come on automatically
when the outside light level becomes
low (at dusk, f or example). The
lights on indicator comes on as a
reminder. The lights and indicator
will turn of f automatically when the
system senses high ambient light.
The lights will remain on when you
turn of f the ignition switch. They will
turn of f automatically when you
remove the key and open the driver’s
door. To turn them on again, either
turn the ignition switch to the ON
(II) position or turn the light switch
to . Even with the automatic lighting
f eature turned on, we recommend
thatyouturnonthelightsmanually
when driving at night or in a dense
f og, or when you enter dark areas
such as long tunnels or parking
f acilities.
Do not leave the light switch in
AUTO if you will not be driving the
vehicle f or an extended period (a
weekormore).Youshouldalsoturn
of f the lights if you plan to leave the
engine idling or of f f or a long time. The automatic lighting f eature is
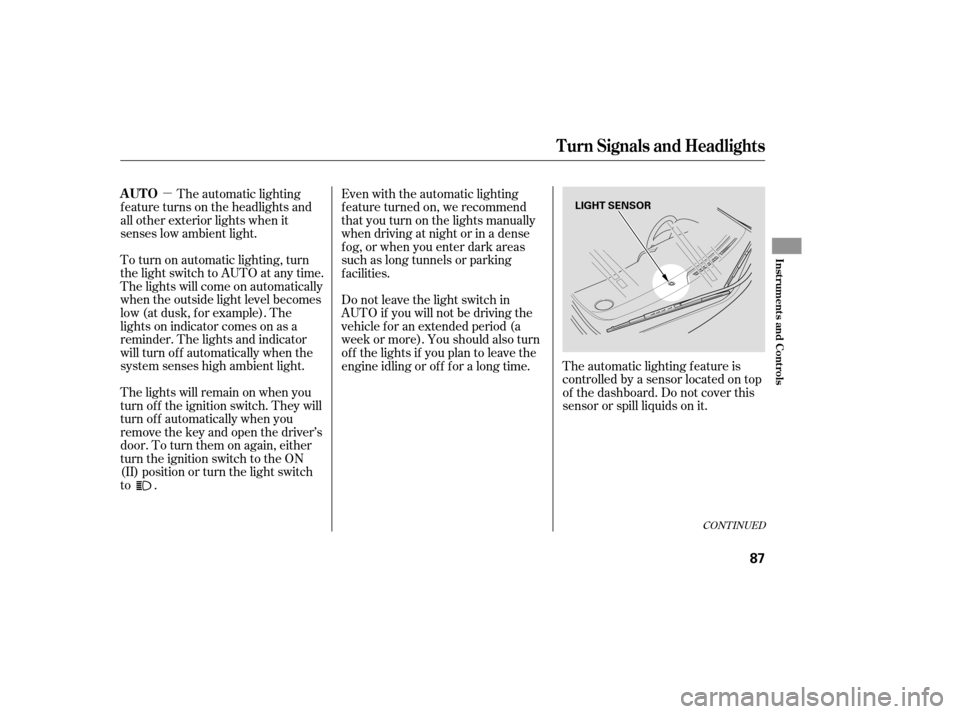
controlledbyasensorlocatedontop
of the dashboard. Do not cover this
sensor or spill liquids on it.
The automatic lighting
f eature turns on the headlights and
all other exterior lights when it
senses low ambient light.
CONT INUED
Turn Signals and Headlights
AUTO
Inst rument s and Cont rols
87
LIGHT SENSOR
�����—�����—�
���y���
�����������y���
�(���%�������y���������y
Page 91 of 369

Tochangethe "HEA DLIGHTAUTO
OFFTIMER" setting,seepage 82.
The automatic lighting of f f eature
turns off the headlights, all other
exterior lights, and the instrument
panel lights within 15 seconds of
removing the key from the ignition
switch and closing the driver’s door.
The automatic lighting of f f eature
activates if you leave the headlight
switch in the ‘‘ ’’ or ‘‘ ’’
position or if the lights are turned on
by setting the switch in the ‘‘AUTO’’
position, remove the key, then open
and close the driver’s door. If you remove the key f rom the
ignition switch with the headlight
switch on, but do not open the door
and get out, the lights turn off after
10 minutes.
The lights turn on again when you
unlock or open the driver’s door.
If you unlock the door, but do not
open it within 15 seconds, the lights
go of f . With the driver’s door open,
you will hear a lights-on reminder
chime.
With the headlight switch off, the
daytime running lights come on
when you turn the ignition switch to
the ON (II) position and release the
parkingbrake.Theyremainonuntil
you turn the ignition of f , even if you
set the parking brake.
Automatic Lighting Of f Feature
Daytime Running Lights
Turn Signals and Headlights
88
�����—�����—�
���y���
�����������y���
�(���%�������y���������y
Page 98 of 369

�µ�µ
�µ
�µ
The ignition switch has f our
positions: LOCK (0), ACCESSORY
(I), ON (II), and START (III).
You can insert or
remove the key only in this position.
To turn the key, you must push the
key in slightly. If your vehicle has an
automatic transmission, the shif t
lever must also be in Park. If the f ront wheels are turned, the
anti-theft lock may make it difficult
to turn the key. Firmly turn the
steering wheel to the lef t or right as
you turn the key.
You can
operate the audio system and the
accessory power sockets in this
position.
This is the normal key
position when driving. Several of the
indicators on the instrument panel
come on as a test when you turn the
ignition switch f rom the
ACCESSORY (I) to the ON (II)
position. You will hear a reminder beeper if
you leave the key in the ignition
switch in the LOCK (0) or the
ACCESSORY (I) position and open
the driver’s door. Remove the key to
turn of f the beeper.
If your vehicle has an automatic
transmission, the shif t lever must be
in Park bef ore you can remove the
key f rom the ignition switch.
Use this position
only to start the engine. The switch
returns to the ON (II) position when
you let go of the key.
LOCK (0) A CCESSORY (I)
ON (II)
ST A RT (III)
Ignition Switch
Inst rument s and Cont rols
95
Removing the key from the
ignition switch while driving
locks the steering. This can
cause you to lose control of the
vehicle.
Remove the key from the
ignition switch only when
parked.
�����—�����—�
���y���
����
������y���
�(���%�������y���
�����y
Page 99 of 369

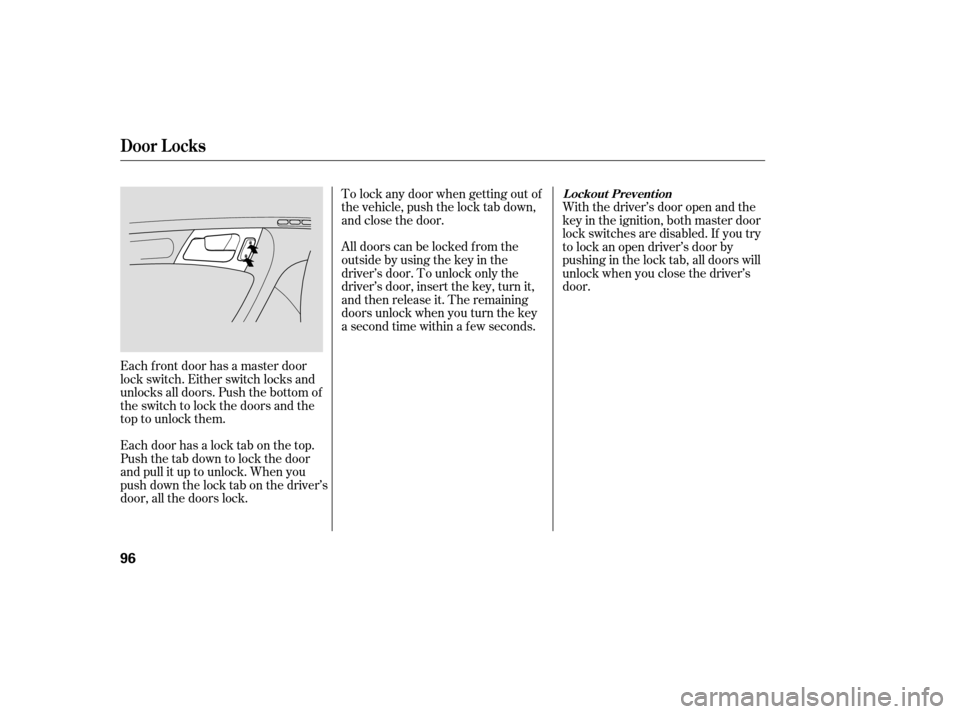
Each f ront door has a master door
lock switch. Either switch locks and
unlocks all doors. Push the bottom of
the switch to lock the doors and the
toptounlockthem.
Each door has a lock tab on the top.
Push the tab down to lock the door
and pull it up to unlock. When you
push down the lock tab on the driver’s
door, all the doors lock.All doors can be locked f rom the
outsidebyusingthekeyinthe
driver’s door. To unlock only the
driver’s door, insert the key, turn it,
and then release it. The remaining
doors unlock when you turn the key
a second time within a f ew seconds.
With the driver’s door open and the
key in the ignition, both master door
lock switches are disabled. If you try
to lock an open driver’s door by
pushing in the lock tab, all doors will
unlock when you close the driver’s
door.
To lock any door when getting out of
the vehicle, push the lock tab down,
and close the door.
L ockout Prevent ion
Door L ocks
96
�����—�����—�
���y�
�
����
������y���
�(���%�������y���
���
�y
Page 101 of 369
The childproof door locks are
designed to prevent children seated
in the rear from accidentally opening
the rear doors. Each rear door has a
lock lever near the edge. With the
lever in the LOCK position, the door
cannot be opened from inside
regardless of the position of the lock
tab. To open the door, pull the lock
tab up, and use the outside door
handle.
As
a safety feature, your vehicle has
a release lever on the trunk latch so
the trunk can be opened from inside.
To open the trunk, push the release
lever to the left.
Parents should decide if their
children should be shown how to use
this f eature. For more inf ormation
about child saf ety, see page . 37
Emergency T runk Opener
Childproof Door L ocks
T runk, Childproof Door L ocks
98
Lock
�����—�����—�
���y���
����
������y���
�(���%�������y���
�����y
Page 102 of 369

�µ
�µ �µ
�µ
If you unlock the doors with the
remote transmitter, but do not open
anydoorswithin30seconds,the
doors automatically relock and the
security system sets. To change this
setting, refer to Keyless Memory
Settings on page . Press this button once
to unlock the driver’s door or all the
doors (depending on the keyless
memory setting). Press it twice to
unlock the other doors. Some
exterior lights will f lash twice each
time you press the button.
The ceiling light (if the ceiling light
switch is in the center position) will
come on when you press the
UNLOCK button. If you do not open
anydoorswithin30seconds(or
whatever setting the relock timer is
set to), the light f ades out. If you
relock the doors with the remote
transmitter before 30 seconds have
elapsed, the light will go of f
immediately.
Press this button once to
lock all doors. Some exterior lights
will f lash. When you push LOCK
twice within 5 seconds (depending
on the keyless memory setting), you
will hear a beep to verify that the
doors are locked and the security
system has set. You cannot lock the
doors if any door is not f ully closed
or if the key is in the ignition switch. Pressthisbuttonfor
about 1 second to open the trunk.
Pressthisbuttonfor
about 2 seconds to attract attention:
the horn will sound, and the exterior
lights will f lash f or about 30 seconds.
To cancel panic mode, press any
other button on the remote
transmitter, or turn the ignition
switch to the ON (II) position.
81
UNL OCK
LOCK TRUNK
PA NIC
Remote Transmitter
Inst rument s and Cont rols
99
LOCK
BUTTON
UNLOCK
BUTTON
PANIC
BUTTON
TRUNK
BUTTON
�����—�����—�
���y���
����
������y���
�(���%�������y���
�����y
Page 105 of 369

Customized settings
(see page ).
Driving position memory
(see page ).
When you unlock the driver’s door
with a remote, that remote’s keyless
memory settings are activated.
Depending on which remote was
used, a WELCOME DRIVER 1 or
WELCOME DRIVER 2 message
appears on the multi-inf ormation
display. The driver’s ID (MEMORY
1 or MEMORY 2) is printed on the
back of each remote. Here are the settings activated by
the remote;
When you unlock and open the
driver’s door with the remote, the
driver’s seat (except power lumbar)
and outside mirrors move to the
positions stored in memory. An
indicator on one of the driving
position memory buttons also comes
on.
To turn of f this f eature, press and
hold the LOCK and UNLOCK
buttonsatthesametime.TheLED
in the remote will blink twice. Then
release the buttons. Doing this
cancels the keyless memory settings
f or that remote and restores the
def ault settings.
To turn the keyless memory settings
back on, repeat this procedure. The
LED will blink once to indicate the
f eature has been turned on.
77
108
K eyless Memory Settings
Remote Transmitter
102
TM
�����—�����—�
���y���
�����������y���
�(���%�������y���
�����y