2006 VOLKSWAGEN GOLF PLUS Jack
[x] Cancel search: JackPage 331 of 541
Checklis t (continued)
7. th e jack so that its ba se is directly underneath th e lift page 333, fig. 185, making
sure th at the e ntire base of the jack rests securely on th e gro und.
B. Align the ja ck and w ind up th e jack claw at th e sa me time, pa ge 333, fig. 185 (ar row).
9. c ra nking up the jack until th e whee l is ju st a littl e
Usc only jacks approve d by Volk swage n fo r the ve hicle. Other jacks might slip , eve n those
ap pro ved for oth er Volkswagen models, but not
for your ve hicl e.
Always set up t h e jack on firm and leve l
ground. The vehicle may slip off the jack if the jack is resting on soft or slop ing ground. If n eces
sary place a sturdy board under the jack.
a hard, slip pery surfa ce (such
to prevent the jack from slipping.
Posit io n the jack only at the describ ed hide lift points. Befor e yo u rai se your vehicl e, almake sure the jack claw properly grip s th e
ve rtical rib under t11e sill so that th e ja ck d oes
n ot slip off when yo u are raisi ng the ve hicle page 333, fig. 185.
Do it yourself
Neve r have an y part of your body (such as your arm or leg) under the v ehicl e when it is
su pported by the ja ck. Never le t o ther pe rso ns have any part of their body under th e ve hicle, ther!
floor jack, a lways make sure th at t11e ve hicl e is
sa fe ly supported on safety stand s intended for that purpose that are strong e nough to support the weight of th e vehi cle.
Neve r lift t11e ve hicle when it is to one side or the e ngine is running.
Do not s tart th e eng in e while th e ve hicle is
support e d b y jack. Engine vib ratio ns ca use the vehi cle to slip off the jack.
Disr egarding
the safety- rela te d ch eckl is t may
l ea d to acc idents and serio us injuri es.
Alway s rev ie w and follow the ch ec kli st. Follow accep te d sa fety pract ices and use
common se nse.
Page 332 of 541
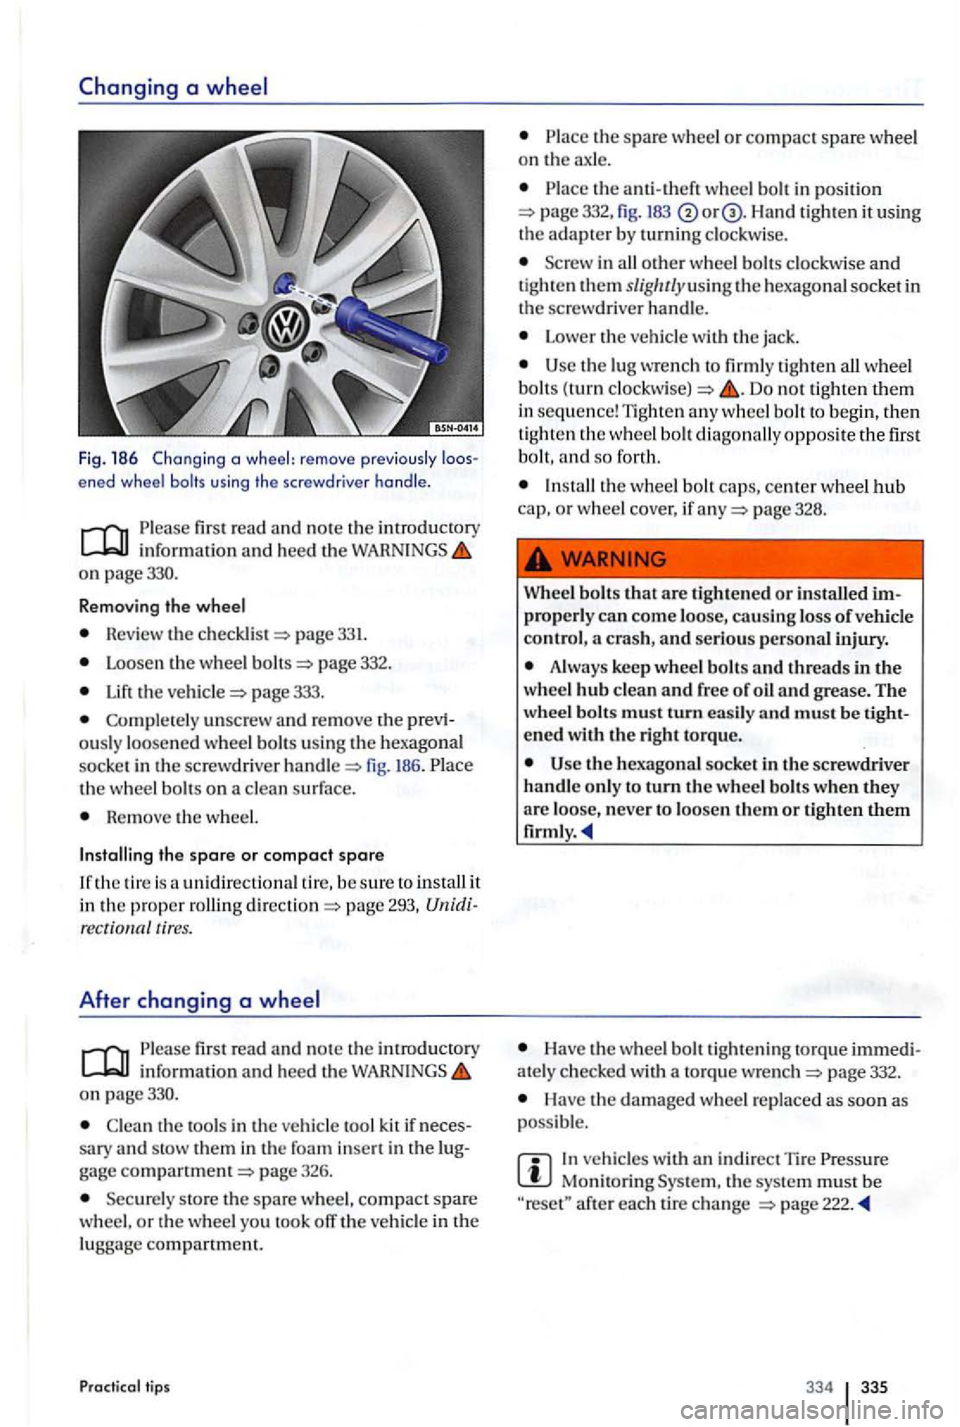
Fig. 186 Chang ing a wheel: remove previo usly ened wheel bolts using the screwdr iver handle .
first read and no te th e introduct ory inform ation and hee d the on page330.
R emov
ing the wheel
Revie w the pag e 331.
Loosen th e w heel page 332.
the page 333.
Complete ly unscrew and rem ove the ously loosened whee l bolt s using the hexago nal
soc ke t in the sc rew dri ver h andl e fig. 186. th e wheel bolts on a clea n surf ace .
Re m ove the w heel.
Installing the spare or compact spare
unidirectiona l tir e, b e sure to install it in the proper ro llin g pag e 293, tires.
After changing a
fir st read and note th e introductory info rm ation and hee d th e on page330.
Clea n th e tools in the vehicl e too l kit if sary and stow th em in th e foa m gage pag e 326.
Securely sto re th e spare whee l, compact spare
w heel, o r th e whee l yo u took off the vehicle in th e
lugga ge compartment.
Practical tips
the spare whee l o r compac t spare wheel on th e ax le.
th e a nti-th eft wheel bolt in position 332, fig. 183 Han d tigh ten it using the adapter b y turnin g clockw ise.
i n all other w hee l b olts clockw ise and tig ht en them slig/ u/yusin g th e hexago nal socket in
the screwdrive r handle.
Lower the ve hicl e with the jack .
the lug wre n ch to firml y tighten all wheel
bolt s (turn Do not tighten them in sequ en ce ! Tight en any wheel bolt to beg in, th en tighten th e wheel bo lt dia gonally opposite the first
b o lt, and so for th.
page 328.
Wh
eel bolts that a re tighte ned or installed p rope rly can come loo se, causing loss of vehicle
contro l,
Always keep whee l bolt s and threads in the
w hee l hub clean and free of oil and grease . The
wheel bolts mus t turn easil y and must be
the hexagona l socket in th e sc rewdriver
handl e o nly to turn th e w hee l bolt s when they are loo se, never to loosen th em or
Have th e w heel b o lt tightening to rqu e ately c hec ke d with a to rqu e wre nch page 332.
Have the dam aged whee l re p laced as soo n as
poss ible.
In ve hicles with indir ect T ir e Monitoring th e sys te m mu st b e after each tir e ch a nge
334 335
Page 333 of 541
Tire
Introduction
In thi s section you'll fin d information on th e lowing:
Cont ent s o f the tire mobi lity set . . . 337
Prep ara tio ns . . . . . . . . . . . . . . . . . . . . . . . . . . . . . . . 338
minu tes of drivin g . . . . . . . . . . . . . .
tures up to abo ut 3/16 in (4 mm) in diam ete r c an
b e re liabl y se ale d using the tir e mobility The
foreign obje ct (sc rew or fo r example) must
n ot be re m ove d from the tire!
Afte r the sealant is th e tire , driv e for abou t minut es and check tir e pressure ag ain.
Never use th e
tire m obility se t to a tire un less you
-have park ed ve hicl e at a safe s po t,
- are fami liar with the nec ess ary pro ce -dures and safe ty pre cautio ns, and
-have th e correc t tir e mobilit y Otherw ise . ge t exp ert ass is tan ce .
Tir e sealant mu st not be used:
If th e w heel rim is damaged.
i\t out side tempe ratur es below
If th e c ut or punctu re da mag e of th e tir e is
g rea te r than 3/16 in (4 mm) in diameter.
I f you were drivin g wi th very lo w tire press ure
o r flat tir e.
If th e tir e inflation cyli nder h as passe d its ration elate.
More information:
Vehicle key page 34
Braking, s to ppin g and page 188
T ires and page 276
In an em erge ncy pag e
page 328
D o it yoursel f
rious personal injury:
Alway s stop the ve hicle as soon as it is sa fe to
d o so and move the ve hicl e
Always make sur e that th e ground is leve l a n d
firm.
passen gers and espec iall y childr en must stay
Turn on the emerge ncy flas hers and set up an oth er warnin g dev ice about 25 yards (25
m ete rs) behind the ve hicl e to warn approaching
traffic .
the tire mobility set only if yo u are mili ar with the n ecessa ry s tep s. Othenvisc, get
expe rt ass is tance.
yo u can get profe ssional h elp.
Sea lant is harmful and mus t immedi atel y be removed in case of skin contact.
Alway s store th e tire mobilit y se t o u t of reach of children .
Never usc a vehicl e jack, even if th e jack is proved for use with your vehicle.
Always apply the parkin g brake and shift the
t ran smi ssio n Par k (P) (automati c
Page 362 of 541
light bulb
License plate lamp .. ................. 35 1
light bulbs . . . . . . . . . . . . . . . . . . . 344 In front bumper ......... ............ 348
In
the body ............. ............
In the h ea d light ..................... 347
In th e r
ear hatch ....•................ 34 9
Tai
llights ....................... 349,
o il leve l ...................... 249
Driving safely ...... ............... 28, 29
Gell ing read y
..................... 28, 29
In an emergency ................
Lifting vehicle with jack . . . . . . . . . . 333, 334
Ligh t bulb re pla cement . . . . . . . . . . . . . . 346
Preparation s for changin g a wheel . . . . 331
Sa fe ty belts . . . . . . . . . . . . . . . . . . . . . . . . . . 72
Ti re mobility set. . . . . . . . . . . . . . . . . . . . . 338
Uphol stery ........................... 271
and th e Advanced Airbag System. . . . . .
anchorages..... 116
Sec urin g wi
th the Top Tether strap. . . . liB
safe ty lo ck . . . . . . . . . . . . . . . . . . . . . . . . 44
safety seat. . . . . . . . . . . . . . . . . . . . . . . .
the rear seat . . . . . . . . . . . . . . . . . . . . . lOB
seat
Booster
seat. . . . . . . .. . . . . . .. . . . . . .. . . 1L2
seat mounting................. 112
Infant carrier ........................
Securing wit h lo ckab le safet y belt . . . . . 114
Secu ring w ith safety b elt . . . . . . . . . . . . . 114
seats s eat mounting. . . . . . . . . . . . .
care. . . . . . . . . . . . . . . . . . . . . . . . . . . 267
lig h ter. . . . . . . . . . . . . . . . . . . . . . . . 169
Als o see: A ir co nd itio ning . . . . . . . . . . . . 226
sunroof . . . . . . . . . . . . . . . . . . . . . . . 51
Rear hatch . . . . . . . . . . . . . . . . . . . . . . . . . . . 47
Vehicle . . . . . . . . . . . . . . . . . . . . . . . . . . . 39,
hooks . . . . . . . . . . . . . . . . . . . . . . . . . . . . 165
.................................. 6
number . . . . . . . . . . . . . . . . . . . . . . . . . . 327
we ight
Determination (North America) .......
spare wheel
Dr iving style
........................ 288
. . . . . . . . . . . . . . . . . . . . . . . . . . . . . . . 19
information . . . . . . . . . . . . . . . . . 3ll
units . . . . . . . . . . . . . . . . . . . . . . . . . .
Engine coolant . . . . . . . . . . . . . . . . . . 252
Co
unter-steering assista nce. . . . . . . . . . . . .
h o ld er
Front center co nsole. . . . . . . . . . . . . . . . . 166
Rear center co nsole ................. . 167
weight . . . . . . . . . . . . . . . . . . . . . . . . . . .
D
Data recorded b y control units . . . . . . . . . .
Data recorded whil e driving. . . . . . . . . . . . .
Data recorde r . . . . . . . . . . . . . . . . . . . . . . . . . .
Dayt ime running lights. . . . . . . . . . . . . . . . . 124
Dynamic
Page 366 of 541
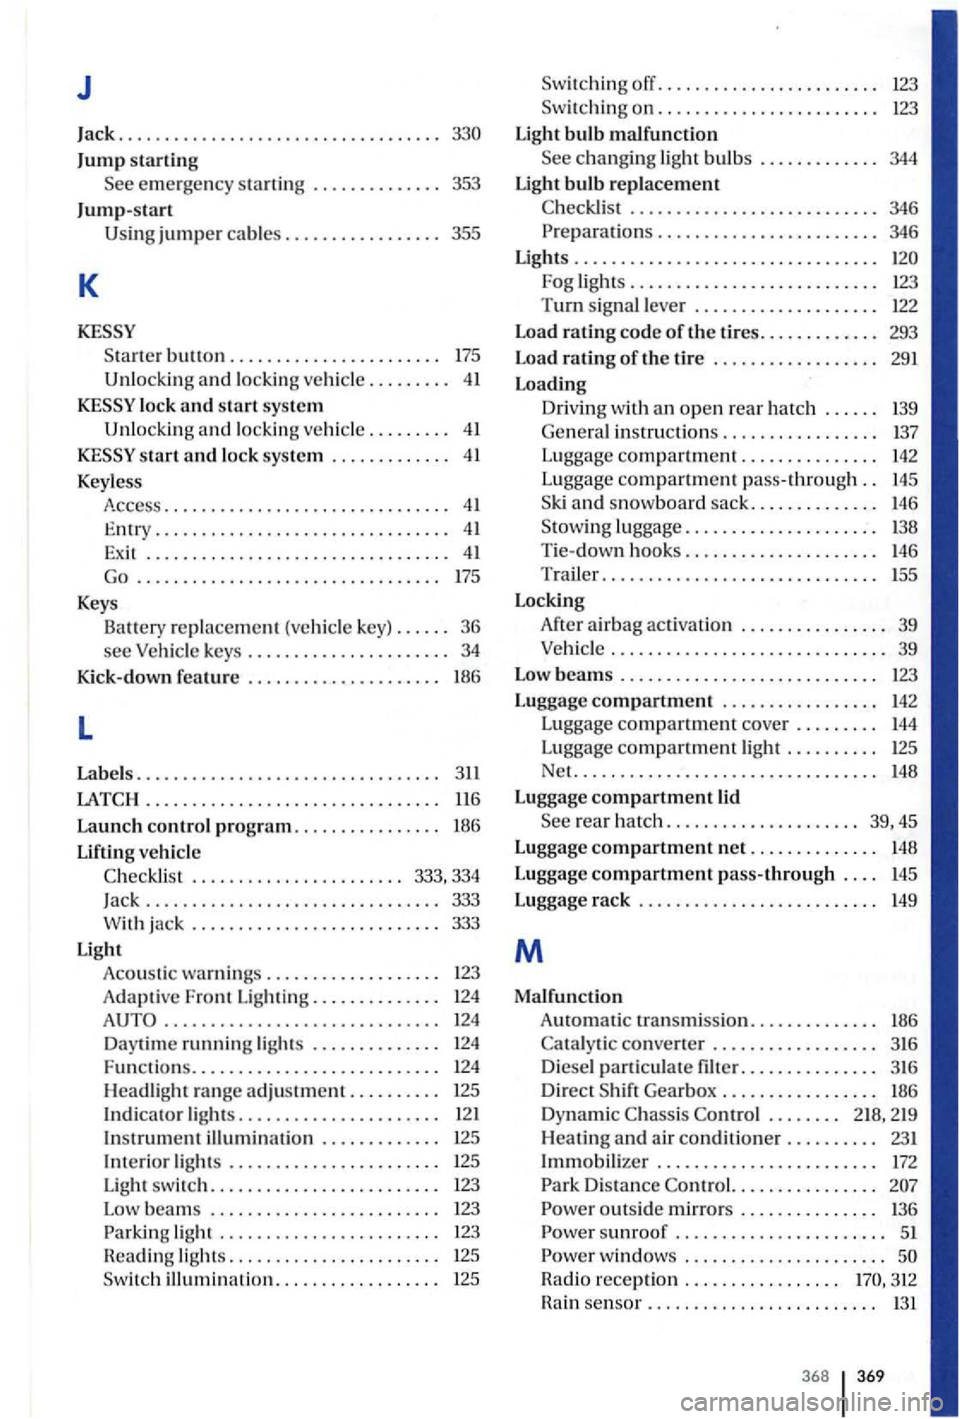
J
Jack ...................................
Jump starting
e m erge ncy startin g . . . . . . . . . . . . . . 353
Jump-start
jumper cables.. . . . . . . . . . . . . . . . 355
K
button....................... 175
U nl ock ing and lockin g ve hicle ......... 41
lo ck and start system
Unlocking an d lo ckin g ve hicl e ......... 41
start a nd loc k sy ste m . . . . . . . . . . . . . 41
Keyless
Access ... ............................ 41
. . . . . . . . . . . . . . . . . . . . . . . 333, 334
Jack ............................... . 333 With jac k . . . . . . . . . . . . . . . . . . . . . . . . . . . 333
Light
Aco ustic warnin gs . . . . . . . . . . . . . . . . . . . 123
Adapt ive Fro
nt Lighting.. . . . . . . . . . . . . 124
. . . . . . . . . . . . . . . . . . . . . . . . . . . 346 Preparations . . . . . . . . . . . . . . . . . . . . . . . . 346
Lights
............................... ..
Fog lights . . . . . . . . . . . . . . . . . . . . . . . . . . . 123
Turn s ig n al leve r . . . . . . . . . . . . . . . . . . . . 122
Load
rating code of the tires . . . . . . . . . . . . . 293
Load rating of the tire . . . . . . . . . . . . . . . . . . 29 1
Load
ing
Dri v
ing with an open rear ha tc h . . . . . . 139 Ge neral instruc tion s. . . . . . . . . . . . . . . . . 137
Lug gage
compartm ent. . . . . . . . . . . . . . . 142 Luggage compartment pass-thro ugh.. 145
a nd snowboard sac k.............. 146
lu ggage. . . . . . . . . . . . . . . . . . . . . 138
T i
e-down hooks . . . . . . . . . . . . . . . . . . . . . 146
Trail er
..... ... ...................... 155
Locking A
fter airbag ac tiva tion . . . . . . . . . . . . . . . . 39
Vehicle .............................. 39
Low b
eams . . . . . . . . . . . . . . . . . . . . . . . . . . . . 123
L uggage
compartment . . . . . . . . . . . . . . . . . 142 Luggage compartment cove r . . . . . . . . . 144
Luggage compartment light . . . . . . . . . . 125 Net. ................................ 148
Luggage compartment lid
rear hatch. . . . . . . . . . . . . . . . . . . . . 39, 45
L uggage
compartmen t net. . . . . . . . . . . . . . 148
Luggage
compartment p ass-through . . . . 145
Luggage r
ack . . . . . . . . . . . . . . . . . . . . . . . . . . 149
M
Malfunction
Automatic transmission . . . . . . . . . . . . . . 186
Gearbox . . . . . . . . . . . . . . . . . 186
D yn a
mic . . . . . . . . 218, 219
H eati ng a nd air conditioner . . . . . . . . . . 231
Immo bilizer . . . . . . . . . . . . . . . . . . . . . . . . 172
Park Dista nce . . . . . . . . . . . . . . .
Power o u ts id e mirrors . . . . . . . . . . . . . . . 136
Power sunroof . . . . . . . . . . . . . . . . . . . . . . . 51 wind ows ......................
Radi o recepti on . . . . . . . . . . . . . . . . . 312
H ain
sen so r......................... 1 31
368 369
Page 367 of 541
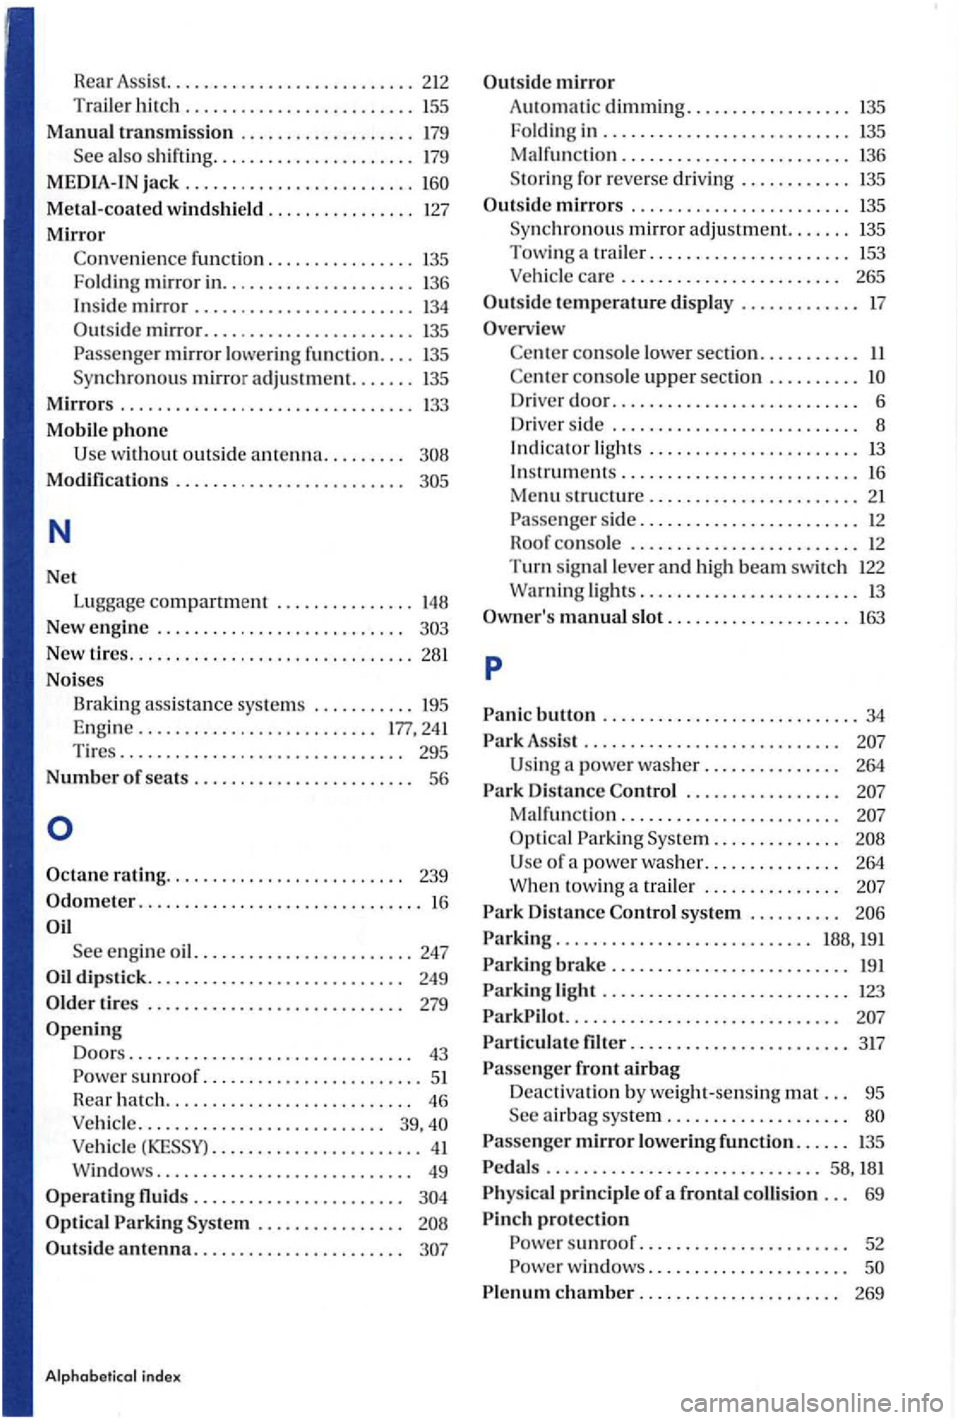
Rear Assist. .......................... 212
Trailer hitch ......................... ISS
Manual transmission ................... 179
also shiftin g ...................... 179
MEDIA-IN
jack .........................
Modifications . . . . . . . . . . . . . . . . . . . . . . . . .
N
Ne t
Luggage co
mpartment ............... 148
New engin e . . . . . . . . . . . . . . . . . . . . . . . . . .
New tires ............................... 28 1
Noises Brak ing ass i
stance syste m s ........... 195
E ng in e . . . . . . . . . . . . . . . . . . . . . . . . . . 177, 241
T ires .
.............................. 295
N
umbe r seats . . . . . . . . . . . . . . . . . . . . . . . . 56
tires . . . . . . . . . . . . . . . . . . . . . . . . . . . . 279
Opening
Door s ............................... 43
sunroof ........................ 51
R ea r h atch.. . . . . . . . . . . . . . . . . . . . . . . . . . 46
Vehicle ...........................
Vehicle ....................... 41
Optical . . . . . . . . . . . . . . . .
Outside antenna. . . . . . . . . . . . . . . . . . . . . . .
Alphabetic al index
Outside mirror
Automati c dimming .................. 135
Folding in ........................... 1 35
Ma lfu n
ctio n ......................... 136
S to ring for reve r
se driving ............ 135
Outside mirrors ........................ 135
Syn chronous mirror adjustment. ...... 135
Tow i
ng a trailer ...................... 153
Vehicle care . . . . . . . . . . . . . . . . . . . . . . . . 265
Outside temperature display ............. 1 7
Ov erview
con so le lower sectio n. . . . . . . . . . . II
console uppe r sec tion ..........
lights ........................ 1 3
Owner's manual s lot .................... 163
p
button ............................ 34
. . . . . . . . . . . . . . . . .
of a power was her. . . . . . . . . . . . . . . 264
to win g a trail er . . . . . . . . . . . . . . .
sys tem . . . . . . . . . .
. . . . . . . . . . . . . . . . . . . . . . . . . . . . .
Particulate filter ........................ 317
Passenger front airbag
Deactivat i
on by weight-se nsin g mat . . . 95 airbag system . . . . . . . . . . . . . . . . . . . .
Passenger mirror lowering function. . . . . . 1 35
P e
dals .............................. 58 , 181
Physical principle of a frontal collision . . . 69
Pinch protection
ch amber...................... 269
Page 452 of 541

Media source Conditions for playback
External audio source.
-3.5 mm jack plug connectab le for audio output =>page 31.
MDI: External media. -Compatible with multimed ia interface =>page 33.
a) Bluelooth ® is a registered trademark or Blueloolh
Limitations and notes
Dirt, high temperatures and mechanical damage
can render a data medium unusable . Please ob
serve data medium manufacturer information.
Quality differences between data media
of different
manufactu rers can cause problems during play
back .
Observe
lega l requirements regarding copy
rights!
not be played if they were recorded in
UDF or direct format. Under Windows Vista®
pay attention to the format.
The data medium configuration or the devices
or programs used for recording can cause individual
tracks or data medium to be unreadable . lnforma-
Audio Data CD
Read and the on page 3 and the introduction on page 24.
Audio files on a data medium
and playlists in order to
define a certain playback sequence . lion
regard ing best practices for the creation
of au
dio files and data media (compression rate,
tag , etc .) can be found on the
audio
are treated as folders and are num
bered according to their order on th e
F igu re =>fig . 16 shows an example of a typ ica l
MP3 CD contain ing tracks fo lders
order:
1 . Track
and in the root folder of the CD (display:
in the first folder F1 of the
root folde r of the CD (display:
in the second subfolder F1.2 of folder F1 (display:
Page 458 of 541
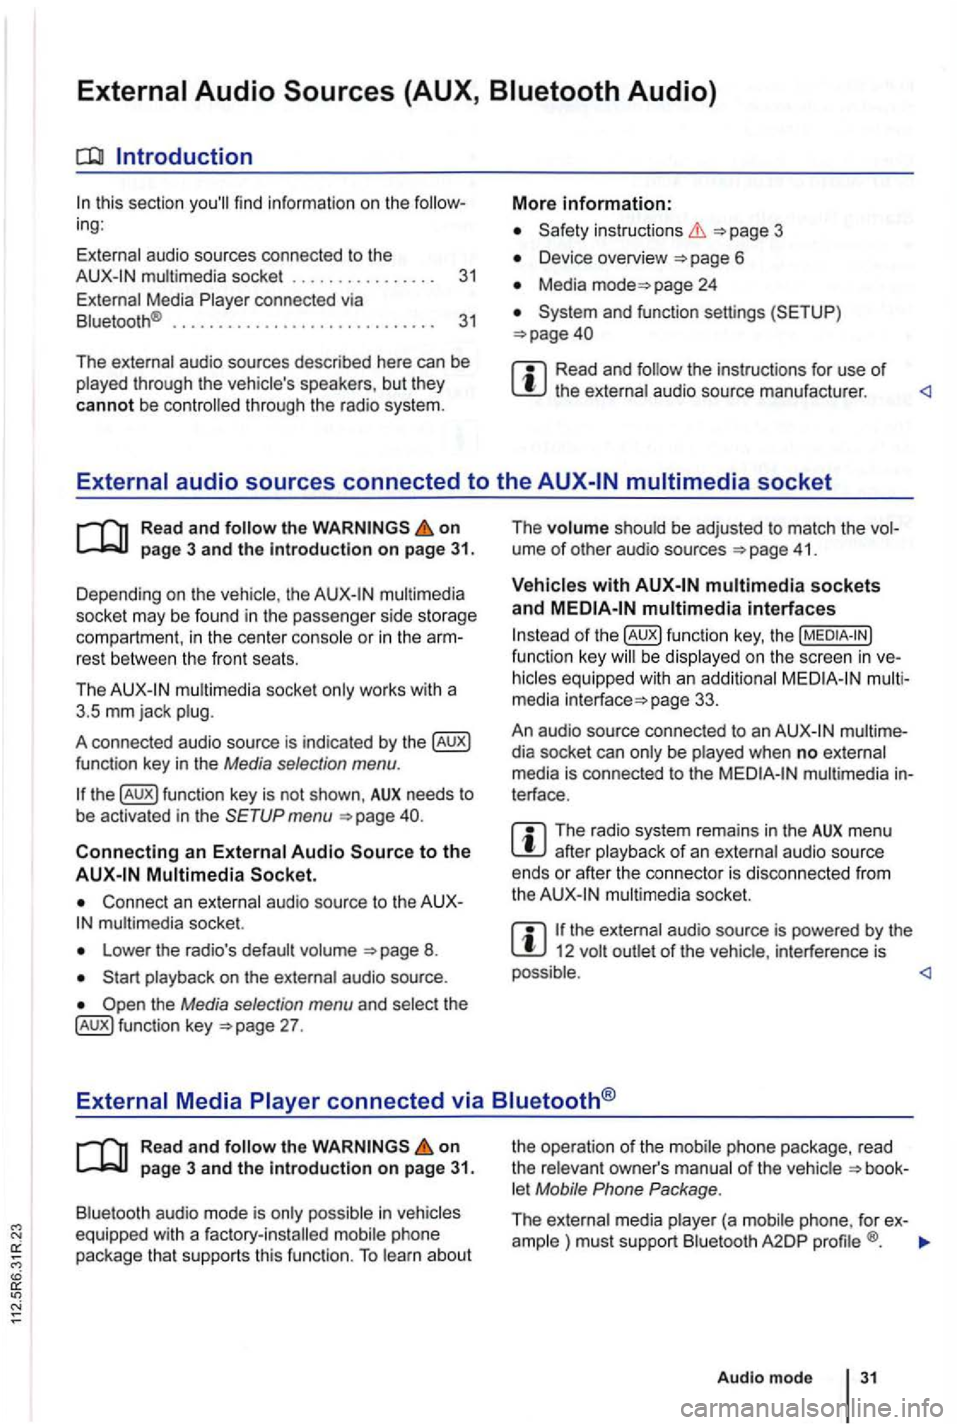
Introduction
this sec tio n find infor m atio n on the ing:
External audio sources connected to the instructio ns 3
Device overview
Media page 24
Read and the instructions for use of
Read and on
multimedia
socke t may be found in the passe nge r side storage
compart ment, in the cent er conso le
or in the rest between the front seats.
Th e
mul timedia socket only wor ks with a
3 .5 mm jack plug.
A co nnected audio source is indic ated by the
menu
Connect an external audio source to the mu ltimedia socket.
Lowe r the radio's default volume
the Media selection menu and selec t th e 27 . The
volume shoul
d be adjusted to match the ume of othe r aud io sources 41 .
multimedia interfaces
of function key, the be display ed on the screen in
page 33.
An audio source con nected to an
dia socket can only be played when no exte rnal
media is con nected to the multimedia terface .
The radio system remains in the AUX menu after playba ck of an exte rnal audio source
ends or afte r the connecto r is disconnecte d from
the
the ext ernal audio source is powered by the 12 volt
Read and the on page 3 and the Introduction on page 31.
Bluetooth audio mode is onl y possible in let Mobile Phone Package .
The external media pla yer (a mob ile phone , for ex-
ample ) must supp ort Blu etoo th A2DP
Audio mod e 31