Page 13 of 364
3
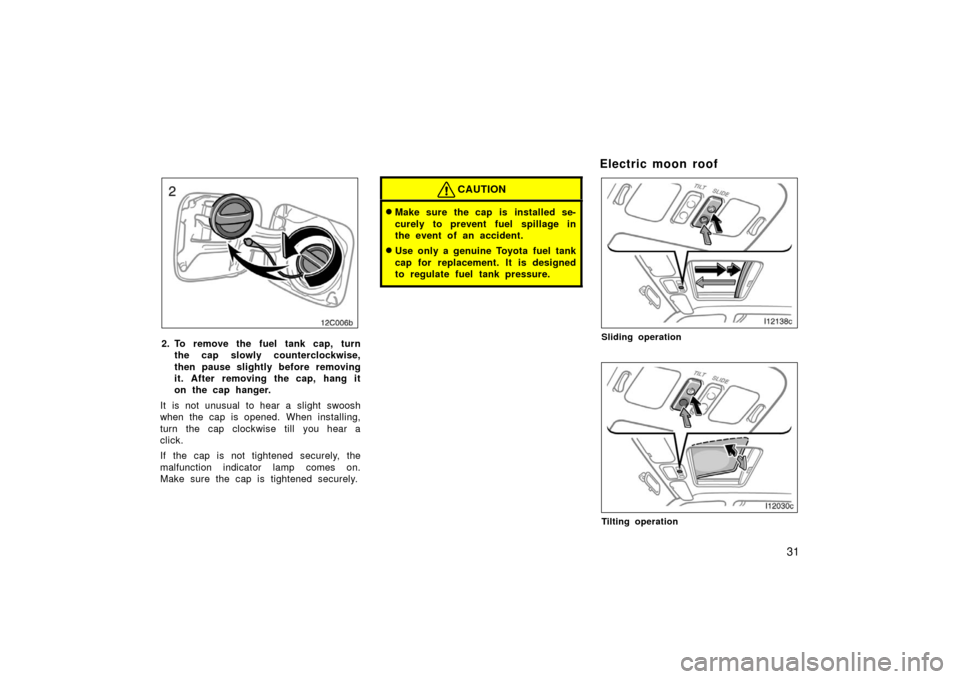
1. Headlight, turn signal and front foglight switches
2. Cruise control switch
3. Ignition switch
4. Wiper and washer switches
5. Emergency flasher switch
6. Navigation system including air condi- tioning controls (See the separate
“Navigation System Owner ’s Manual”.)
7. Clock and outside temperature display
8. Front passenger ’s seat belt reminder light
9. Audio system
10. Outside rear view mirror heater switch 11. Rear air conditioning switch
12. Rear window defogger switch
13. Center differential lock switch
14. Power antenna switch
15. Power tilt and telescopic steering switch
16. Instrument panel light control dial
17. Power rear view mirror control switches
18. Tire pressure warning system reset switch
19. Power quarter window switch (left− hand side)
20. Power quarter window switch (right −hand side)
21. Roll sensing of curtain shield airbags off switch
�
View B
(Vehicles with navigation system)
11C515b
Page 14 of 364
4
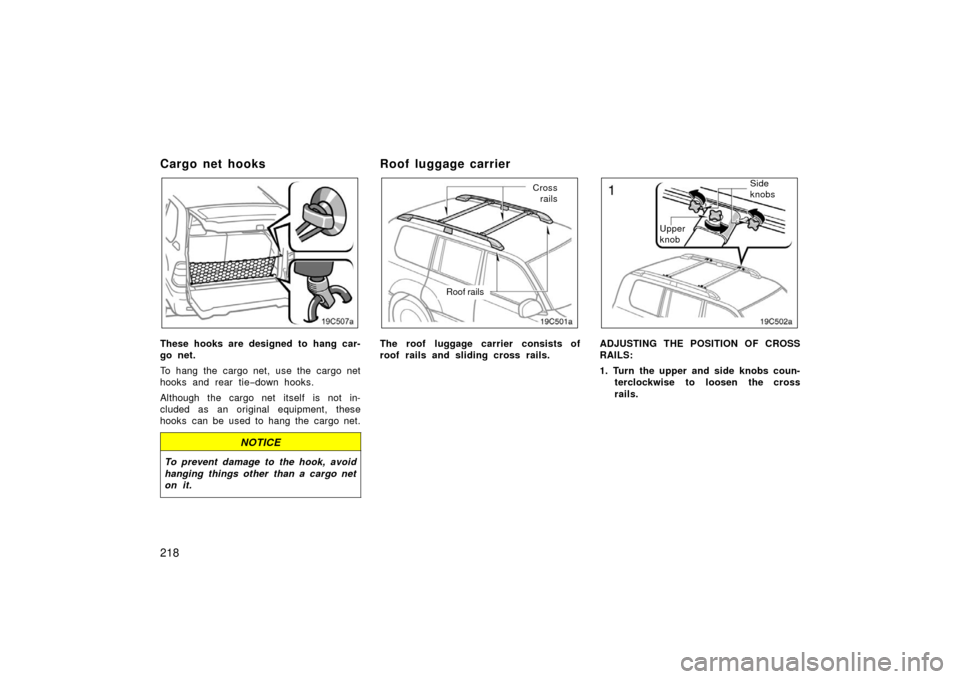
1. Headlight, turn signal and front foglight switches
2. Cruise control switch
3. Ignition switch
4. Wiper and washer switches
5. Emergency flasher switch
6. Clock, outside temperature and trip in- formation display
7. Audio system
8. Front passenger ’s seat belt reminder light
9. Air conditioning controls
10. Outside rear view mirror heater switch 11. Rear air conditioning switch
12. Rear window defogger switch
13. Center differential lock switch
14. Power antenna switch
15. Power tilt and telescopic steering switch
16. Instrument panel light control dial
17. Power rear view mirror control switches
18. Tire pressure warning system reset switch
19. Power quarter window switch (left− hand side)
20. Power quarter window switch (right −hand side)
21. Roll sensing of curtain shield airbags off switch
�
View B
(Vehicles without navigation system)
11C029d
Page 35 of 364
25
Power quarter windows
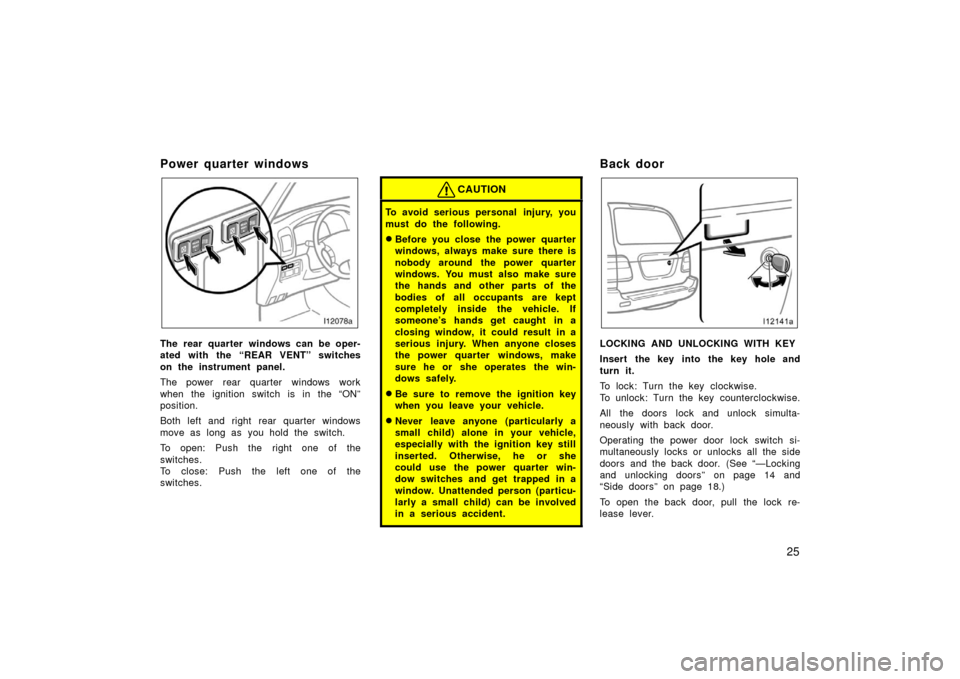
The rear quarter windows can be oper-
ated with the “REAR VENT” switches
on the instrument panel.
The power rear quarter windows work
when the ignition switch is in the “ON”
position.
Both left and right rear quarter windows
move as long as you hold the switch.
To open: Push the right one of the
switches.
To close: Push the left one of the
switches.
CAUTION
To avoid serious personal injury, you
must do the following.
�Before you close the power quarter
windows, always make sure there is
nobody around the power quarter
windows. You must also make sure
the hands and other parts of the
bodies of all occupants are kept
completely inside the vehicle. If
someone’s hands get caught in a
closing window, it could result in a
serious injury. When anyone closes
the power quarter windows, make
sure he or she operates the win-
dows safely.
�Be sure to remove the ignition key
when you leave your vehicle.
�Never leave anyone (particularly a
small child) alone in your vehicle,
especially with the ignition key still
inserted. Otherwise, he or she
could use the power quarter win-
dow switches and get trapped in a
window. Unattended person (particu-
larly a small child) can be involved
in a serious accident.
Back door
LOCKING AND UNLOCKING WITH KEY
Insert the key into the key hole and
turn it.
To lock: Turn the key clockwise.
To unlock: Turn the key counterclockwise.
All the doors lock and unlock simulta-
neously with back door.
Operating the power door lock switch si-
multaneously locks or unlocks all the side
doors and the back door. (See “—Locking
and unlocking doors” on page 14 and
“Side doors” on page 18.)
To open the back door, pull the lock re-
lease lever.
Page 41 of 364
31
12C006b
2. To remove the fuel tank cap, turn
the cap slowly counterclockwise,
then pause slightly before removing
it. After removing the cap, hang it
on the cap hanger.
It is not unusual to hear a slight swoosh
when the cap is opened. When installing,
turn the cap clockwise till you hear a
click.
If the cap is not tightened securely, the
malfunction indicator lamp comes on.
Make sure the cap is tightened securely.
CAUTION
�Make sure the cap is installed se-
curely to prevent fuel sp illage in
the event of an accident.
�Use only a genuine Toyota fuel tank
cap for replacement. It is designed
to regulate fuel tank pressure.
Electric moon roof
Sliding operation
Tilting operation
Page 211 of 364

201
OPERATION OF INSTRUMENTS AND
CONTROLS
Other equipment
Clock202
. . . . . . . . . . . . . . . . . . . . . . . . . . . . . . . . . . . . .\
. . . . . . . . . . . . . . . . .
Outside temperature display 202
. . . . . . . . . . . . . . . . . . . . . . . . . . . . . . . . .
Rear view monitor system 203
. . . . . . . . . . . . . . . . . . . . . . . . . . . . . . . . . . .
Cigarette lighter and ashtray 206
. . . . . . . . . . . . . . . . . . . . . . . . . . . . . . . . .
Power outlets 207
. . . . . . . . . . . . . . . . . . . . . . . . . . . . . . . . . . . . \
. . . . . . . . . .
Roll sensing of curtain shield airbags off switch 208
. . . . . . . . . . . . . . . .
Rear console box 209
. . . . . . . . . . . . . . . . . . . . . . . . . . . . . . . . . . . . \
. . . . . . .
Glove box 209
. . . . . . . . . . . . . . . . . . . . . . . . . . . . . . . . . . . . \
. . . . . . . . . . . . . .
Garage door opener 209
. . . . . . . . . . . . . . . . . . . . . . . . . . . . . . . . . . . . \
. . . .
Auxiliary boxes 214
. . . . . . . . . . . . . . . . . . . . . . . . . . . . . . . . . . . . \
. . . . . . . . .
Cup holders 215
. . . . . . . . . . . . . . . . . . . . . . . . . . . . . . . . . . . . \
. . . . . . . . . . . .
Card holder 217
. . . . . . . . . . . . . . . . . . . . . . . . . . . . . . . . . . . . \
. . . . . . . . . . . .
Tie −down hooks 217
. . . . . . . . . . . . . . . . . . . . . . . . . . . . . . . . . . . . \
. . . . . . . .
Cargo net hooks 218
. . . . . . . . . . . . . . . . . . . . . . . . . . . . . . . . . . . . \
. . . . . . . .
Roof luggage carrier 218
. . . . . . . . . . . . . . . . . . . . . . . . . . . . . . . . . . . . \
. . . .
Floor mat 220
. . . . . . . . . . . . . . . . . . . . . . . . . . . . . . . . . . . . \
. . . . . . . . . . . . . .
Coat hooks 221
. . . . . . . . . . . . . . . . . . . . . . . . . . . . . . . . . . . . \
. . . . . . . . . . . .
SECTION 1 10
Page 212 of 364
202
Clock
18C510
Vehicles with navigation system
Vehicles without navigation system
To reset the hour: Push the “H” button.
To reset the minutes: Push the “M” button.
The key must be in the “ACC” or “ON”
position.
If quick adjustment to a full hour is de-
sired, push the “:00” button.
For example, if the “:00” button is de-
pressed when the time is between
1:01 – 1:29, the time will change to 1:00.
If the time is between 1:30 – 1:59, the
time will change to 2:00.
If the electrical power source has been
disconnected from the clock, the time dis-
play will automatically be set to 1:00.
When the instrument panel lights are
turned on, the brightness of the time in-
dication will be reduced.
Outside temperature display
18C511
Vehicles with navigation system
Vehicles without navigation system
Page 219 of 364
209
Rear console box
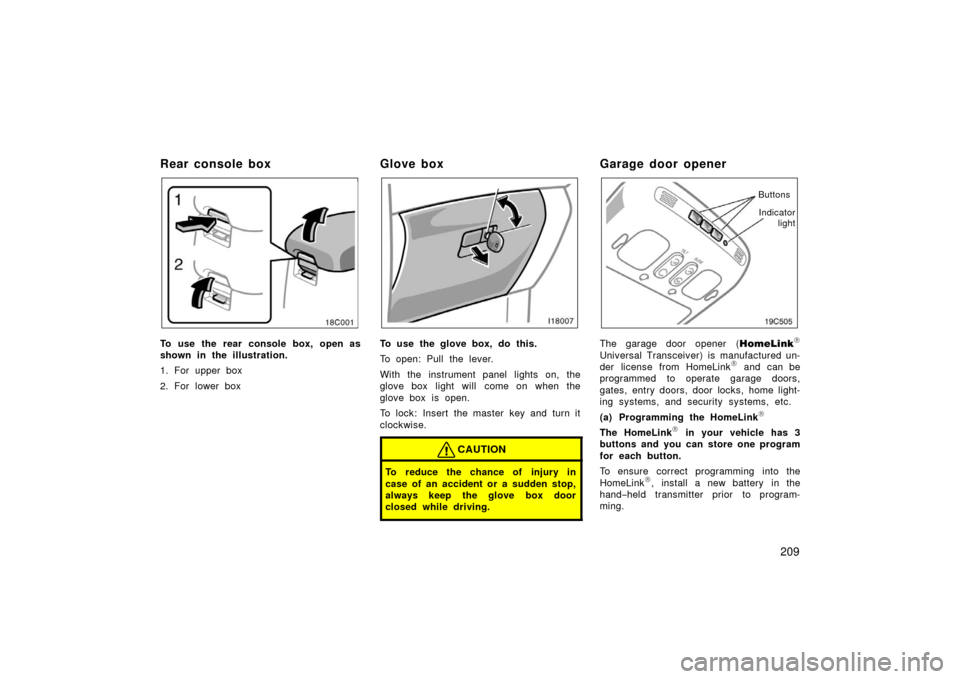
To use the rear console box, open as
shown in the illustration.
1. For upper box
2. For lower box
Glove box
To use the glove box, do this.
To open: Pull the lever.
With the instrument panel lights on, the
glove box light will come on when the
glove box is open.
To lock: Insert the master key and turn it
clockwise.
CAUTION
To reduce the chance of injury in
case of an accident or a sudden stop,
always keep the glove box door
closed while driving.
Garage door opener
Indicatorlight
Buttons
The garage door opener (
HomeLink
Universal Transceiver) is manufactured un-
der license from HomeLink and can be
programmed to operate garage doors,
gates, entry doors, door locks, home light-
ing systems, and security systems, etc.
(a) Programming the HomeLink
The HomeLink in your vehicle has 3
buttons and you can store one program
for each button.
To ensure correct programming into the
HomeLink
, install a new battery in the
hand− held transmitter prior to program-
ming.
Page 228 of 364
218
Cargo net hooks
These hooks are designed to hang car-
go net.
To hang the cargo net, use the cargo net
hooks and rear tie−down hooks.
Although the cargo net itself is not in-
cluded as an original equipment, these
hooks can be used to hang the cargo net.
NOTICE
To prevent damage to the hook, avoid
hanging things other than a cargo net
on it.
Roof luggage carrier
Roof rails
Cross rails
The roof luggage carrier consists of
roof rails and sliding cross rails.
Side
knobs
Upper
knob
ADJUSTING THE POSITION OF CROSS
RAILS:
1. Turn the upper and side knobs coun- terclockwise to loosen the cross
rails.