Page 410 of 487

11 -4 5
Maintenance and service
– CONTINUED –
the brake pedal is applied.
If you hear this scraping noise each time you apply the
brake pedal, have the brake pads serviced by your
SUBARU dealer as soon as possible. �„Breaking-in of new brake pads and lin- ings
�„Breaking
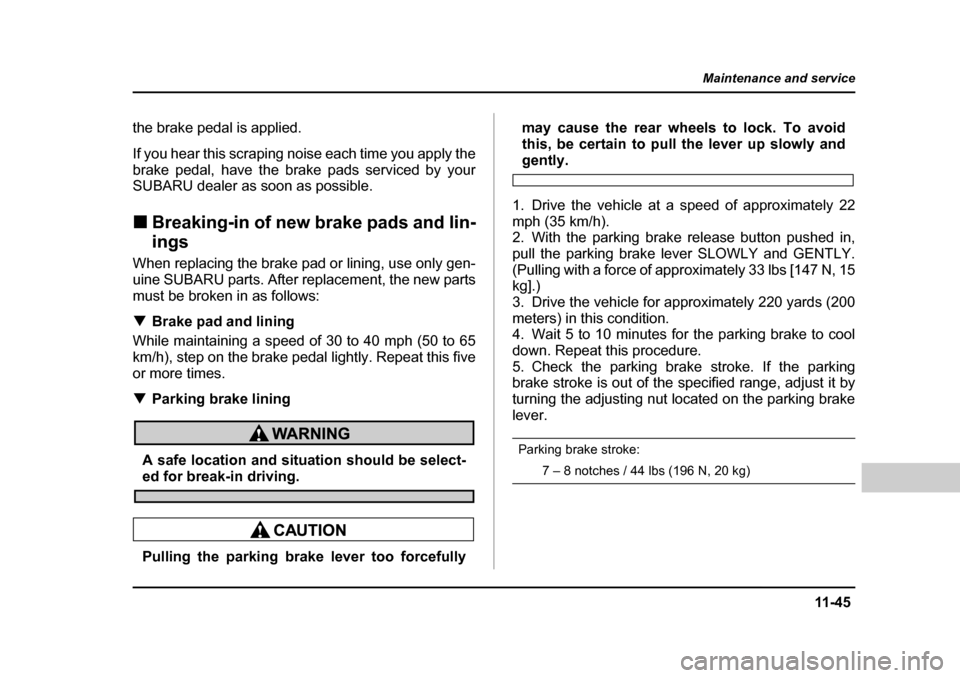
�„ Breaking-in of new brake pads and liningsWhen replacing the brake pad or lining, use only gen-
uine SUBARU parts. After replacement, the new parts
must be broken in as follows: �T Brake pad and lining
While maintaining a speed of 30 to 40 mph (50 to 65
km/h), step on the brake pedal lightly. Repeat this five
or more times. �T Parking brake lining
A safe location and situation should be select-
ed for break-in driving.
Pulling the parking brake lever too forcefully may cause the rear wheels to lock. To avoid
this, be certain to pull
the lever up slowly and
gently.
1. Drive the vehicle at a speed of approximately 22
mph (35 km/h).
2. With the parking brake release button pushed in,
pull the parking brake lever SLOWLY and GENTLY.
(Pulling with a force of appr oximately 33 lbs [147 N, 15
kg].)
3. Drive the vehicle for approximately 220 yards (200
meters) in this condition.
4. Wait 5 to 10 minutes for the parking brake to cool
down. Repeat this procedure.
5. Check the parking brake stroke. If the parking
brake stroke is out of the s pecified range, adjust it by
turning the adjusting nut located on the parking brake
lever.
Parking brake stroke:
7 – 8 notches / 44 lbs (196 N, 20 kg)
Page 419 of 487

11 - 5 4
Maintenance and service
freeze type windshield washer fluid. SUBARU Wind-
shield Washer Fluid contains 58.5% methyl alcohol
and 41.5% surfactant, by volume. Its freezing temper-
ature varies according to how much it is diluted, as in-
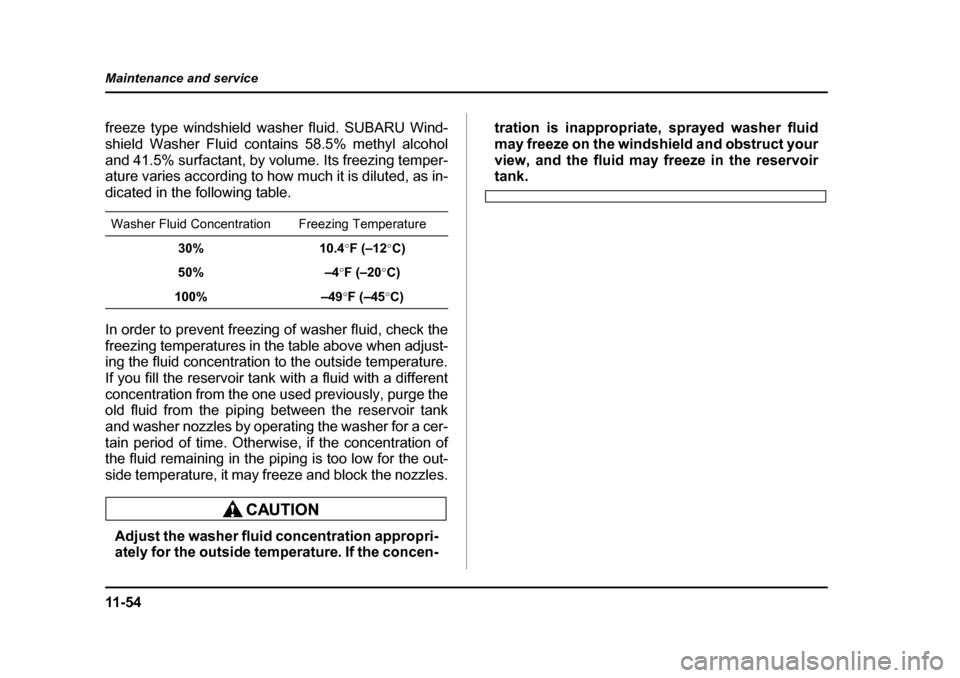
dicated in the following table.
In order to prevent freezing of washer fluid, check the
freezing temperatures in the table above when adjust-
ing the fluid concentration
to the outside temperature.
If you fill the reservoir tank with a fluid with a different
concentration from the one used previously, purge the
old fluid from the piping between the reservoir tank
and washer nozzles by operating the washer for a cer-
tain period of time. Otherwis e, if the concentration of
the fluid remaining in the piping is too low for the out-
side temperature, it may freeze and block the nozzles.
Adjust the washer fluid concentration appropri-
ately for the outside temperature. If the concen- tration is inappropriate,
sprayed washer fluid
may freeze on the windshield and obstruct your
view, and the fluid may freeze in the reservoir
tank.
Washer Fluid Concentration Freezing Temperature 30% 10.4 °F (–12 °C)
50% –4 °F (–20 °C)
100% –49 °F (–45 °C)
Page 421 of 487
11 - 5 6
Maintenance and service
1) Metal support
3. Grasp the locked end of the blade rubber assembly
and pull it firmly until the stoppers on the rubber are
free of the metal support. 1) Metal spines
4. If the new blade rubber is not provided with two
metal spines, remove the metal spines from the old
blade rubber and install them in the new blade rubber.
1
HSB059BB
1
HSB060BB
Page 422 of 487
11 -5 7
Maintenance and service
– CONTINUED –
5. Align the claws of the metal support with the
grooves in the rubber and slide the blade rubber as-
sembly into the metal support until it locks. 1) Stopper
6. Be sure to position the claws at the end of the metal
support between the stoppers on the rubber as shown.
If the rubber is not retai ned properly, the wiper blade
may scratch the windshield.
7. Install the wiper blade assembly to the wiper arm.
Make sure that it locks in place.
8. Lower the wiper arm slowly while holding it with
your hand.
HSB061BA
1
HSB062BB
Page 425 of 487
11 - 6 0
Maintenance and service
1) Fuse puller
2) Spare fuses
The fuse puller and spare fuses are stored in the main
fuse box cover in the engine compartment. 1) Good
2) Blown
If any lights, accessories or other electrical controls do
not operate, inspect the corresponding fuse. If a fuse
has blown, replace it.
1. Turn the ignition switch to the “LOCK” position and
turn off all electrical accessories.
2. Remove the cover.
(For behind the coin tray: open the coin tray and pull it
horizontally to remove it.)
3. Determine which fuse may be blown. The back side
of each fuse box cover and the “Fuses and circuits”
section in chapter 12 in this manual show the circuit for
1
2
HSB066BB
12
B00338
Page 432 of 487
11 -6 7
Maintenance and service
– CONTINUED –
�TBAJA-Sport
1) Electrical connector
2) Push
1. Disconnect the electrical connector while pressing
the lock release tab. 2. Remove the bulb holder from the headlight assem-
bly by turning it counterclockwise.
3. Remove the bulb from the headlight assembly.
4. Install the new bulb.
5. Install the bulb holder in the headlight assembly by
turning it clockwise until it locks.
6. Remove the electrical connector.
1
2
UBB045BB
UBB046BA
Page 433 of 487
11 - 6 8
Maintenance and service
�T
BAJA-Turbo
1) Low beam light bulb
2) High beam light bulb
Remove the headlight bulb cover, by turning it coun-
terclockwise.
UBB039BA
1
2UBB040BB
Page 435 of 487
11 - 7 0
Maintenance and service
�T
High beam light bulbs0
1) Push
1. Disconnect the electrical connector from the bulb.
2. Remove the bulb from the headlight assembly by
turning it counterclockwise.
3. Replace the bulb with new one.
4. Reconnect the electrical connector. At this time,
use care not to touch the bulb surface.
5. To install the bulb to the headlight assembly, turn it
clockwise until it clicks.
6. Install the headlight bulb cover. �„ Front fog light
�„Replacing bulbs
�„ Front fog light
�„ Front
�„ Fog lightIt may be difficult to replace the bulbs. Have your
UBB043BA
1
UBB044BB