2006 SKODA ROOMSTER low beam
[x] Cancel search: low beamPage 28 of 274

Instruments and Indicator/Warning Lights27
Using the systemSafetyDriving TipsGeneral MaintenanceBreakdown assistanceTechnical Data
Warning lights
Overview
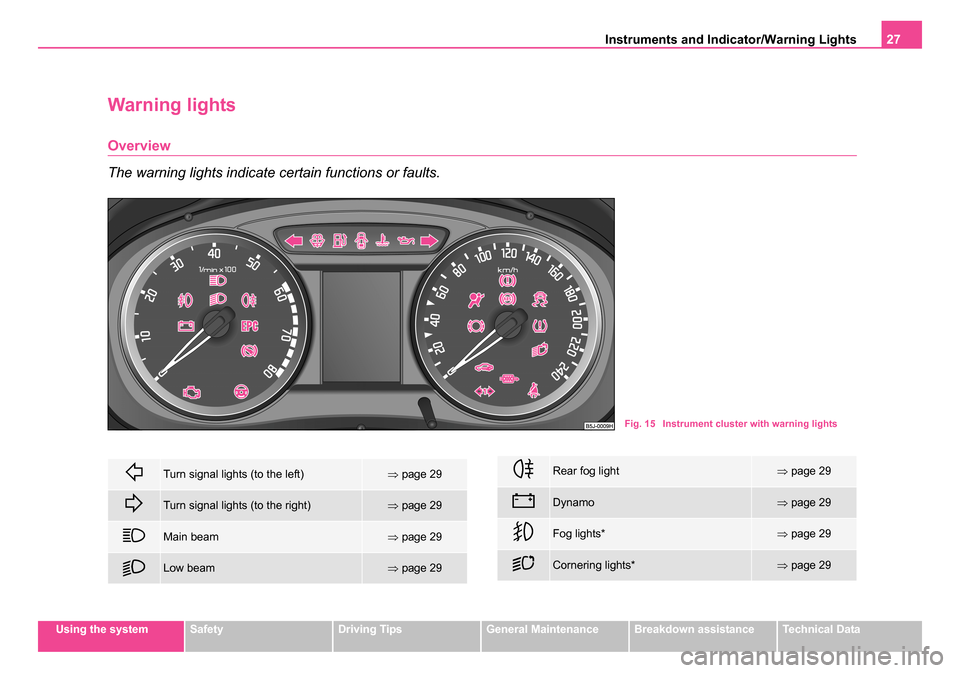
The warning lights indicate certain functions or faults.
Fig. 15 Instrument cluster with warning lights
Turn signal lights (to the left)⇒page 29
Turn signal lights (to the right)⇒page 29
Main beam⇒page 29
Low beam⇒page 29
Rear fog light⇒page 29
Dynamo⇒page 29
Fog lights*⇒page 29
Cornering lights*⇒page 29
NKO 20 A05.book Page 27 Wednesday, June 21, 2006 1:42 PM
Page 30 of 274

Instruments and Indicator/Warning Lights29
Using the systemSafetyDriving TipsGeneral MaintenanceBreakdown assistanceTechnical Data
Turn signal system
Either the left or right indicator light flashes depending on the posi-
tion of the turn signal lever.
The indicator light flashes at twice its normal rate if a turn signal light fails.
This does not apply when towing a trailer.
Switching off the hazard warning light system is switched on will cause all
of the turn signal lights as well as both indicator lights to flash.
Further information about the turn signal system ⇒page 59.
Main beam
The indicator light comes on when the main beam is selected or also
when the headlight flasher is operated.
Further information about the main beam ⇒page 59.
Low beam
The indicator light comes on when low beam is selected ⇒page 55.
Rear fog light
The warning light comes on when the rear fog lights are operating
⇒ page 57.
Alternator
The warning light comes on after the ignition has been switched on. It
should go out after the engine has started.
If the warning light does not go out after the engine has started, or comes
on when driving, drive to the nearest specialist garage. The vehicle battery
will be discharged in this case so switch off all non-essential electrical
components.
The following text will be displayed in the information display*:
ALTERNATOR WORKSHOP! (ALTERNATOR WORKSHOP!)
Caution
If the warning light comes on when driving and in addition the warning
light (cooling system fault) also comes on in display, you must then
stop the car immediately and switch the engine off - risk of engine
damage!
Fog lights*
The warning light comes on when the fog lights are operating
⇒ page 57.
Cornering lights*
If the warning light flashes for 1 minute while driving or after switching
on the ignition and a warning signal sounds, a fault is confirmed.
Further information ⇒page 56.
NKO 20 A05.book Page 29 Wednesday, June 21, 2006 1:42 PM
Page 56 of 274

Lights and Visibility55
Using the systemSafetyDriving TipsGeneral MaintenanceBreakdown assistanceTechnical Data
Lights and Visibility
Lights
Switching lights on and off
Switching on side lights
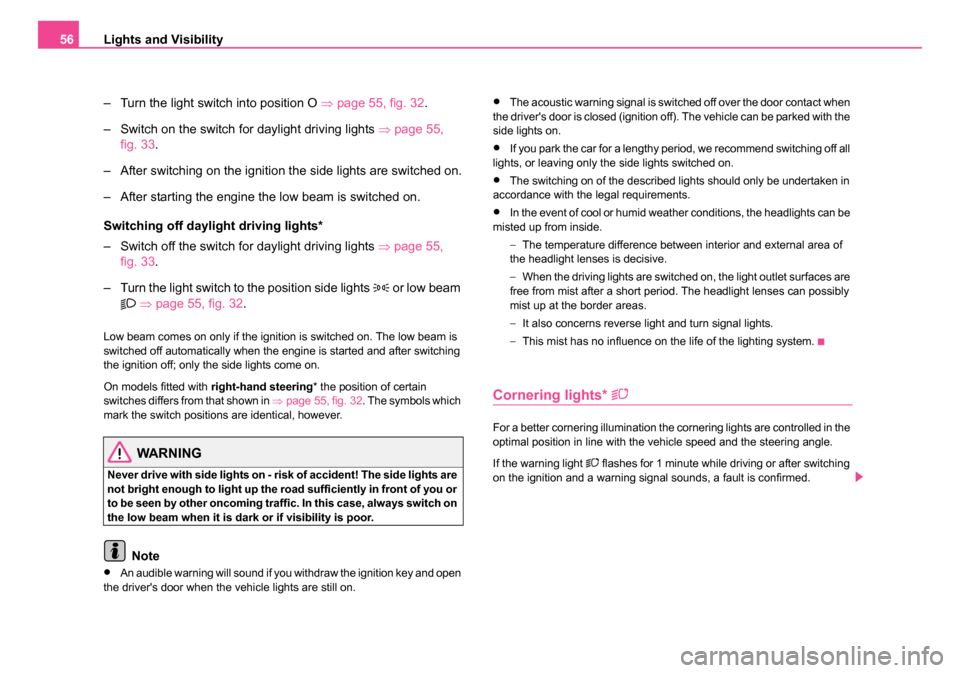
– Turn the light switch ⇒fig. 32 into position
.
Switching on the low beam and main beam
– Turn the light switch into position
.
– Press the main beam lever forward in order to switch on the main beam ⇒page 59, fig. 37 .
Switching off all lights
– Turn the light switch into position O.
Switching on daylight driving lights*
– Remove the cover of the fuse box on the left side of the dash panel ⇒page 249.
Fig. 32 Dash panel:
Light switch
Fig. 33 Fuse box:
Switch for daylight
driving lights
NKO 20 A05.book Page 55 Wednesday, June 21, 2006 1:42 PM
Page 57 of 274

Lights and Visibility
56
– Turn the light switch into position O ⇒page 55, fig. 32 .
– Switch on the switch for daylight driving lights ⇒page 55,
fig. 33 .
– After switching on the ignition the side lights are switched on.
– After starting the engine the low beam is switched on.
Switching off daylight driving lights*
– Switch off the switch for daylight driving lights ⇒page 55,
fig. 33 .
– Turn the light switch to the position side lights
or low beam
⇒ page 55, fig. 32 .
Low beam comes on only if the ignition is switched on. The low beam is
switched off automatically when the engine is started and after switching
the ignition off; only the side lights come on.
On models fitted with right-hand steering* the position of certain
switches differs from that shown in ⇒page 55, fig. 32 . The symbols which
mark the switch positions are identical, however.
WARNING
Never drive with side lights on - risk of accident! The side lights are
not bright enough to light up the road sufficiently in front of you or
to be seen by other oncoming traffic. In this case, always switch on
the low beam when it is dark or if visibility is poor.
Note
•An audible warning will sound if you withdraw the ignition key and open
the driver's door when the vehicle lights are still on.
•The acoustic warning signal is switched off over the door contact when
the driver's door is closed (ignition off). The vehicle can be parked with the
side lights on.
•If you park the car for a lengthy period, we recommend switching off all
lights, or leaving only the side lights switched on.
•The switching on of the described lights should only be undertaken in
accordance with the legal requirements.
•In the event of cool or humid weather conditions, the headlights can be
misted up from inside.
−The temperature difference between interior and external area of
the headlight lenses is decisive.
− When the driving lights are switched on, the light outlet surfaces are
free from mist after a short period. The headlight lenses can possibly
mist up at the border areas.
− It also concerns reverse light and turn signal lights.
− This mist has no influence on the life of the lighting system.
Cornering lights*
For a better cornering illumination the cornering lights are controlled in the
optimal position in line with the vehicle speed and the steering angle.
If the warning light
flashes for 1 minute while driving or after switching
on the ignition and a warning signal sounds, a fault is confirmed.
NKO 20 A05.book Page 56 Wednesday, June 21, 2006 1:42 PM
Page 58 of 274

Lights and Visibility57
Using the systemSafetyDriving TipsGeneral MaintenanceBreakdown assistanceTechnical Data
WARNING
If there is a fault in the corn ering lights, the warning light flashes
in the instrument cluster. The cornering lights are automatically
lowered to the emergency position, which prevents a possible
dazzling of oncoming traffic. Thus the illuminated length of the
road is shortened. Drive carefully and have the car inspected imme-
diately by a specialist garage.
Fog lights*
Switching on the fog lights
– First of all turn the light switch into position or ⇒ fig. 34 .
– Pull the light switch out to the first detent .
The rear fog light warning light ⇒ page 27 lights up in the instrument
cluster when the fog light is switched off.
Fog lights with integrated turning light*
The turning light is intended for a better illumination of the
vehicle close range when turning, parking etc.
The turning light is controlled in line with the steering angle or by switching
on the turn signal light in the following circumstances:
•vehicle speed max. 40 km/h,
•low beam switched on,
•no reverse gear engaged,
•no hazard warning light system switched on.
A fault in the turning light is indicated by the warning light
lighting up or
flashing.
Note
If the fog lights are switched on, the function of the turning light is not
active.
Rear fog light
Switching on the rear fog light
– First of all turn the light switch into position or ⇒ fig. 34 .
Fig. 34 Dash panel:
Light switch
A1
NKO 20 A05.book Page 57 Wednesday, June 21, 2006 1:42 PM
Page 59 of 274

Lights and Visibility
58
– Pull the light switch out to the second detent . The fog
lights* light up at the same time.
If the vehicle is not fitted with fog lights*, the rear fog light is switched on
by turning the light switch to the position and is pulled out directly to
the position . This switch does not have two positions, but only one
position.
The rear fog light warning light
⇒ page 27 lights up in the instrument
cluster when the fog light is switched off.
Only the rear fog light of the trailer lights up if the vehicle is fitted with a
towing device from Škoda original accessories and when you are
towing a trailer which is fitted with the rear fog light.
Caution
The rear fog light should only be switched on if visibility is particularly poor
(conform with any varying legal provisions) to avoid dazzling vehicles
behind your vehicle.
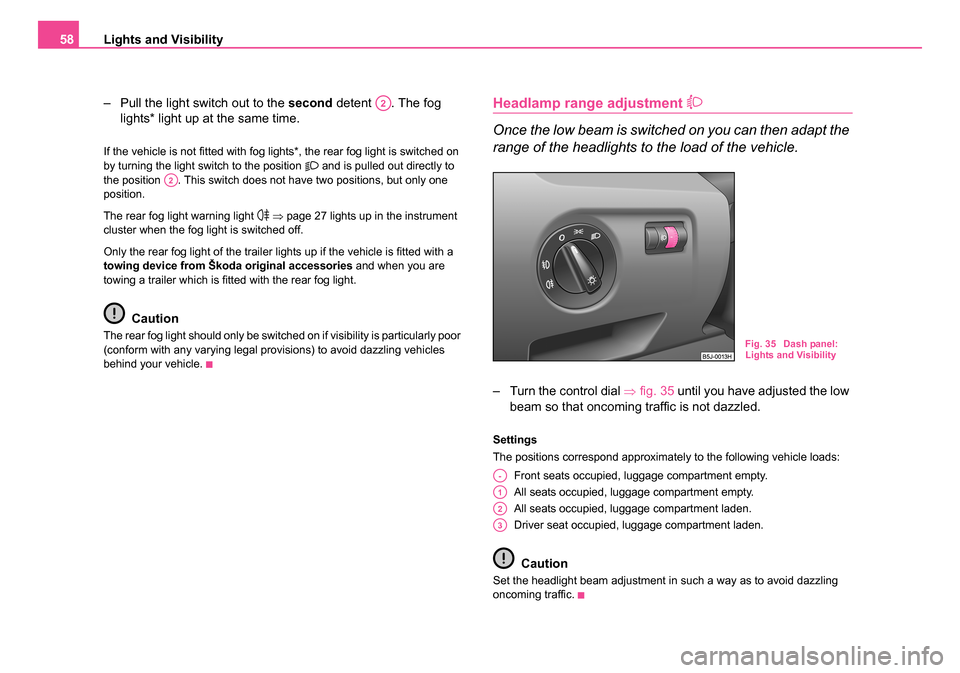
Headlamp range adjustment
Once the low beam is switched on you can then adapt the
range of the headlights to the load of the vehicle.
– Turn the control dial ⇒fig. 35 until you have adjusted the low
beam so that oncoming traffic is not dazzled.
Settings
The positions correspond approximately to the following vehicle loads:
Front seats occupied, luggage compartment empty.
All seats occupied, luggage compartment empty.
All seats occupied, luggage compartment laden.
Driver seat occupied, luggage compartment laden.
Caution
Set the headlight beam adjustment in such a way as to avoid dazzling
oncoming traffic.
A2
A2
Fig. 35 Dash panel:
Lights and Visibility
A-
A1
A2
A3
NKO 20 A05.book Page 58 Wednesday, June 21, 2006 1:42 PM
Page 60 of 274

Lights and Visibility59
Using the systemSafetyDriving TipsGeneral MaintenanceBreakdown assistanceTechnical Data
Switch for hazard warning lights
– Press switch ⇒ page 59, fig. 36 to switch the hazard
warning light system on or off.
All the turn signal lights on the vehicle flash at the same time when the
hazard warning light system is switched on. The indicator light for the turn
signals and the indicator light in the switch also flash at the same time. You
can also switch on the hazard warning light system if the ignition is
switched off.
Please comply with any legal requirements when using the hazard
warning light system.
Note
Switch on the hazard warning light system if, for example:
•you encounter traffic congestion,
•your vehicle breaks down or an emergency situation occurs.
The turn signal and main beam lever
The parking lights and headlight flasher are also switched
on and off using the turn signal and main beam lever.
The turn signal and main beam lever perform the following func-
tions:
Right
and left turn signal light
– Push the lever upwards or downwards ⇒fig. 37 .
– If you only wish to flash three times (the so-called conven- ience turn signal*), push the lever briefly up to the upper or
lower pressure point and release it.
– Turn signal for changing lanes - in order to only flash briefly, move the lever up or down to the pressure point and hold it in
this position.
Fig. 36 Dash panel:
Switch for hazard
warning lights
Fig. 37 Turn signal and
main beam lever
NKO 20 A05.book Page 59 Wednesday, June 21, 2006 1:42 PM
Page 61 of 274

Lights and Visibility
60
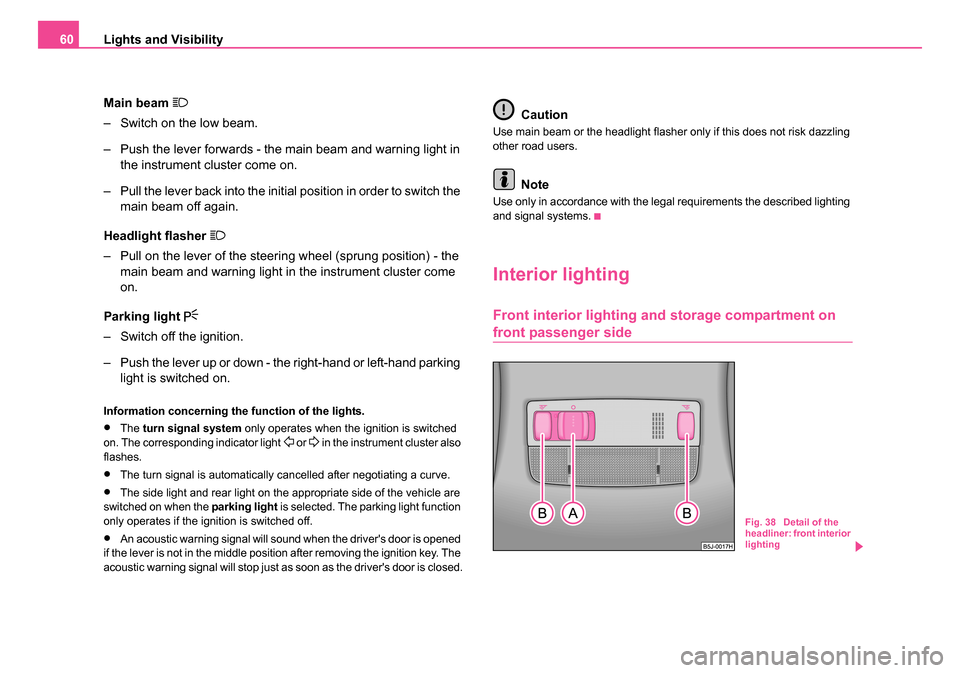
Main beam
– Switch on the low beam.
– Push the lever forwards - the main beam and warning light in the instrument cluster come on.
– Pull the lever back into the initial position in order to switch the main beam off again.
Headlight flasher
– Pull on the lever of the steering wheel (sprung position) - the main beam and warning light in the instrument cluster come
on.
Parking light
– Switch off the ignition.
– Push the lever up or down - the right-hand or left-hand parking light is switched on.
Information concerning the function of the lights.
•The turn signal system only operates when the ignition is switched
on. The corresponding indicator light or in the instrument cluster also
flashes.
•The turn signal is automatically cancelled after negotiating a curve.
•The side light and rear light on the appropriate side of the vehicle are
switched on when the parking light is selected. The parking light function
only operates if the ignition is switched off.
•An acoustic warning signal will sound when the driver's door is opened
if the lever is not in the middle position after removing the ignition key. The
acoustic warning signal will stop just as soon as the driver's door is closed.
Caution
Use main beam or the headlight flasher only if this does not risk dazzling
other road users.
Note
Use only in accordance with the legal requirements the described lighting
and signal systems.
Interior lighting
Front interior lighting and storage compartment on
front passenger side
Fig. 38 Detail of the
headliner: front interior
lighting
NKO 20 A05.book Page 60 Wednesday, June 21, 2006 1:42 PM